What’s that you said? You haven’t heard from me in a while? And Christmas has come and gone? You’re right. I’m sorry. I’ve been MIA and it’s unacceptable. I meant to line up these posts last week and then take off this week. But we had some bad weather. And I had some extra hours of working that, unfortunately, I had to be present for. Isn’t that a shame?
I will be heading to snowy Idaho for the rest of the week. But don’t you worry. I’ve got some posts set to play. Today’s tut is about freezer paper stenciling. Have you ever done it? If not, you should. It’s amazeballs. Super easy. And super customizable.
I used a deer because I’m into that sort of thing. They’re stylish. I’m using a linen fabric for a throw pillow on our bed. Let’s get started, shall we?
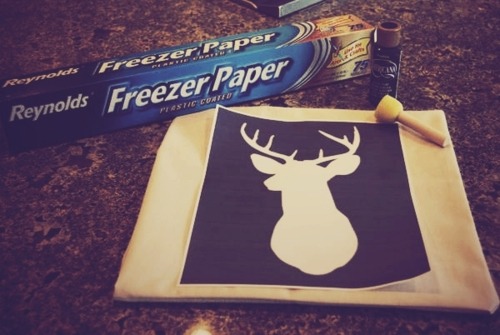
You’ll need freezer paper, a design printed out on paper, fabric, acrylic paint, a foam paint brush, tape, and a pencil.
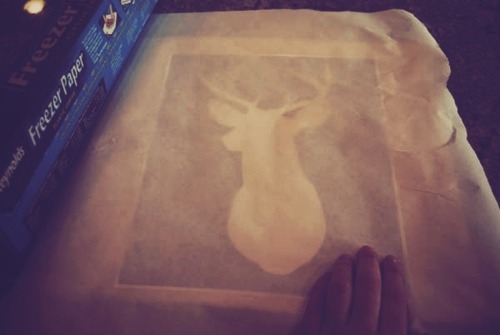
Lay some freezer paper over your design and trace it onto your freezer paper.
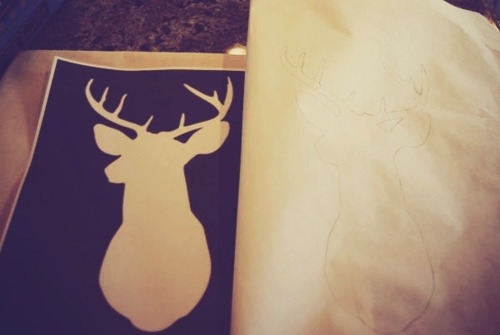
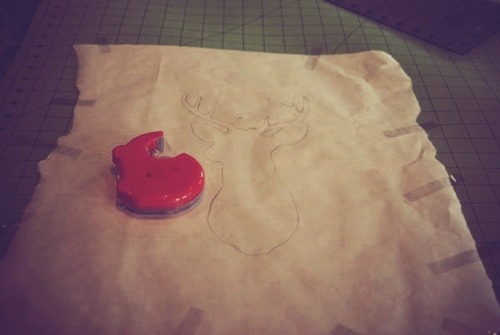
Tape the outline onto a self-healing cutting mat or an old magazine.
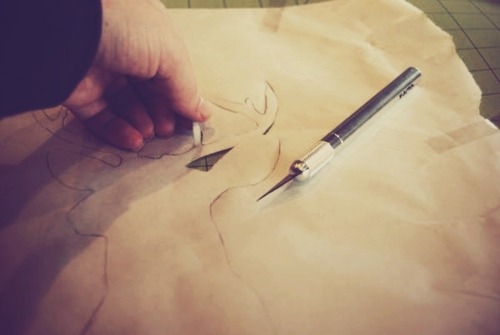
Using an X-ACTO knife, cut out the stencil.
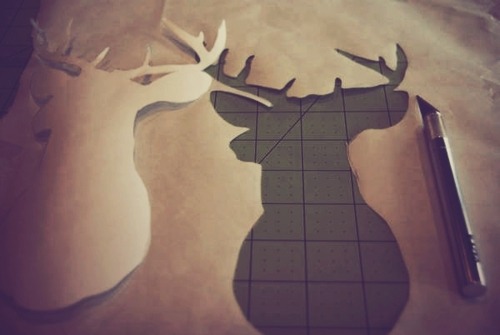
Make sure you know what you need to cut. This is when I would talk about negative space. But I think you’re pickin’ up what I’m puttin’ down. Anything that is inside the stencil needs to be saved. You’ll iron those pieces onto your fabric.
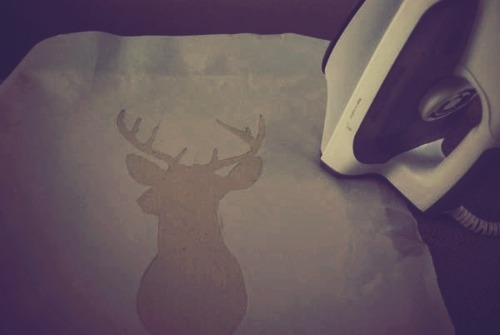
Iron the stencil onto your fabric, SHINY SIDE DOWN. The shiny side is the side that will stick to the fabric. You don’t need to use steam, just make sure your iron is REALLY hot.
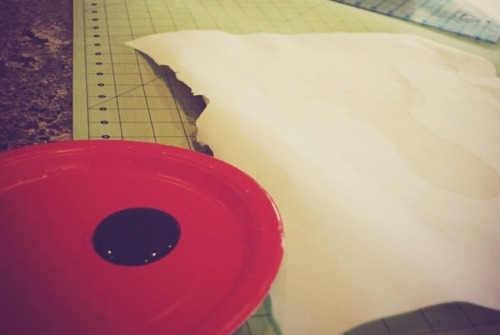
Now that the stencil is ready to go, dab some acrylic paint on. Go crazy with that paint!
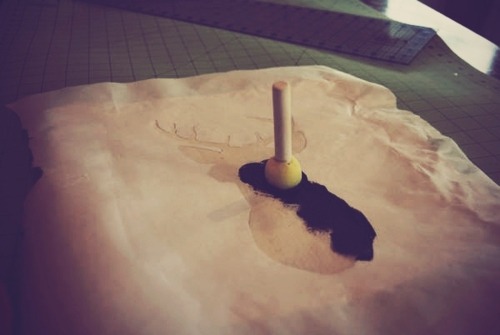
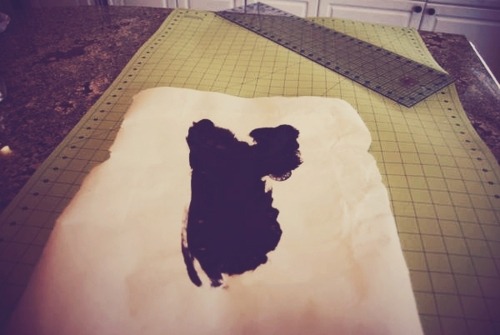
Once covered, let it dry. Go get some lunch at McDonalds or watch some episodes of New Girl.
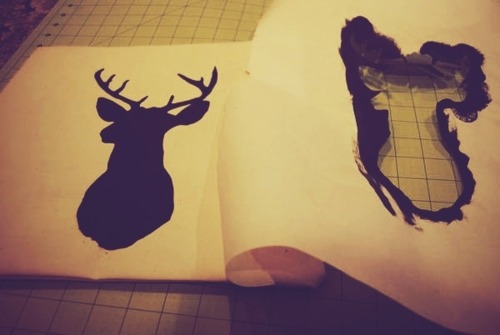
Slowly peel off. Bing. Bang. Boom. So prettay.
Now go stencil the crap out of your house.
**Happy Tuesday**
