This post is an advertisement by Cotton.
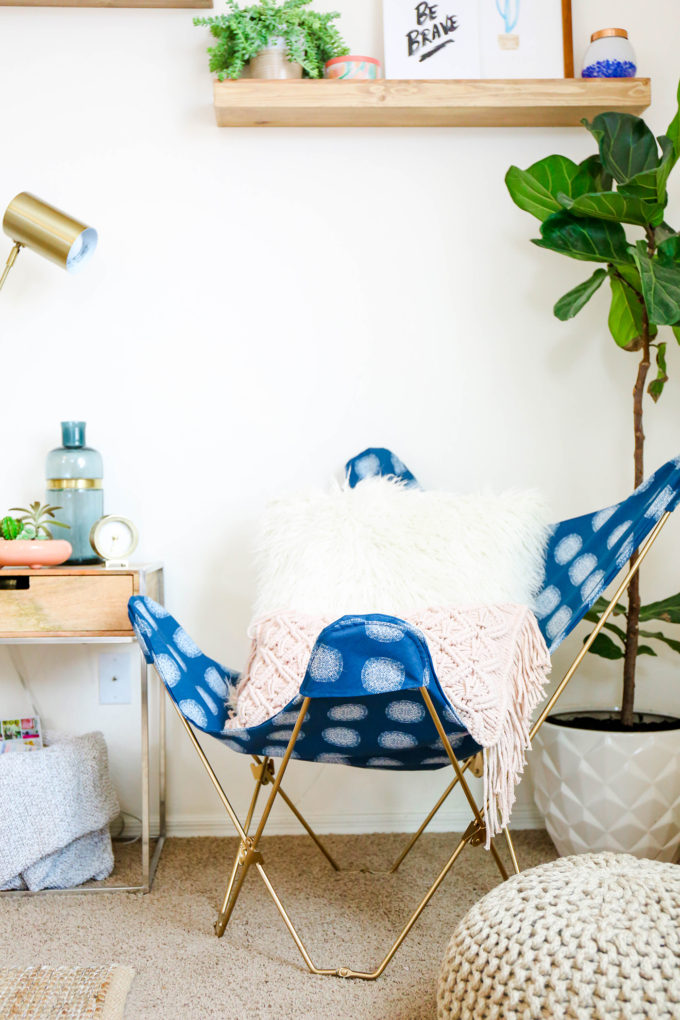
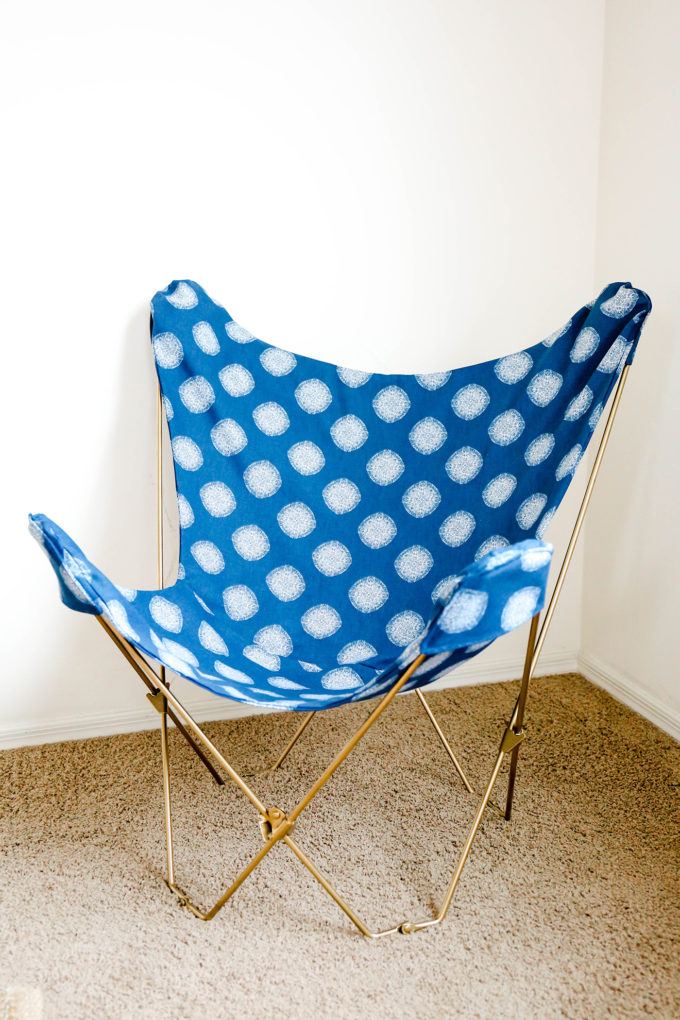
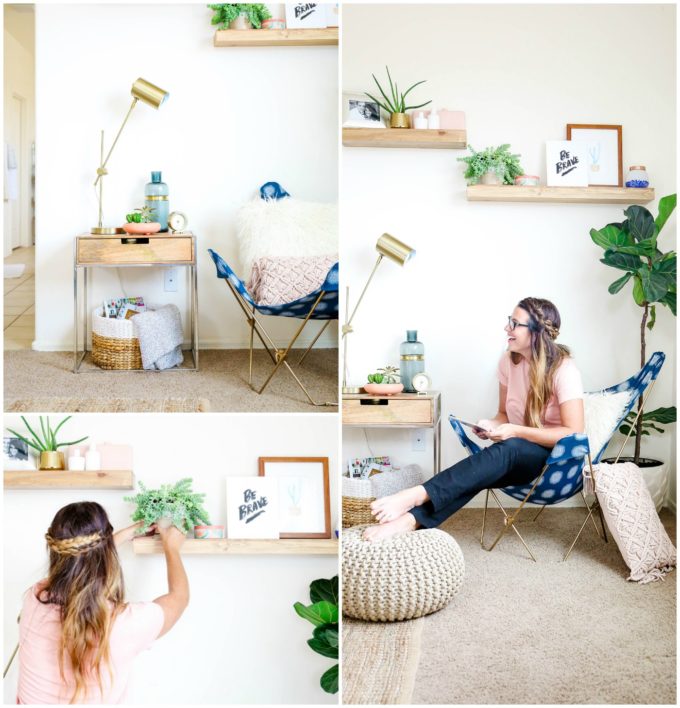
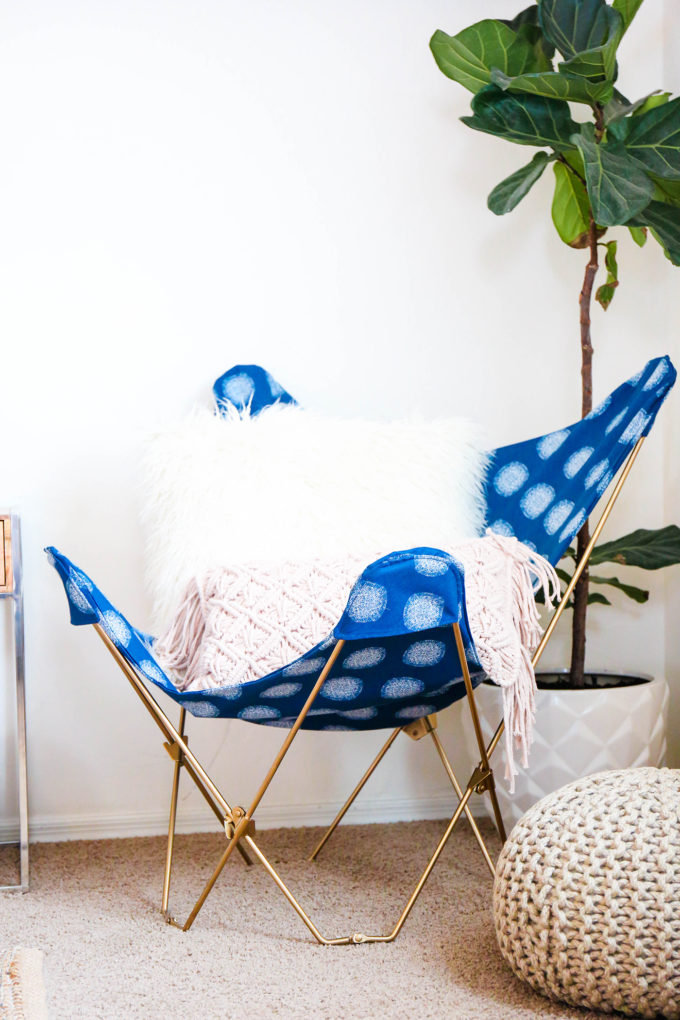
We’re entering the coziest of seasons and as you gear up for fall you might take a look around your home and take notice of items that might need updating. It’s no secret that we like to stay inside where we’re warm and comfortable rather than fight the weather that awaits outside! Get ready for the chill by creating a cozy butterfly chair cover, made entirely from cotton, to create the ultimate reading or napping spot when you just don’t want to leave the house!
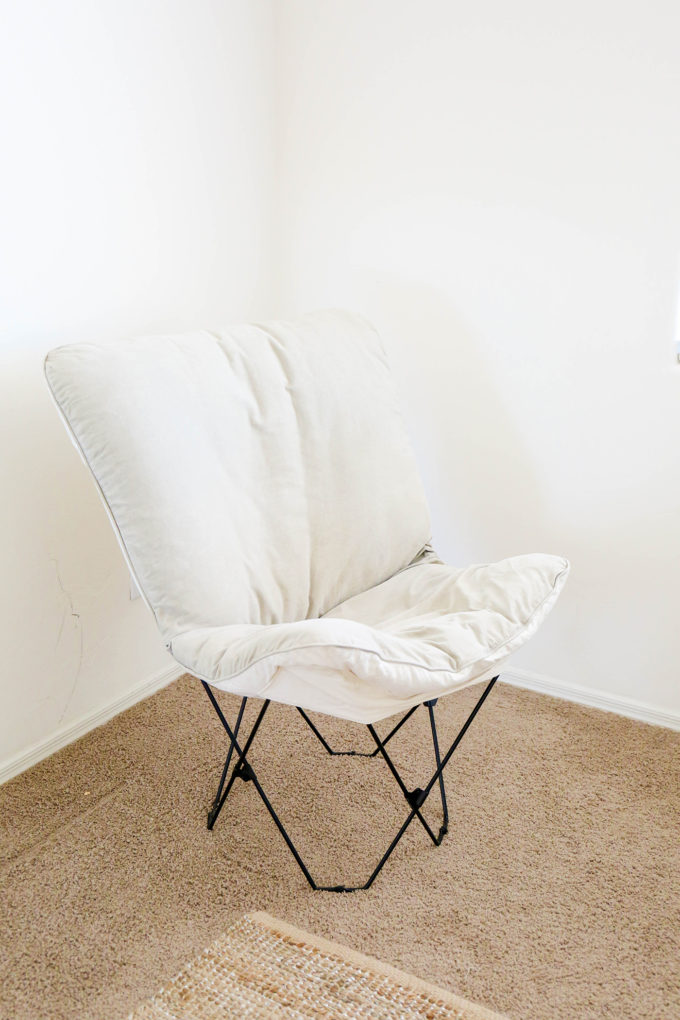
Butterfly chairs aren’t a new trend to the world of design, but there has definitely been a resurgence these past few years. You can find them at flea markets, online dealers, or even Craigslist! It’s easier than you think to give one a quick makeover!
Supplies needed:
- Butterfly chair with old cover * 2 yards of sturdy upholstery fabric (we used Nate Berkus’ Baltic print found at Joann’s!)
- Spool of thread to match
- Sewing machine
- Pins
- Posterboard (2-4 sheets)
- Pencil & chalk
- Scissors and pinking shears
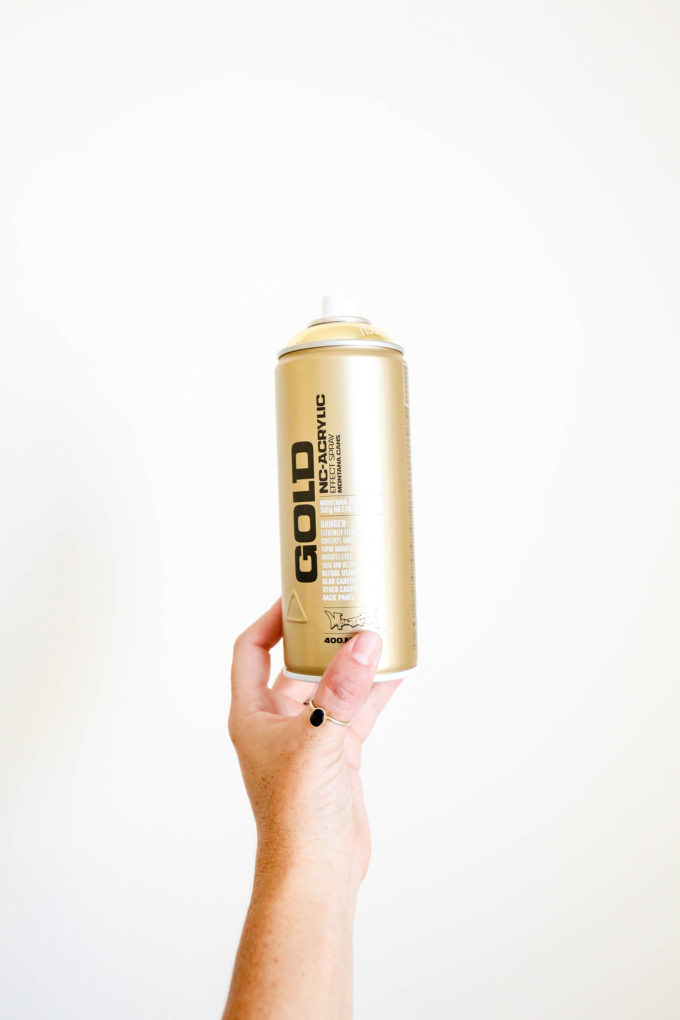
- Spray paint (for the base of the chair)
- Plastic dropcloth for painting
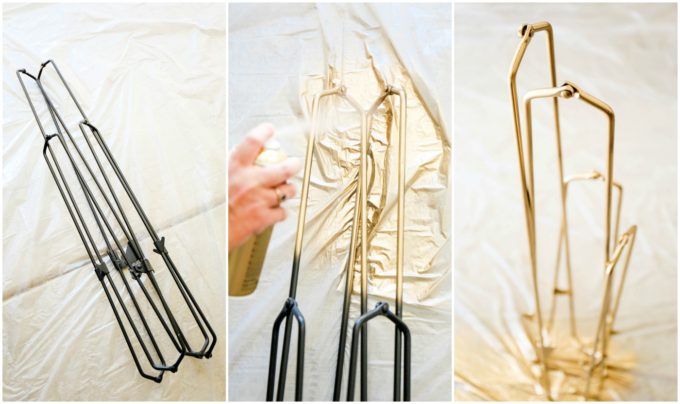
Step 1: Remove the cover from the old chair and lay the base flat on a plastic dropcloth to paint.
Step 2: Spray the entire base the color of your choice. First paint while the base is closed and allow that coat to dry. Then paint a second coat with the base fully opened. Allow 24 hours to dry.
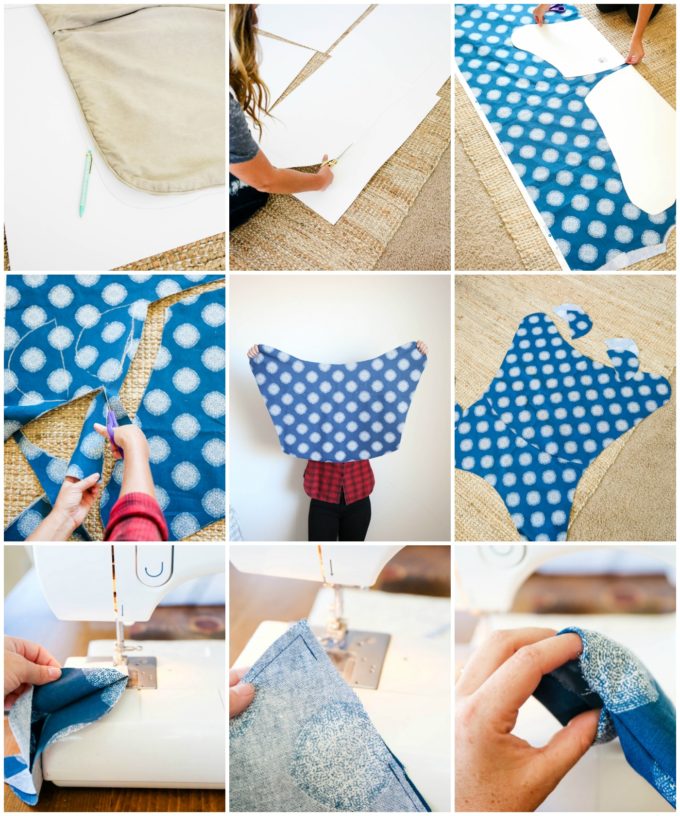
Step 3: Lay the old cover on top of the posterboard. Using the cover as a pattern, trace around the cover with a pencil. We slimmed the pattern up a bit by going in a little more on the sides and around the corners. Draw a curved line horizontally through the pattern to create a “top” and bottom” piece.
Step 4: Cut the pattern from the posterboard. You only need half of the pattern as you will place the pattern on the fold of your fabric.
Step 5: Place the halved pattern on the fold of your fabric. Using the chalk, trace the pattern onto the fabric.
Step 6: Create “pockets” for the chair base to slip into by tracing “half-oval”-like shapes onto the fabric. These should be as wide as the edges of your butterfly chair pattern.
Step 7: Once you’ve traced the pattern onto the fabric, cut it! Remember the cardinal rule of sewing: “Measure twice, cut once!”
Final Cut Pieces:
- 2 top pieces
- 2 bottom pieces
- 8 “pocket” pieces
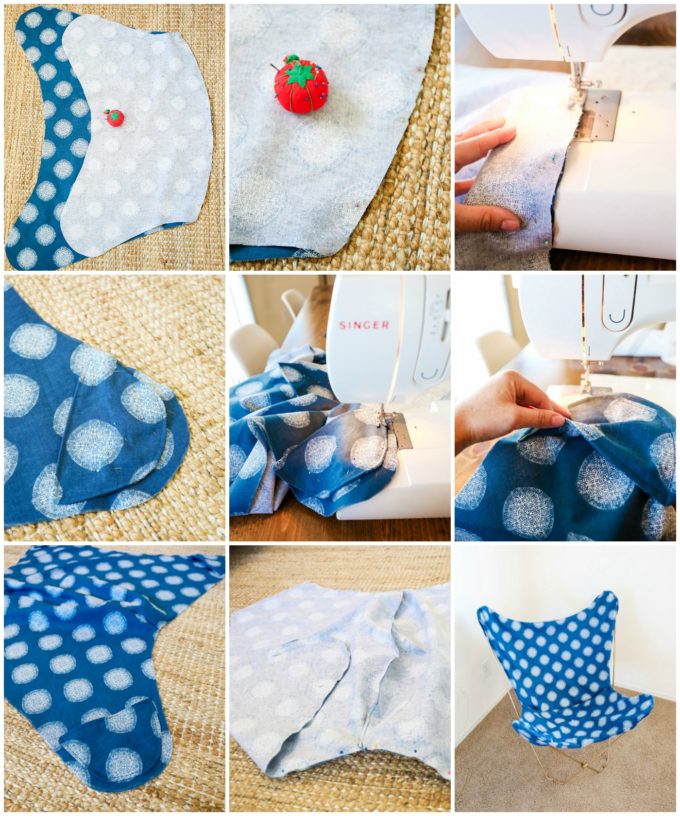
Step 8: Place the pockets right sides together and stitch them all the way around leaving a 2 inch gap allowing you to turn the pockets right side out. Once you’ve turned the fabric, fold the unstitched part in, and create a ¼” topstitch or hem by going all the way around each pocket again.
Step 9: Stitch the back and bottom of the chair together first by pinning 1 top piece and 1 bottom piece together at the curved horizontal line. Remember to pin while right sides are together! Sew the pieces using a ¼” hem. Go back over it once more to reinforce the stitch.
Step 10: Pin the sewn pockets to the bottom of the chair and stitch them by sewing right over the topstitch on each pocket. Now the bottom of your chair should be complete! It’s time to add the top!
Step 11: Create the top part of the chair cover by repeating step 9.
Step 12: Combine the final pieces by pinning right sides together. Pin all the way around the chair to allow the most accurate sewing!
Step 13: Using a ¼ hem, stitch all the way around the chair cover leaving a 5-6” opening at the top to allow you to turn the cover right side out. Use a blind stitch to close up!
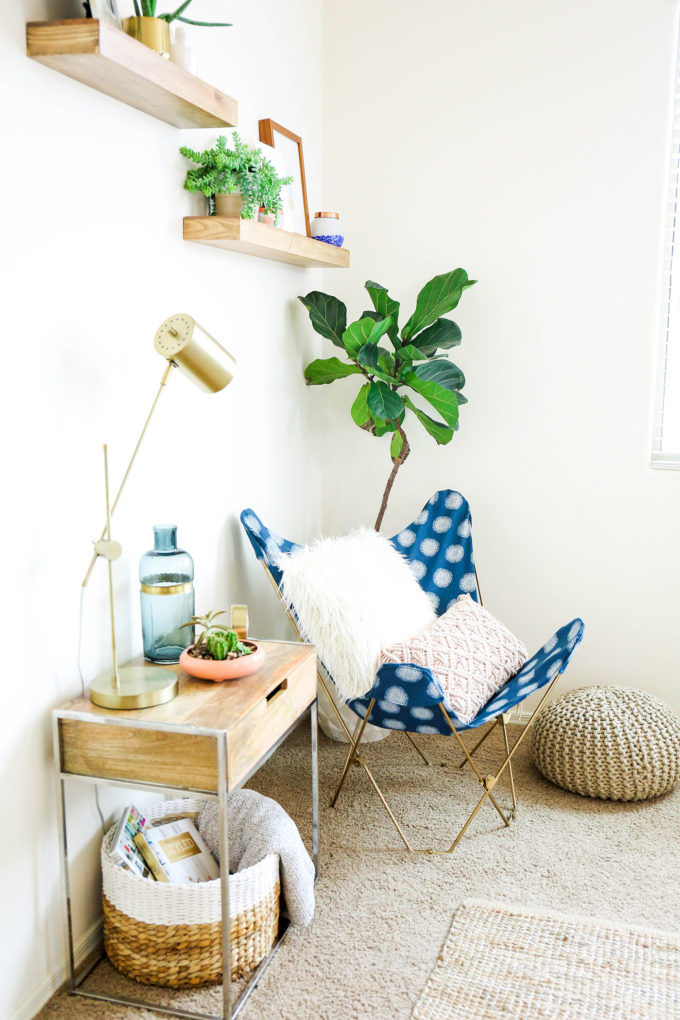
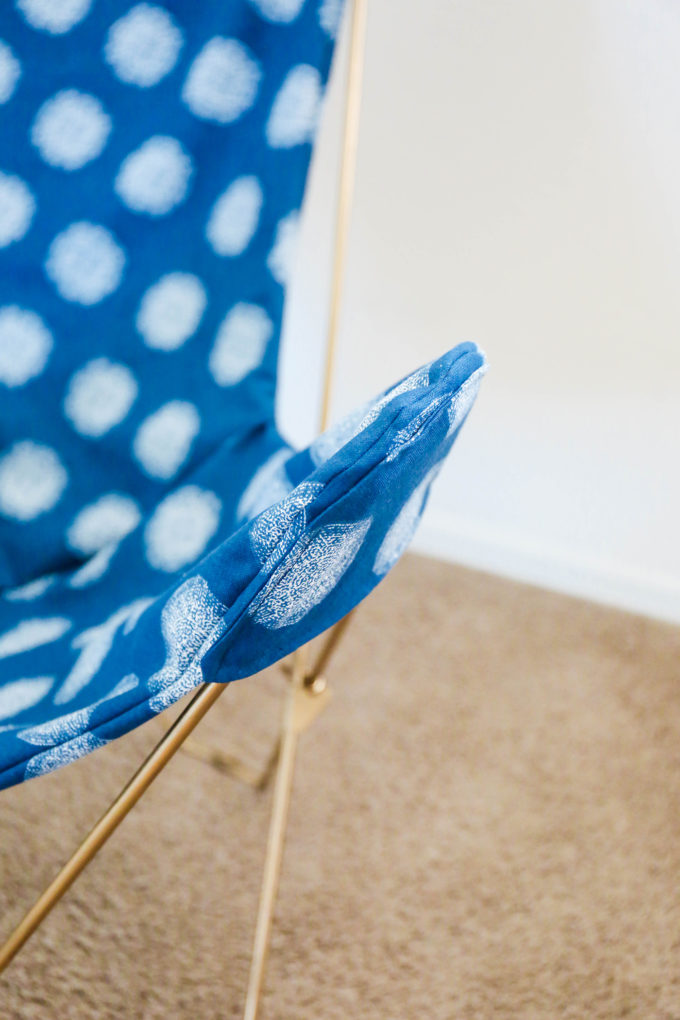
Step 14: Press the cover with an iron to clean up any wrinkles and give it smooth edges! Now place it on your base and enjoy!
This cover can be made in an afternoon and because it’s 100% cotton, you can wash it regularly!
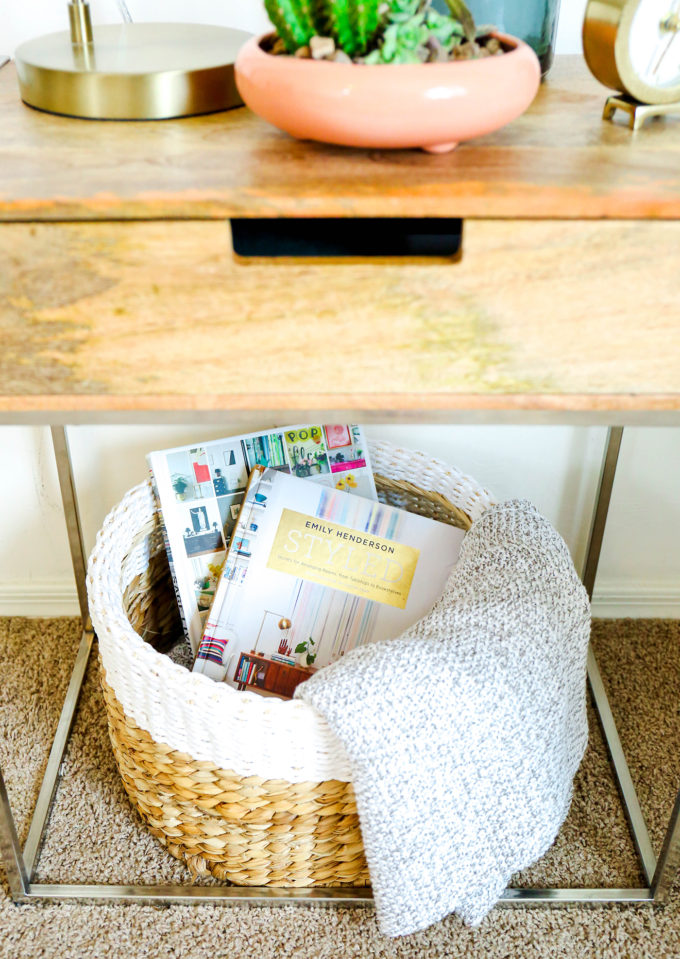
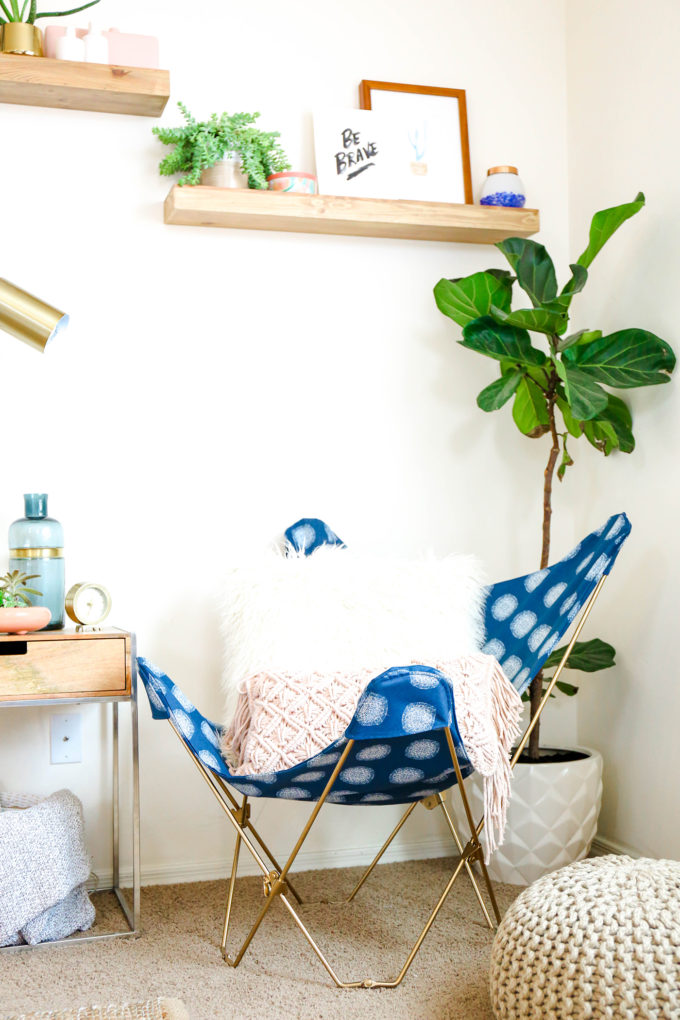
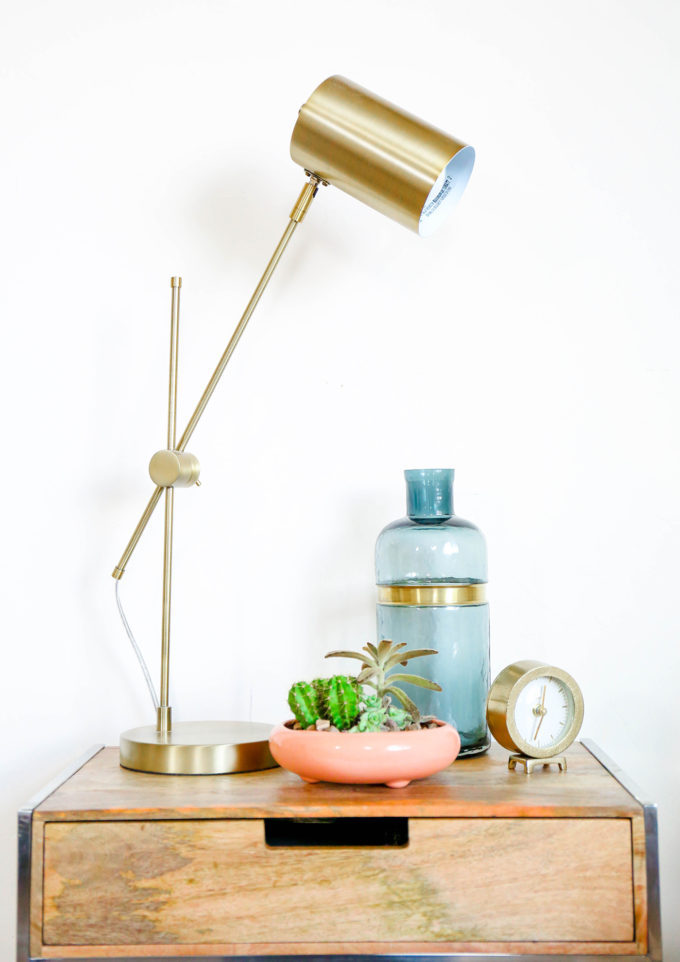
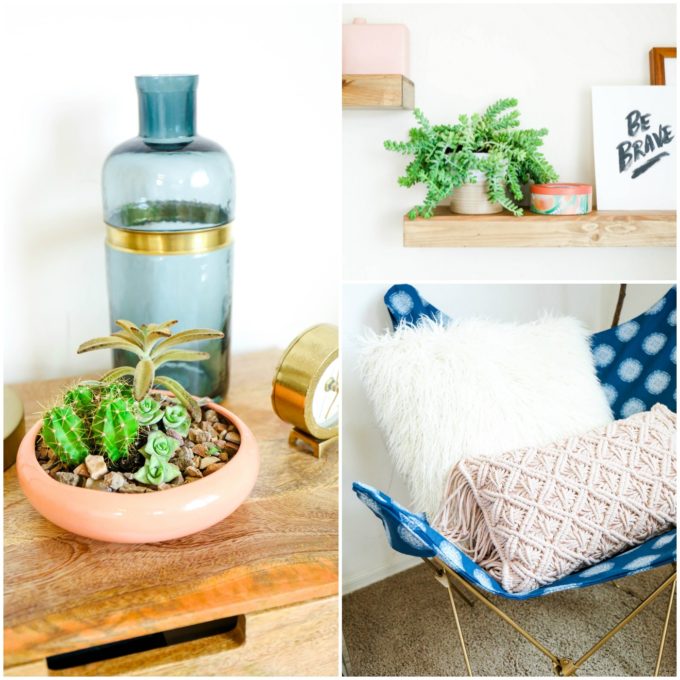
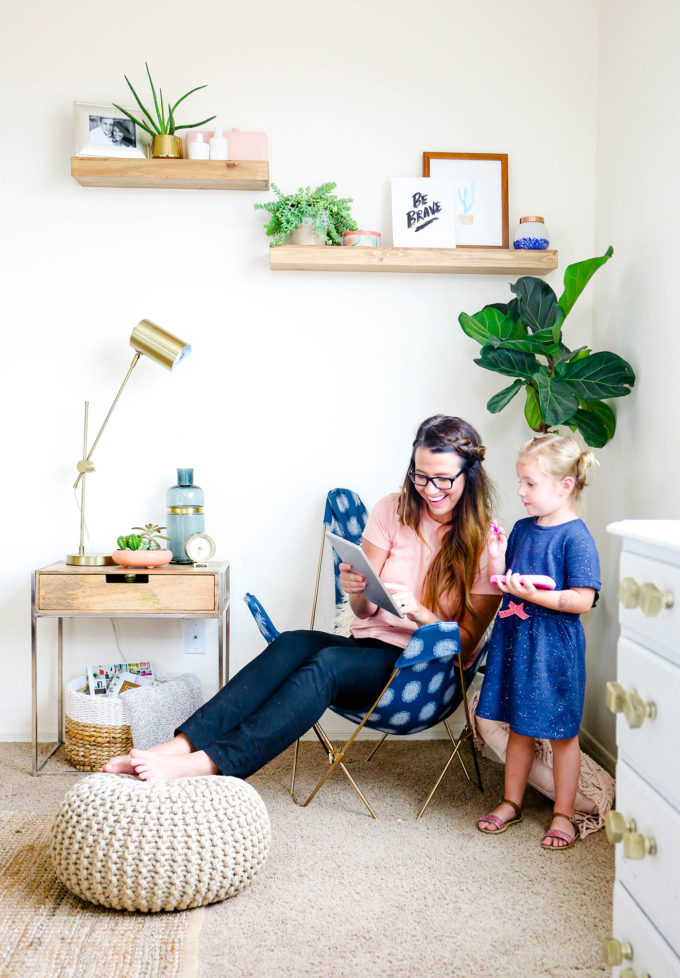
Stick the chair in the corner of your bedroom or living room and surround it with cozy items to help you get through the winter in a stylish and comfortable way!
**This post is an advertisement by Cotton, a lovely brand that believes in combining comfort and style. Thank you for supporting the brands that help PROPER keep creating!
Styling & photography \\ Lexy Ward








oh wow! what a transformation! we had an old chair like that but we donated it years ago. would have never thought to make a new cover! great job!
Love this!!! I am seriously considering this for little misses room, if I can find an old one that is. Girl you have some amazing skills!!!
Cassie! Yes! You can totally do this! Just scour Craigslist for that chair!
So cute! Lexy you’ve outdone yourself!
Obsessed with this makeover! Everything is just perfection!
Love this so much Lexy!! Your creativity and talents amaze me! I love all your ideas ❤️❤️
I absolutely adore this little corner! I would have never thought to repurpose that old chair. I’m not much of a sewer, but I am totally considering this for the kids lounge area!
Love this chair. Totally makes this whole space amazing. I think it looks pretty comfy too. Great job Lexy!!!
What if I can’t make a new cover for my chair? How would I put fabric over top the original? I can’t staple it…do you have any advice?