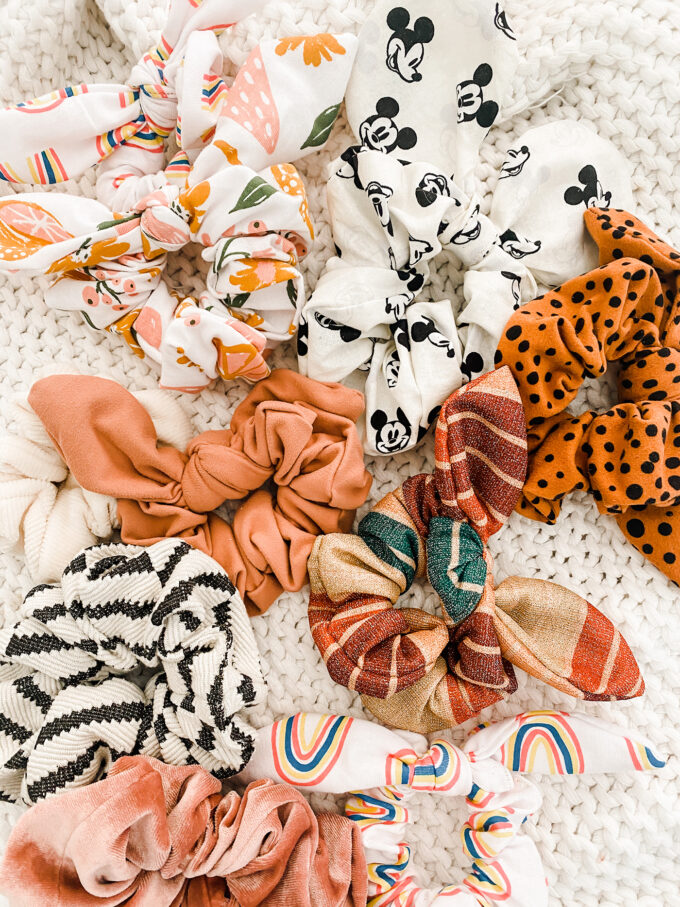
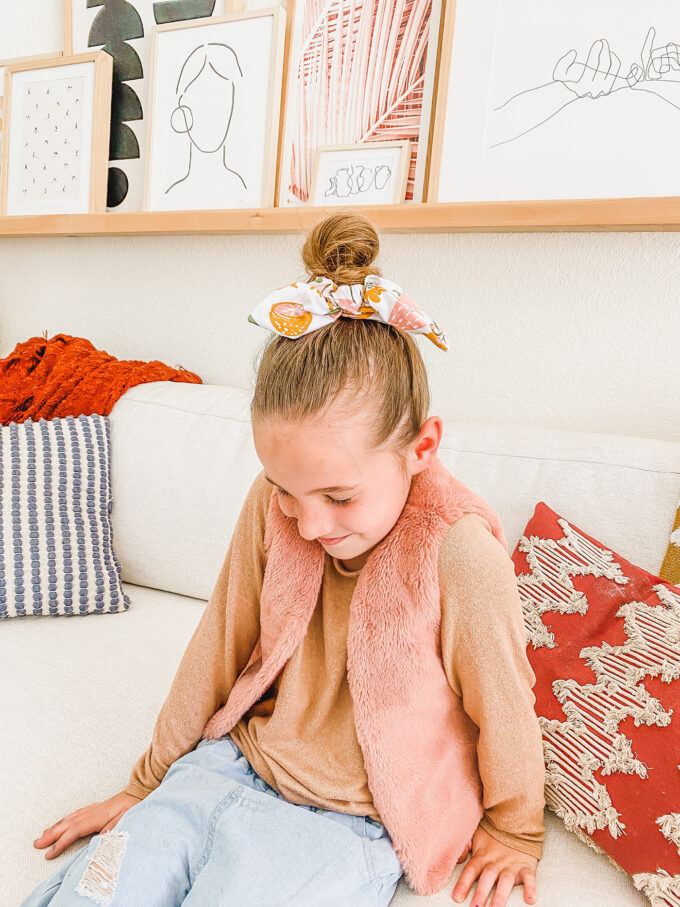
 I’d like to take a moment to say just how lovely I think it is that scrunchies have been making a steady comeback over the years. My love for them never died and I’ve introduced the awesomeness to Vita and Mara and they are worn daily! There are usually scrunchies strewn about all over the house and we wear them as accessories when they’re not holding our hair out of our faces. Maybe you’ve made them before, maybe you haven’t, but these DIY scrunchies are one of my FAVORITE projects because they come together so quickly. I’m sharing the instructions for sewing them, but if you’re not comfortable sewing, you can easily use a glue gun instead!
My favorite tip for making a multitude of sewing projects is cutting them with a cutting machine. Whenever I cut a pattern by hand, it’s never even and my edges are a little wonky and never truly match up. By using my Cricut Maker, I have perfectly precise patterns (who’s here for the alliteration?!) every time. The bonus part is that you can cut a few patterns while you’re currently assembling one of the scrunchies. So you can make a bunch in a very short amount of time! This pattern is made using Cricut software and materials. Check it out below!
DIY Scrunchies
You’ll need:
- for TWO SCRUNCHIES: 1/4″ yard fabric (I used various patterns in cotton and jersey)
- thread
- sewing machine
- 2 safety pins
- regular sewing pins
- scissors or thread snips
- elastic (7″ per scrunchie)
- Cricut Maker & 12×24-inch mat
- Cricut Rotary Blade
- Cricut Design Space
- scrunchie pattern
I’ve sized these out in Cricut’s Design Space and they’re bigger than regular scrunchies. I like ’em bigger and thicker with lots of voluminous ruffles.
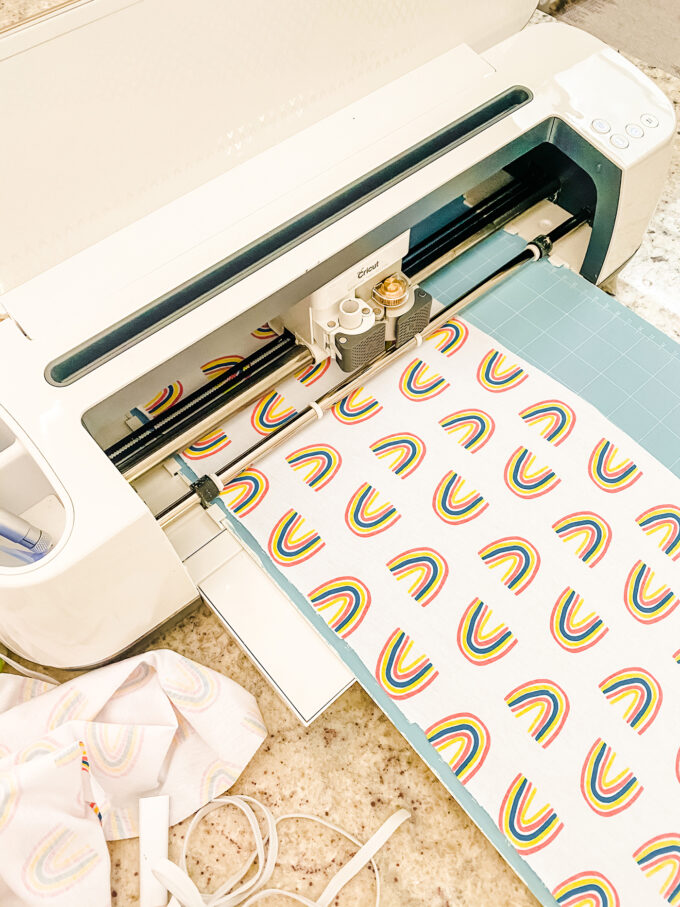 You’re going to start out by mounting your fabric to your mat and then having it cut from the Cricut. The long fabric strip is almost 24″ long, so you’ll need the longer mat. You can choose to just have the scrunchie on its own, or one with a bow. I like both, but I will tell you that the one with the bow makes it easier to hide the finished seams from turning the scrunchie right side out. Try ’em both out and see which you like better!
After cutting your material, follow these next steps and you’ll be on your way to scrunchie town!
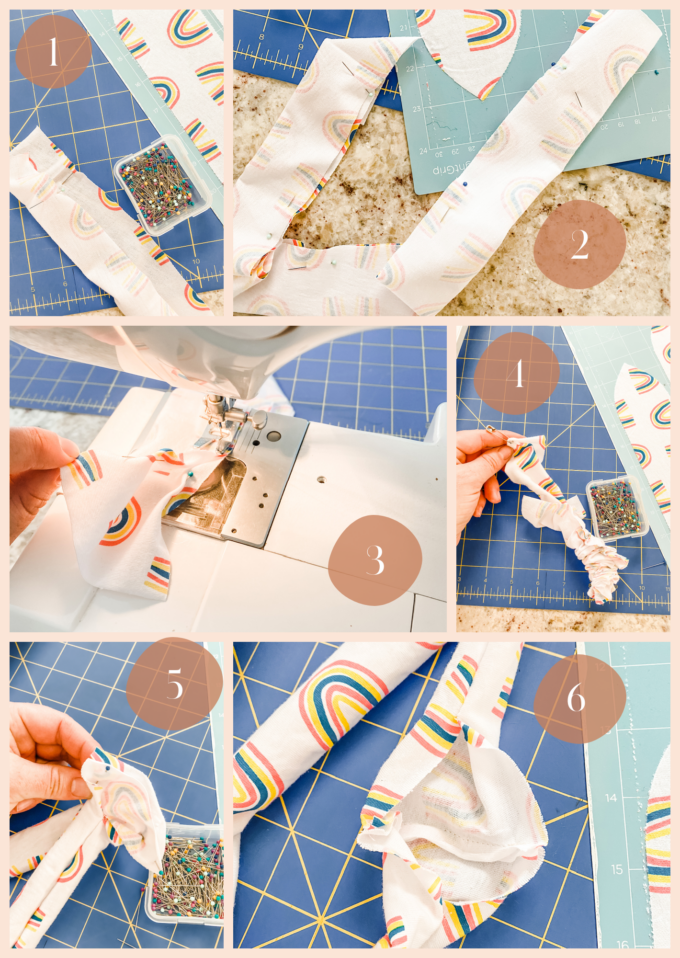 1. Take the long strip and fold it in half. Pin right sides together leaving the 1.5-2″ at each end unpinned. DON’T SEW THOSE ENDS TOGETHER JUST YET.
2. Pin down the rest of the line of the strip and head to the sewing machine!
3. Starting at one end but right under the first pin, stitch the fabric sides together with a 1/4″ seam allowance being sure to backstitch. Continue to move down the strip until you reach the last pin. Remember, your ends should not be sewn together at this point.
4. Turn the strip of fabric right side out. I find it’s easiest to use a safety pin to do this. Attach the pin to one side and use it to feed the fabric down the tube until the pin comes out at the other end. Easy!
5. Take each end and pin together (pay attention to orientation in the photo above).
6. Stitch together. Now those ends will tuck into each other making your finished seam a little easier to hide.
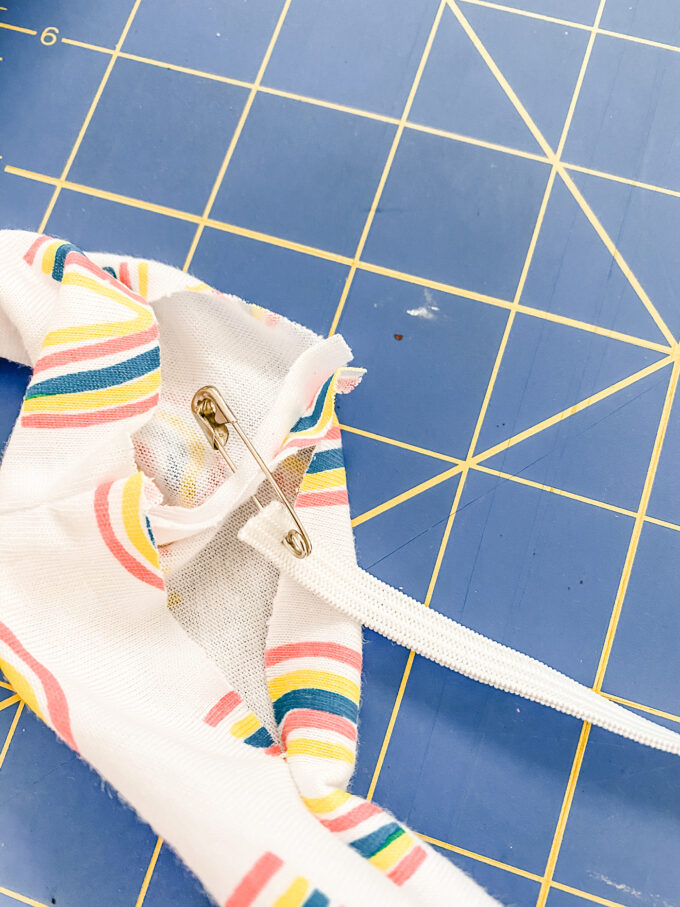 7. Time to add your elastic! Take a safety pin and put it through one end of the elastic AND into the inside edge of the scrunchie that you sewed in step 6.
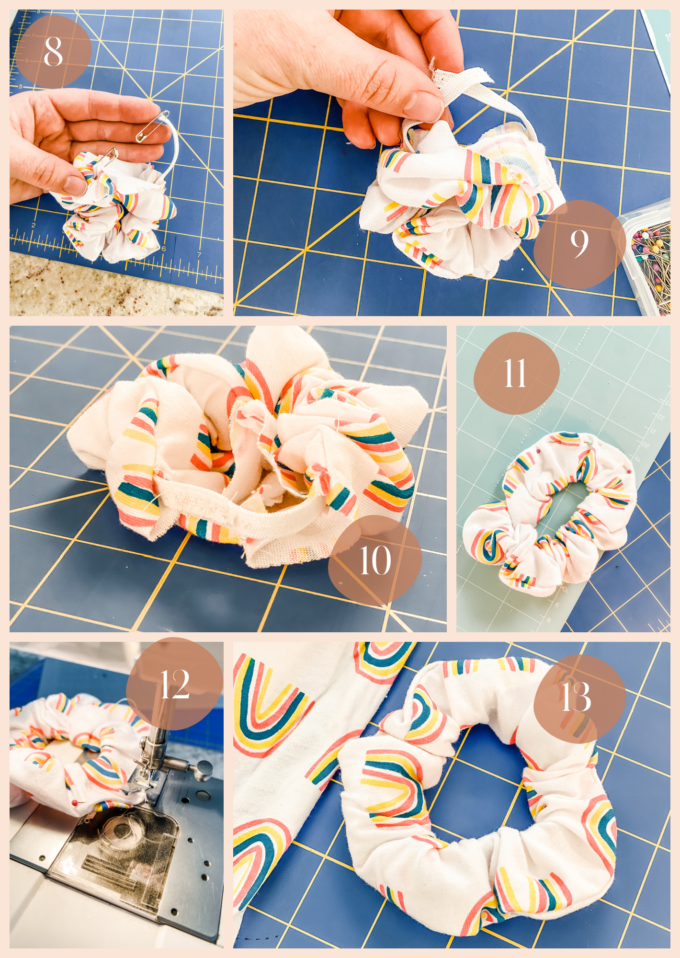 8. Take a second safety pin and attach it to the other end of the elastic. Stick it inside the scrunchie and feed it in and continue to move it until it is out the other side. This is the fun part as the fabric starts to scrunch up!
9. Sew the ends of the elastic together. This is kind of tricky so don’t worry about it being neat. It’ll be hidden on the inside forever!
10. This isn’t really a step, but I just wanted to show you what a hack-job mine looks like so you feel normal.
11. Time to close! Pin the open section as close to the edge as you can.
12. Stitch closely to the edge just until you’ve closed up that open slot.
13. Fluff up the scrunchie a little bit and you’ll easily hide the seam. And that’s it! BOOM!
If you want to add the tie, easy instructions below!
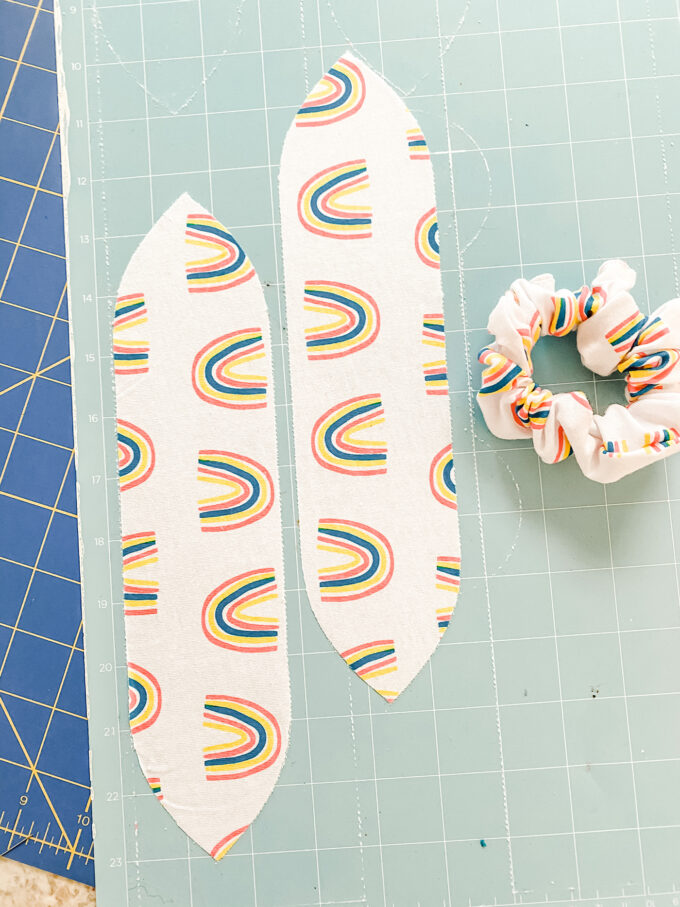 1. Working with the two tie pieces, pin the right sides together. (This step is optional. If you’re using cotton fabric, it’ll stay together pretty easily on its own.)
2. Starting in the center of the tie on one side, stitch all the way around with a 1/4″” seam allowance leaving a small section open to turn the tie right side out.
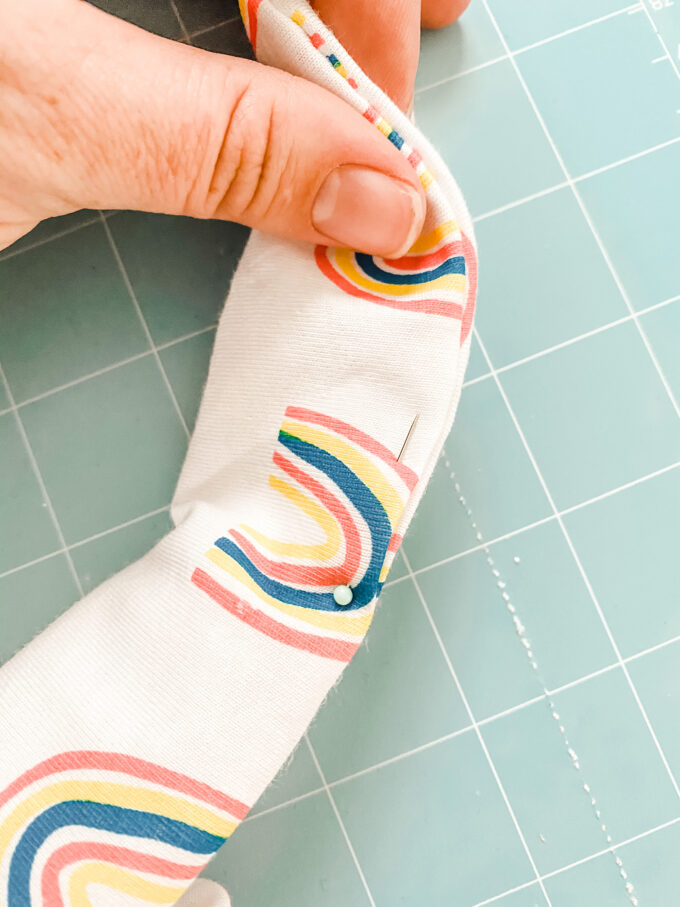 3. After you’ve turned the tie right-side-out, pin the middle open section together and stitch shut sewing as close to the edge as you can.
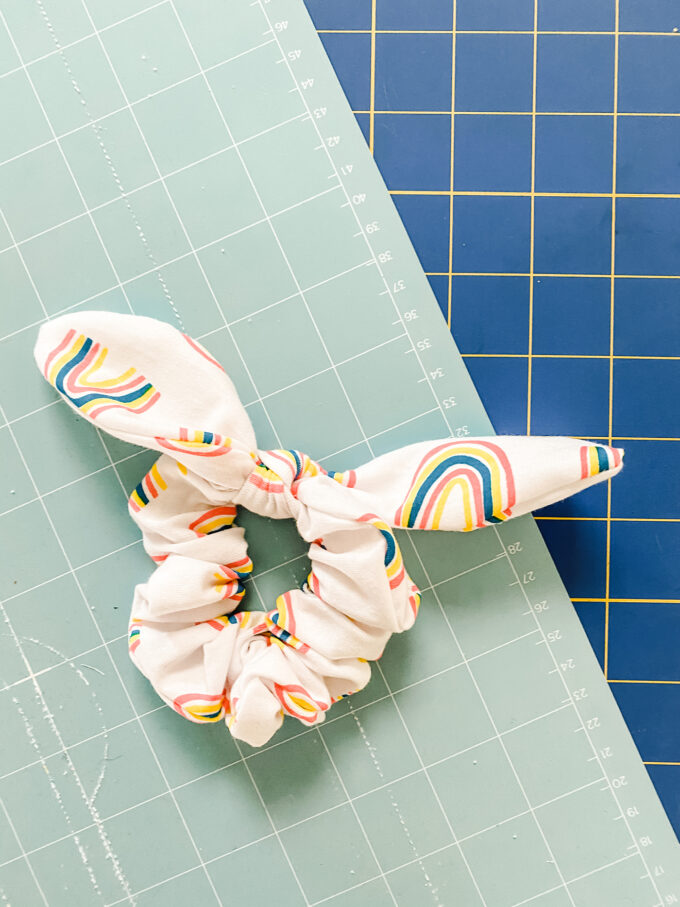 4. Tie it to the scrunchie covering the finished seam and that’s it!! Now it’s totally hidden and you can go on making a zillion of these babies.
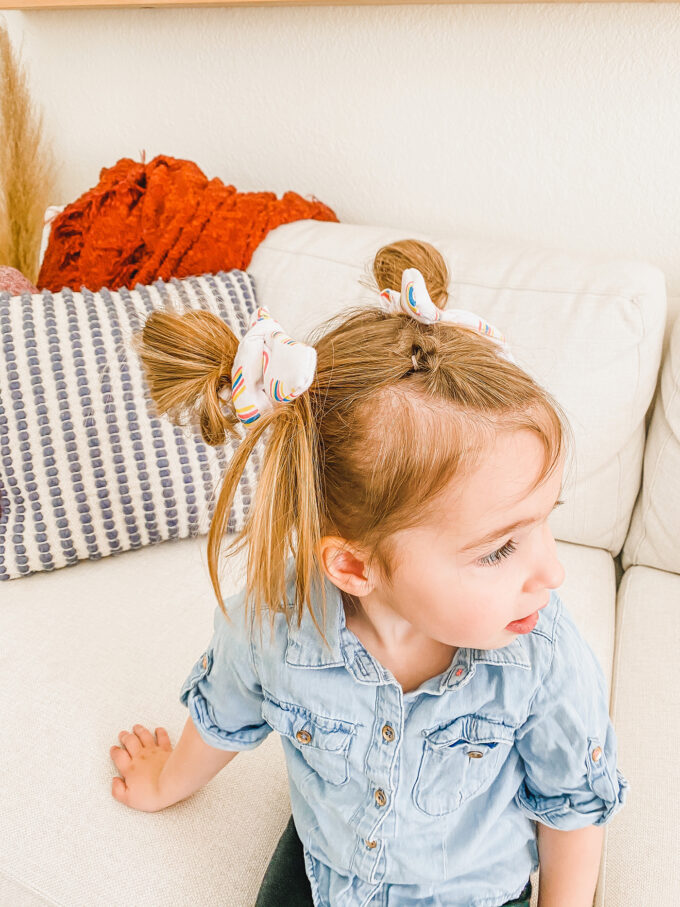
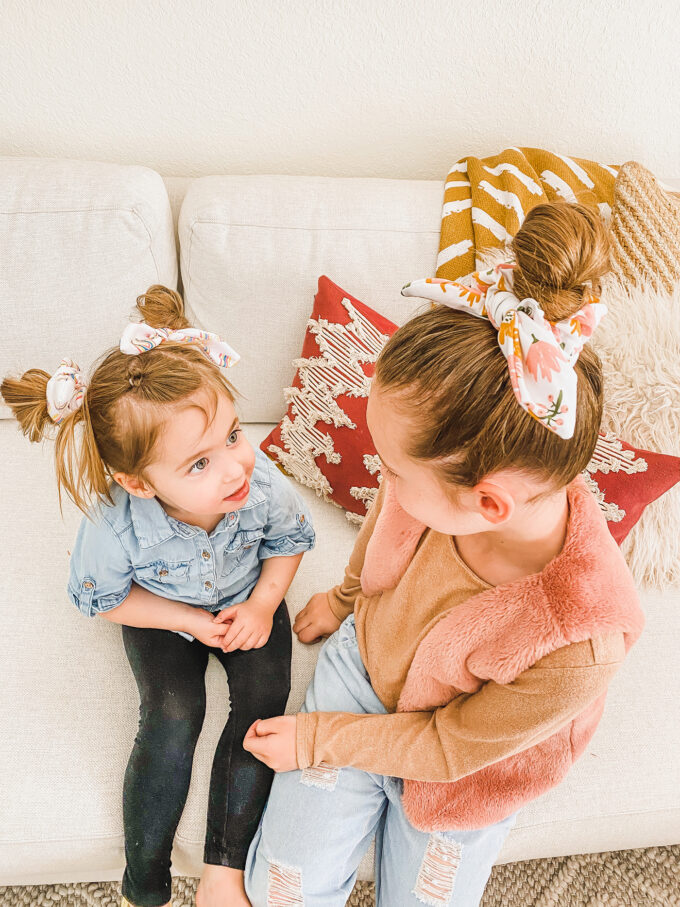 I mean, REALLY. Once you start, you can’t stop. DIY scrunchies will keep making comebacks until the end of time. I’m convinced.
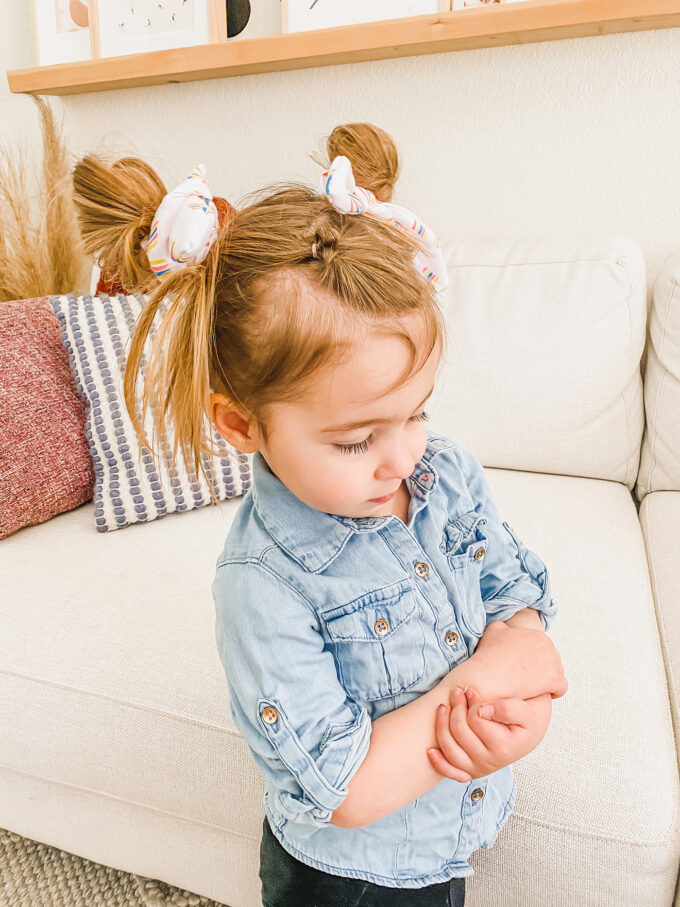 Now, if you don’t want to follow all of the steps up above, you can easily create the scrunchies using a hot glue gun. You’ll glue everything the same way that you would sew it! So just follow the steps and you’re all set.
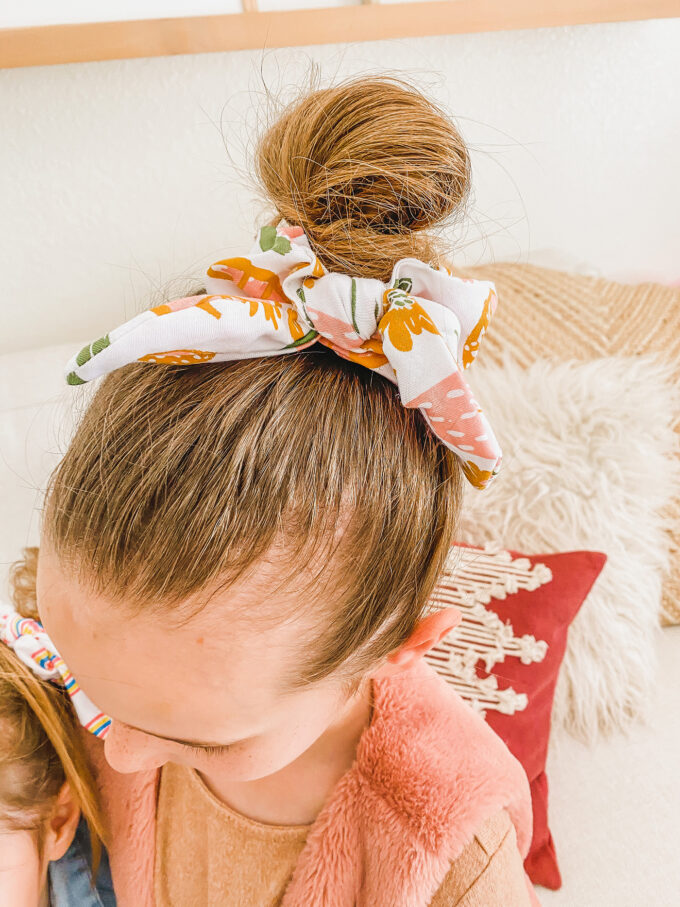
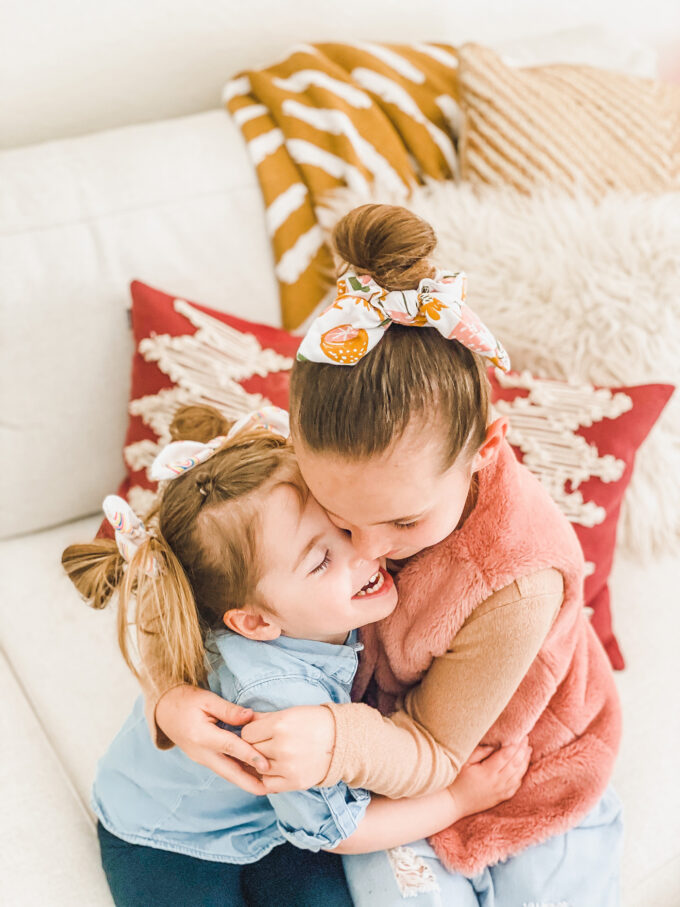 They were made to model scrunchies for their mama. Also, we have about two drawers FULL of scrunchies at this point. LOL!
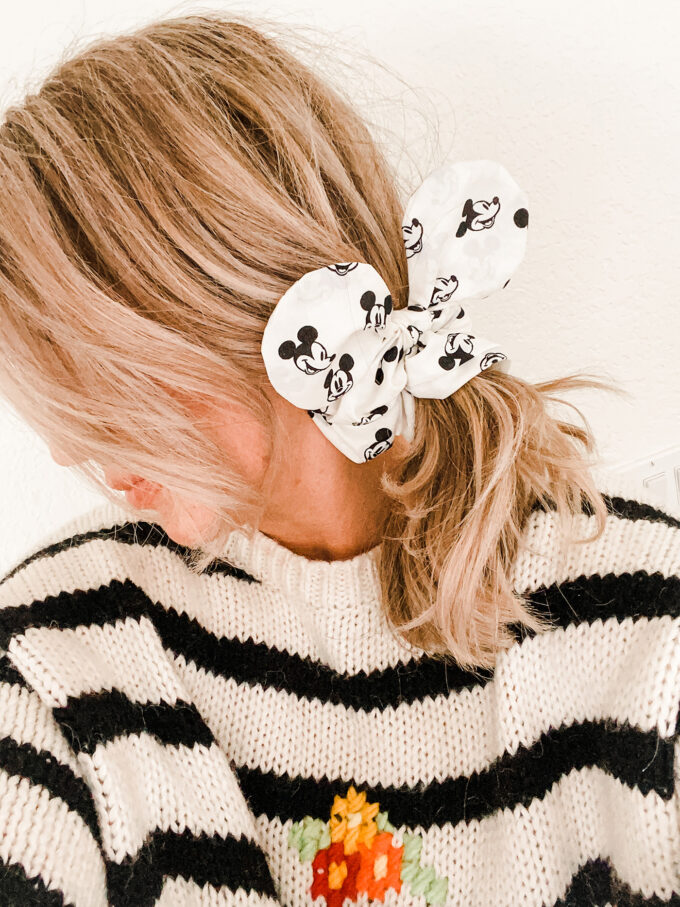
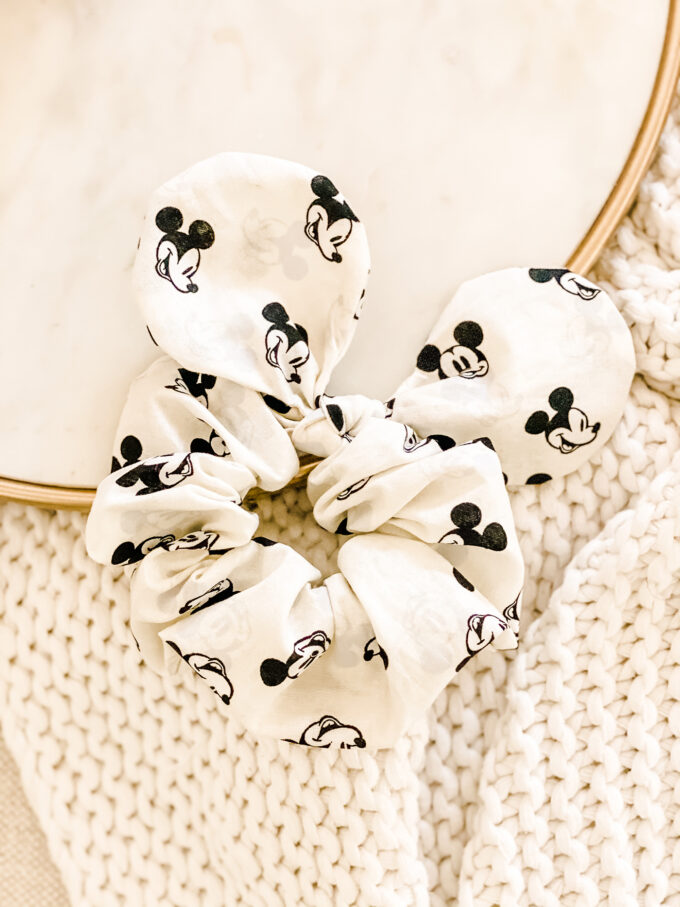
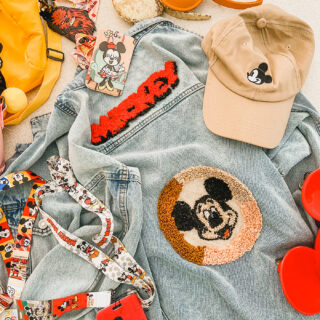
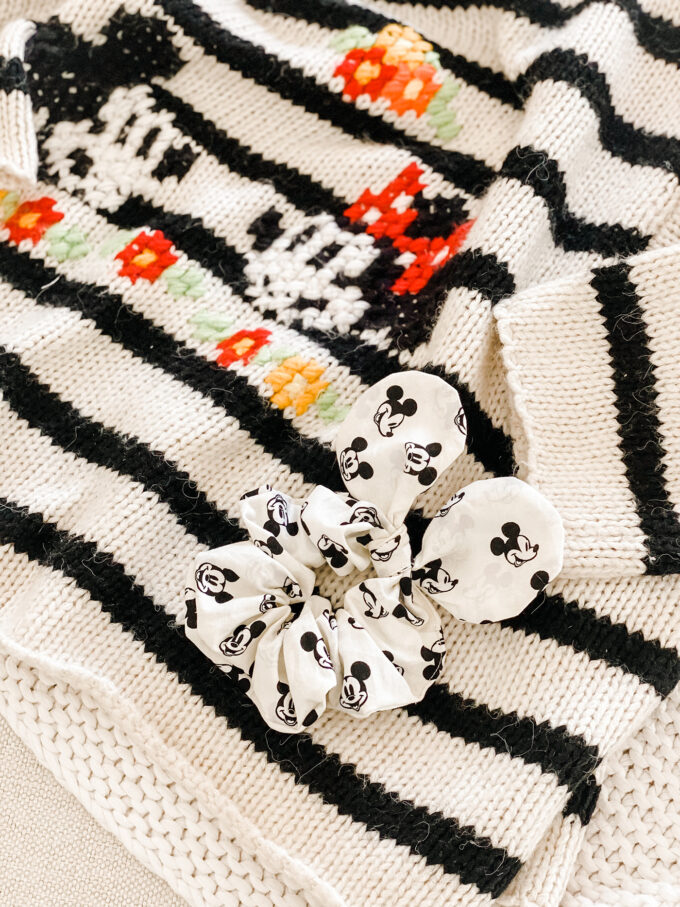 Now, whenever I share a DIY project, I often share a way to take things one step further. And being the Disney-loving gal I am, I turned the tie into some Mickey Ears and now I feel like I’m all set for the park. If and when it opens. Until then, I’ll just continue wearing something Disney every day. This DIY Mickey Scrunchie can fill the void that we are all feeling. The previous instructions are still the same, the only difference is that the ends of the tie are round and will need to be sewn following the curve. Totally simple.
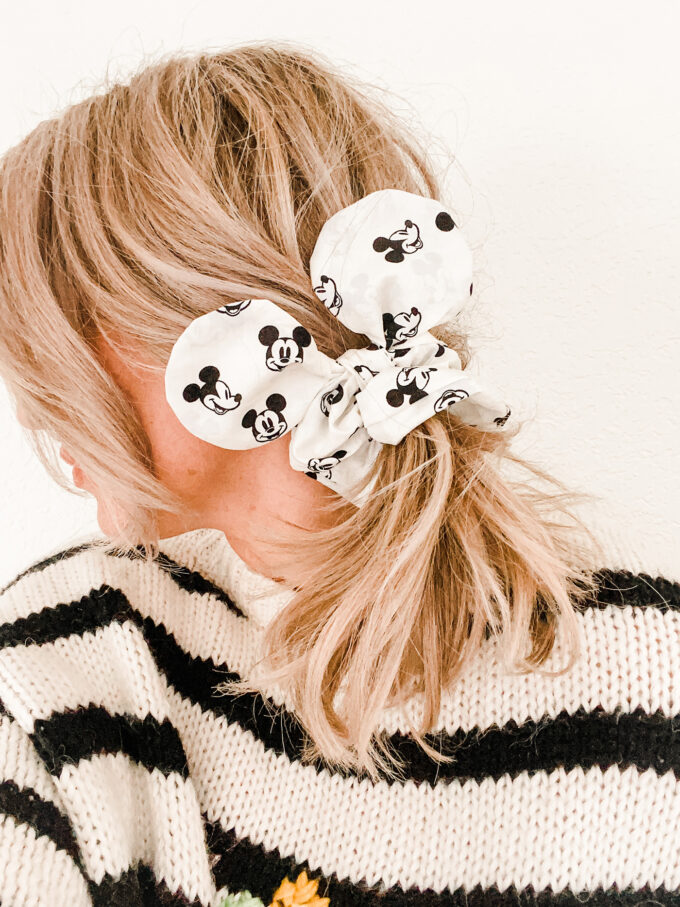 The perfect hair accessory to wear all year, click here to head right to the project!
 These instructions seem involved and seem like A LOT, but I promise you, once you make one or two, you’ll see how easy they are and will be able to crank one out in under 15 minutes. No joke! I timed myself because I am competitive and also there are no other humans around here. I miss mankind.
No go.
And make.
Scrunchies.
Looking for other fun projects to make with your Cricut? Click here!
*This post is in partnership with Cricut, a company that believes anyone can be a maker. Thank you for supporting the brands that help support PROPER and our little crafting family!





LOVE!! And also genius using the cricut to cut the fabric!