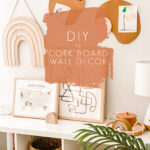
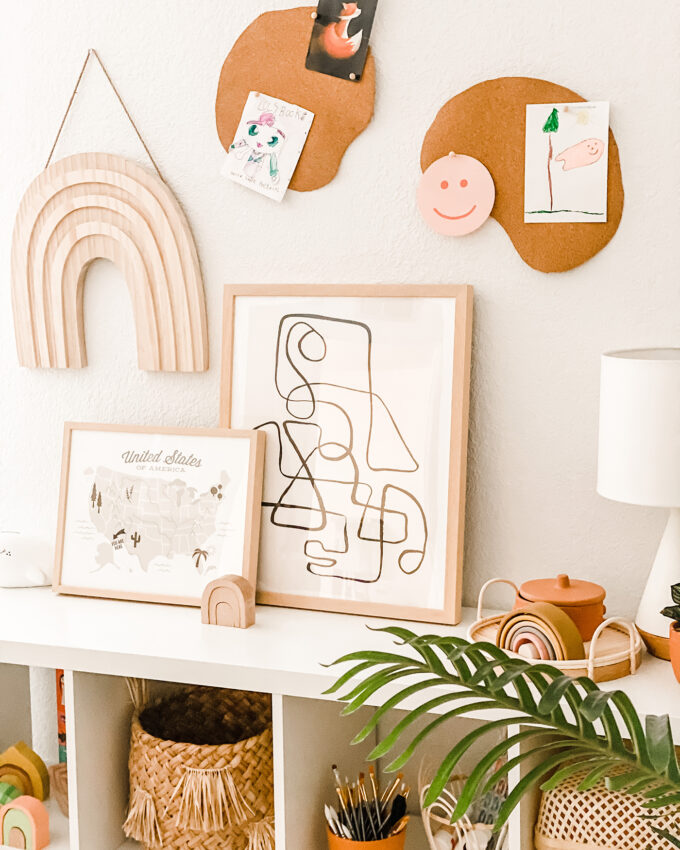
 I had been tossing around the idea of bunking the girls up in the same bedroom and turning Mara’s old bedroom into the playroom for a while. The state of my house was not a pleasant one as there were toys strewn about in both bedrooms, the living room, the kitchen table, and, occasionally, my bedroom as well. Vita has had this IKEA bunkbed for years after transitioning her from her crib, and it’s a perfect setup for the two girls. So while they’re now sharing a space, I was able to start working on the now-spare bedroom and am in the process of converting it into a space to create and play and make messes (that will hopefully be confined to this one room). I needed a little something to display some of the art of the week that the girls make and this DIY cork board wall decor was born. It fits really well and could work for any modern kids playroom. See how I made it below!
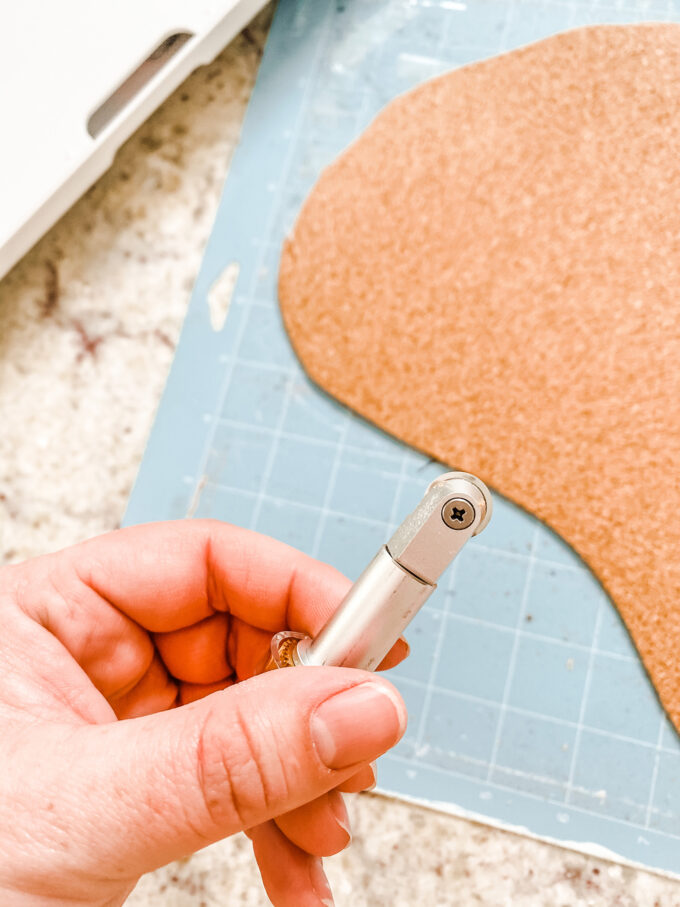
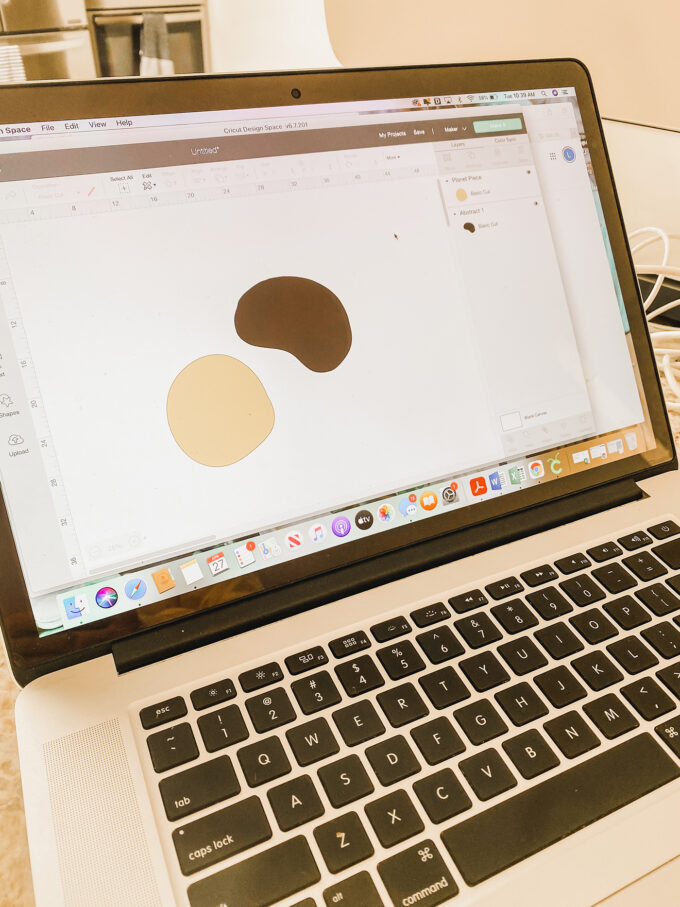 I like to upload my own hand-drawn shapes a lot of the time, but Cricut’s image library in Design Space has a lot of abstract shapes to choose from. This circle was fun paired with my random blob. I sized them up large enough to cut on a mat (one side needs to be NO LARGER than 11.5 wide” to cut with Cricut) and mounted my cork roll to the mat. You can tape down the sides with masking tape or just use some double-sided tape underneath the material to really secure it.
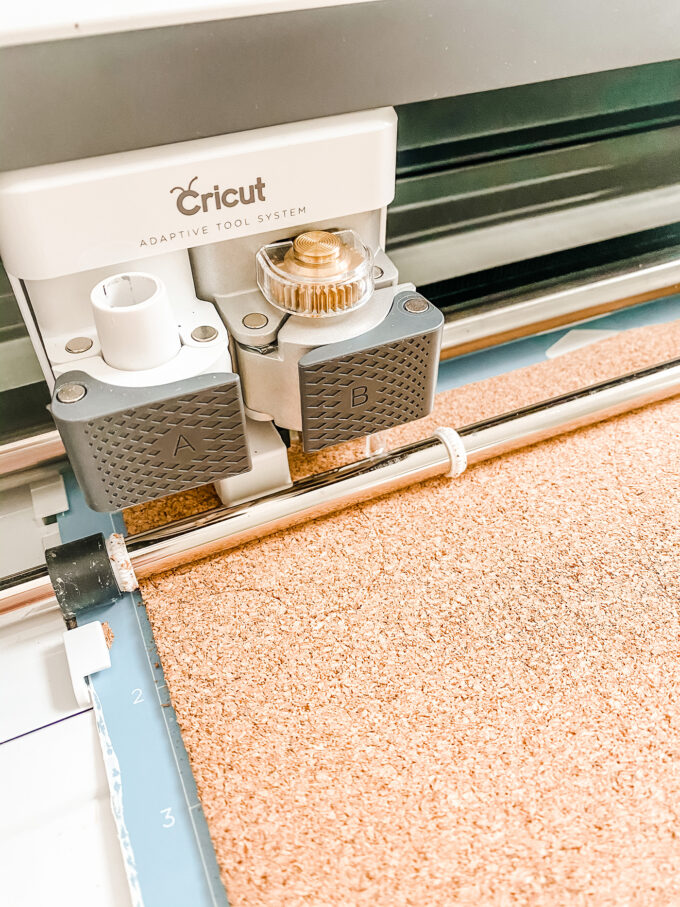 Before cutting out my large shapes with my Cricut Maker, I did a small test run on the cork to make sure I had the right blade and cut pressure. Cork isn’t exactly cheap so you want to make sure you can get this done the right way. It’s super simple! The cork roll I was using is about 2.2mm thick and worked fine with the rotary blade. It also helps if you use adhesive-backed cork for extra stability and to prevent cracks or breaks in the cork. When mounting your material, run over it with a brayer to make sure it really adheres and every inch is stuck to the mat surface.
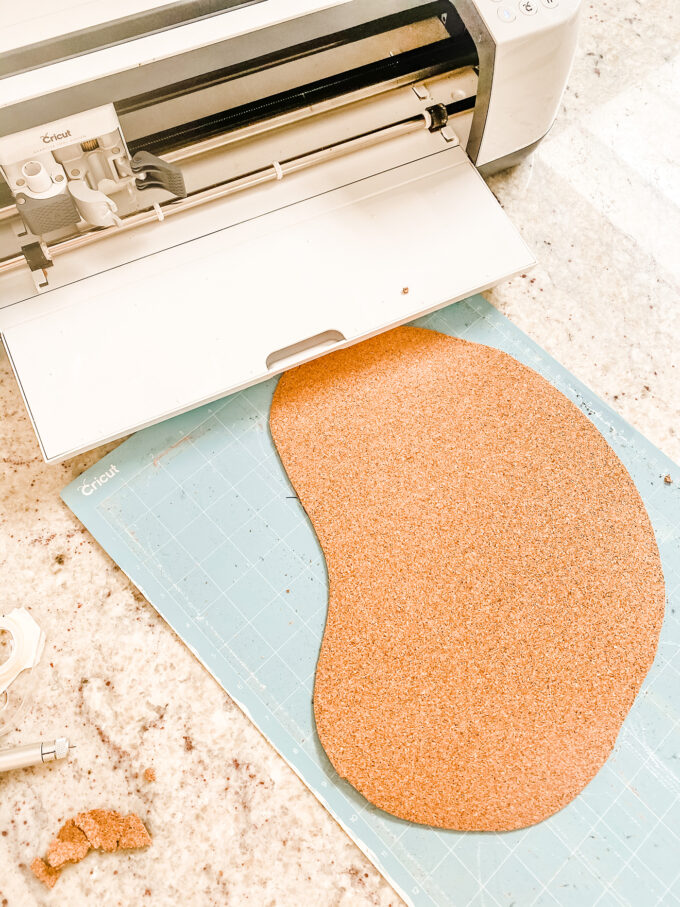 Gently peel the cork away from the mat. The first piece I cut was NOT adhesive-backed and cracked in a few places. So I’d totally recommend the adhesive-backed material when doing something like this.
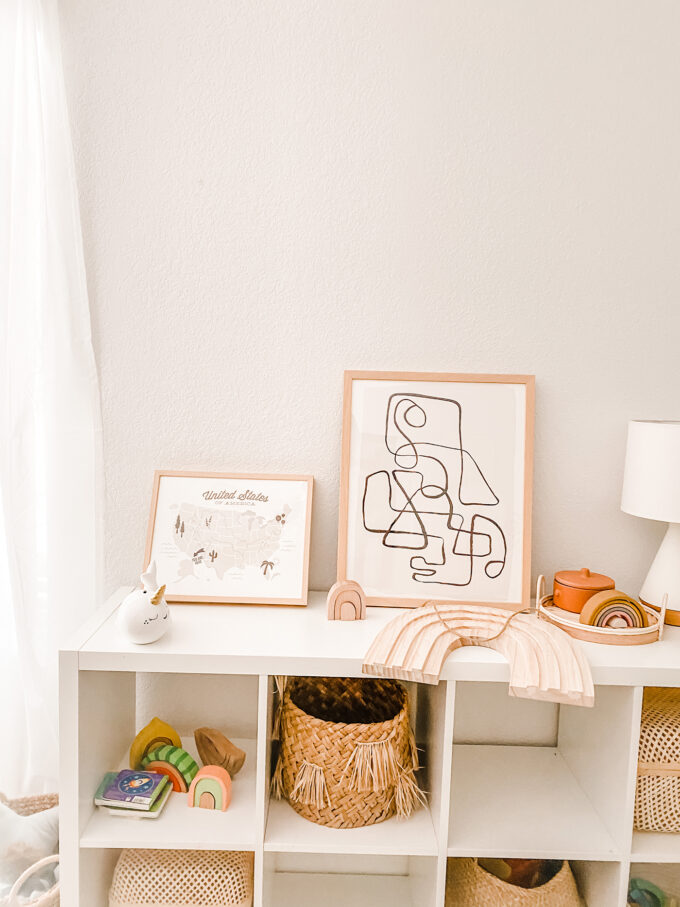 I had honestly just thrown some stuff on this dresser to see what would work together. We also have one million and one baskets for toys. It’s a lot.
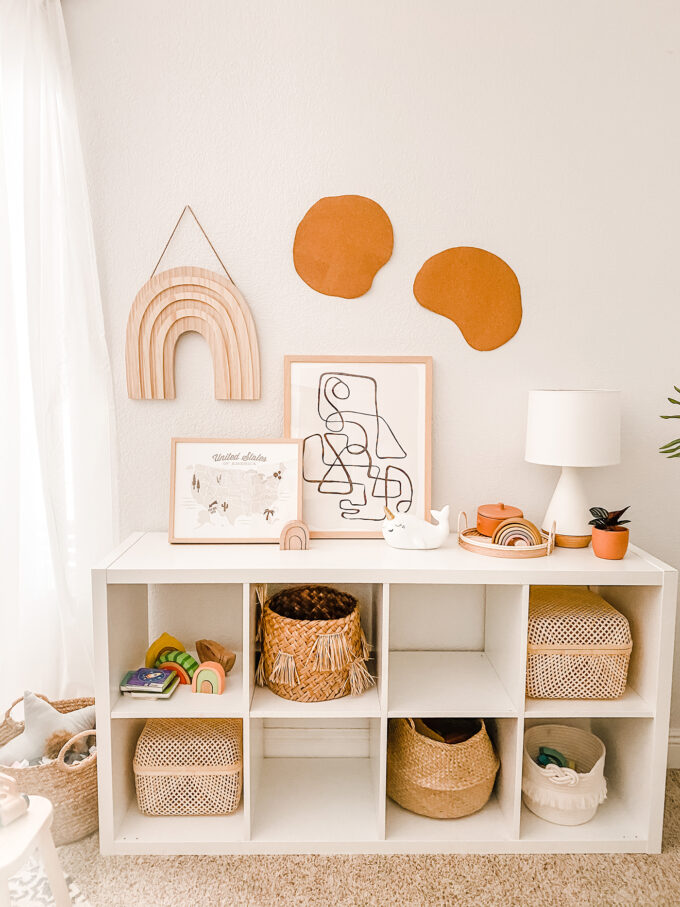 But gosh! It’s cute with the cork board wall decor mounted. If using adhesive-backed cork, you can just peel and stick. If you’re not using adhesive-backed, just stick with some mounting material like command strips or putty.
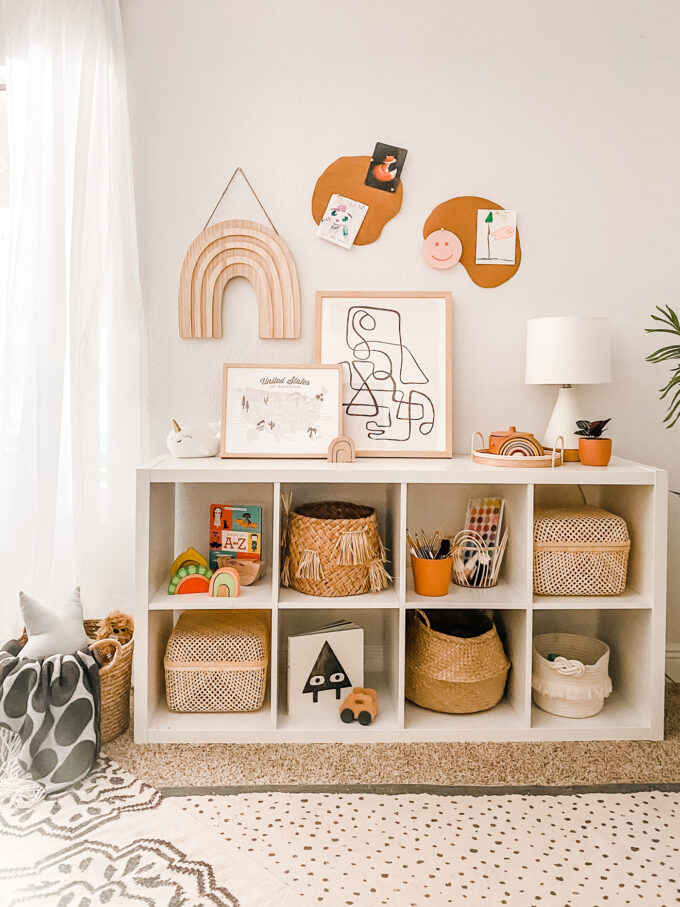
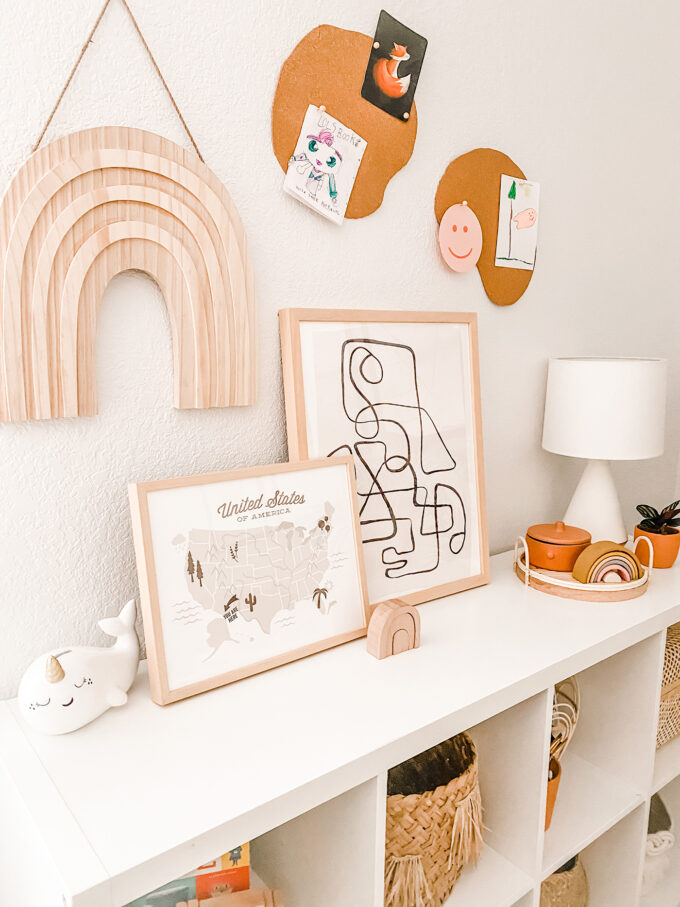 They’re just the right size for displaying small prints and little art projects. I can’t wait to change things out regularly!
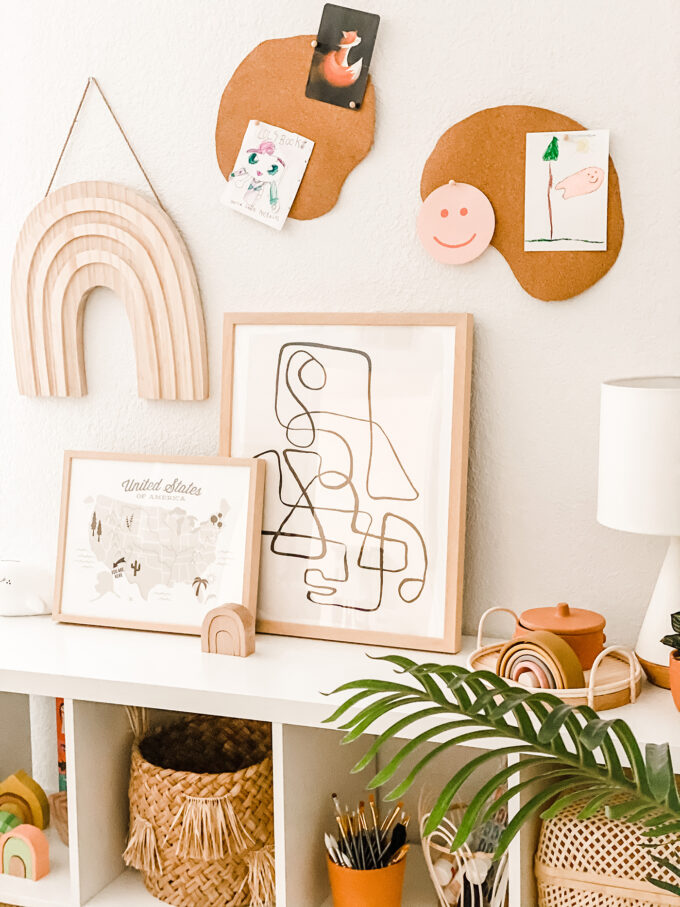
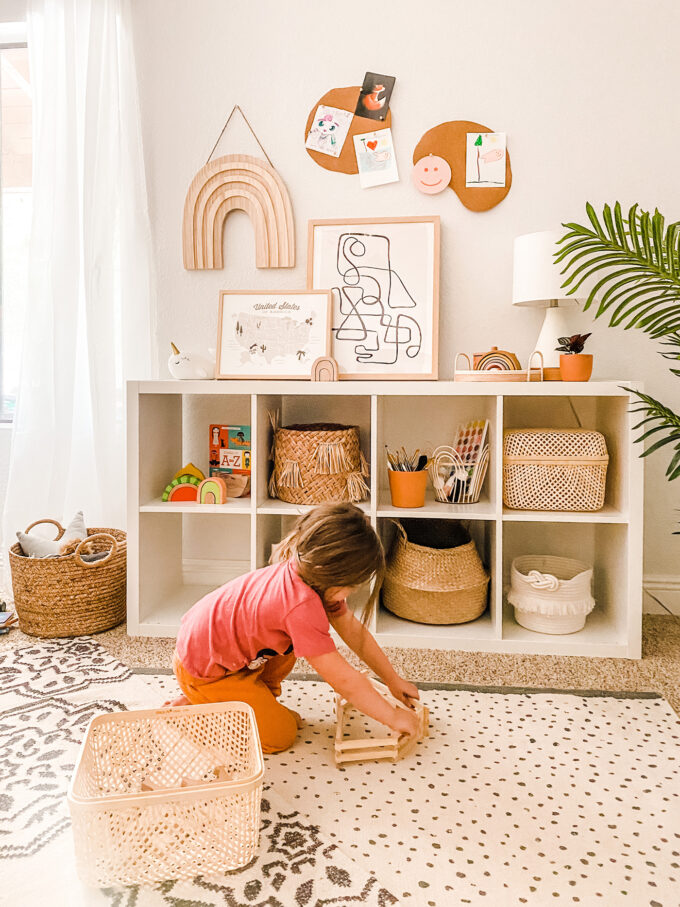 I’ll probably play around with the placement of things, but it feels good to have one section of the kids playroom done. I’ve currently thrown all of the toys into this room and am trying my best to sort and organize. You can keep up with that ordeal on IG stories!
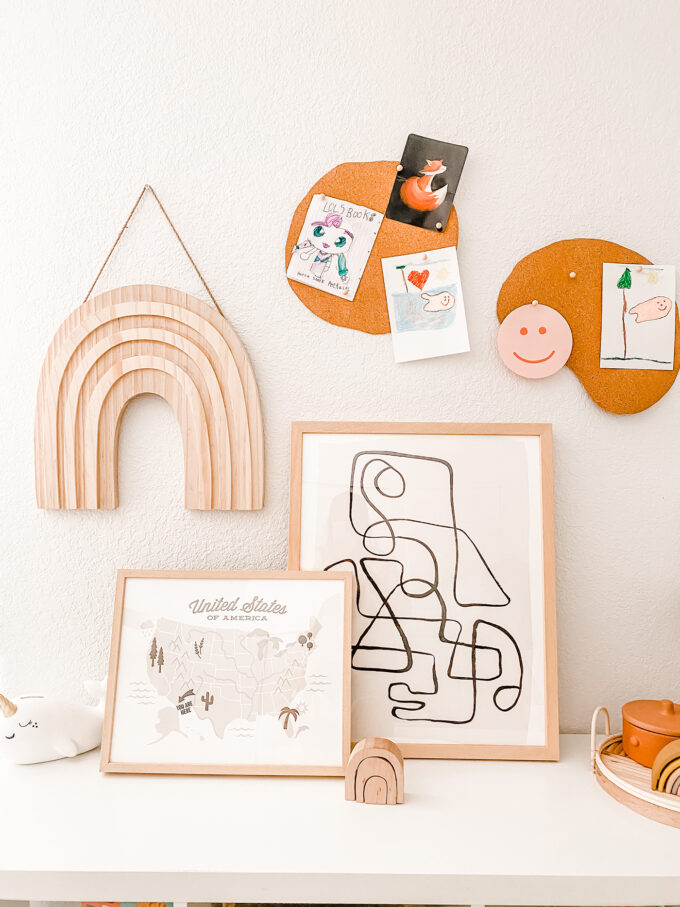 This DIY is crazy easy and I love how the cork board wall decor looks in here with some neutral pieces. Perfect for a playroom, I’d say! 😉 V is taking orders for more LOL Dolls Books. LOLOLOL. Now, here’s hoping I can get the rest of the room put together asap!
Looking for other fun projects to make with your Cricut? Click here!
*This post is in partnership with Cricut, a company that believes anyone can be a maker. Thank you for supporting the brands that help support PROPER and our little crafting family!
