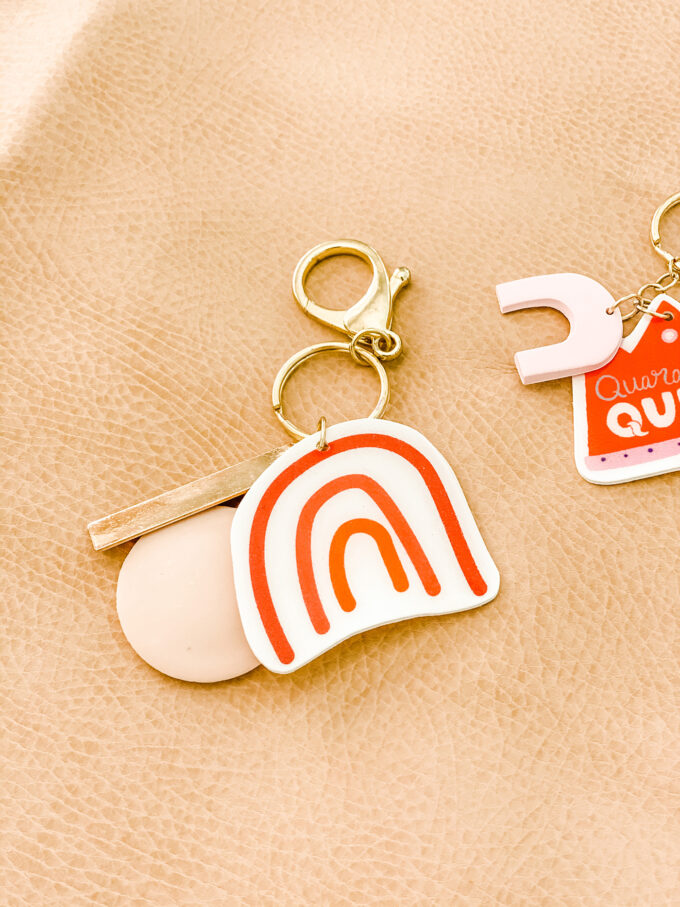
 I was cleaning out my photo storage a little while ago and realized that I had created so many different projects for our Disney Creators trip last year that I never shared here! I’m going to chock that up to the fact that we got home from that trip, my little crew was a little sick, and then the world shut down. And here we are a year later! I had joined a small gift exchange with some other families going on the Disney cruise and decided to make shrink dink keychains for everyone with their favorite Disney character. One thing led to another, and I was spending WAY too much time making about 26 shrinky dink keychains that looked, in my opinion, super profesh. I sealed them and everything so they’d last! Today I’m sharing the how-to for the most professional-looking shrinky dink keychains and they are CRAZY easy. Trust me. And read on. 😉
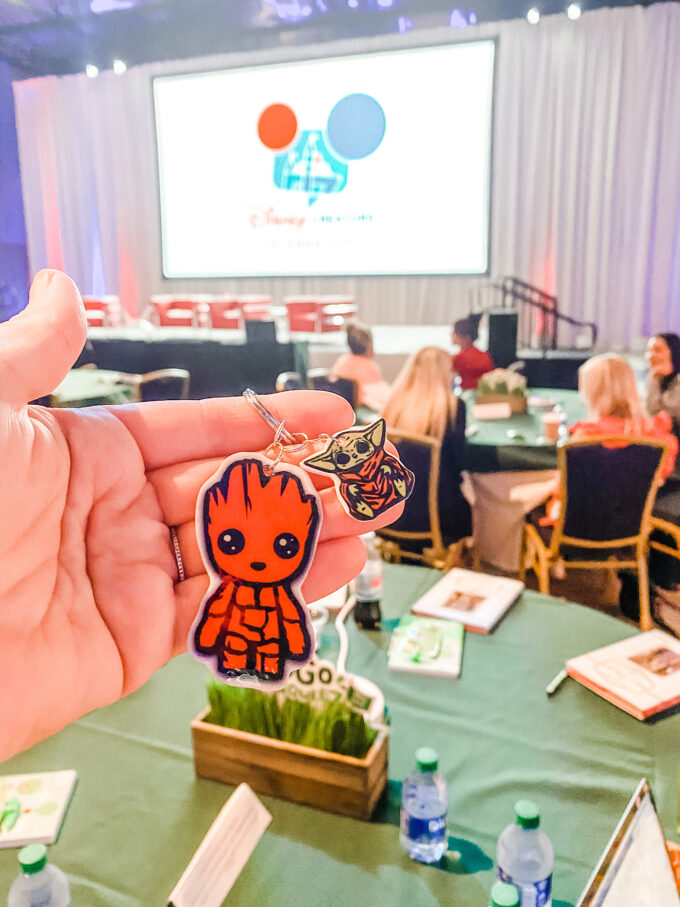 These Baby Groot & Baby Yoda keychains were a huge hit last year on the trip and I had attached a mini collection to my backpack. I was asked about them everywhere we went and a lot of people were shocked to know they were just DIY keychains using a craft medium from most of our childhoods. Most people draw their images on Shrinky Dink paper, but my friends, the secret is to use Shrinky Dink Ink Jet paper. Check it out below!
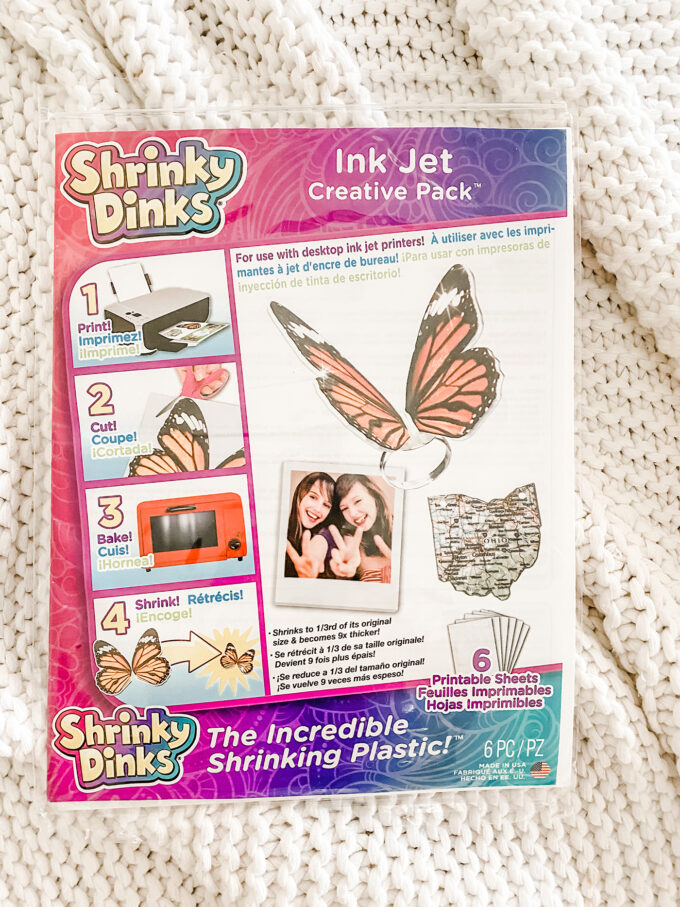
DIY Shrinky Dink Keychains
You’ll need:
- Shrinky Dink Ink Jet Paper
- Ink Jet Printer
- Scissors
- Hole Punch
- Oven
- Art Resin & paintbrush (totally optional, but seals the Shrinky Dinks and makes them look so good)
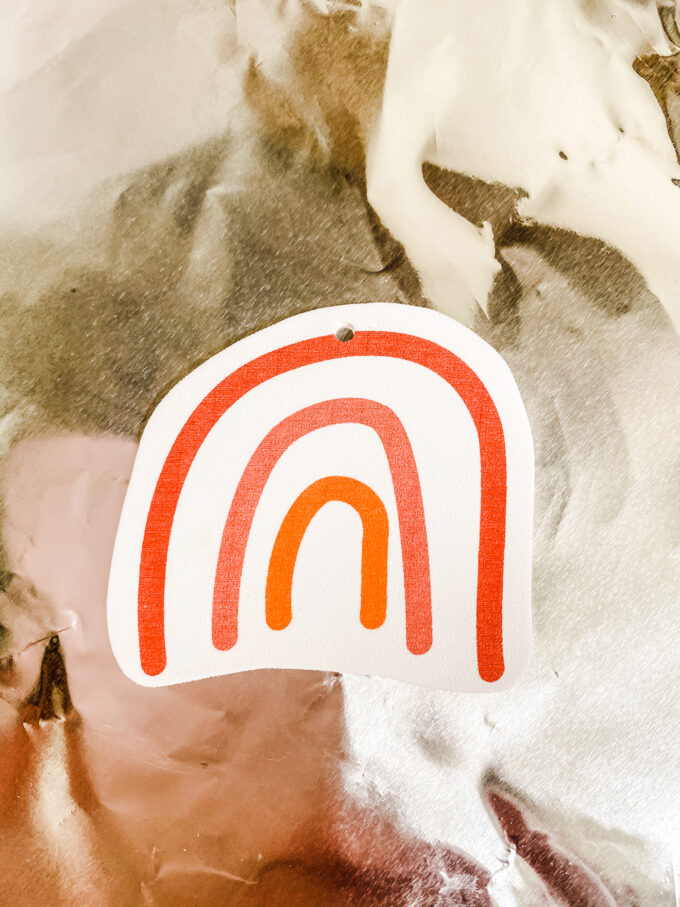
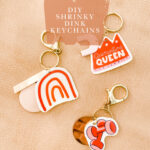
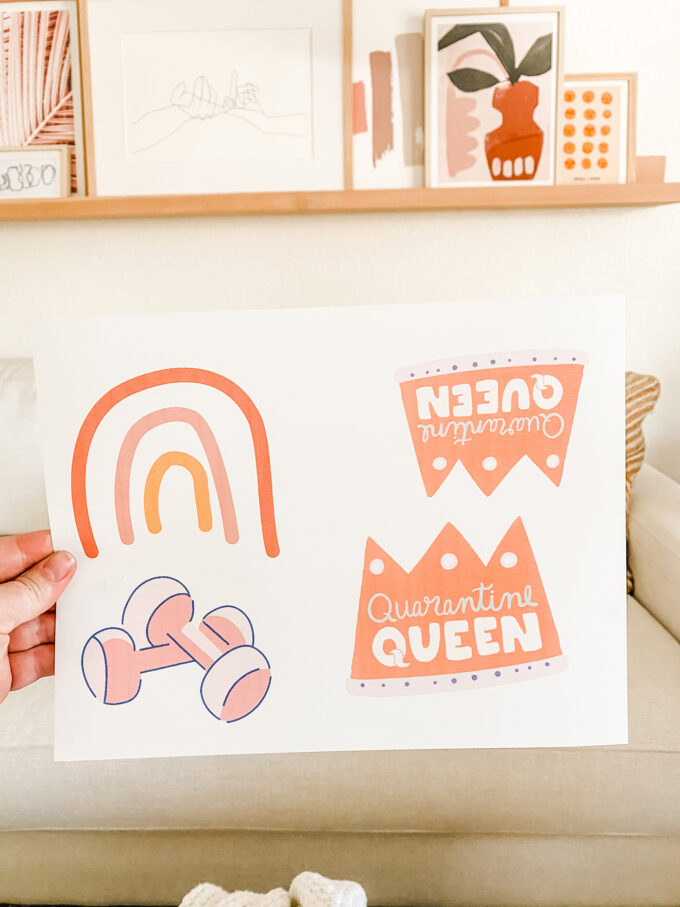 Start out by creating your own illustrations or find some cool ones online (PicMonkey has some GREAT little illustrations that are so fun for this kind of project). I drew the rainbow in PicMonkey and then just added some graphics from their library like the hand weights and “Quarantine Queen” crowns above.
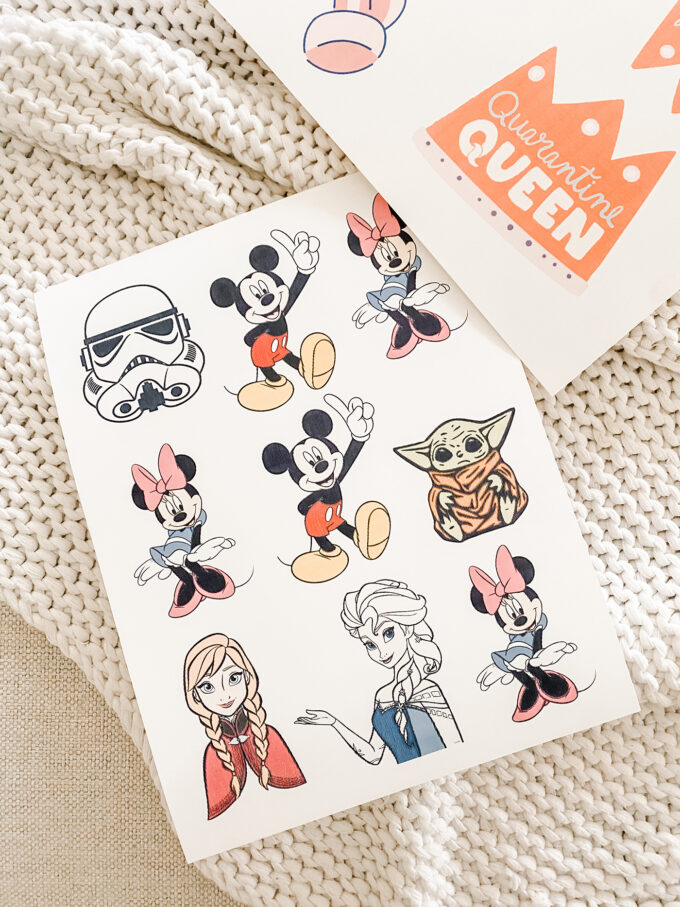 For the Disney characters, I just searched the web for illustrations of ones we wanted to make. Save the images to your computer and then combine them all on one sheet using Photoshop, PicMonkey, or another image software. This Mickey and Minnie were so perfect, and my kids are Star Wars luvvahs so we had to throw in some Baby Yoda and a Storm Trooper.
You want the images you print to be quite large because they really shrink down once baked. My images were about 3-4″ tall when printed out.
*IMPORTANT STEP* Before printing, you need to brighten your images. You can do this in photoshop by just increasing the lightness about 40% or you can do it in your printer settings. The images need to print out fairly light and washed out because they will darken and become more vibrant as they shrink down. If you don’t do this step, your Shrinky Dinks will be super dark and not as cute and that’s no fun for anyone.
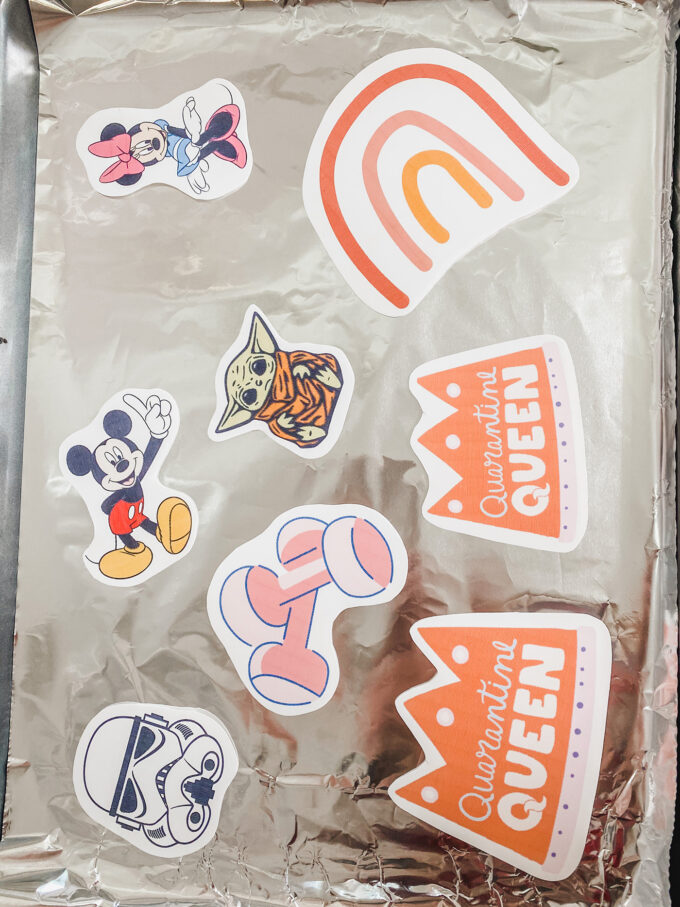
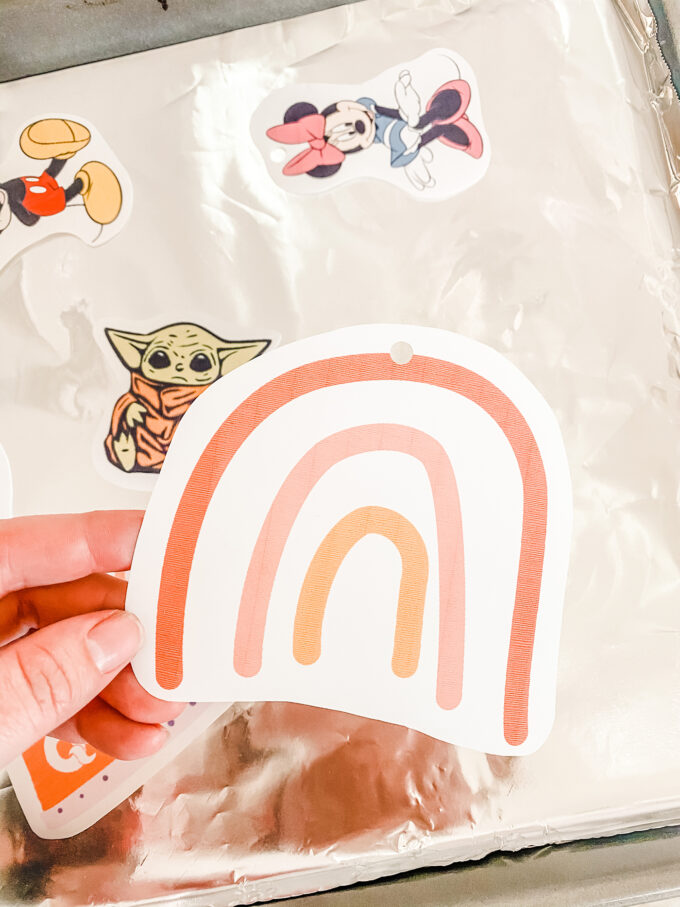 Print them out and carefully trim around them. I prefer my Shrinky Dinks to have rounded edges and I give a little bit of a buffer around the images. After they’re all cut out, gently punch a hole in the top of each. This is where you’ll add the keychain hardware later.
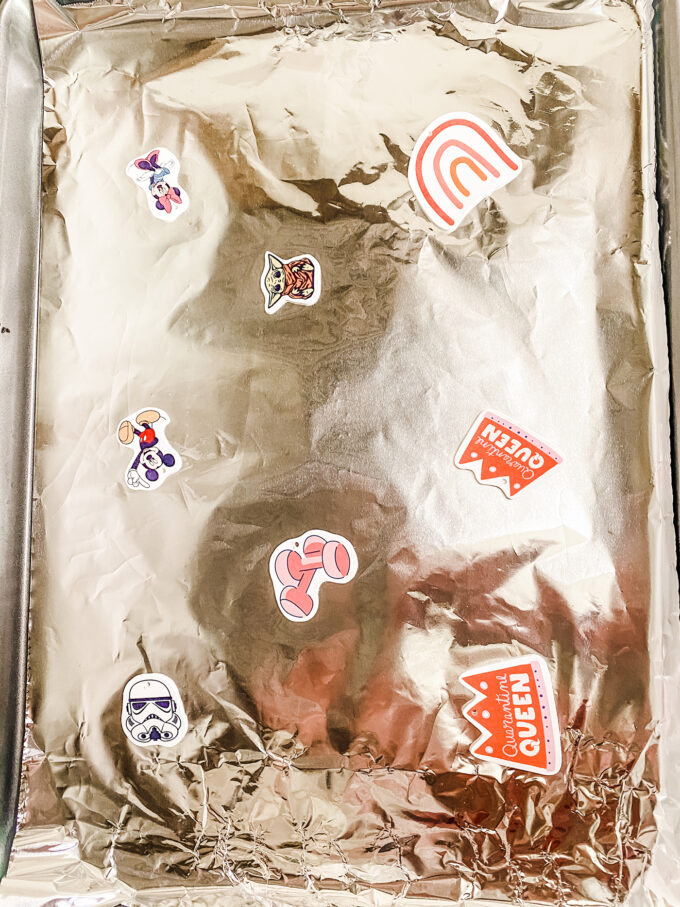 Place them on a foil-lined baking sheet and bake at 325 degrees Fahrenheit for about 3 minutes. Once in the oven, they’ll immediately start to curl up and then they’ll flatten eventually. I use a metal spatula to flatten them immediately after removing them from the oven. Just for good measure. 😉
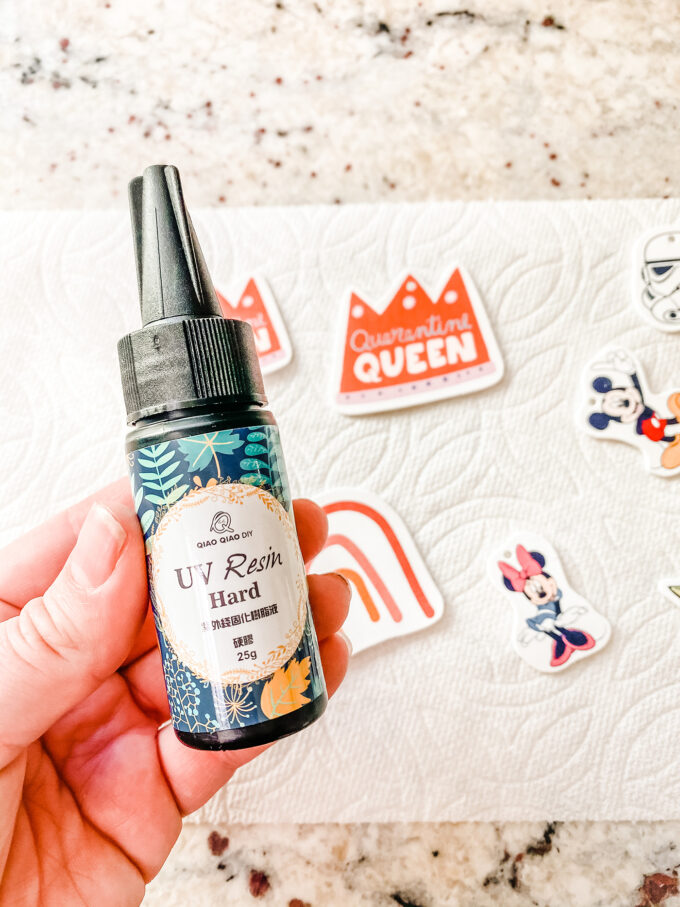 Now, you could honestly just go ahead and add some keychain hardware to these and call it a day. But I love going a STEP further and sealing with this little hard art resin. It paints on easily and cures in the sunlight in about 2 minutes. Easy peasy.
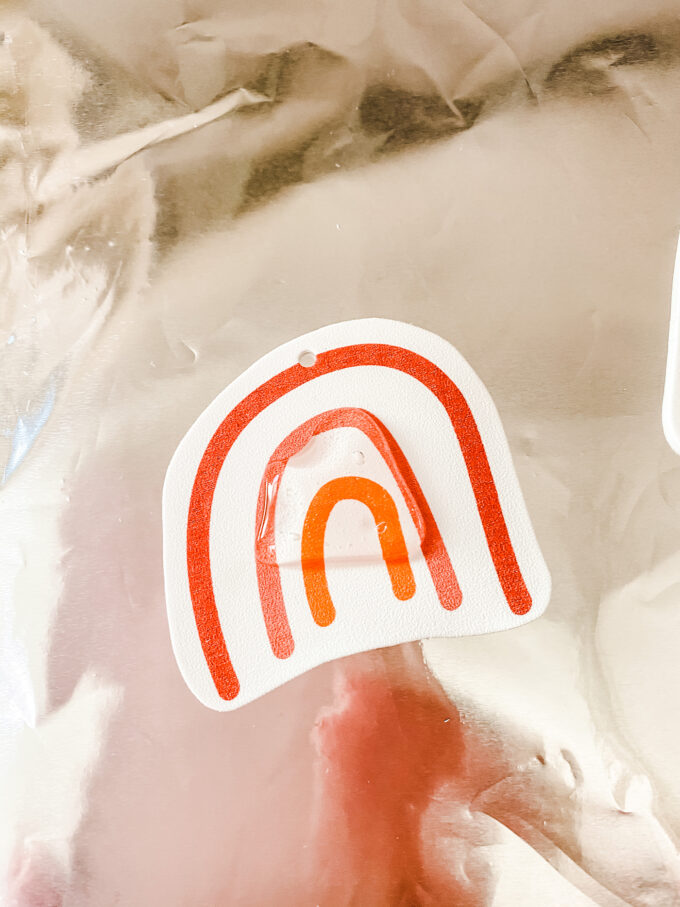
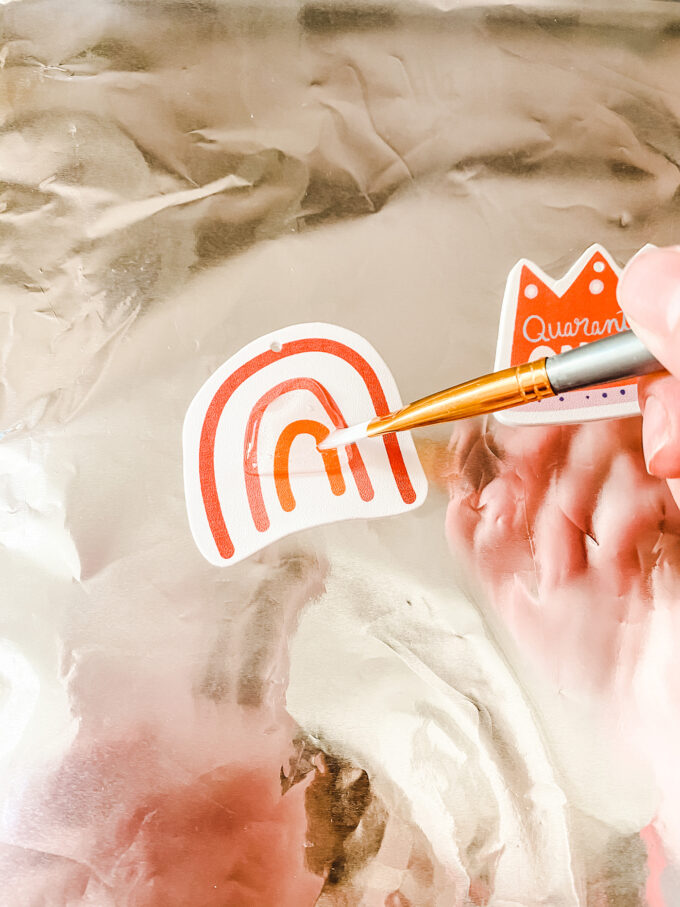 Paint a small dollop in the center of each Shrinky Dink and gently spread the resin to the edges using a paintbrush. Be sure to move around the hole you punched so you don’t seal that closed!
You might notice the bubbles that settle in the resin. Those don’t bother me as they’re super minimal, but if you want to get rid of them, just run a torch lighter or a heat gun over the tops to bring the bubbles to the surface to pop before curing.
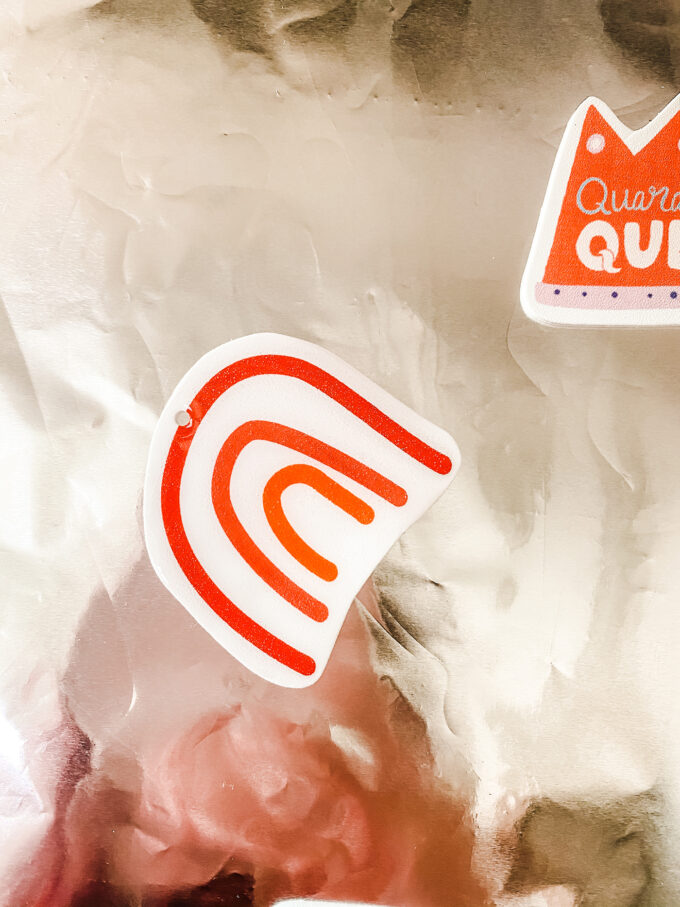
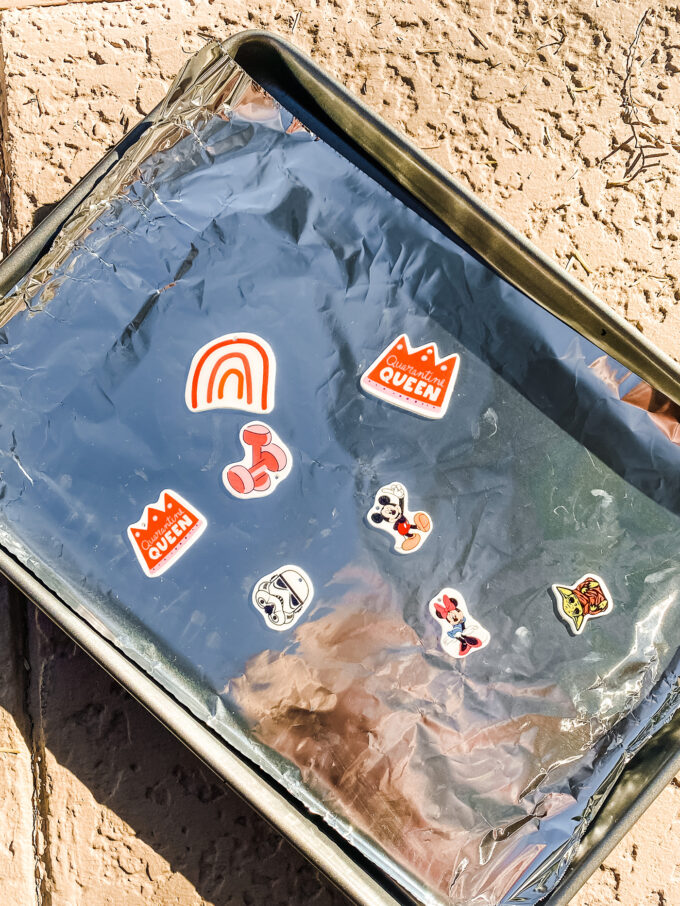 Move them all outside to cure for a few minutes. It happens quickly. If for some reason yours are sticky, leave them out in the sun a little longer. The curing time changes if the weather is a bit cloudy. You can also use a UV light if you have one of those.
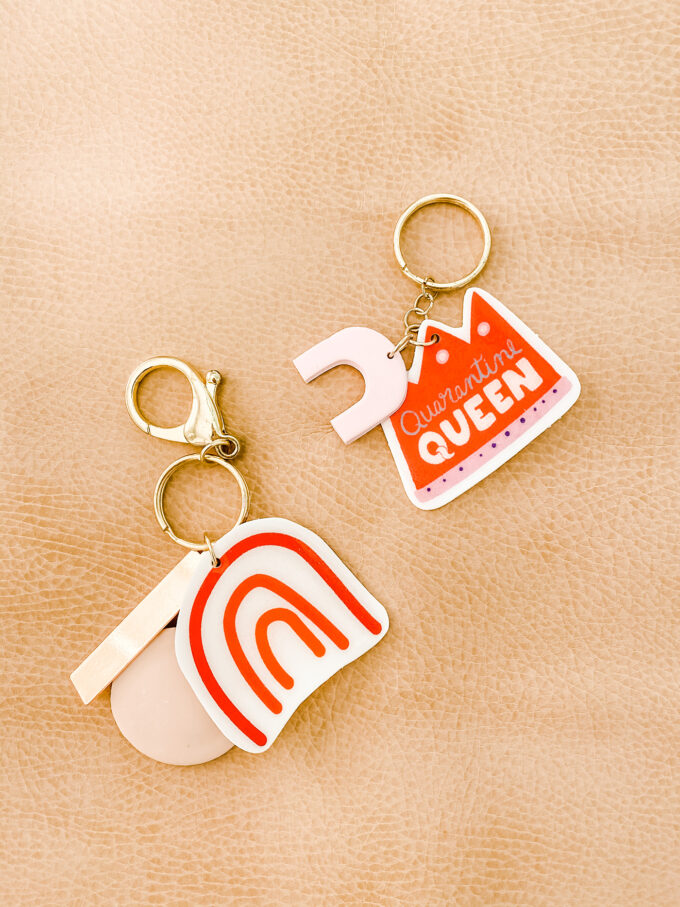 Add some brass jump rings and key rings and you’re good to go! I went through a major keychain phase last year and also in the spring of 2019 so I had lots of embellishments like some DIY clay shapes and stuff. Added those to make these DIY Shrinky Dink Keychains even fancier!
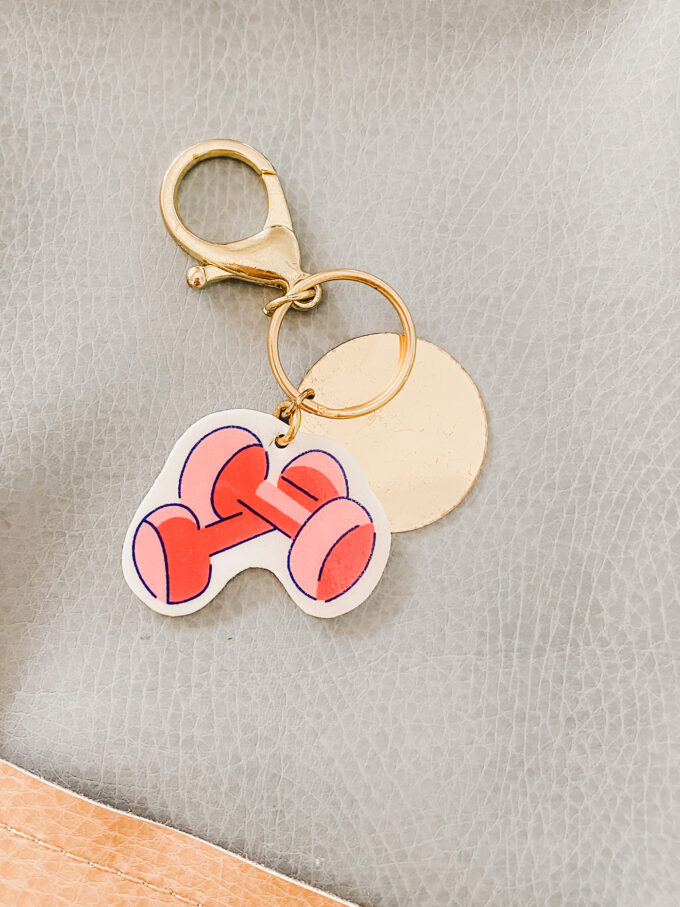
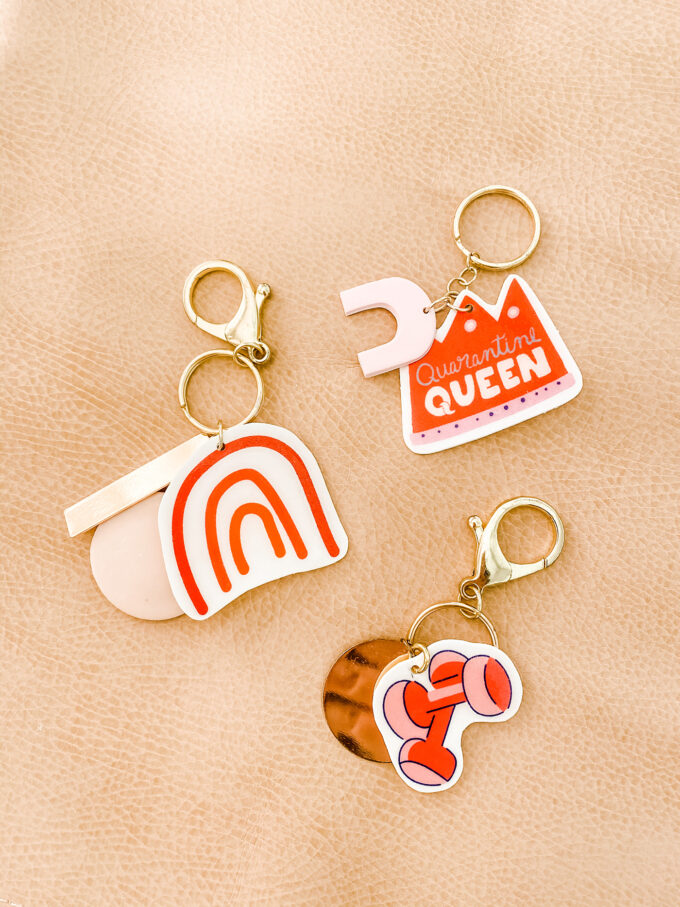 I’m thinking of adding the hand weights one to my gym bag.
The gym bag that hasn’t been to a gym in over a year…
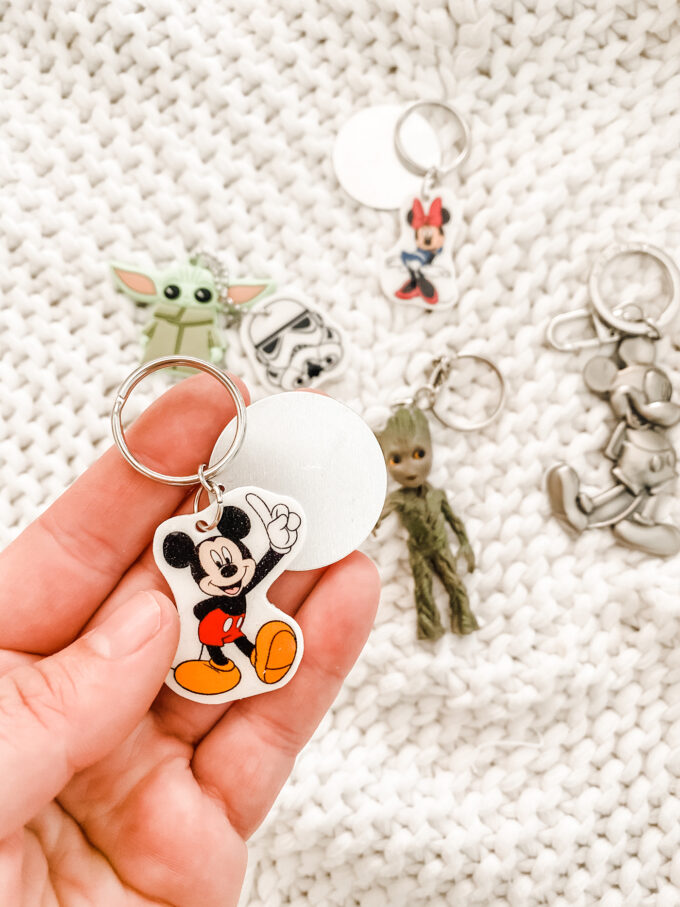 Oh, Mickey! You so fine! We made a bunch of these last year and, honestly, the Mickey and Minnie are my absolute favorite. I’m ready to don these on my fanny pack and storm the gates of Disneyland. Someday.
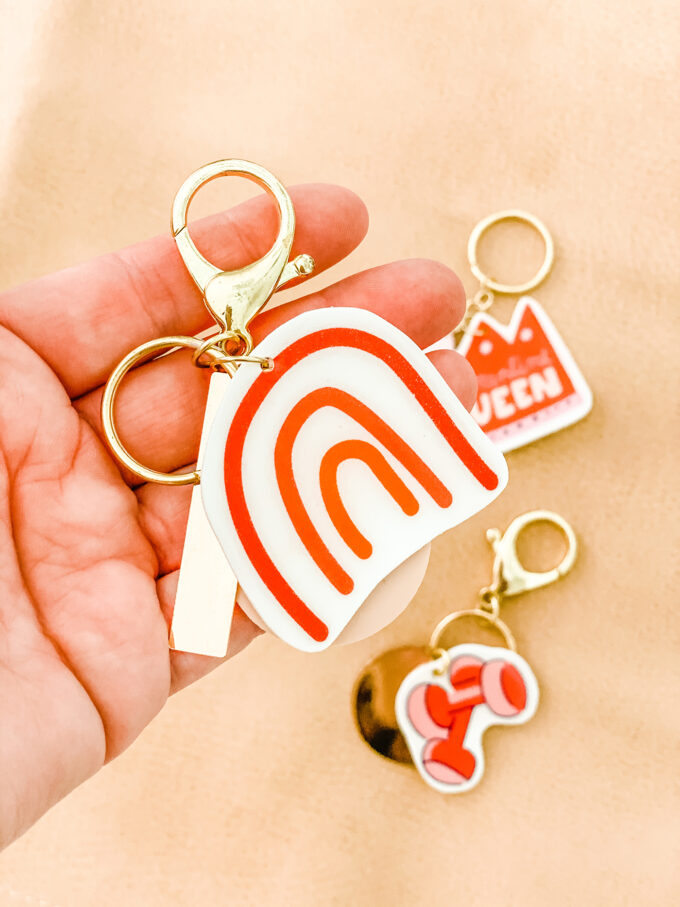
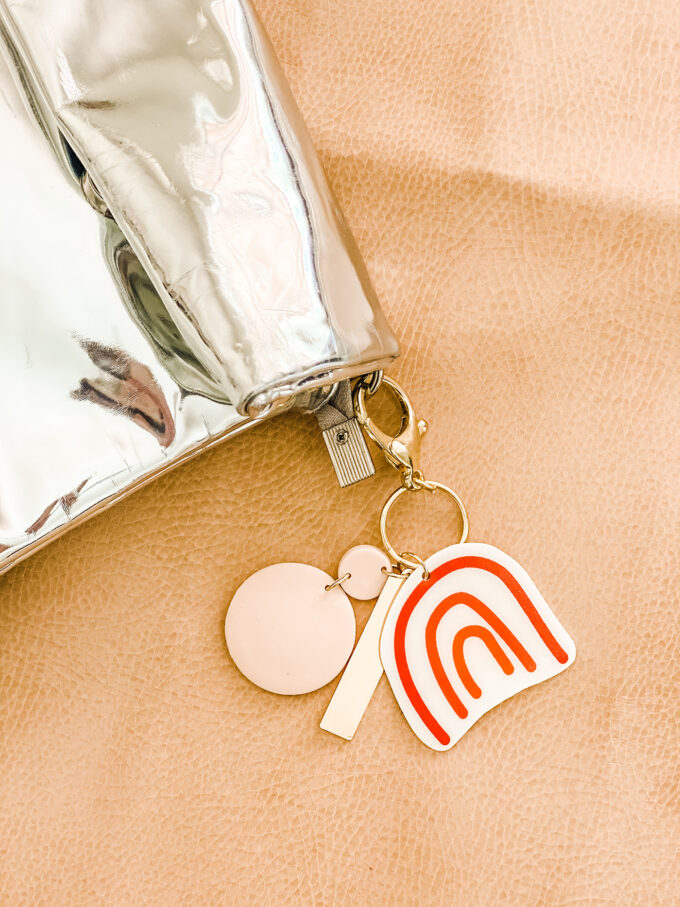
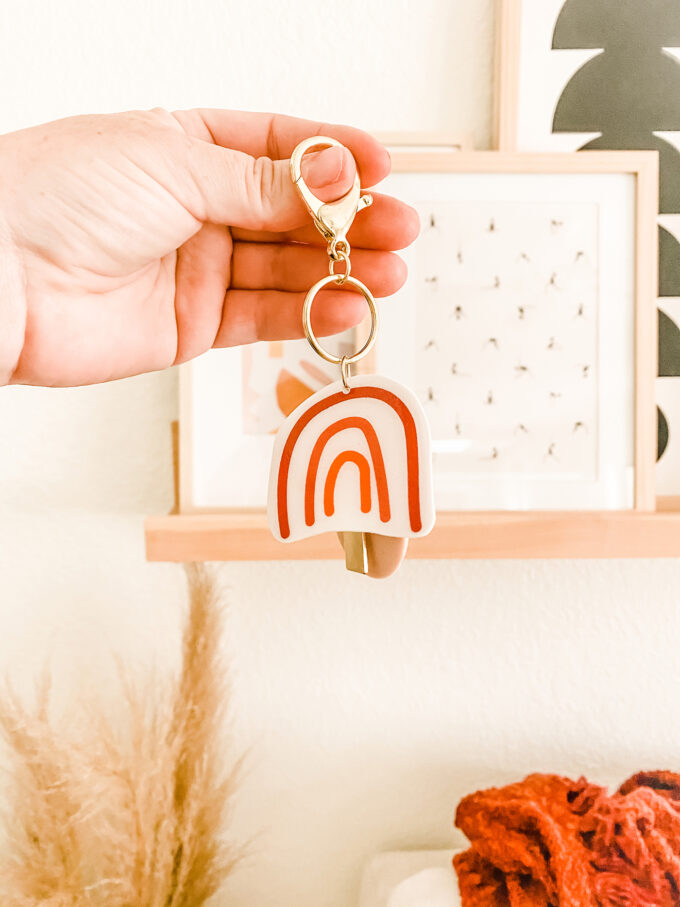 And there you have it! These DIY Shrinky Dink Keychains are one of the funnest and easiest projects you can make! I love how they look when they’re done, and the possibilities are endless with the images you can print out. Bonus for all of those who don’t love to draw! Let me know if you give these a try. I’d love to see what you come up with!
Now, I’m off to clean up all of the scraps from the SD paper. Vita gets a hold of that stuff and draws to her heart’s content. And then we have about 50+ mini Shrinky Dinks all over the house.
Your shrinky dinks came out looking amazing! I’ve been trying to make my own with transparent plastic sheets lately and I’ve encountered a few issues with the shrink plastic curling in on itself and my oven being a little too hot. I’m going to take your craft tips and apply them to my process next time I make keychains and standees of my characters. Thanks for sharing!
Oh yay! Hope these tips help! Good luck, Liu!