IT’S TUESDAY! And one step closer to fall. I am getting so antsy that I have started to put up my decor for fall and for upcoming HALLOWEEN. Yesterday, my friend Ashley and I had a little crafty day of our own. We knocked out a few projects and got started on others that will soon grace the cyber pages of The Proper Pinwheel. Now, I am not the first to glitter a pumpkin. It’s been done several different ways. This is just how we did it. It was quick and the cleanup was easy. I love low-maintenance. I wrote about this project a few weeks ago and could not wait to have my own. We decided to make some to put up on our mantles. Full tutorial below:
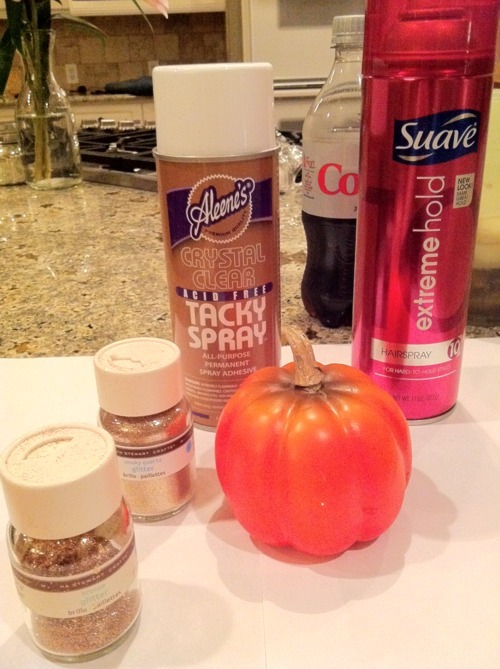
Supplies needed: plastic pumpkins (found at any craft store), spray adhesive, aerosol hairspray, Martha’s superfine glitter (we used Bronze, Brownstone, Smoky Quartz, and Fire Opal), scratch paper
*A lot of people use glue, or Mod Podge to glitter the pumpkins. Both are a fine choice, but I used spray adhesive because it was easier and quicker.
**I am not a spokesperson for Diet Coke. I just happen to have one around me at all times.
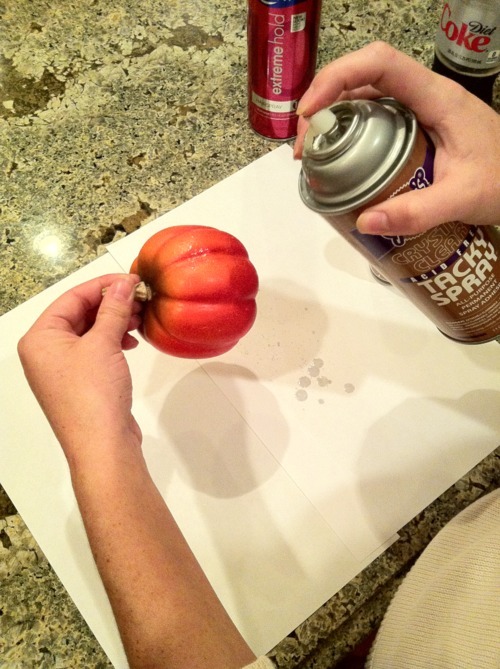
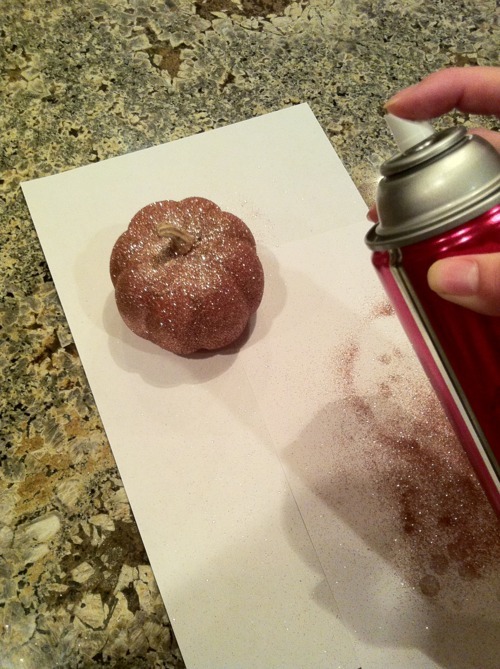
Holding on to the stem, spray the glue directly onto the pumpkin.
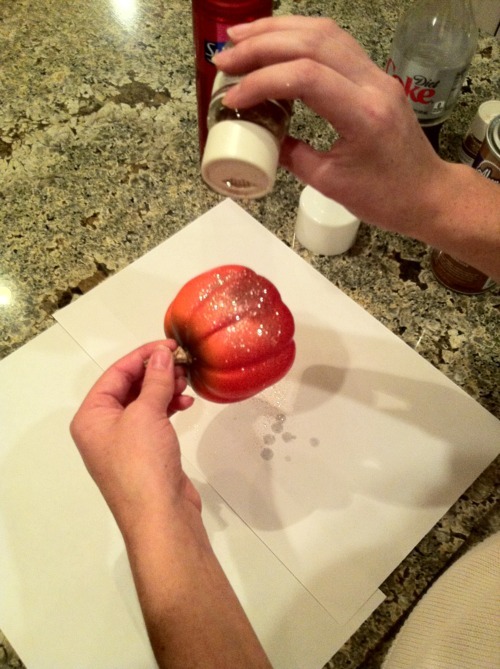
Sprinkle the glitter over the part you just sprayed. You have to work quick because the glue will set and it will be harder for the glitter to adhere.
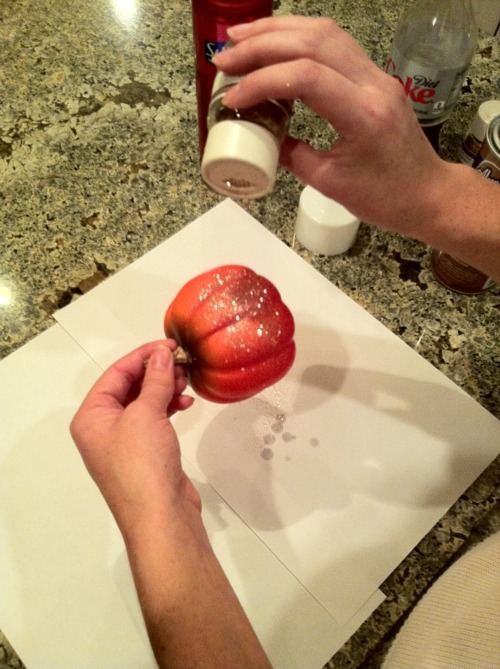
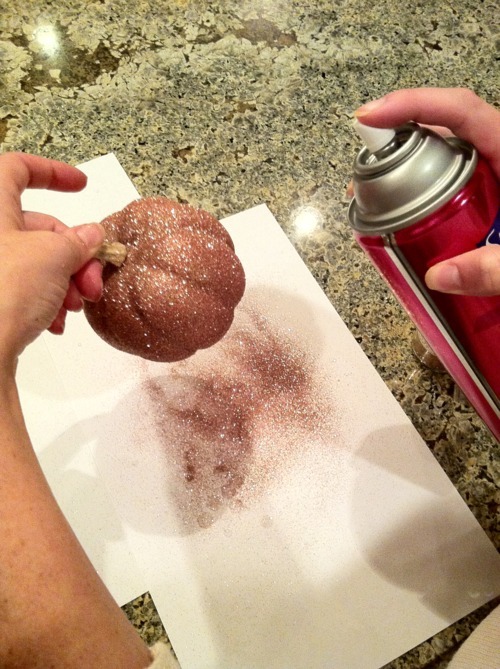
After you have glittered the entire pumpkin (you need to do 2-3 coats for good, even coverage), spray it all with aerosol hairspray. This will set the glitter so that it won’t rub off on you or any part of your house! Trust me, glitter is so hard to clean up if it gets on the wrong material!
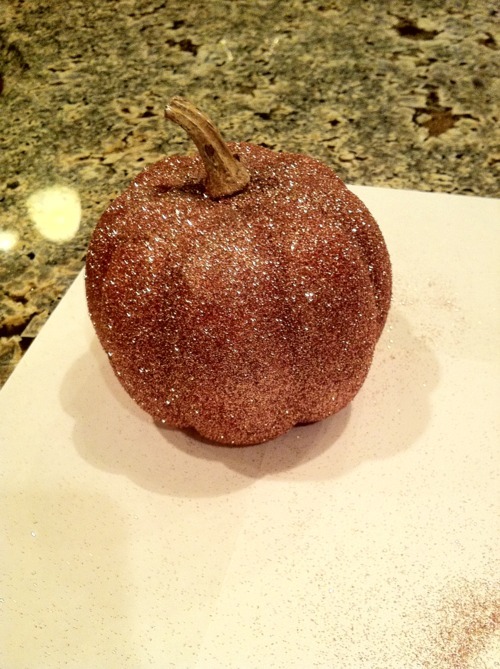
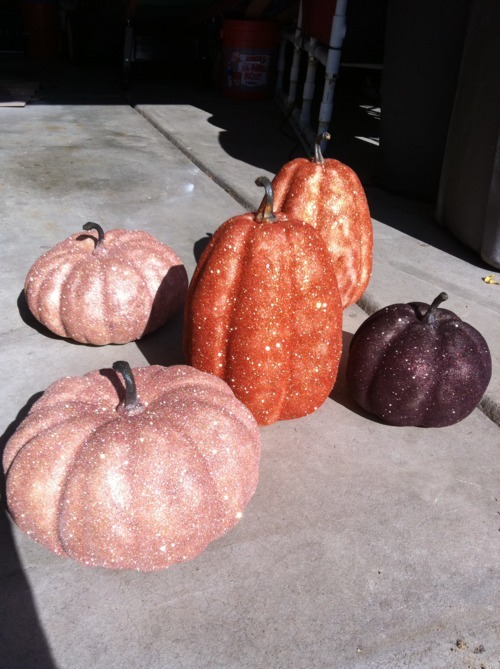
Let your pumpkin(s) dry for about 30 minutes. Then admire!
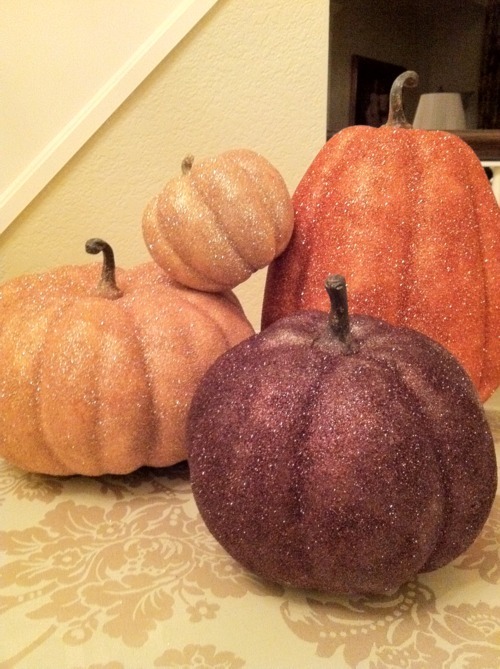
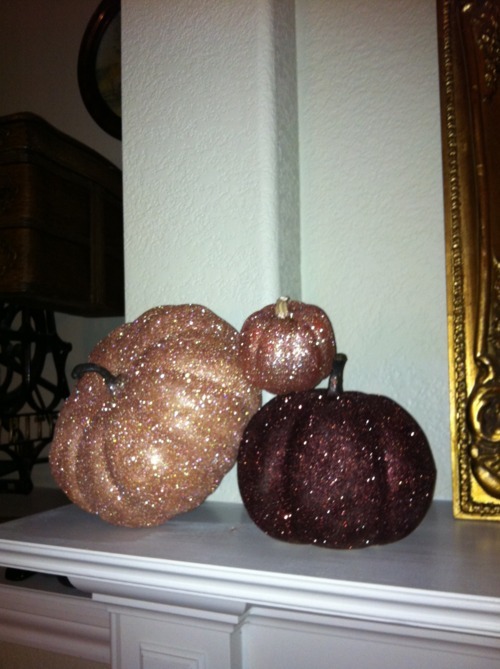
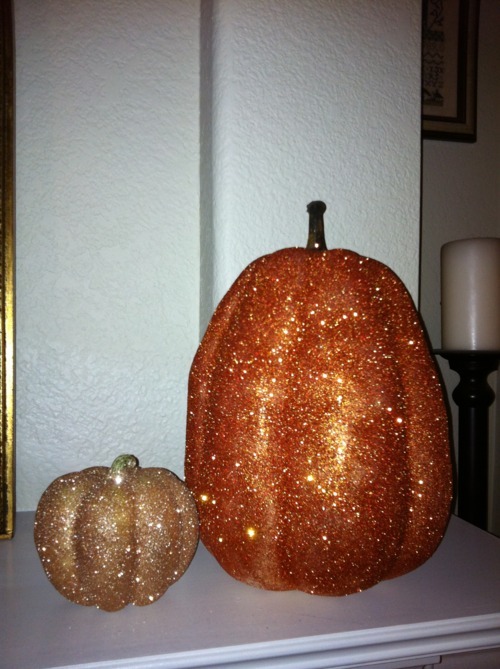
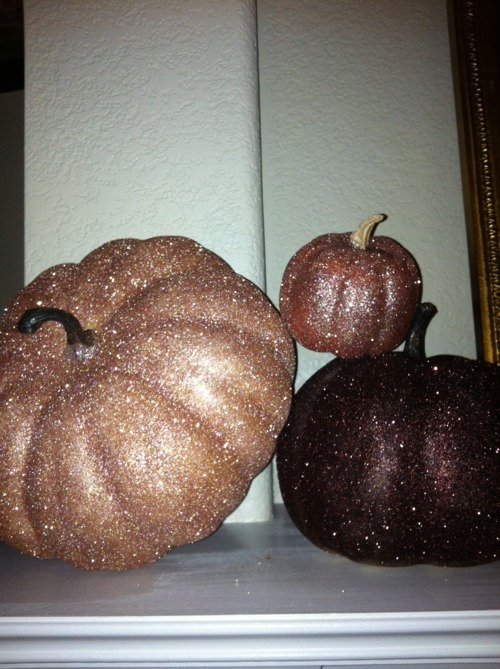
I know. My pics aren’t that great. I’m sorry. Maybe I can convince Ashley to take some amazing photos for me.
Show me your pumpkins!
