Today’s project is one of those that you weren’t planning for, but they just happened! You see, we had originally planned to add hexagon tile to our DIY Faux Fireplace from a few weeks back, but as I cut the sheets of tile with a wet saw, the glue holding the tile to the mesh completely dissolved making the task at hand a tricky one. So we scrapped the idea for the hex tile and just used subway tile instead. But then I had some extra sheets of hexagon tile laying around and couldn’t let those go to waste! So when I picked up a black chalkboard tray in the dollar spot at Target, I knew exactly what I would do with it – and this DIY Hexagon Tile Tray was born! And you can honestly make it in five easy steps. No waiting for the mortar to dry. Make this guy in under 2 hours. Wait, what?!?!
Materials needed:
- wood tray (any color – mine’s from the dollar spot at Target!)
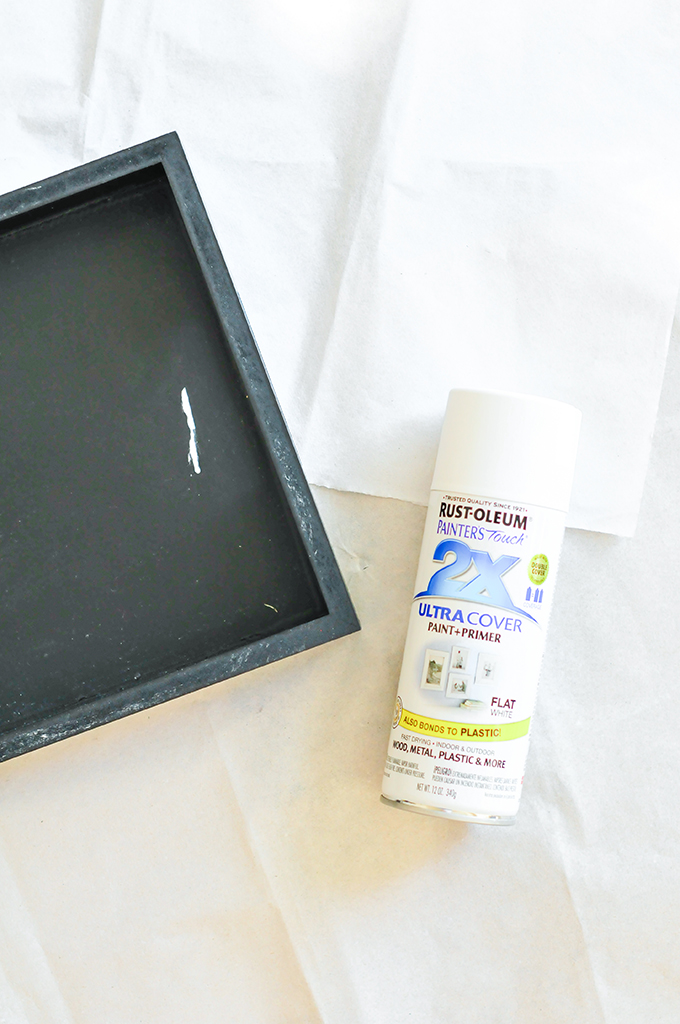
- white flat spray paint
- 1 mesh sheet of hexagon tile to fit your tray (edges trimmed or cut with tile nipper or saw!)
- Simplemat Tile Setting Mat
- Charcoal grout and float
- sponge & water
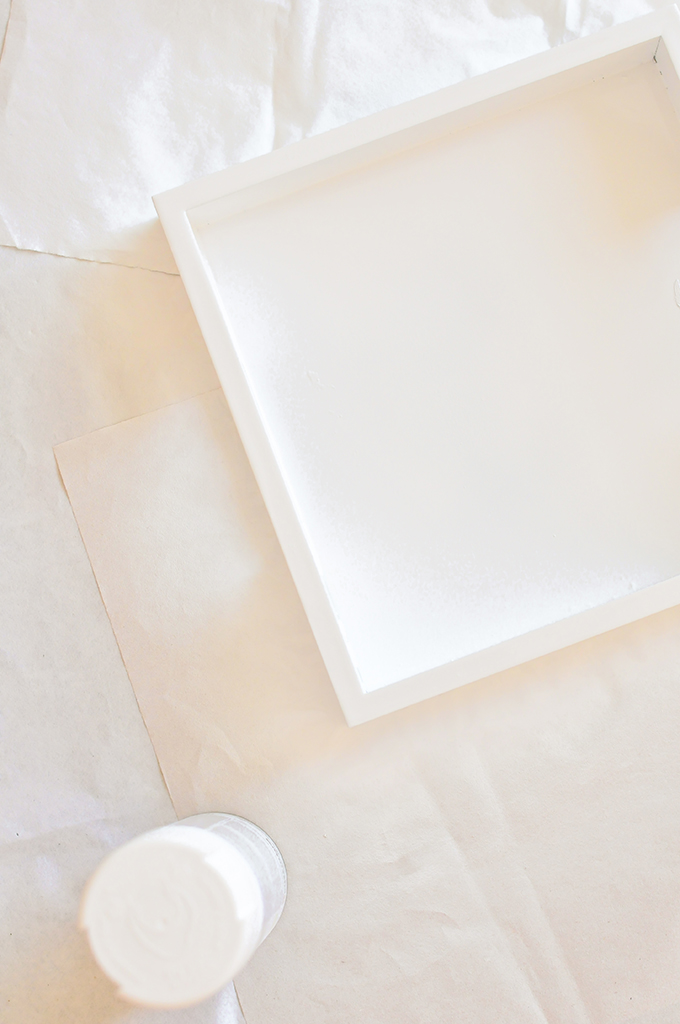
Step 1 \\ Spray your tray white. My tray was a dark black chalkboard tray so it needed a few coats! Allow 1-2 hours to dry.
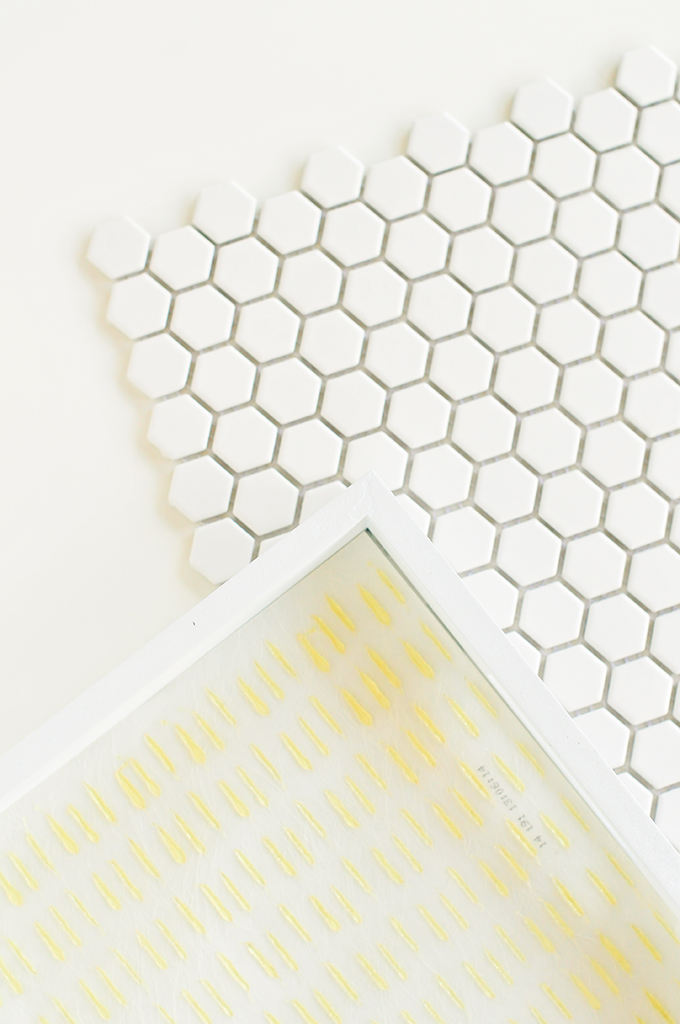
Step 2 \\ Trim the Simplemat to fit your tray. Peel off the back and lay it on the bottom of the tray. Go over the surface with your grout float to make sure it adheres well. Remove the cover from the top and immediately lay the tile!
Step 3 \\ Lay the tile and get ready to grout, my friends! You don’t have to wait for any mortar to set. The Simplemat can be grouted immediately making quick work for you. That’s really why I love this stuff – I was able to make this tray start to finish in an afternoon!
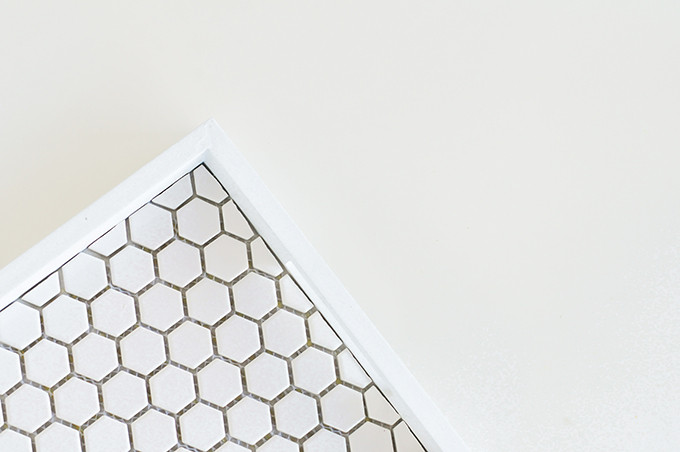
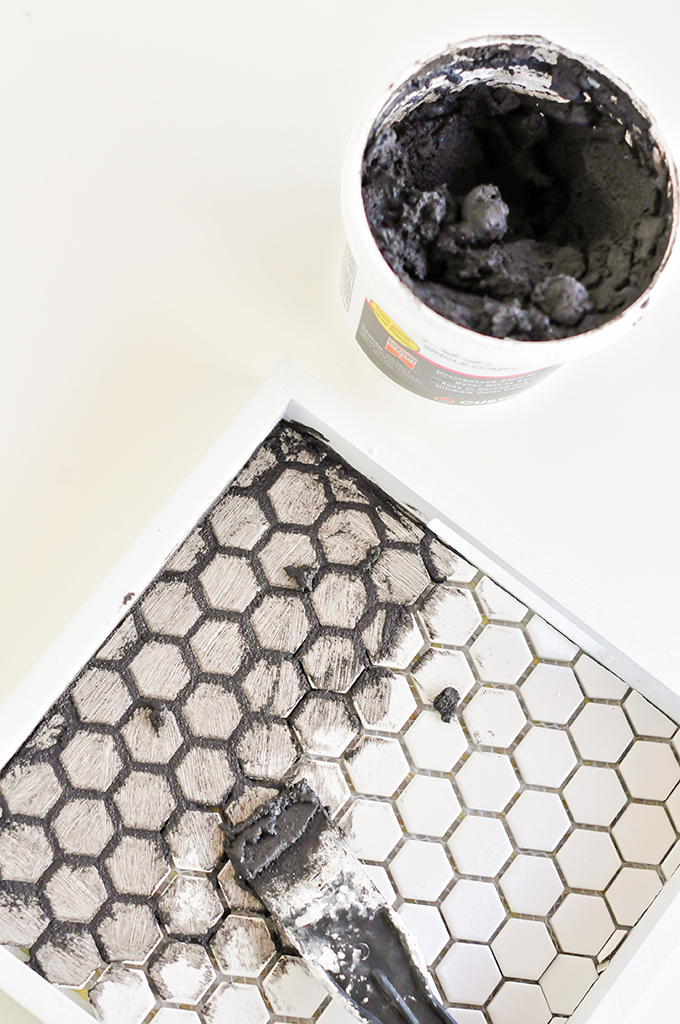
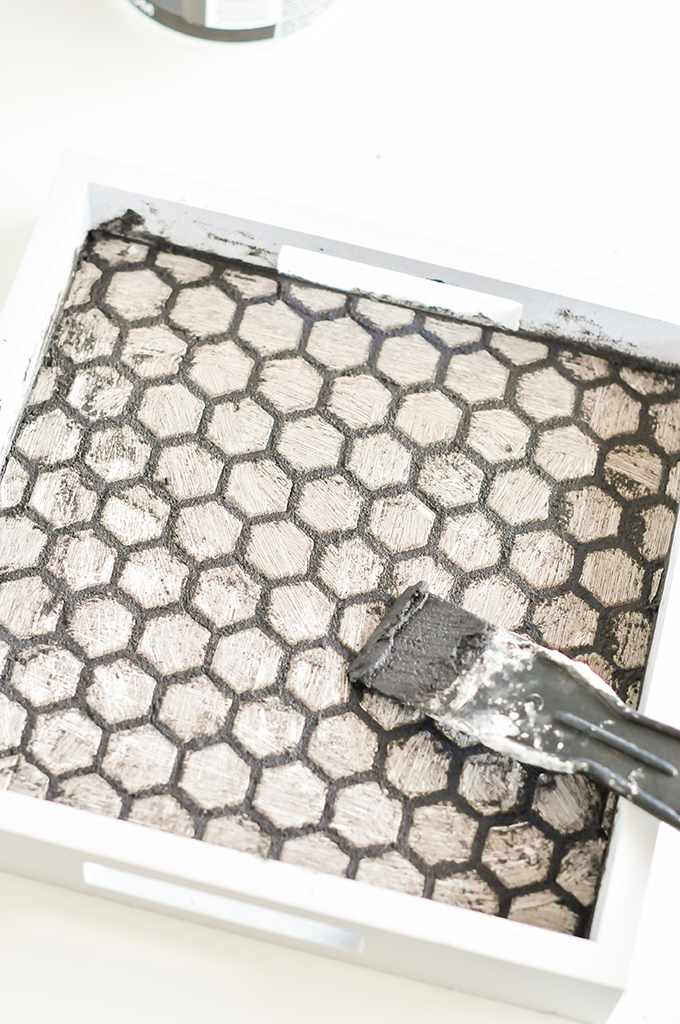
Step 4 \\ Starting in one corner, apply the grout taking care to push it down between the tiles and cover the surface evenly.
Step 5 \\ Once you’ve covered the whole sheet of tile, take a wet sponge and wipe the excess grout away! You’ll need to go over it a few times to clean up the tiles, but it takes five minutes to do and you’re done!
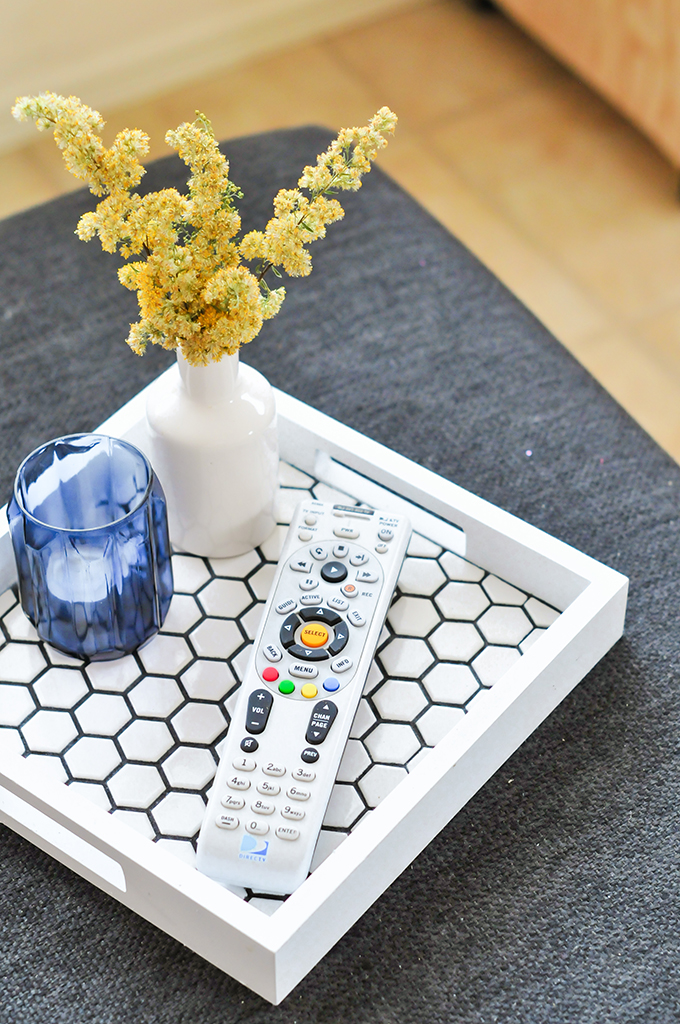
Allow your tiles time to set and then quickly put that tray to work! You know, holding remotes. Like trays do.

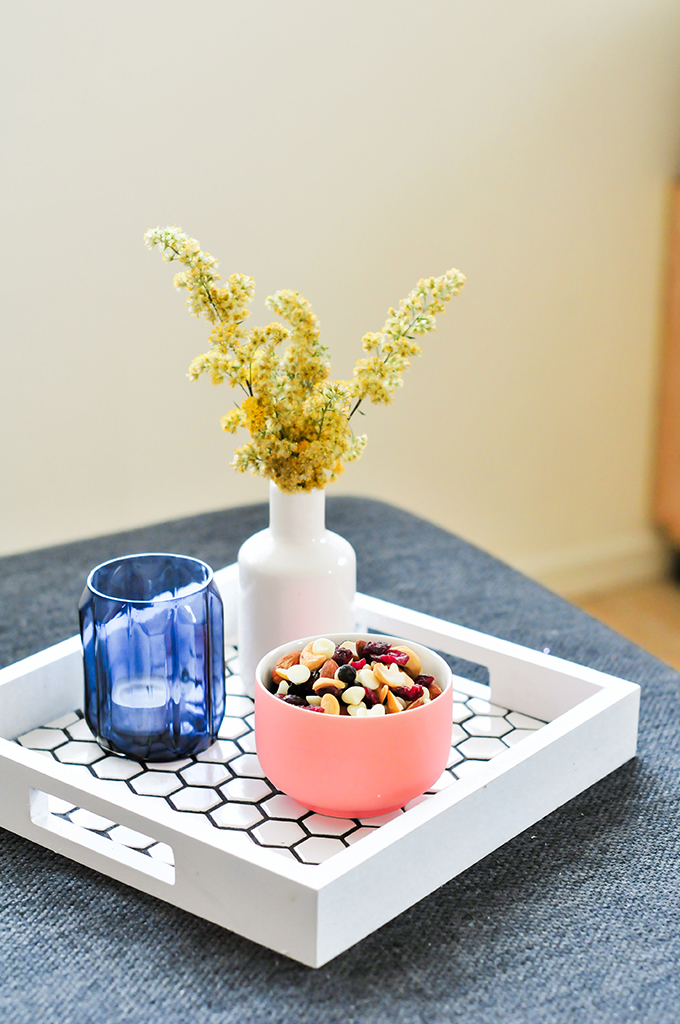
I personally use them to hold my lunch. Lately it’s Diet Coke and granola – gotta keep that blood sugar down, guys! This is the perfect tile for breakfast in bed, don’t ya think?
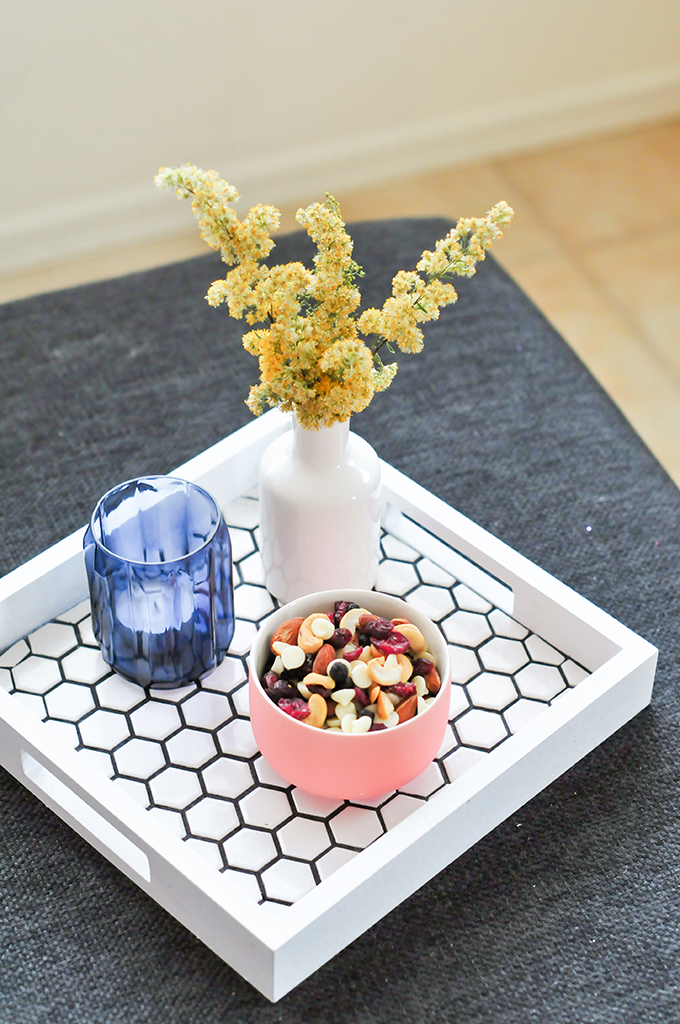
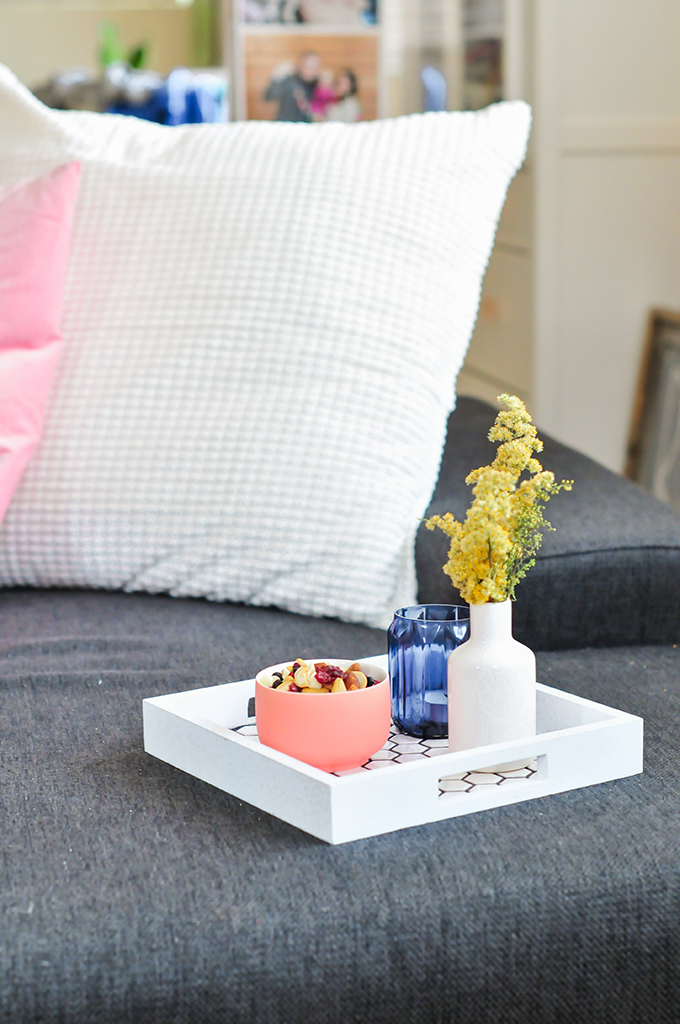

I bet you’re looking around your house trying to plot out all the things you can tile now. We don’t throw our tile away because there’s always a use for it somewhere! Happy tray-tiling!
Check out our previous tiled project – a DIY Faux Fireplace!
photography & styling\\ Lexy Ward






I love how pretty this is! We have a big tray right now next to our couch that I know what to do with . Thank you for the idea!
Absolutely in love with this DIY! So simple, but what an impact!
What a fantastic idea! I just came across this project on StumbleUpon…thanks for sharing! I have tile samples I never took back to the store, so now this gives me an idea of what I can do with them.
Thanks, Karla! Yes yes! Get those tile samples out and use them! So many ways to utilize! 🙂