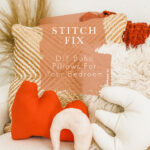
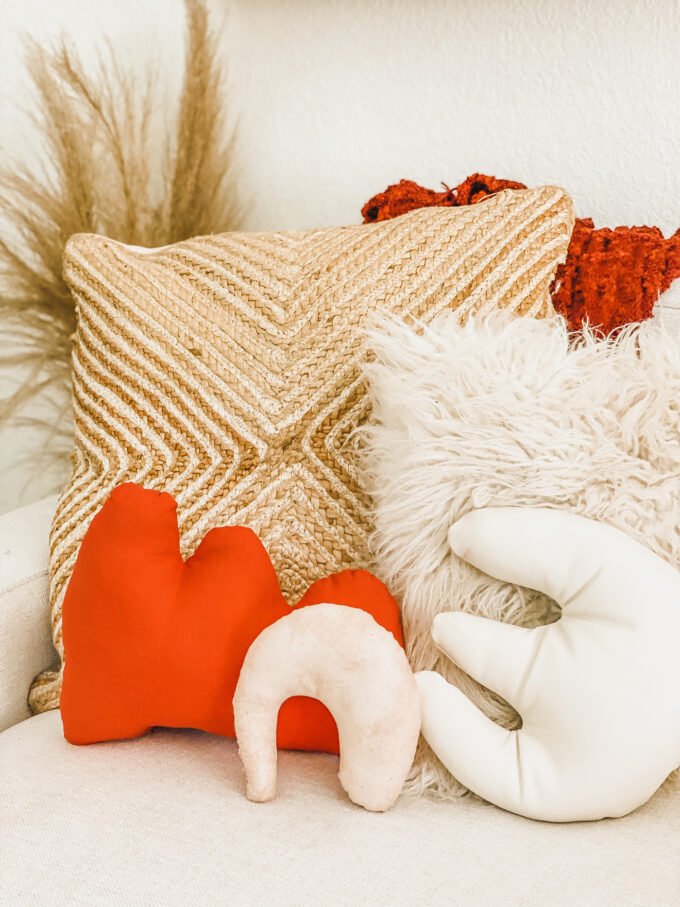
 If you keep up with me on Instagram Stories, you know that I have a deep love for boho shapes, abstract shapes, and the like. I choose to include them in almost every frame because they’re just so beautifully random. I’m getting ready to update Vita’s bedroom (toying with the idea of bunking the girls up. Is this wise???) and have been wanting to make some boho pillows for her room. We drew up some shapes and used my Cricut Maker to cut them out precisely from various fabrics so that every edge matched perfectly. After a quick afternoon, we had several new pillows to use in her bedroom and all around the house if we like! I’m sharing the tutorial breakdown below! It’s super easy to create your own boho pillows from my drawings or some of your own! Check it out below.
DIY Boho Pillows For Your Home or Bedroom
What you’ll need:
- Assorted fabrics (I used cotton and leather for this project!)
- Cricut Maker
- Cricut Design Space
- Cricut Rotary Blade
- Rotary Cutting Kit
- Cricut Cutting Mats (I used the 12″ x 12″ and 12″ x 24″)
- Scissors
- Sewing Machine
- Hand sewing needle
- CLICK HERE FOR MY PROJECT READY TO GO IN CRICUT DESIGN SPACE
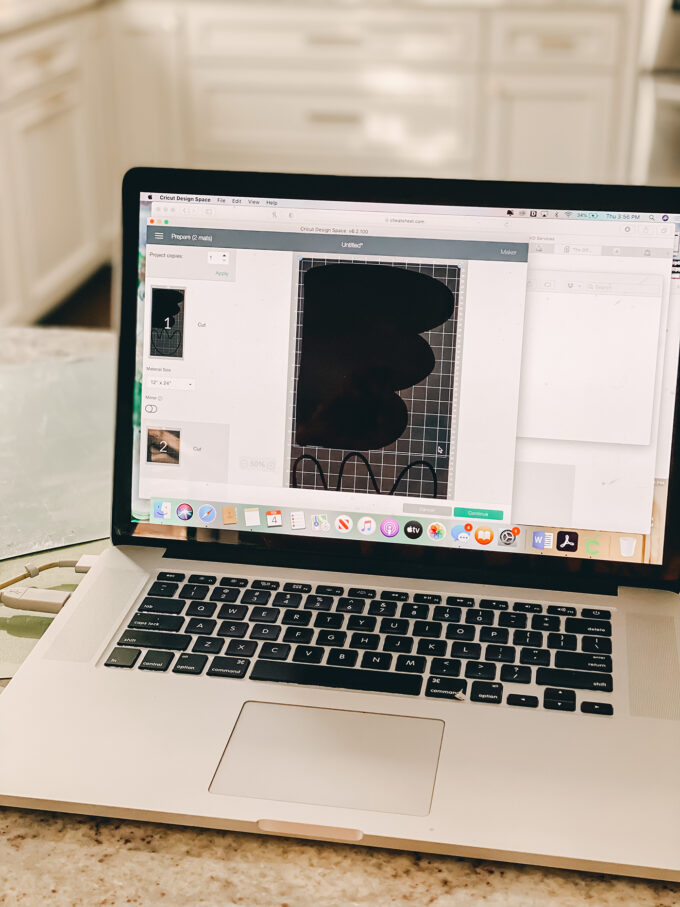 I have a library of fave shapes that I’ve drawn up over the years on the iPad with my pencil. I uploaded them into my library on Cricut Design Space and refer back to them often for various Cricut projects. I added these images to my canvas in Design Space and sized them to my liking. *When making your own, keep in mind that you can only cut images measuring smaller than 11.5″ x 23.5″ as that is the largest size mat you can cut on.
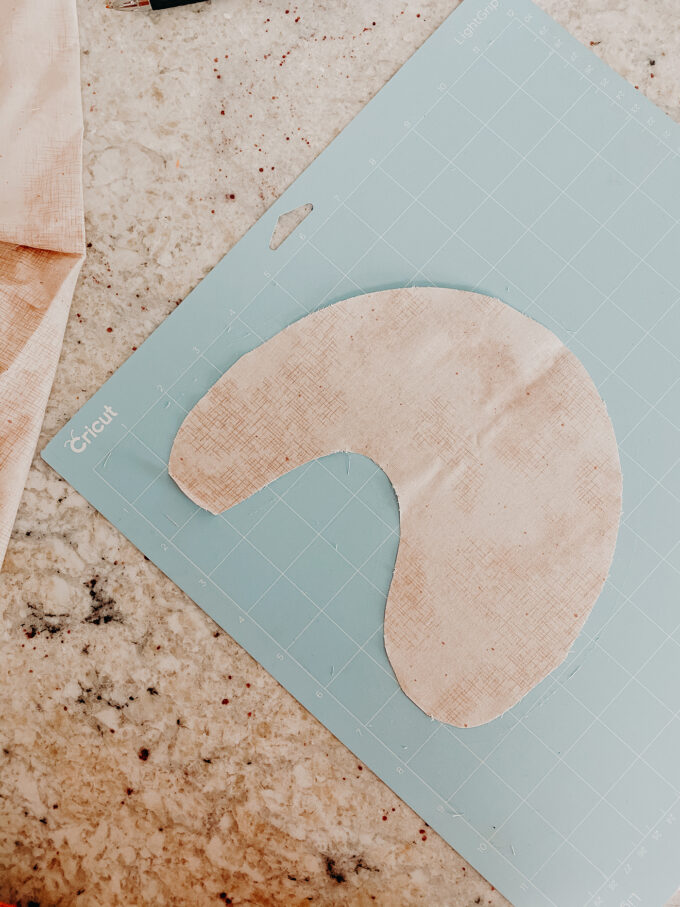
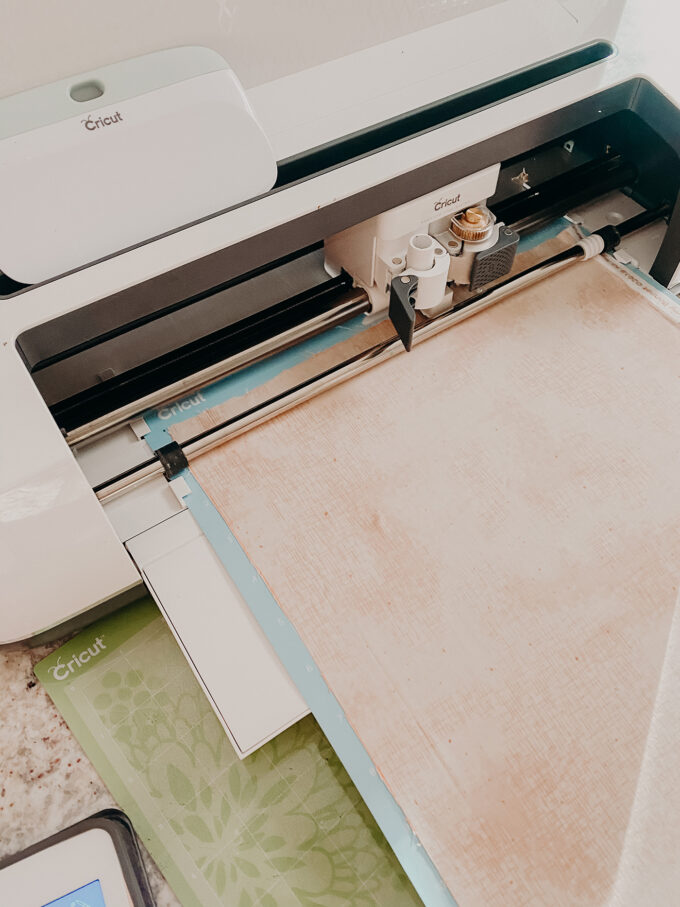 I trimmed my material down to fit the various mats based on the shapes I was cutting. There are two cuts for each shape (a front and back) so you need to make sure you lay the fabric correctly when cutting and mirror the cut if necessary so that the pieces can stack right sides together before stitching.
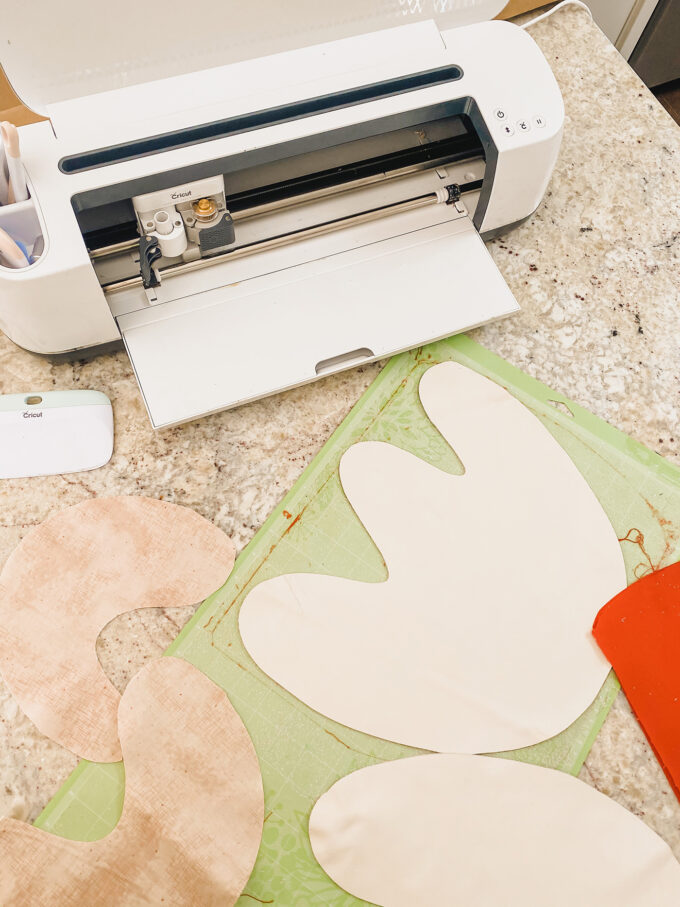 I cut boho shapes from cotton and leather. The white leather is so beautiful and is what I used when I made these beautiful bibs!
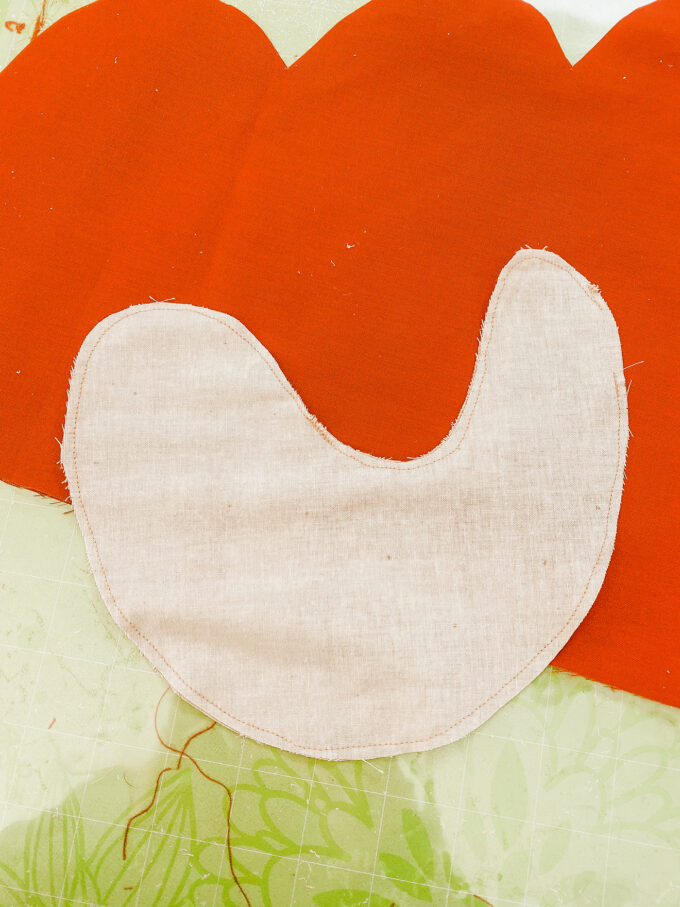 After you’ve machine cut all of your pieces, place the right sides together prior to sewing and then be sure to leave a gap to allow for turning it right-side-out and then filling. I love cutting fabric with the maker because it ensure every piece matches perfectly together. I can’t always guarantee that when I am cutting by hand.
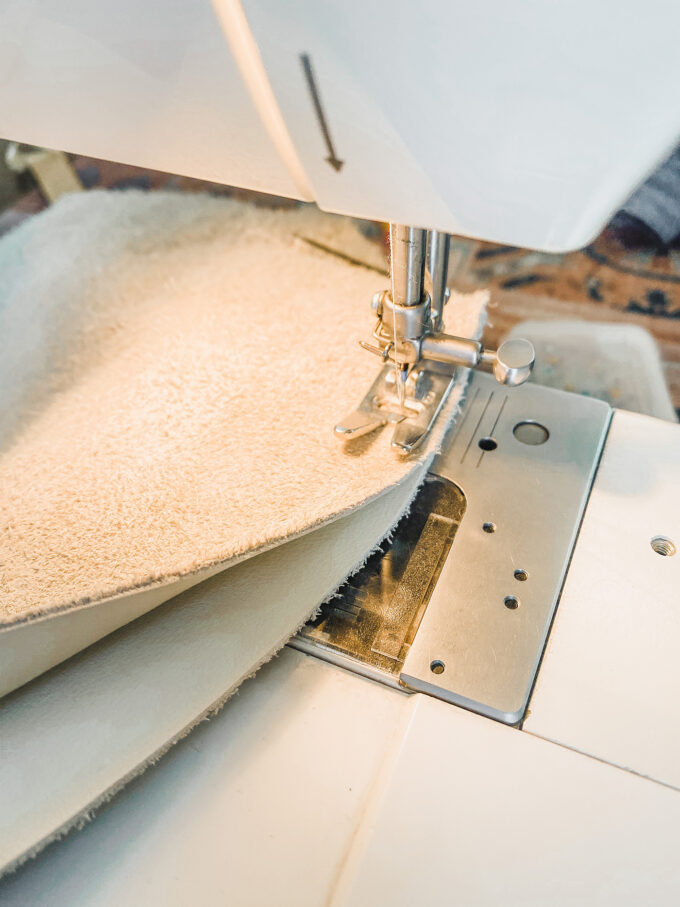 Stitch the two pieces together and be sure to leave an opening.
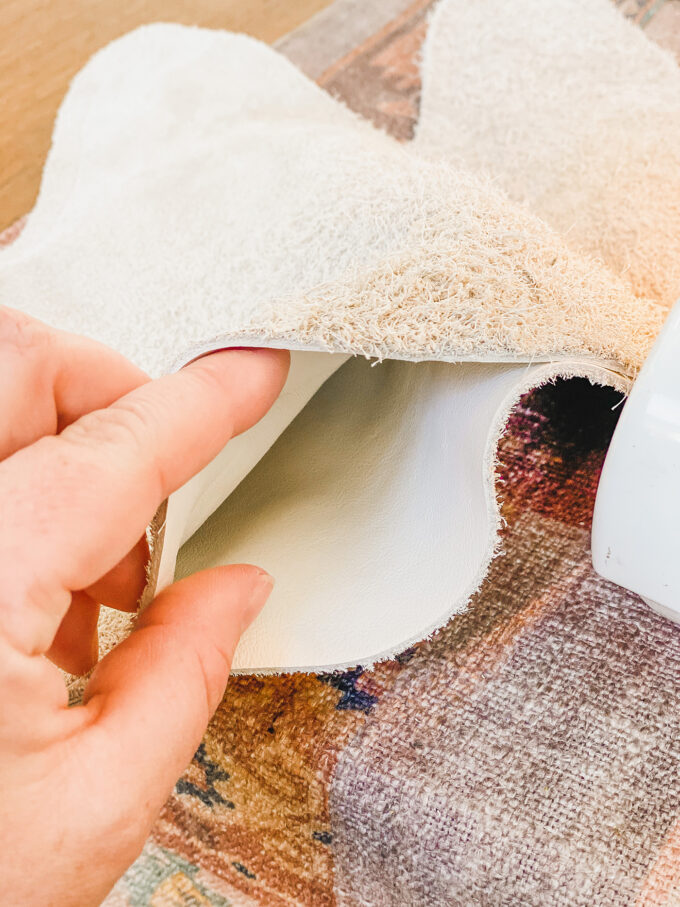 Flip the shapes out and then fill up with polyfil stuffing. And then use a hand needle to stitch the small opening closed.
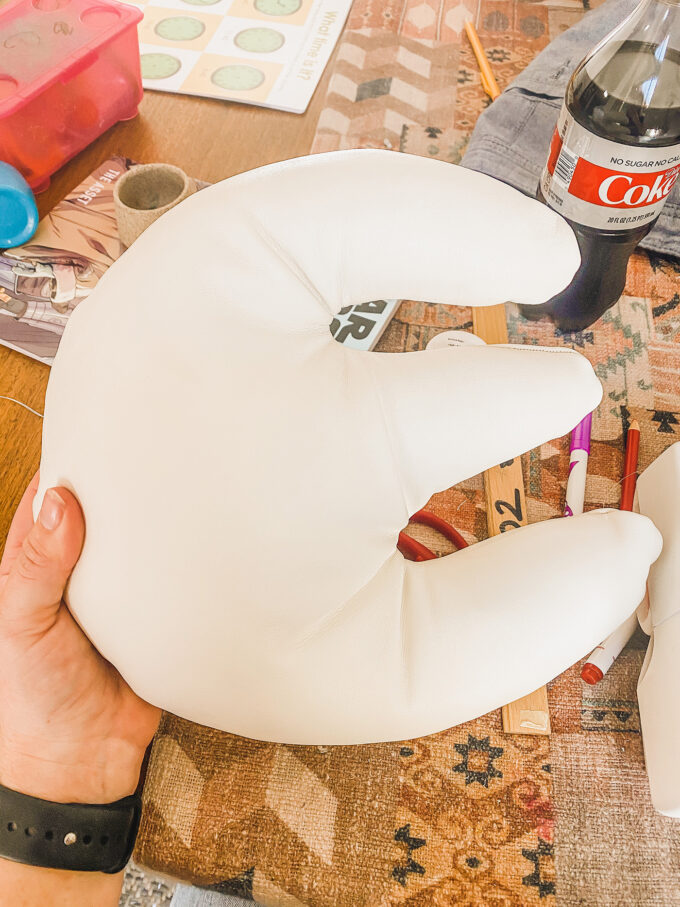 Diet Coke: optional. For me: NECESSARY.
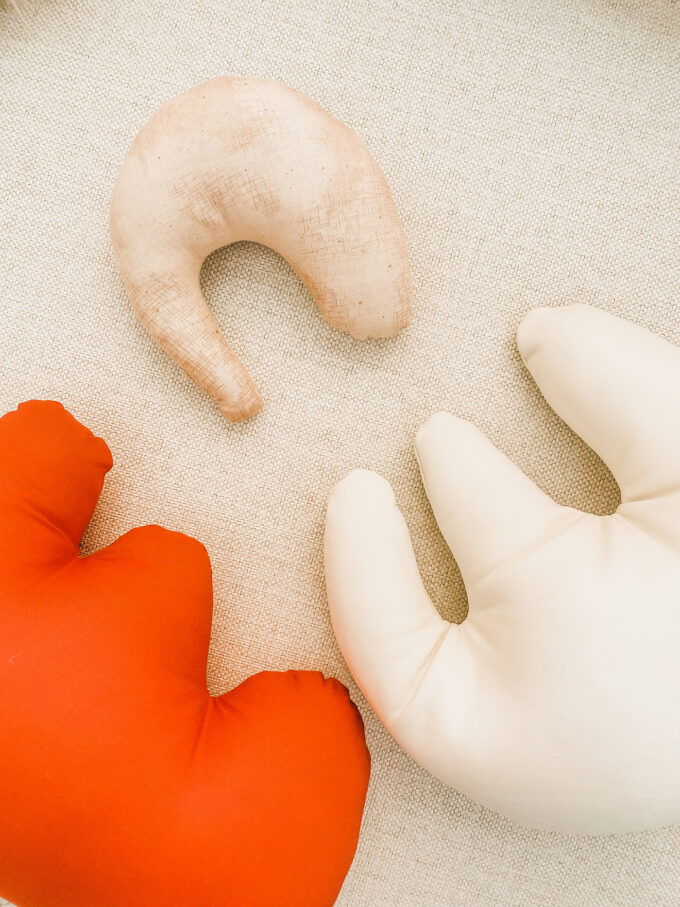
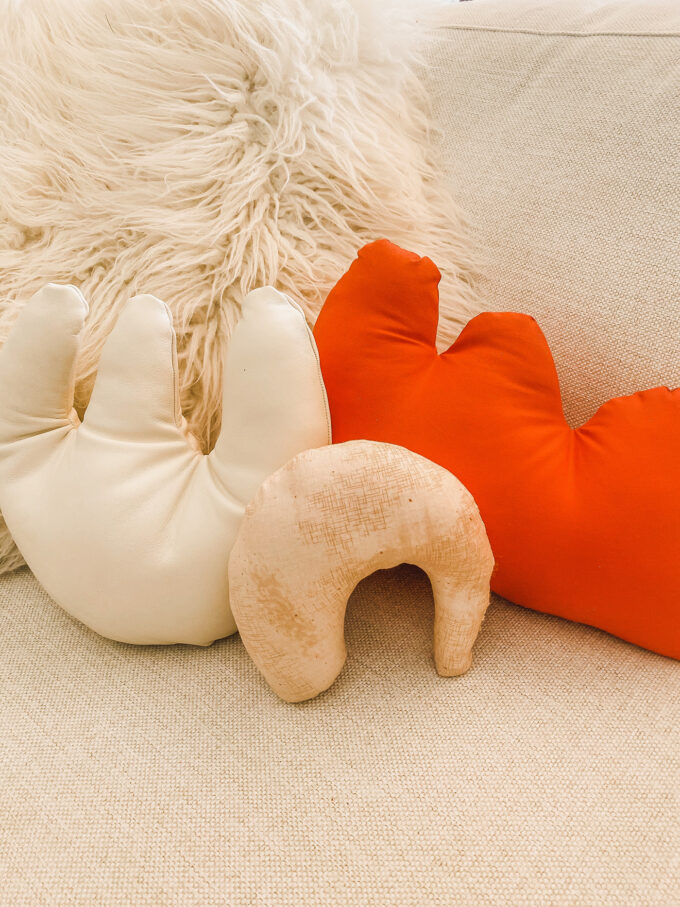 These boho pillows turned out great! I feel like a need some giant fluffy ones now.
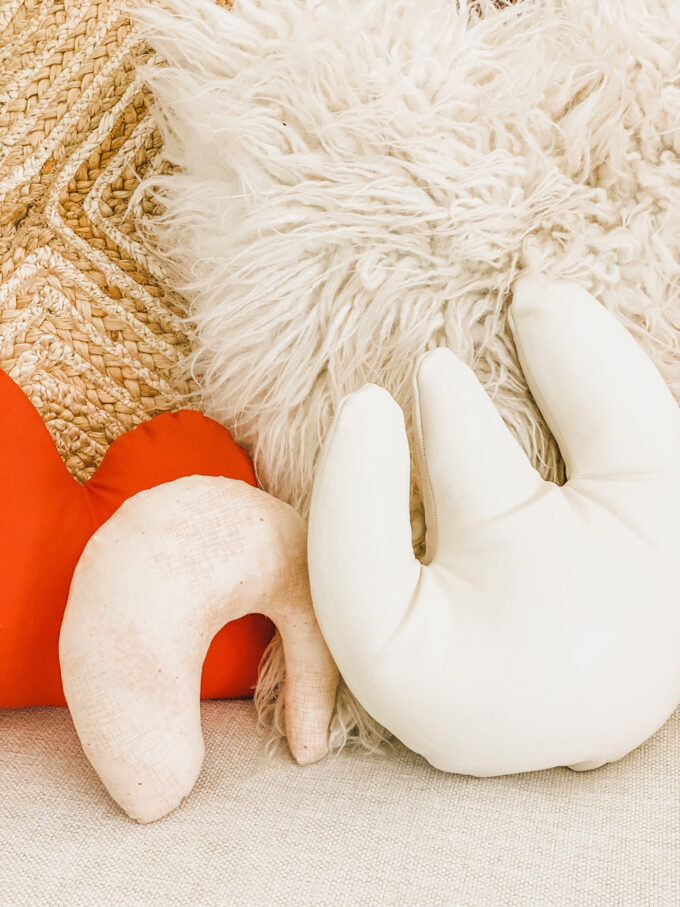
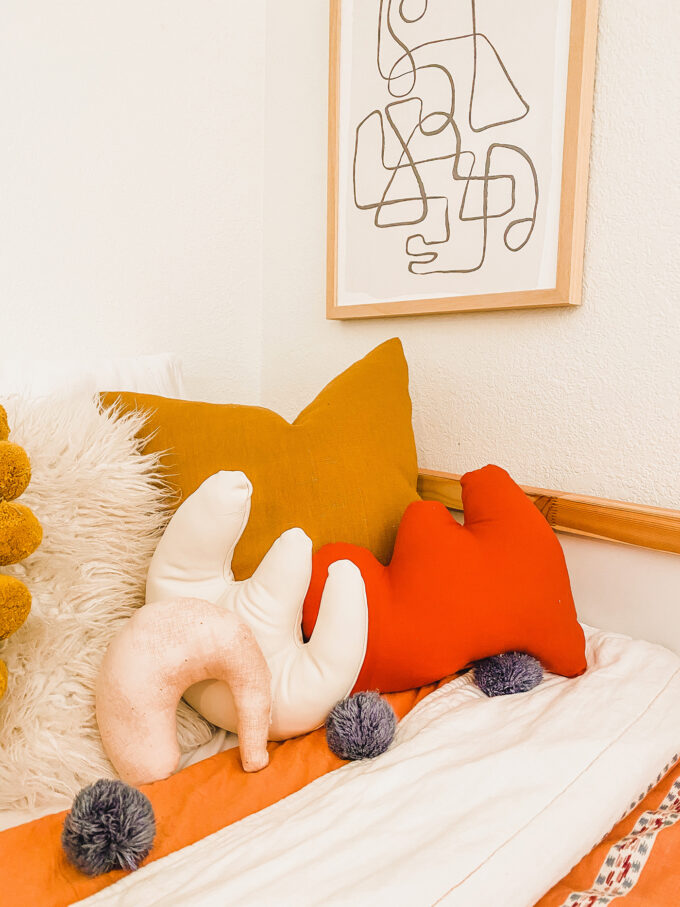 V’s adamant that these stay in her bedroom forever. She’s currently wanting to help as the resident stylist over here, so she enjoyed picking out which pillows to display on her bed before we snapped a few pics.
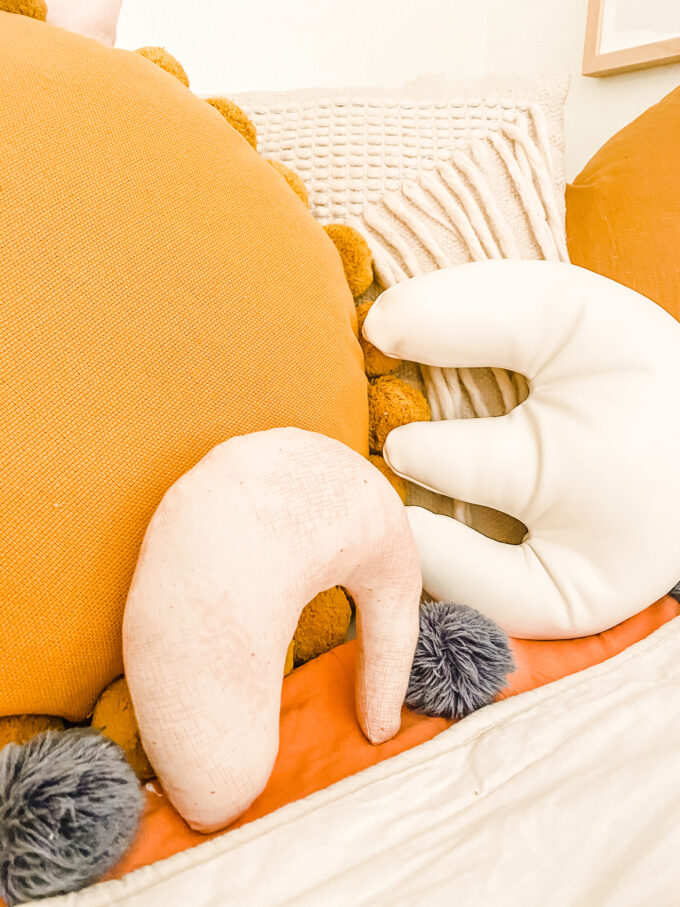 I feel like I could have made this guy a tad bigger. Note to self when cutting projects for sewing, factor in a seam allowance prior to cutting!
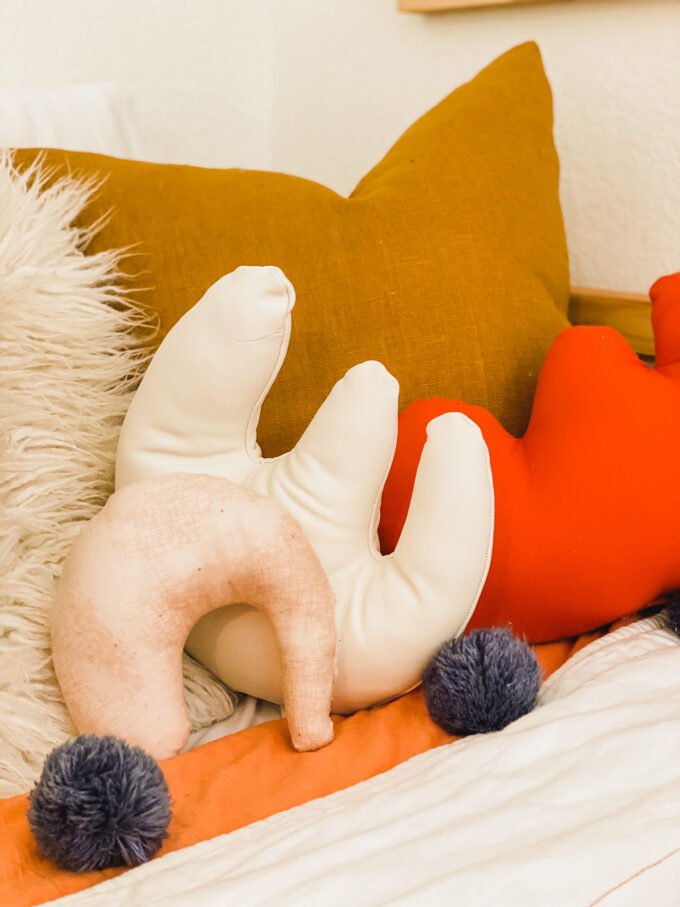 Now that I’ve had a go with these boho pillows, I want to make some giant ones for the playroom. Confession: there is no playroom, but there WILL be after I bunk these kids up. I think I made the decision while writing up this post.
Check out more of my fave Cricut projects here!
**This post is in partnership with Cricut, a company that believes crafting is for everyone. I love them and love you for continuing to support the brands that help us keep creating!
