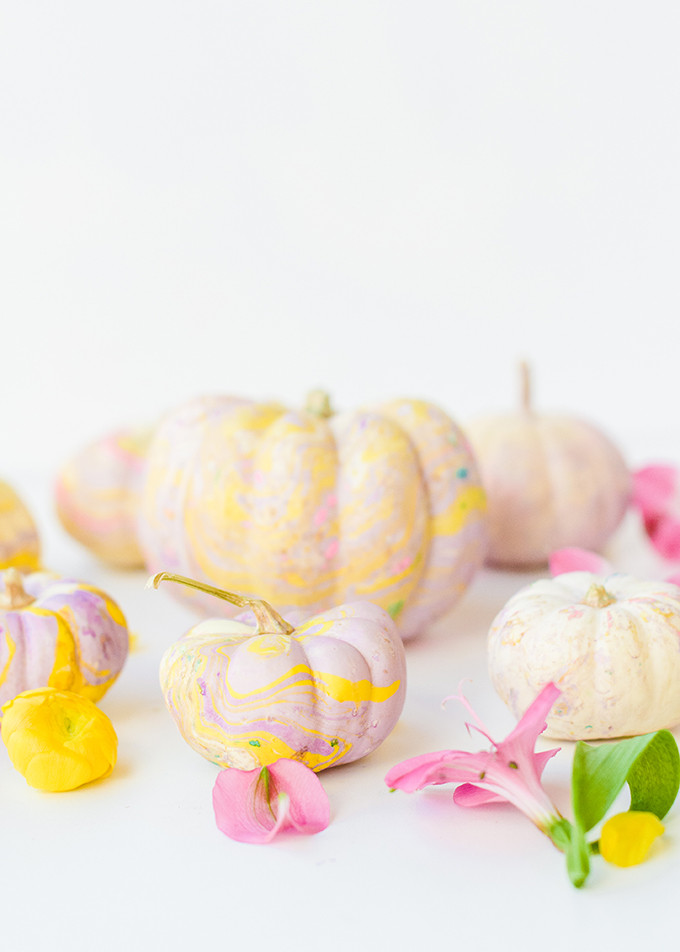
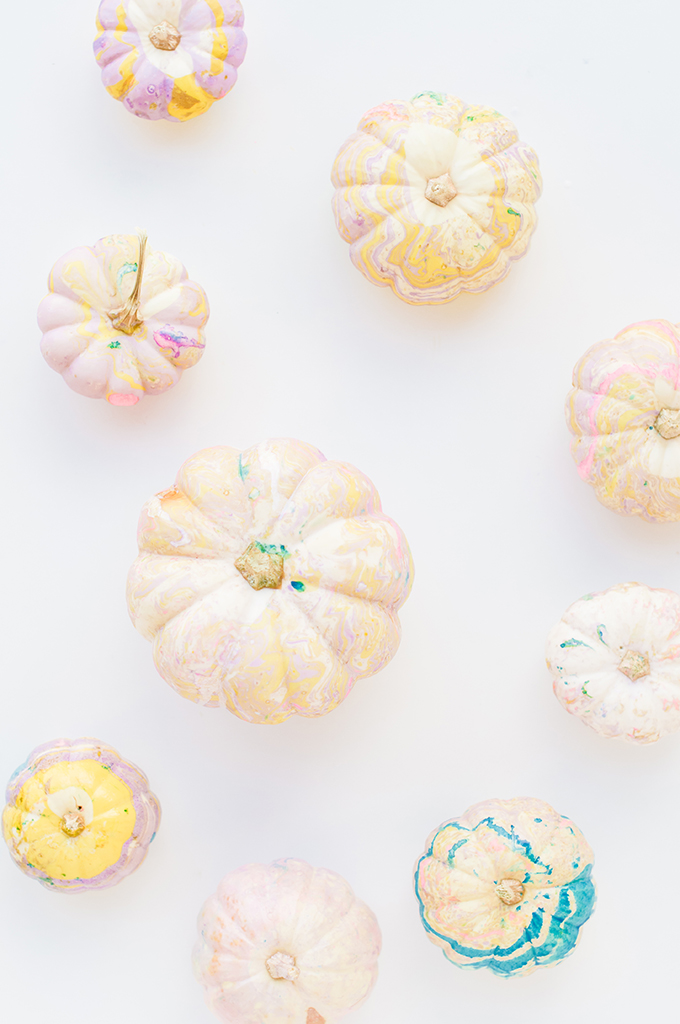
What do you do when you can’t stop marbling? I feel like we’re close enough to tell you that I have an addiction. I think Logan is secretly plotting on how to take away my new marbling paints. But that’s nevva gonna happen. He’ll have to pry those from my cold, dead fingers. Like I said yesterday, I’m ready to usher in the fall decor, but in a pastel fashion. And these marbled pumpkins are just the ticket, I tell you! JUST THE TICKET!!!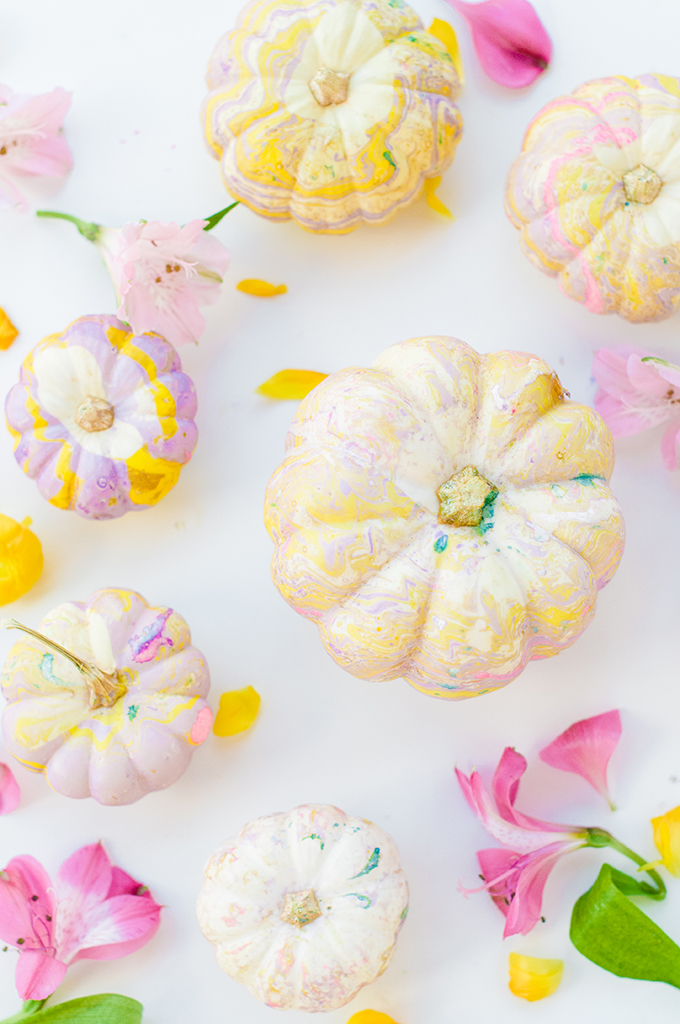
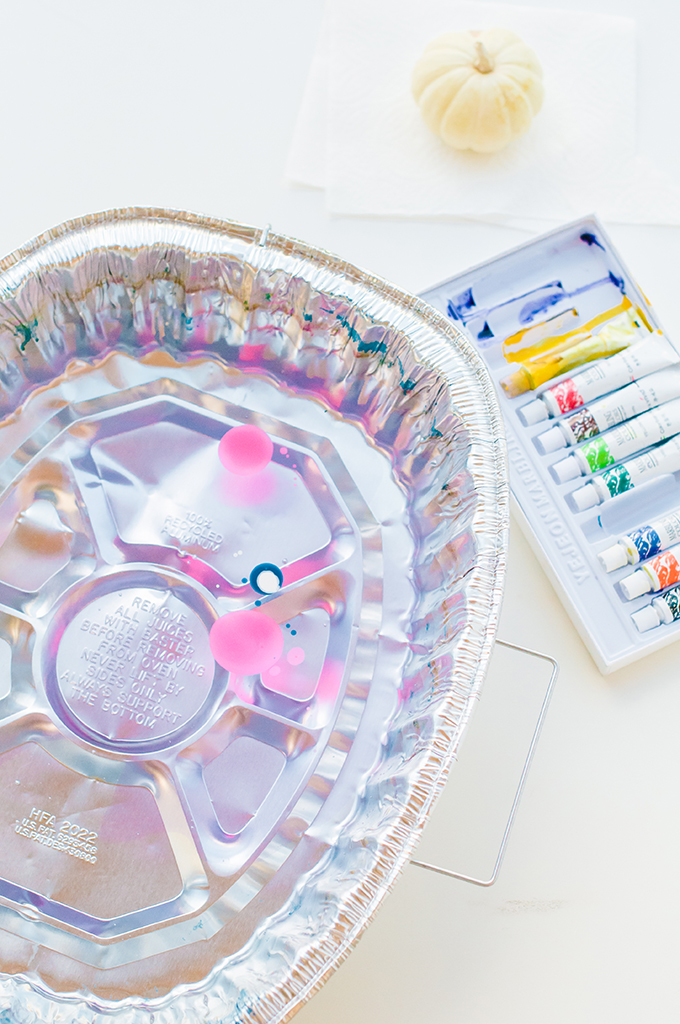
make your own marbled pumpkins
- large disposable foil tin filled with 2-3 inches of water
- marbling paints (these are my fave!
)
- white pumpkins
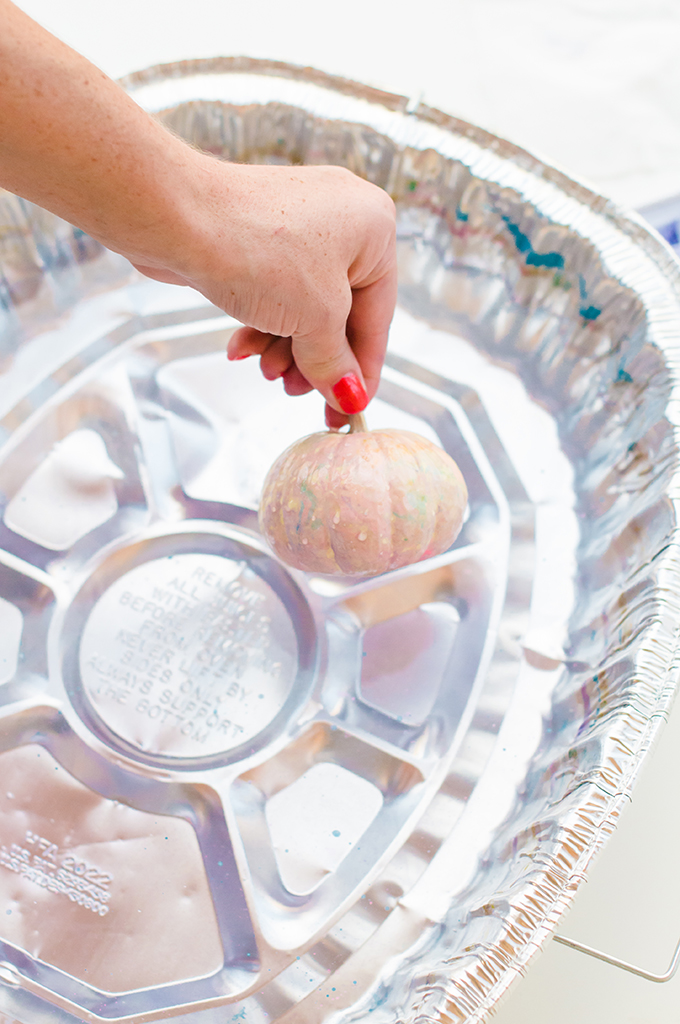
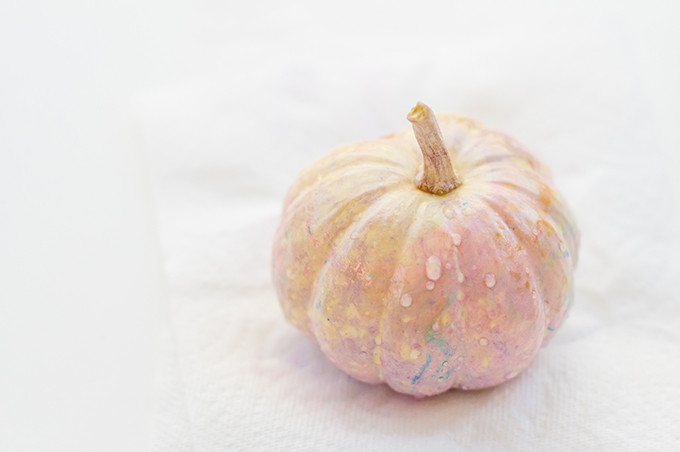
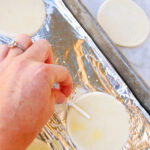
Start by placing a few drops of the marbled paint on top of the water. Choose 2-3 colors and drop the drops inside of each other. Use a toothpick to swirl the colors. You can see the paint really faintly in the photo above. It thins out and you can’t really see it, but it’s there. Once you’ve got your desired paint colors in the pan, dip the pumpkins! Holding a pumpkin by its stem, roll it over the surface of the water and it will pick up the paint.
Lift the pumpkin out of the water and allow it to dry. Continue dipping each pumpkin until you’ve created a little collection! You can get about 4-5 pumpkins out of each paint session before you need to drop some more paint into the tin.
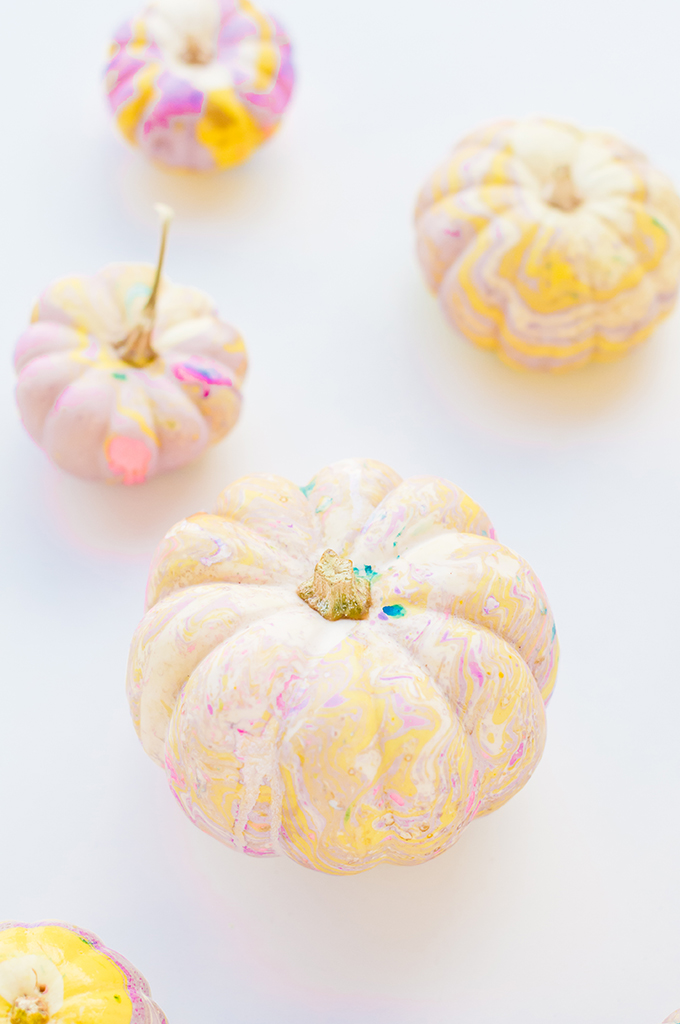
Dip pumpkins to your heart’s content! 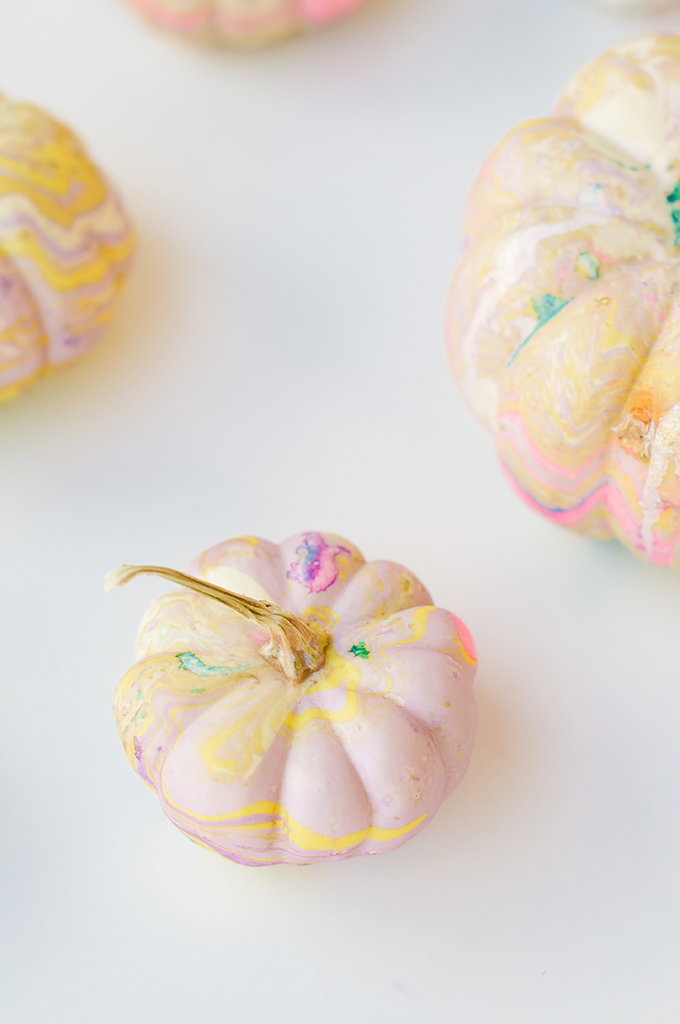
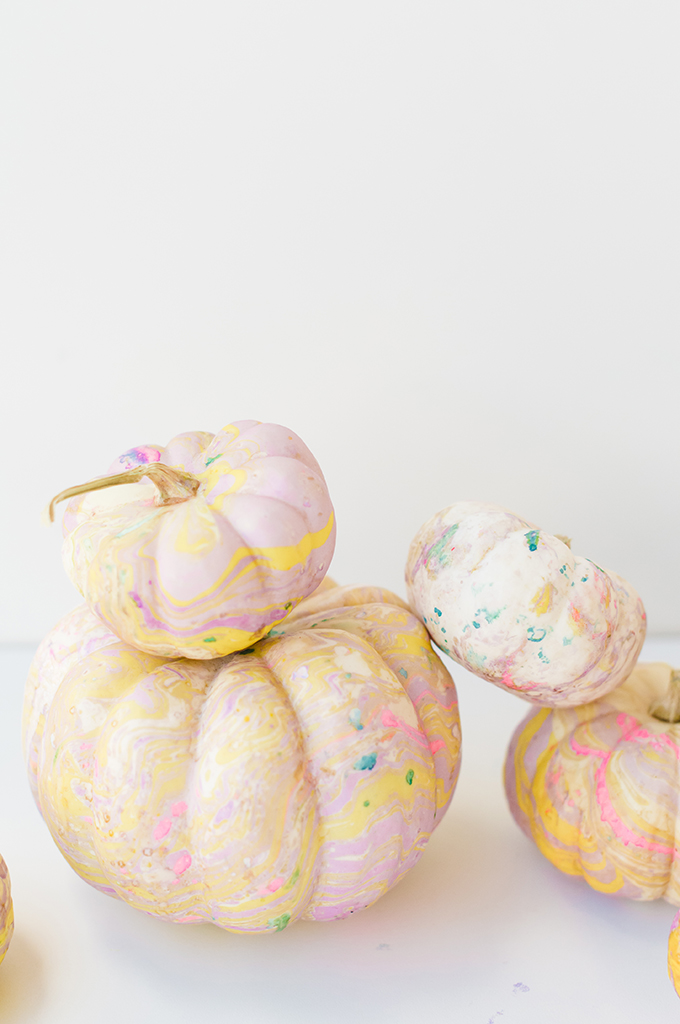
You can use any color pumpkin, but white will help your colors show the best. Lookin’ at you, pastels! 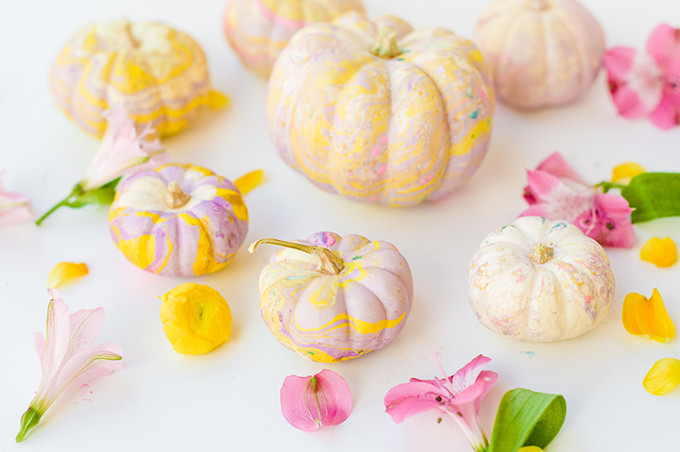
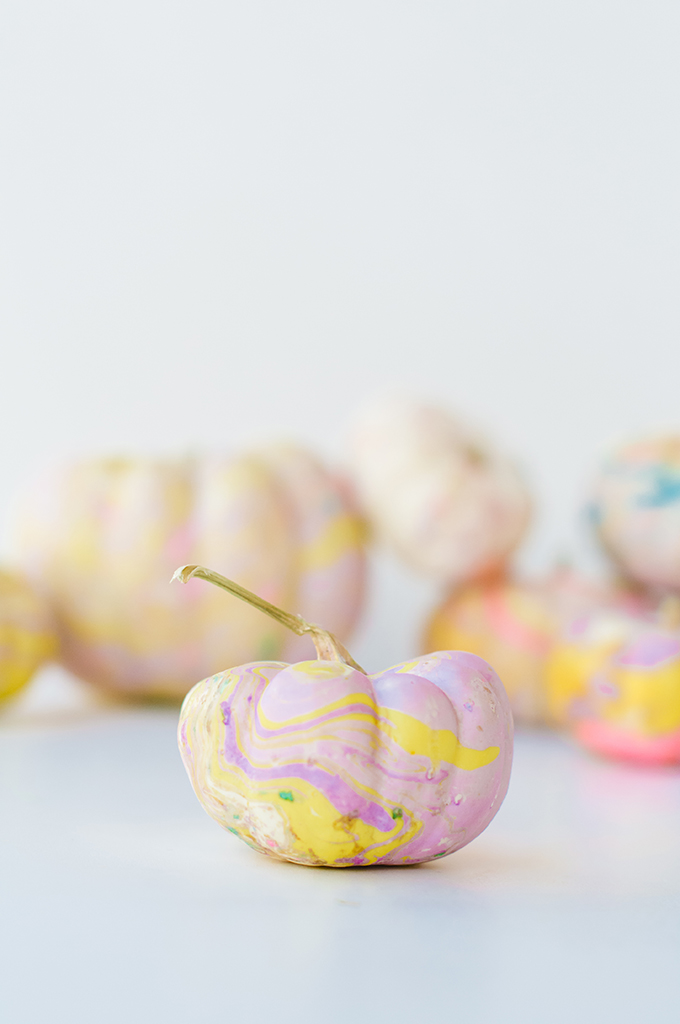
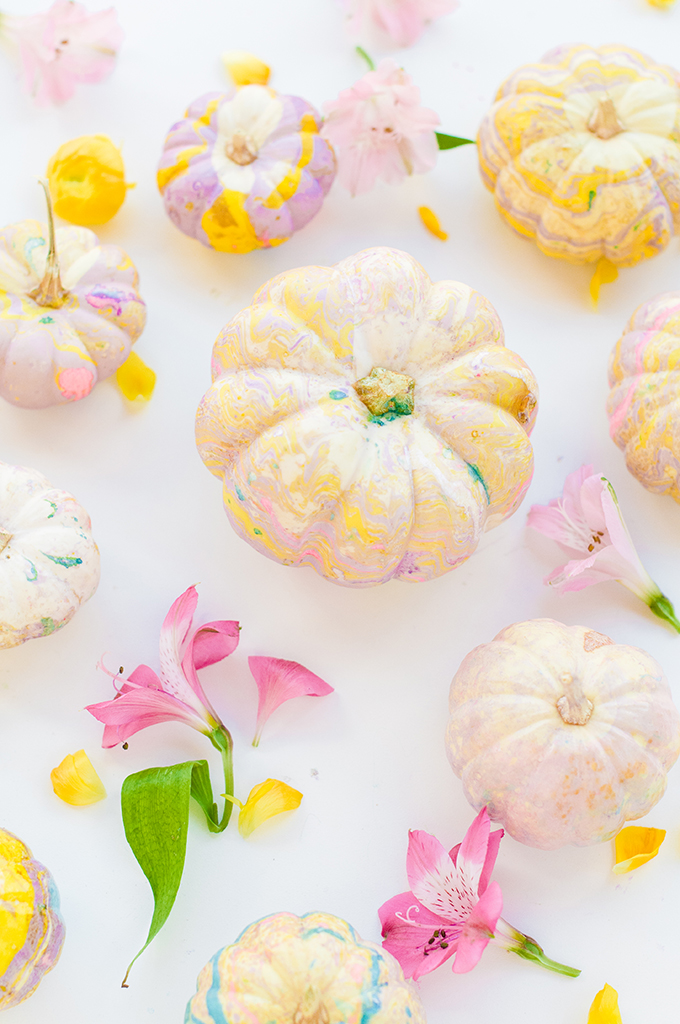
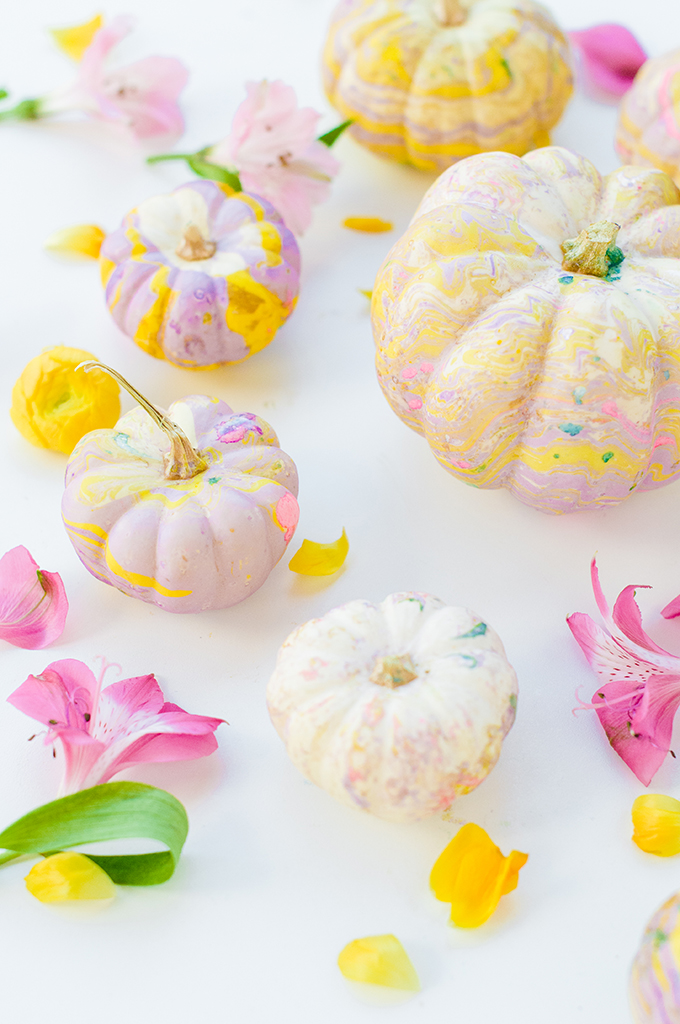
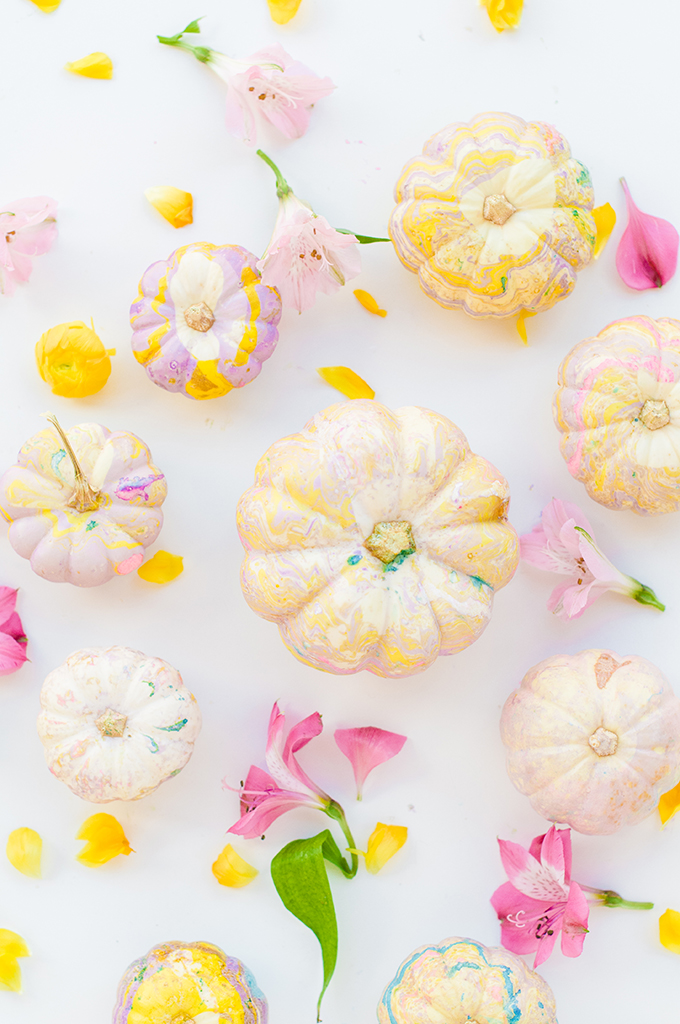
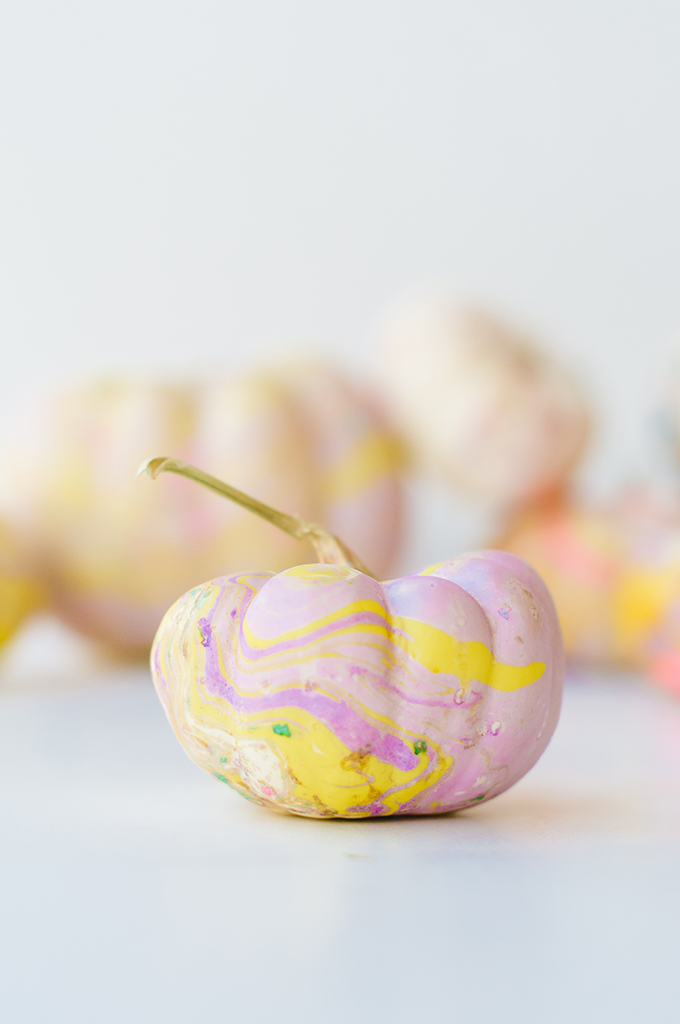
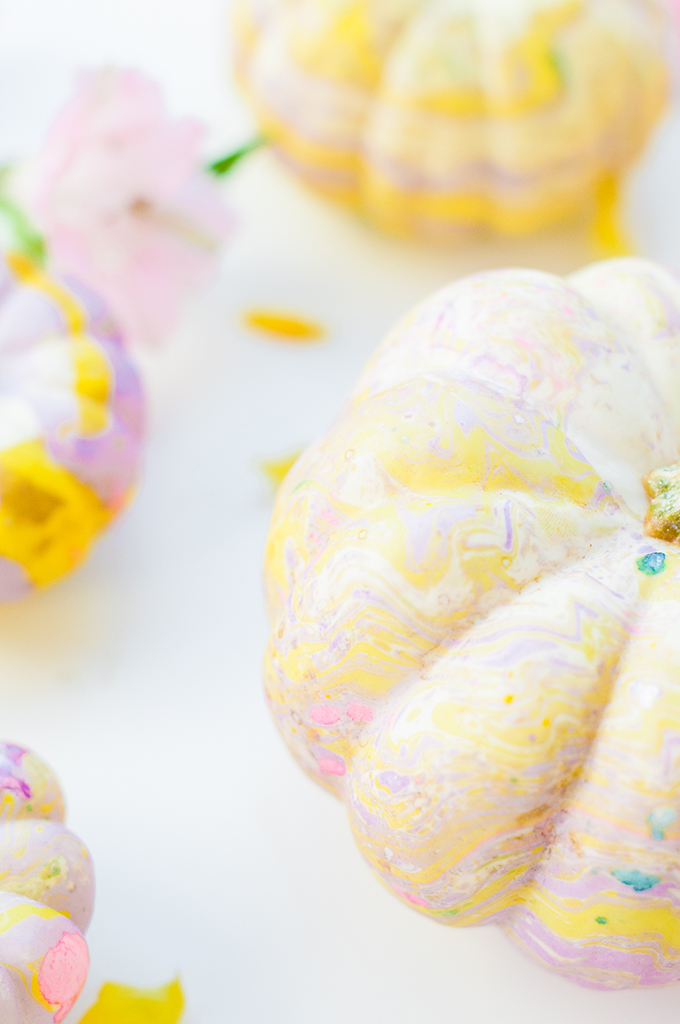
I don’t know about you, but I could definitely keep these out year-round. I’m all for the haunted-looking pumpkins of October, but these pretties deserve a month of their own! Check out some of our other favorite marbling projects right here!
concept, styling, & photography \\ Lexy Ward



These are to cute! Could I use acrylic paint or does it have to be the oil?
Love these, Lex. I am such a sucker for pastels.
So pretty and feminine! Love them