This post is sponsored by The Home Depot
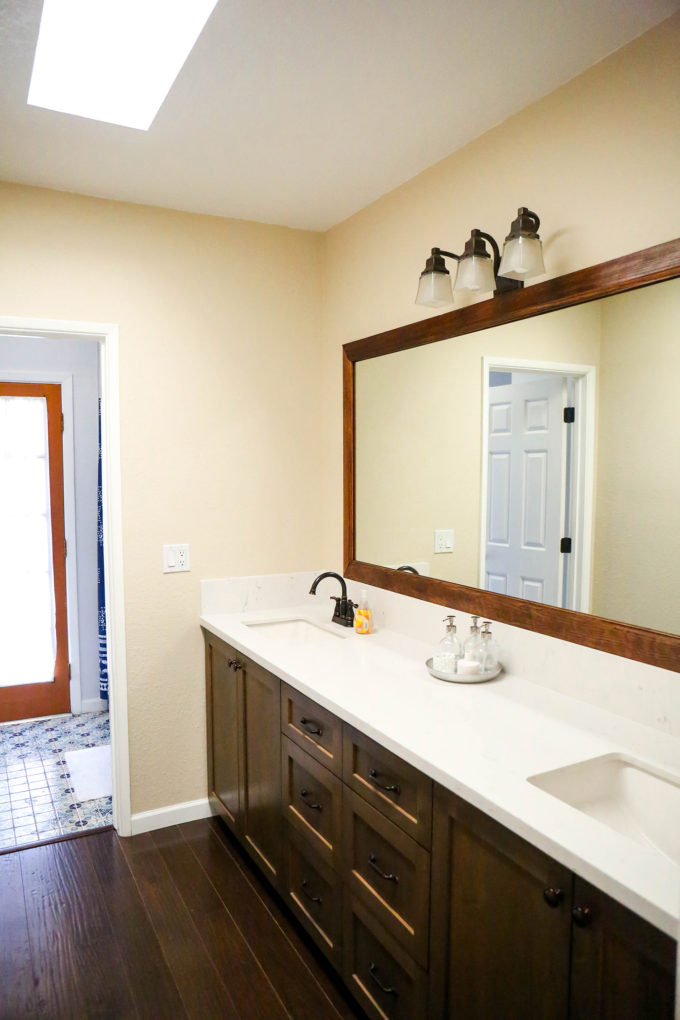 Okay! So yesterday we spilled all about how we bought our first home! Still can’t believe it happened and it’s real and I’m a home-owner with a mortgage, but hooray! We love so much of the home the way it is, but there are a few things that are in need of some updates. We’re fighting the clock trying to get a few things done before baby girl #2 comes. First up? The guest bathroom! This guest bathroom was supposed to be for my grandma so that she wouldn’t have such a high cost of living, so she wouldn’t have to consider using an equity release calculator and we could pay off the mortgage on the house by her selling the house. However, she was incredibly adamant that she didn’t want to move and be independent! When we moved in, the walls were covered with a dark sandy/tan color and all of the hardware was an oil-rubbed bronze. While those are beautiful finishes, they just don’t really feel like “us”. There are skylights all over the house and we wanted to utilize as much of that natural light as possible. I also realized that we didn’t want to spend a ton of money or time updating it, so our DIY weekend guest bath renovation project took hold a few weeks ago and I’m so happy to share what it looks like today!
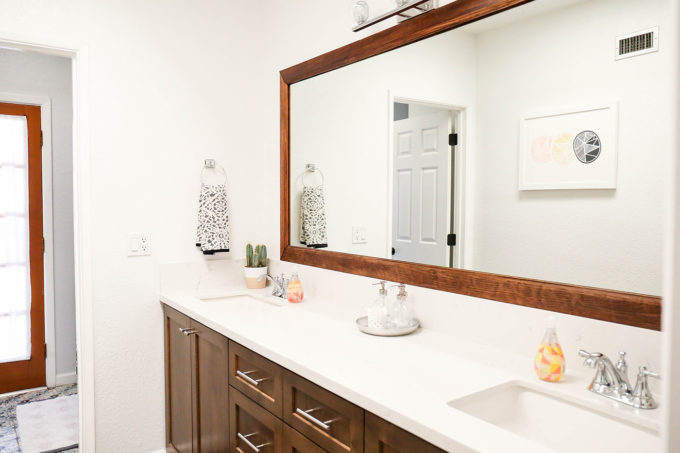 A lot of people become overwhelmed or intimidated at the idea of DIY renovations, but with a few simple updates, we were able to transform the guest bathroom into a bright desert oasis (I should work on Madison Avenue, right?)! Before we got to work changing out the little details, we decided the room needed a coat of bright white paint to bring in as much light as we could. We went with Behr Marquee in WHITE. This white is one of my faves to use as it can pull warm & cool depending on the decor. It works in a variety of spaces and it totally worked with the trim in our bathroom. Everyone wins!
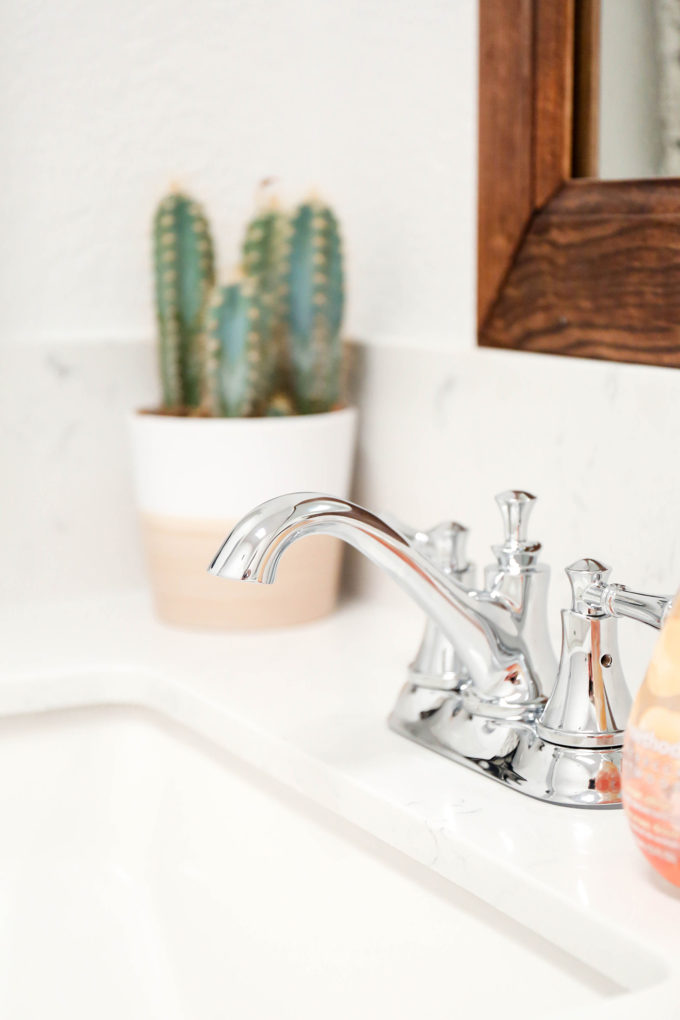
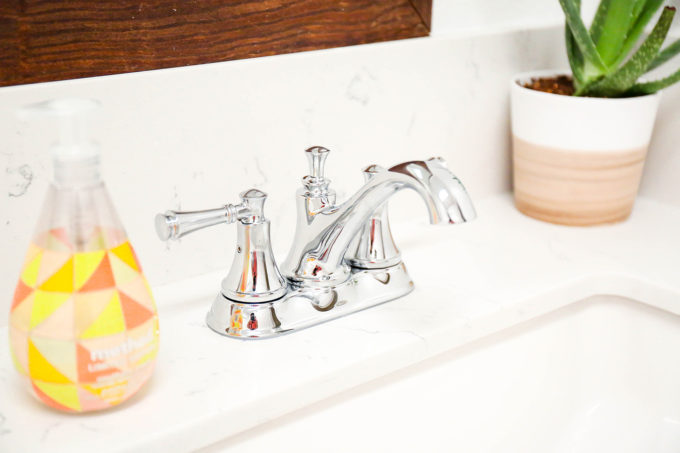
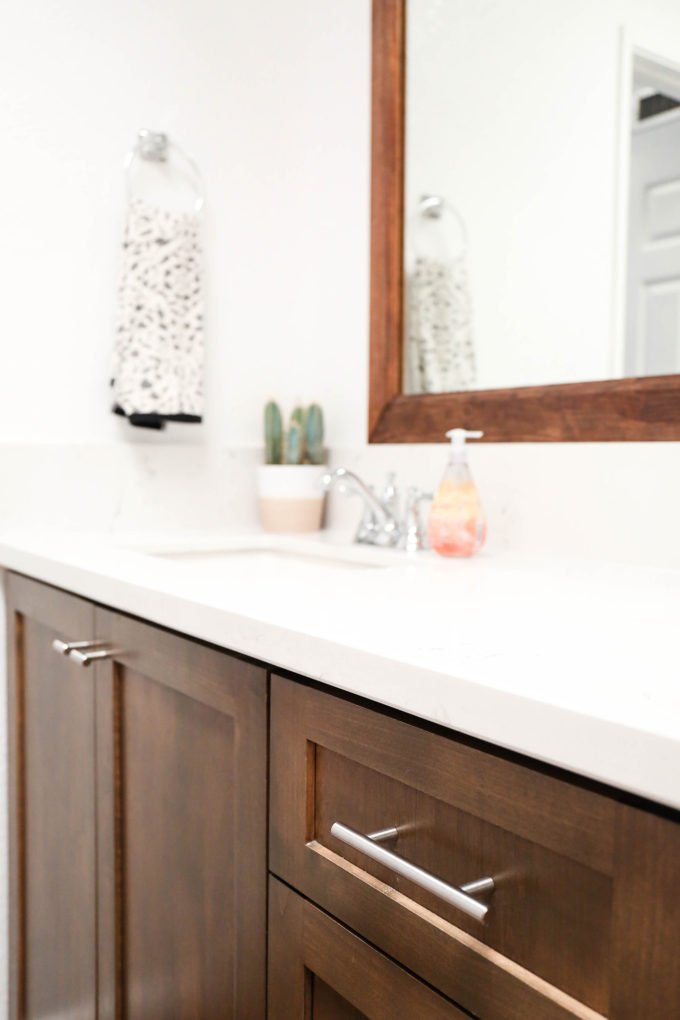
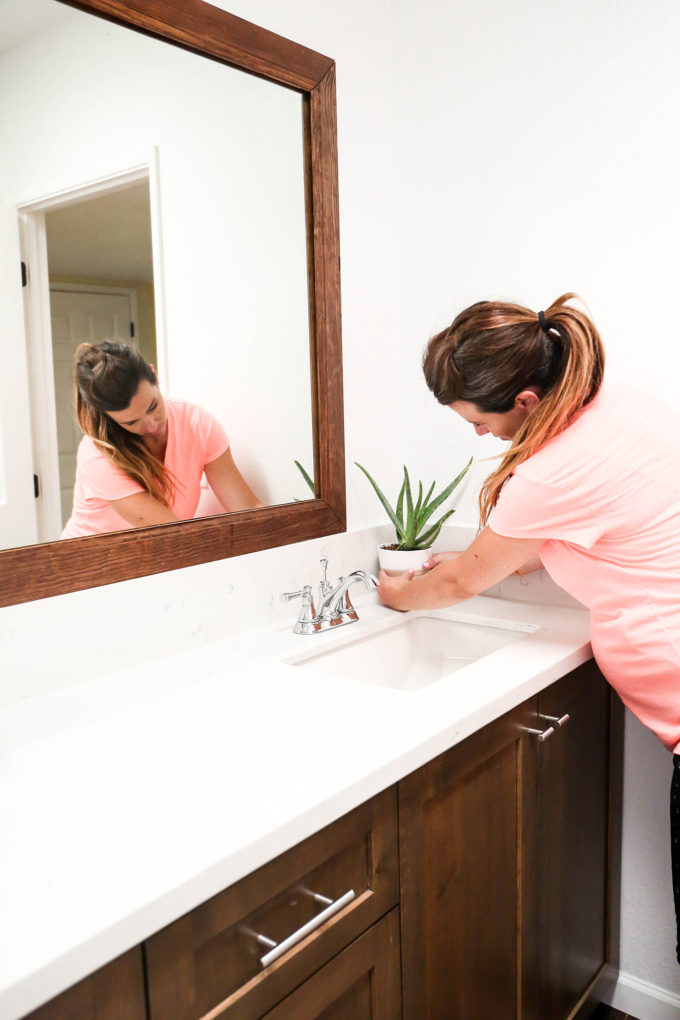
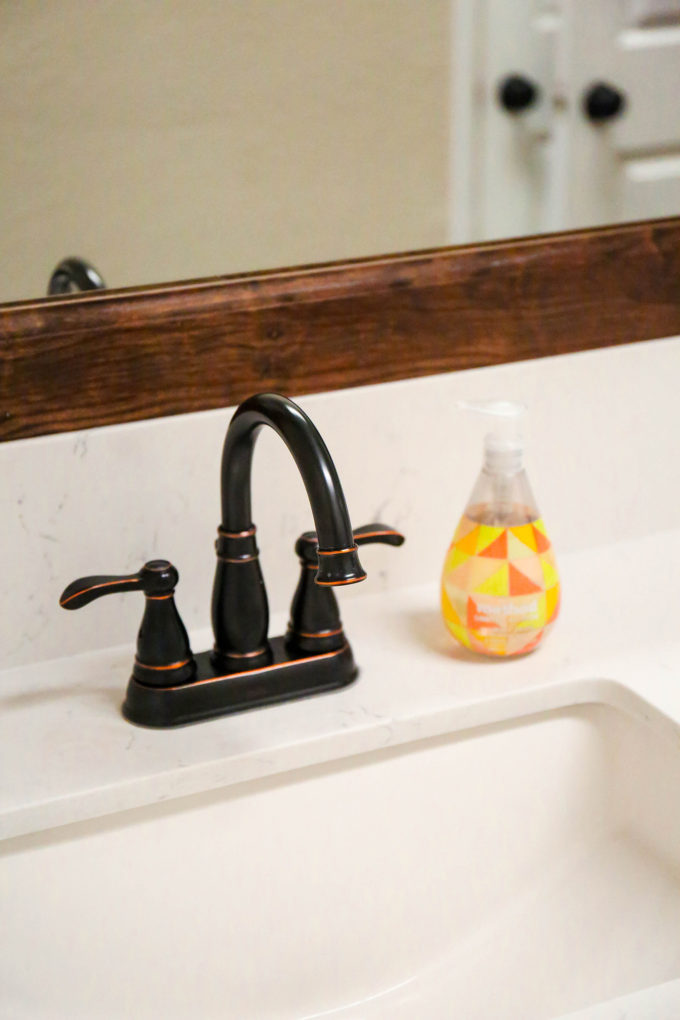 The first thing that had to go was the hardware. We were lucky enough to partner with The Home Depot to choose some new details to complete the project. We removed the old faucets and replaced them with Delta Silverton centerset faucets in chrome to brighten up the sinks.
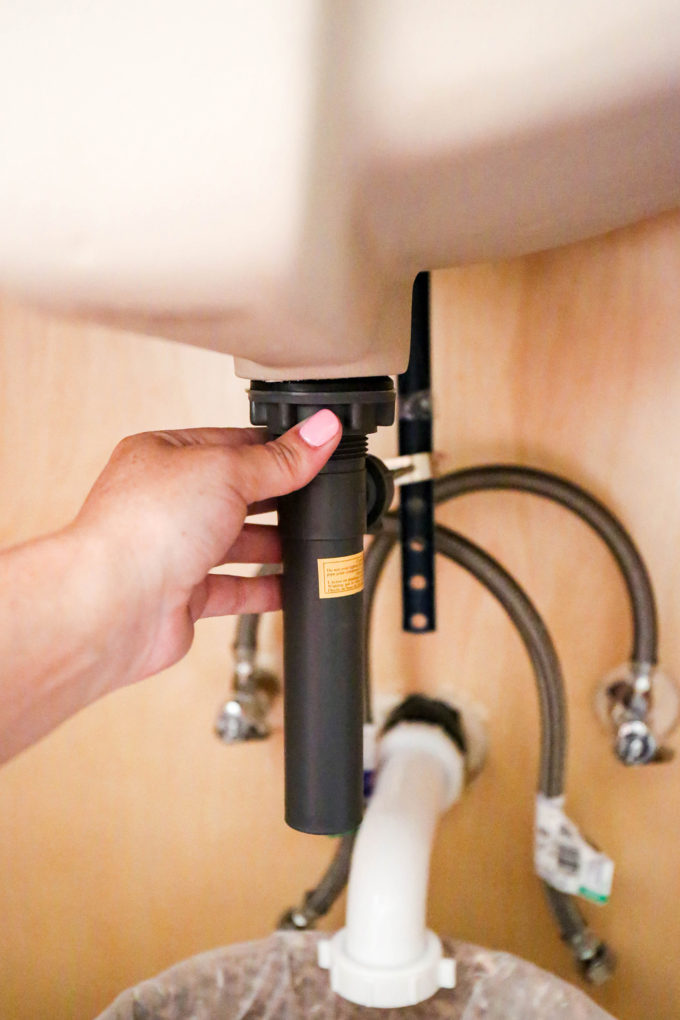 Guys, I would like to take a moment and brag about how I feel like a pregnant plumber. I replaced the faucets myself following a few simple Youtube tutorials like this one and this one! It was honestly much easier than I thought it would be and I’m now confident enough to change every faucet in the house.
I love how the new faucet looks against the countertop! And the water runs and everything! 😉
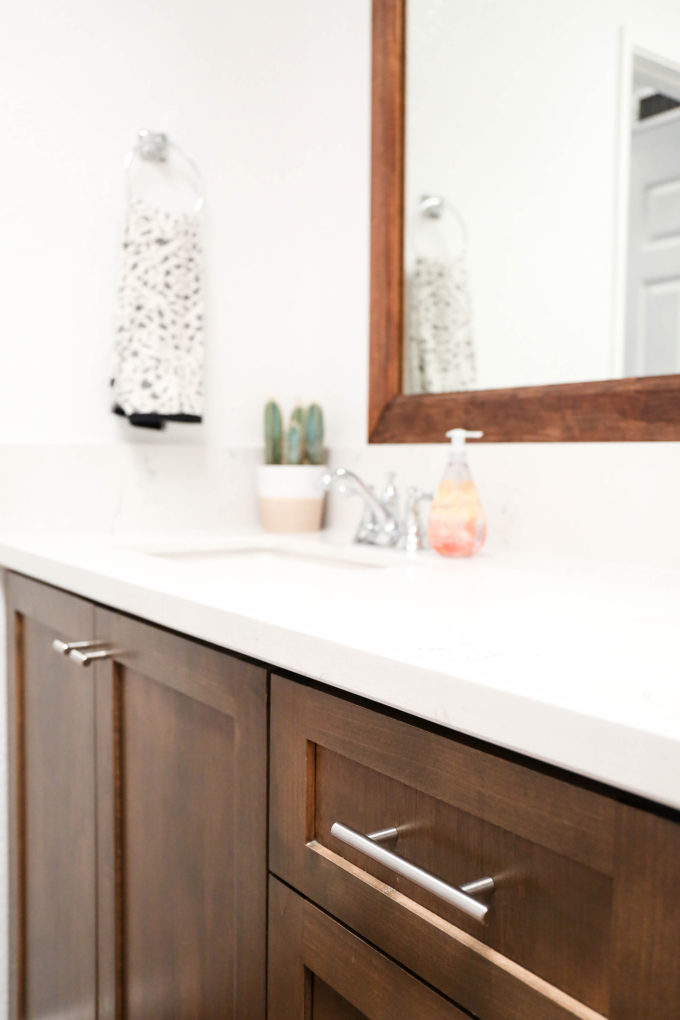
Next up? Switch out the drawer hardware. I wanted everything as sleek as possible and these Laurey polished chrome cabinet pulls were an affordable and stylish option.
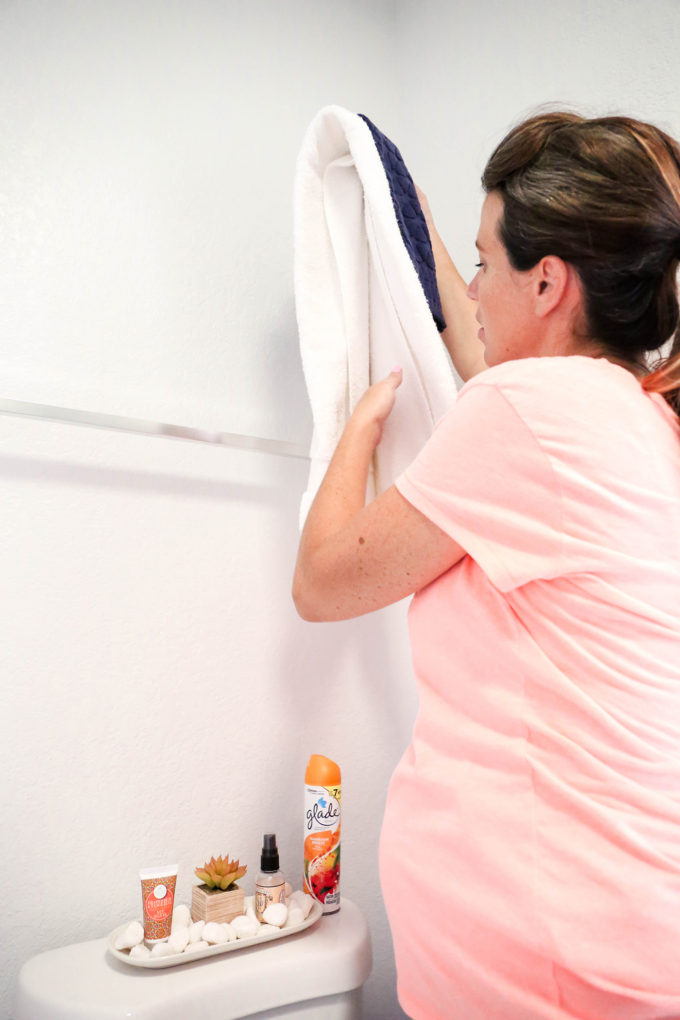 We also changed out the towel rack and toilet paper holder so that everything was chrome and matching. Using the Futura 4-piece bathroom set, everything stayed cohesive. Don’t mind my pregnant-ness.
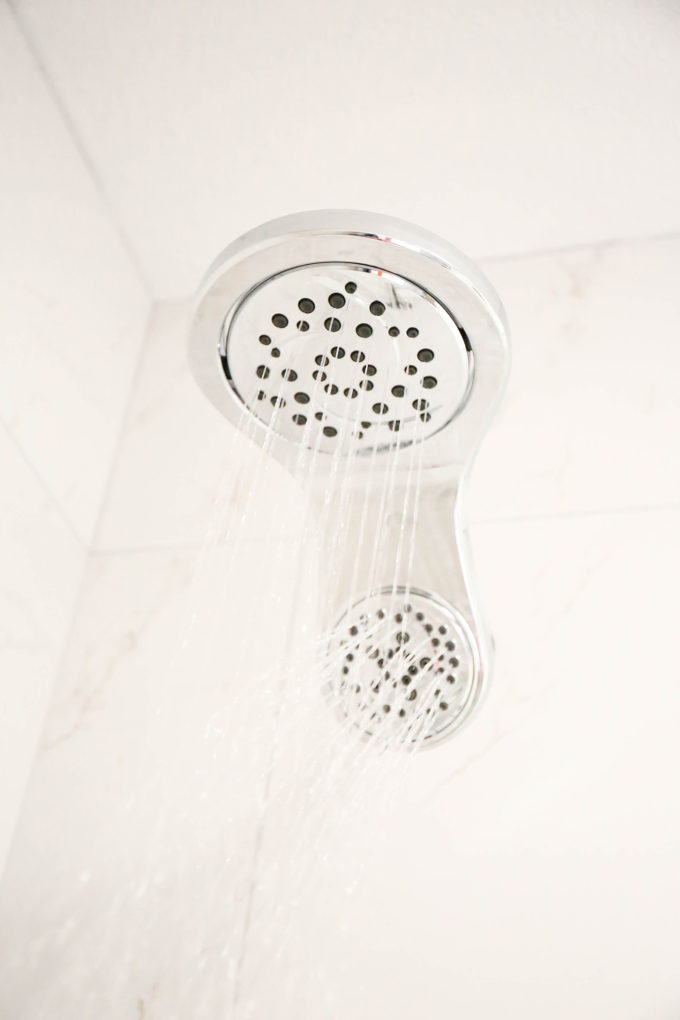
Maybe I’m alone in this, but I HAD to replace the shower head in our bathroom. I just felt like I couldn’t get the old one clean enough and I wanted to start fresh. I also am a bit of a shower snob and like a lot of water. The Delta Hydro Rain 2-in-1 shower head was super easy to install and you can use the raincan and shower head at the same time. At home spa, people.
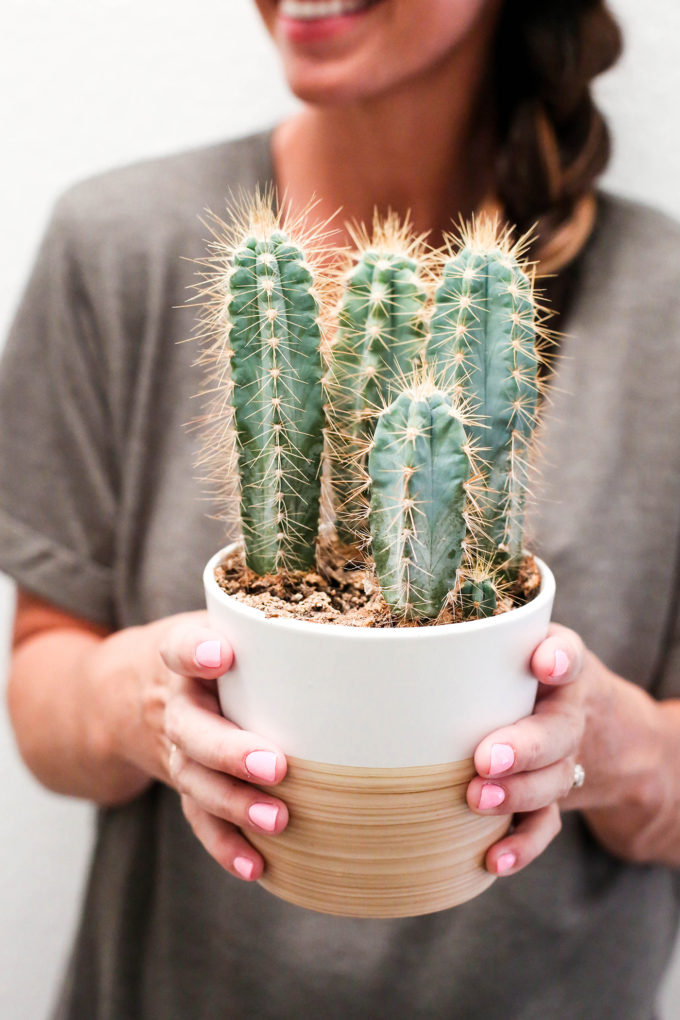
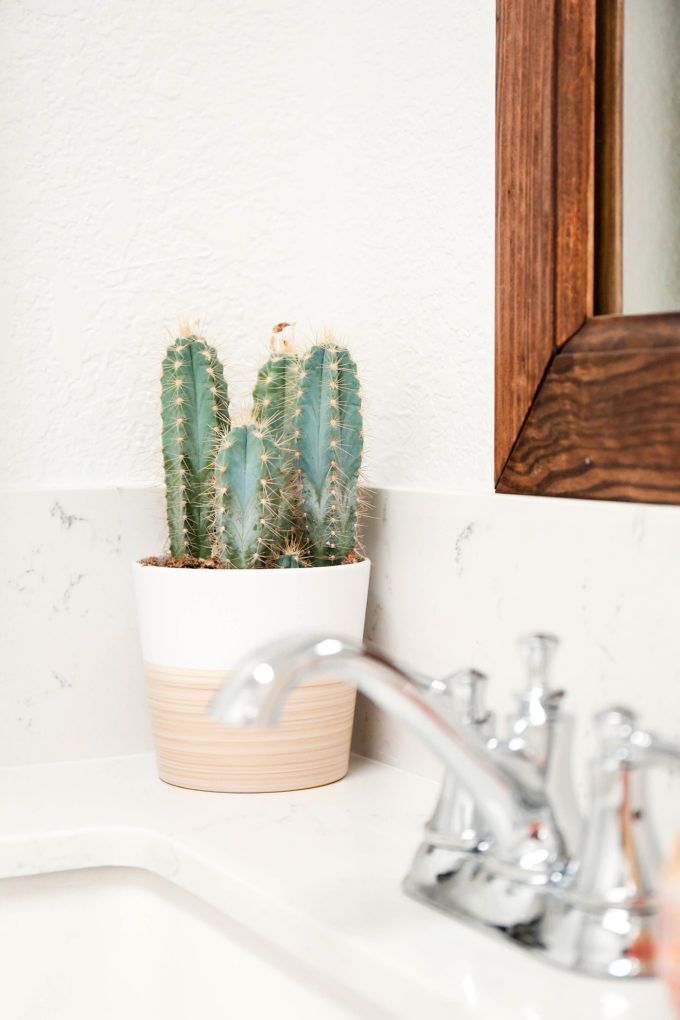 Finally, it was time to style the space and make it feel “ours”! Y’all know how much I love my plants and my cactus obsession. So NATURALLY, we were going to fill the space with some of my faves.
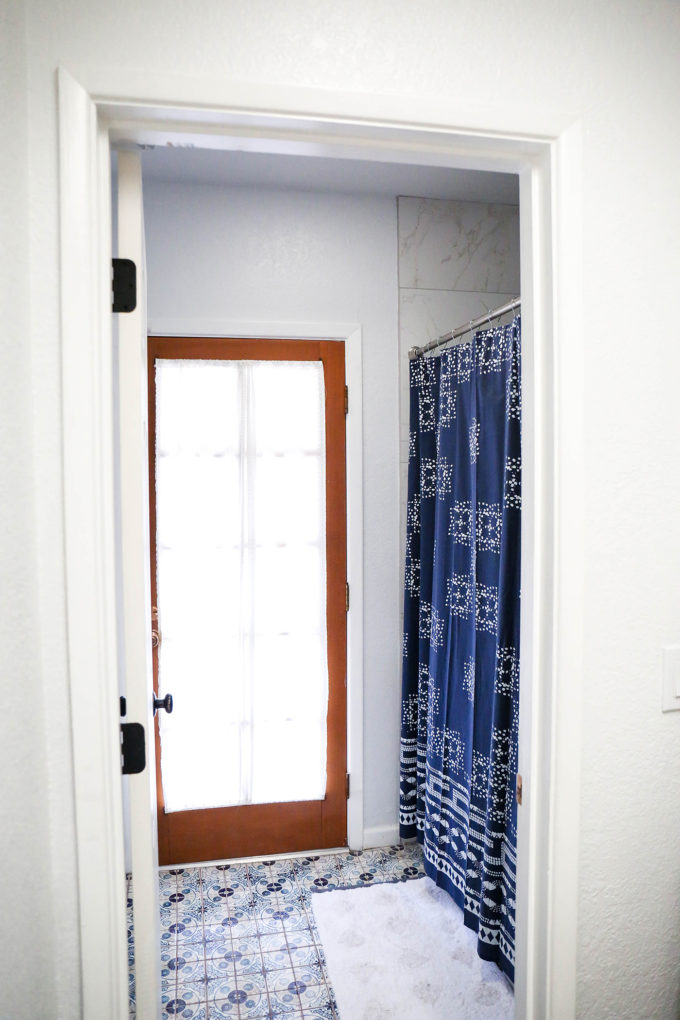
The bathroom off of the vanity was actually in pretty good shape when we moved in. I love that blue tile and wanted to keep it. I was wondering whether to order a glass panel from GlassShowerDirect.com because glass works with anything, luckily, I already had a shower curtain and details to match that cool blue. So I was able to save some money and we were good to go!
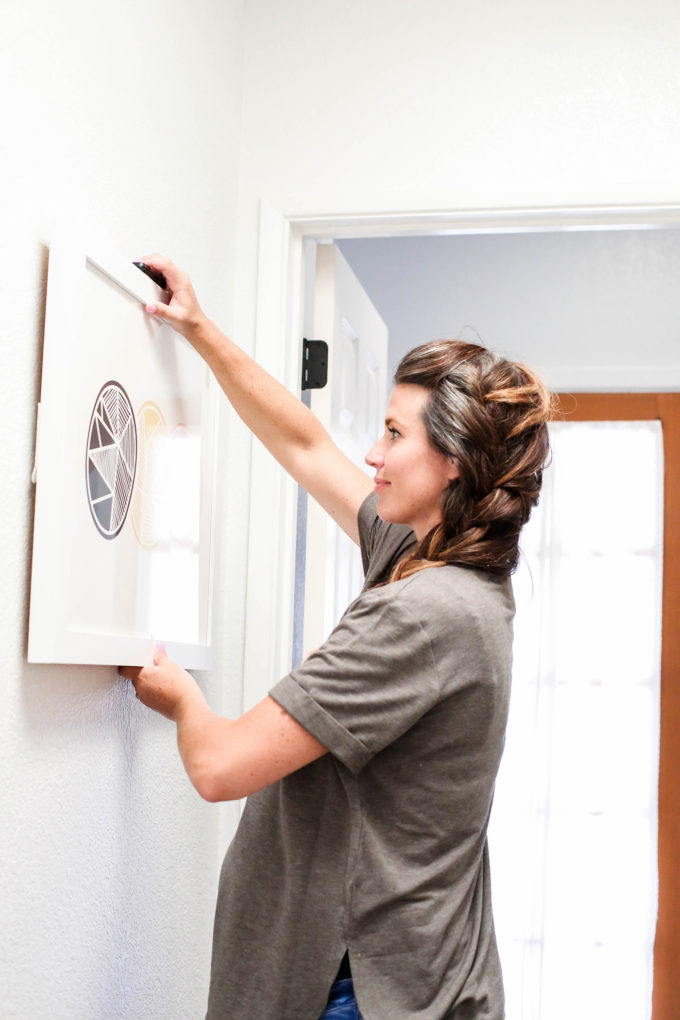 Lastly, I hung one of my favorite prints. Nothing makes a space feel more personal than adding art. I have plans for some shelving, but am in no hurry to do that right now. I love how it turned out!
Let’s take a quick look at the before:
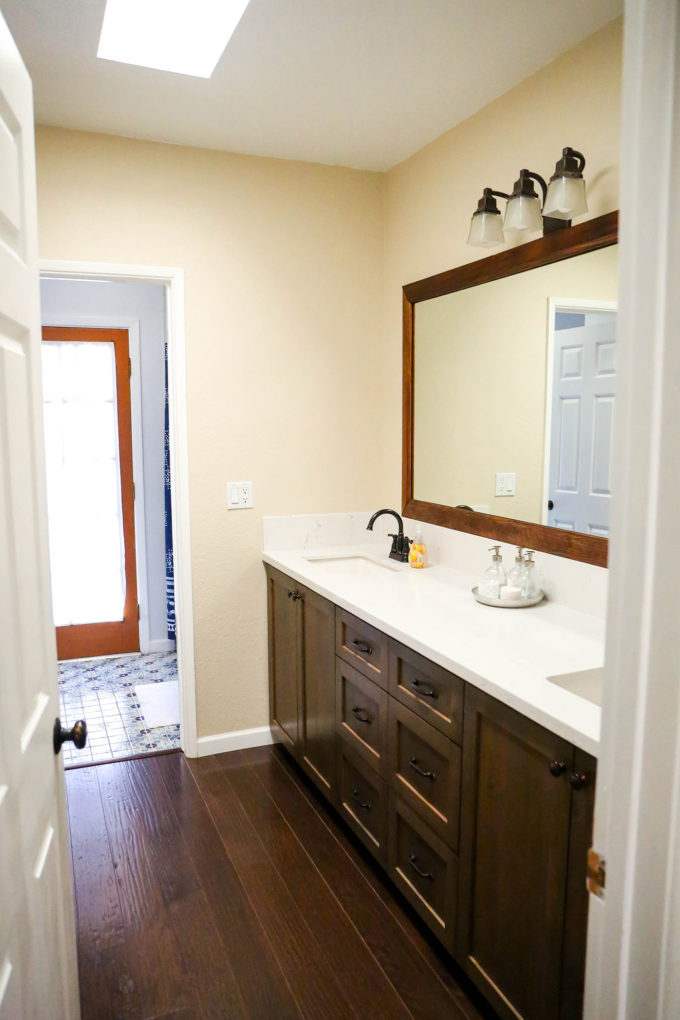 And now here’s the after:
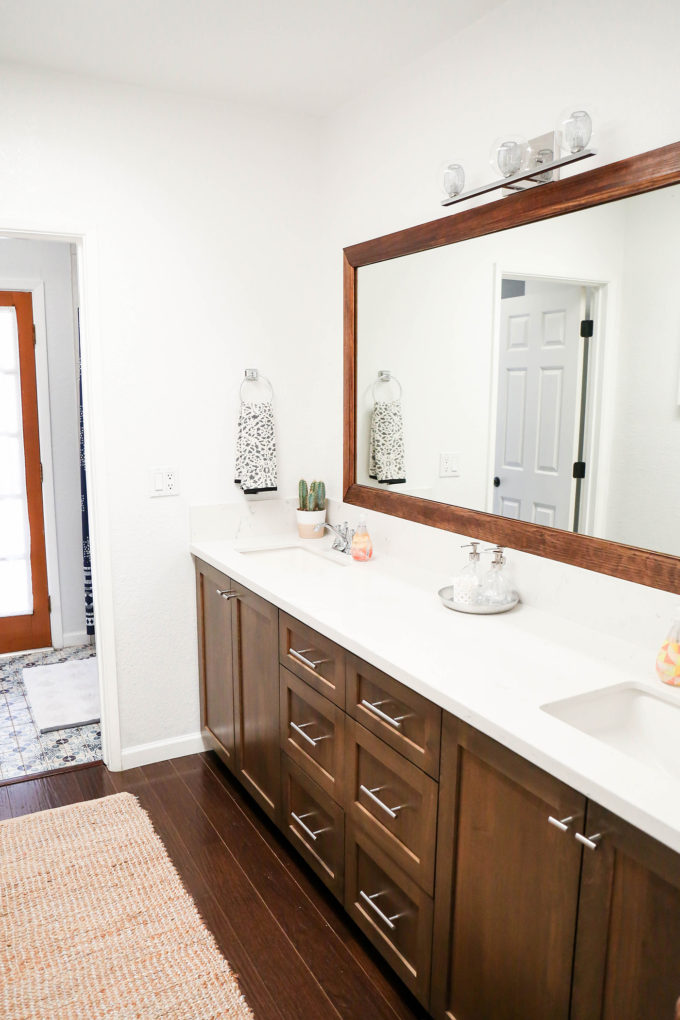
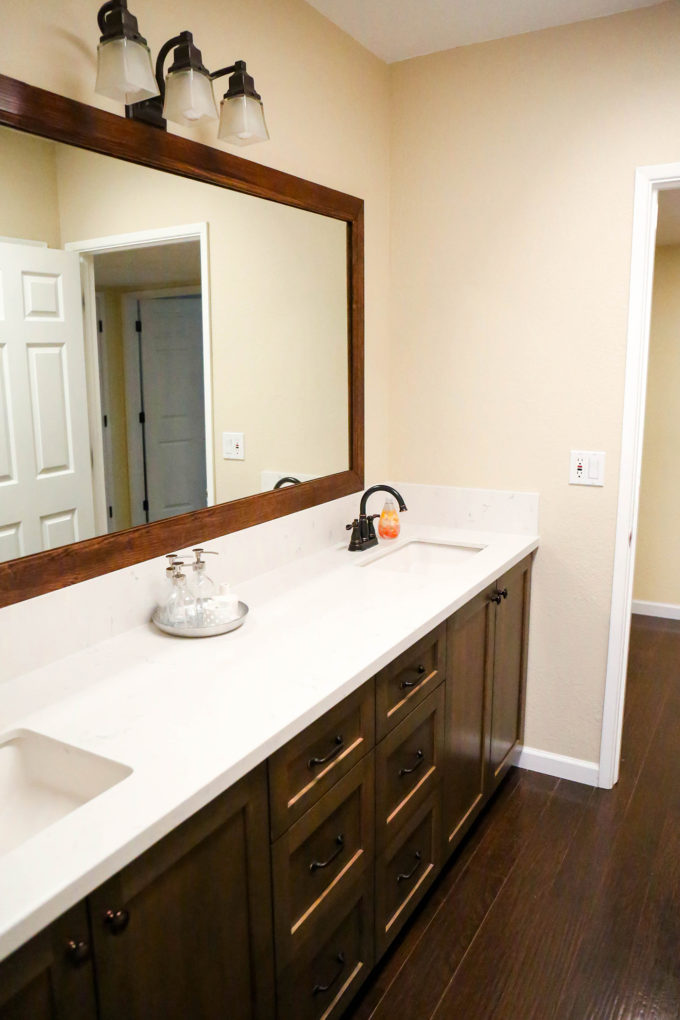
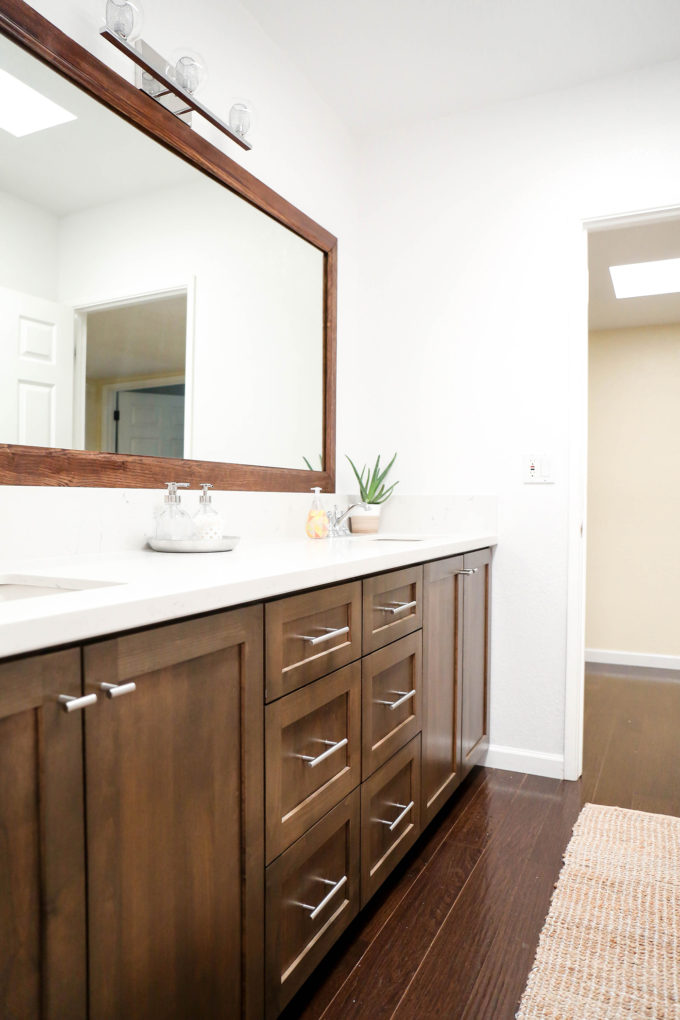 Maybe it’s just me, but the space feels COMPLETELY different! Everything was super easy to install, and the thing that was most time consuming was the paint! And that took only a couple of hours! I feel like this space shows much more of my personality and every update was done in one weekend! I can totally get behind that kind of work. If you want to see even MORE details about this renovation and the nitty gritty, head on over to The Home Depot’s blog today where I’m sharing my Top 3 Weekend Bathroom Updates!
And there you have it! First house project down! Twenty to go! Actually, I hope there won’t be twenty! I’m totally happy to have guests visit now, and I will gladly direct them to this bathroom. Maybe to just hang out in???
Keep up with all our home updates here on the blog and over on social media by following the hashtag #ProperAtHome
styling & photography \\ Lexy Ward
**I acknowledge that The Home Depot is partnering with me to participate in this Bathroom Program. As a part of the program, I am receiving compensation in the form of products and services, for the purpose of promoting The Home Depot. All expressed opinions and experiences are my own words. My post complies with the Word Of Mouth Marketing Association (WOMMA) Ethics Code and applicable Federal Trade Commission guidelines.







So gorgeous! You are inspiring me!
Wow! That definitely looks like a brand new bathroom! So happy for you guys and your new home!