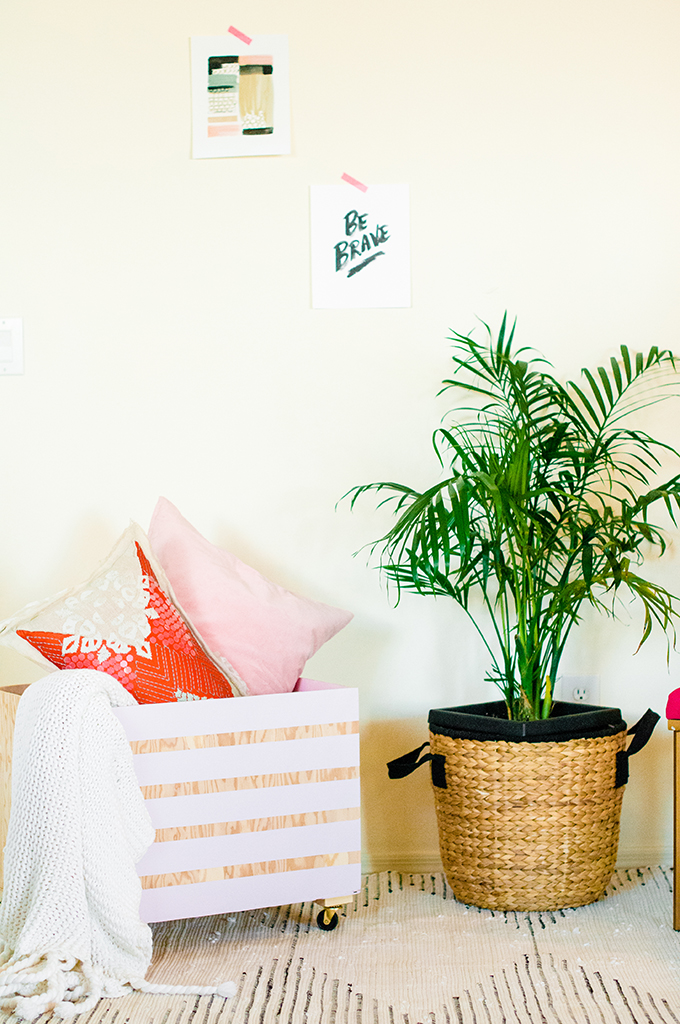
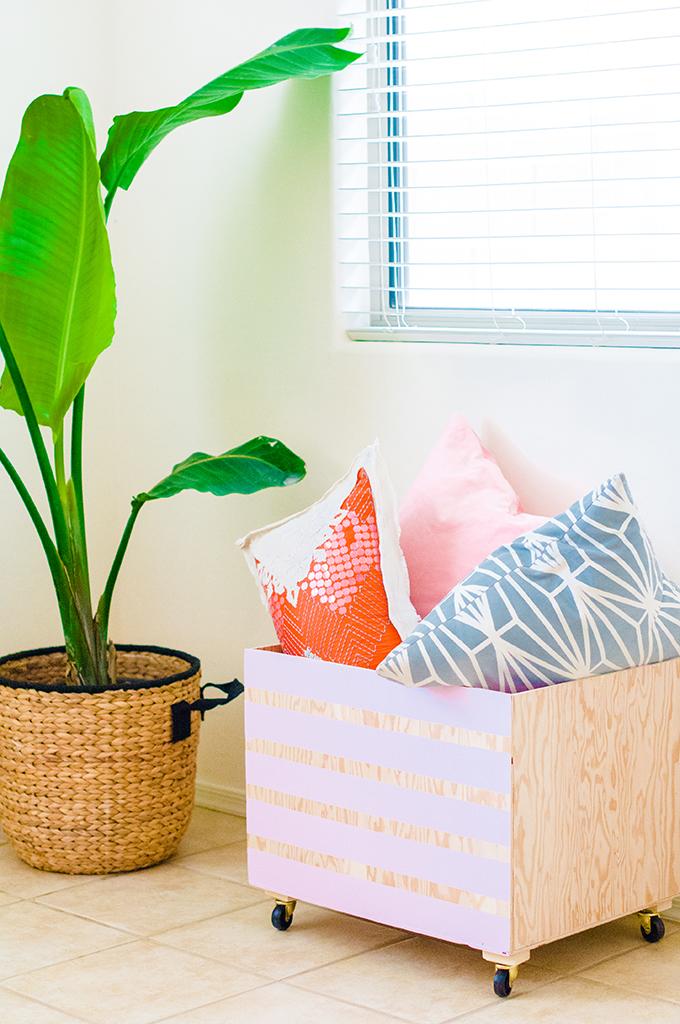
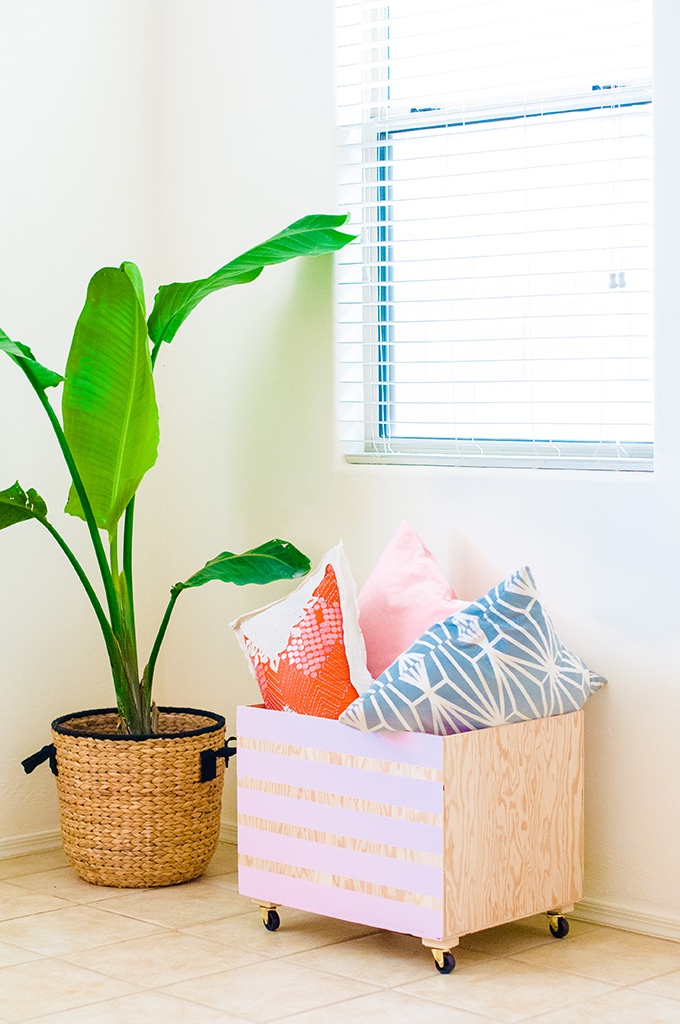
 I have one-too-many pillows. Our couch is covered in them and when guests come over, there’s no where to sit unless we put the pillows on the floor. And I don’t want to put the pillows on the floor!!! Are ya kidding me?! As we slowly settle into our new place, we’re working to build a few custom pieces like shelves, tables, and what-nots. My latest trick was to build a few portable options to toss blankets, pillows, and all the other random things we get in our living room. This minimalist wood storage bin is easy to make (hello, afternoon project!) and completely customizable! And I may have to crank out a few more because we just picked up a new (actually quite old, but super sturdy!) table saw last weekend and I plan to exhaust that sucker!
Make Your Own Minimalist Wood Storage Bins
- 1/4 ” thick plywood cut into 5 pieces ( A: two measuring: 22″ x 16″, B: two measuring 16″ x 15″, and C: one measuring 22″ x 16.5″)
- 30-40 nails
- wood glue
- hammer
- 30-40 nails
- paint, painter’s tape, and brush
- 4 castor wheels
- 4 1.5″ thick squares of wood that measure a bit bigger than the length of your castor wheels
- 16 screws (measuring 7/8″)
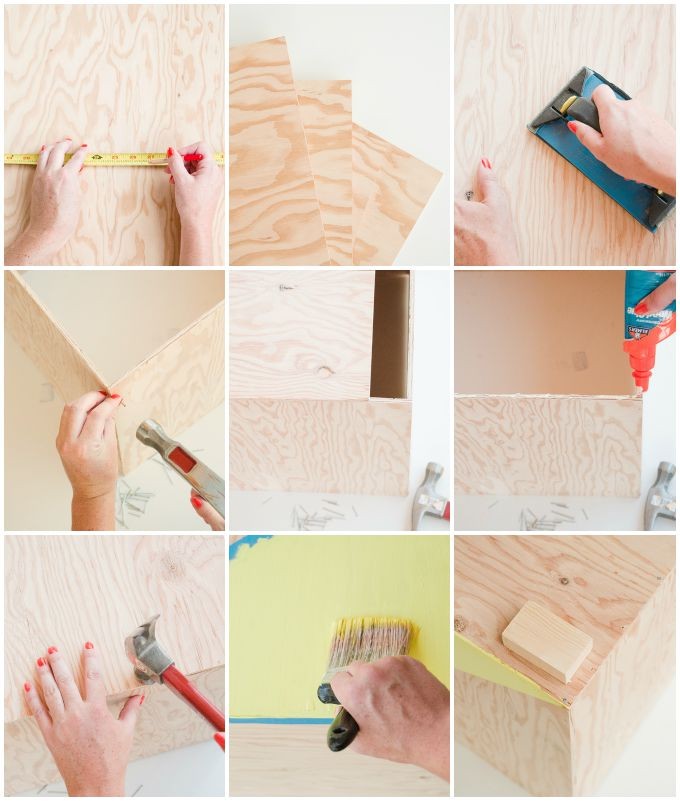
Start by cutting and sanding each piece of plywood. Take your A & B boards and glue and nail them together being sure to align your edges as best you can. If they don’t match perfectly, simply sand or plane them down. Once the A & B boards are nailed together, fit the bottom with piece C. Again, if it doesn’t match perfectly, sand or plane down. Tip: use fast-drying wood glue so you can nail things down in about 20-30 minutes!
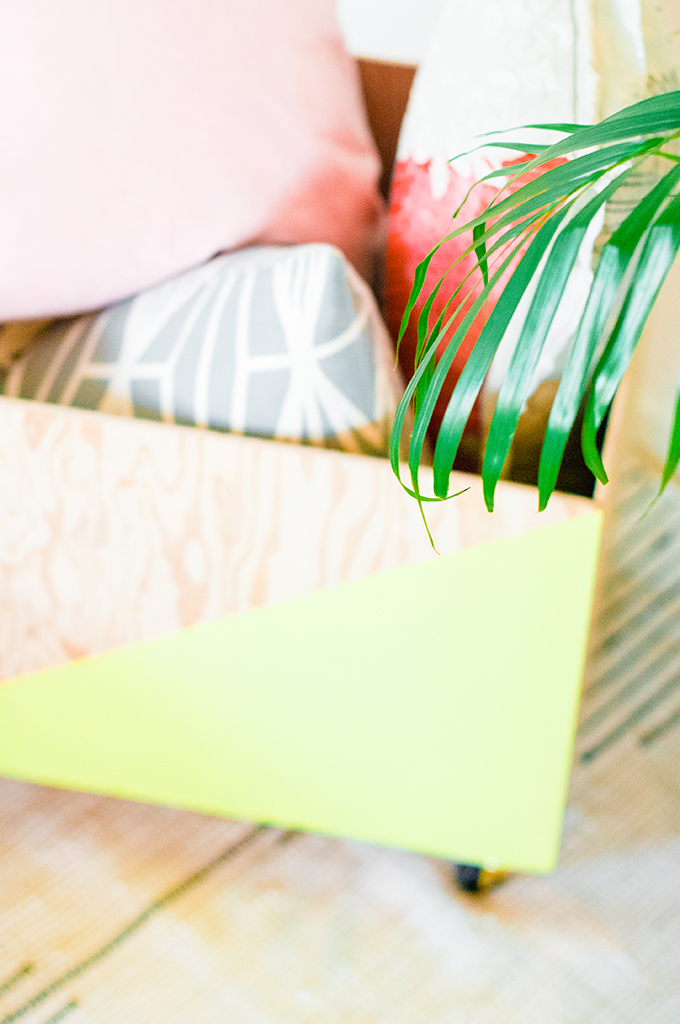
After adding the bottom board, you should have a simple box. Sand all the edges until smooth and paint how you see fit! I added stripes to one side, a diagonal line to the other,and painted one whole board on the inside, and added a few circles. I chose to keep it pretty simple because I love the clean and natural look of plywood.
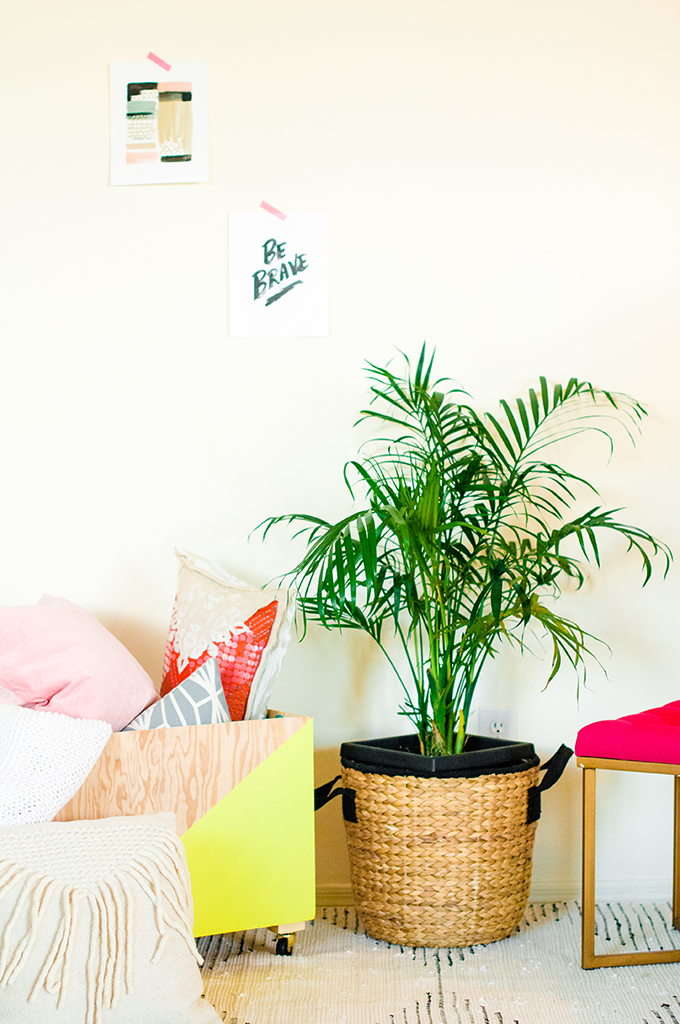
Once your paint has dried, glue and nail each of the 4 small pieces of wood to the bottom of the bin. Once they’re set in place, attach the castor wheels with the screws.
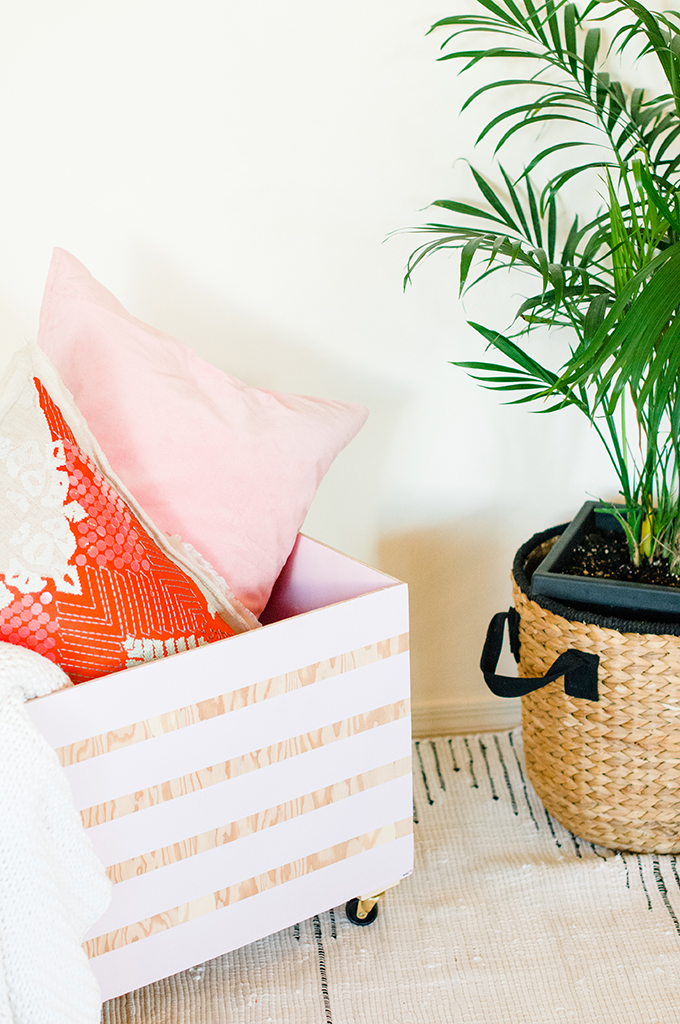
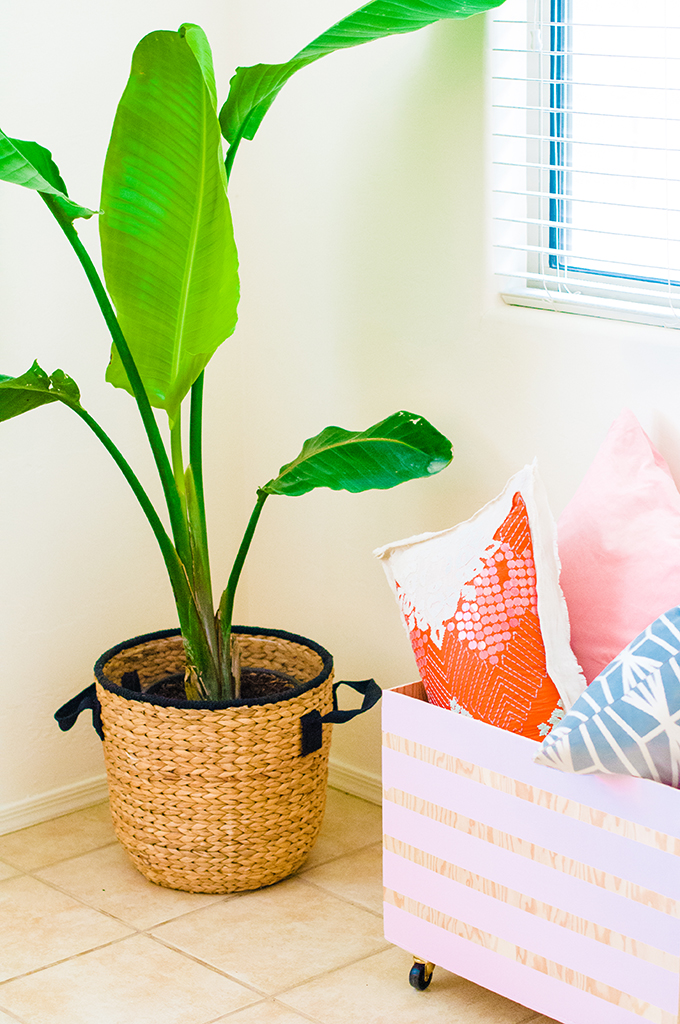
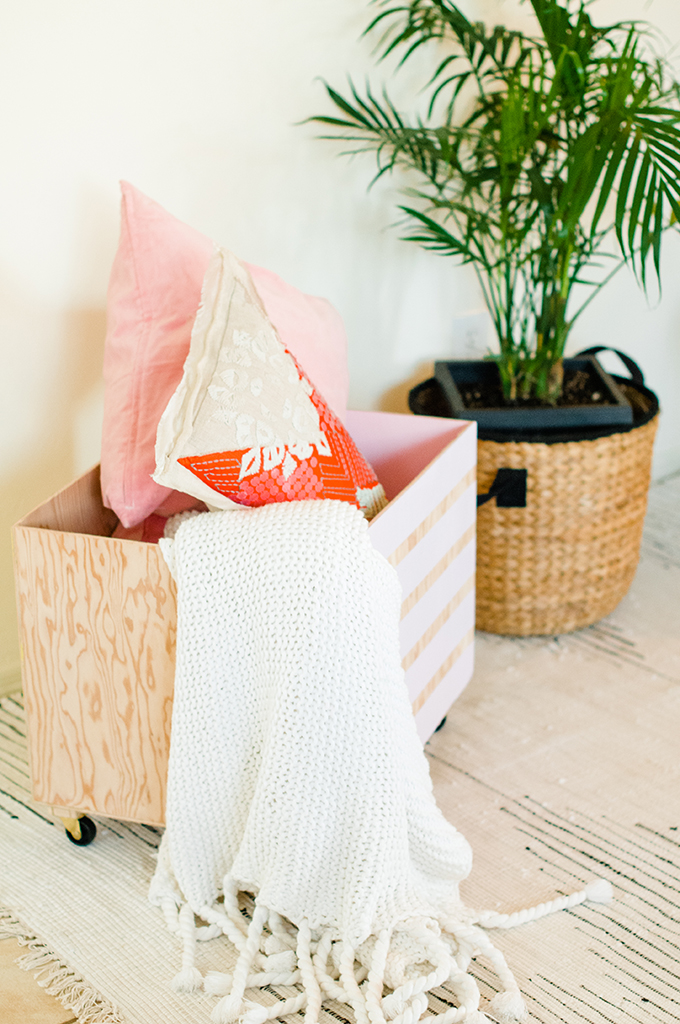
And voila! A simple storage bin that’s perfect to hold all the extra pillows I know you’re hoarding. At least, I hope you’re hoarding, so I’m not alone!
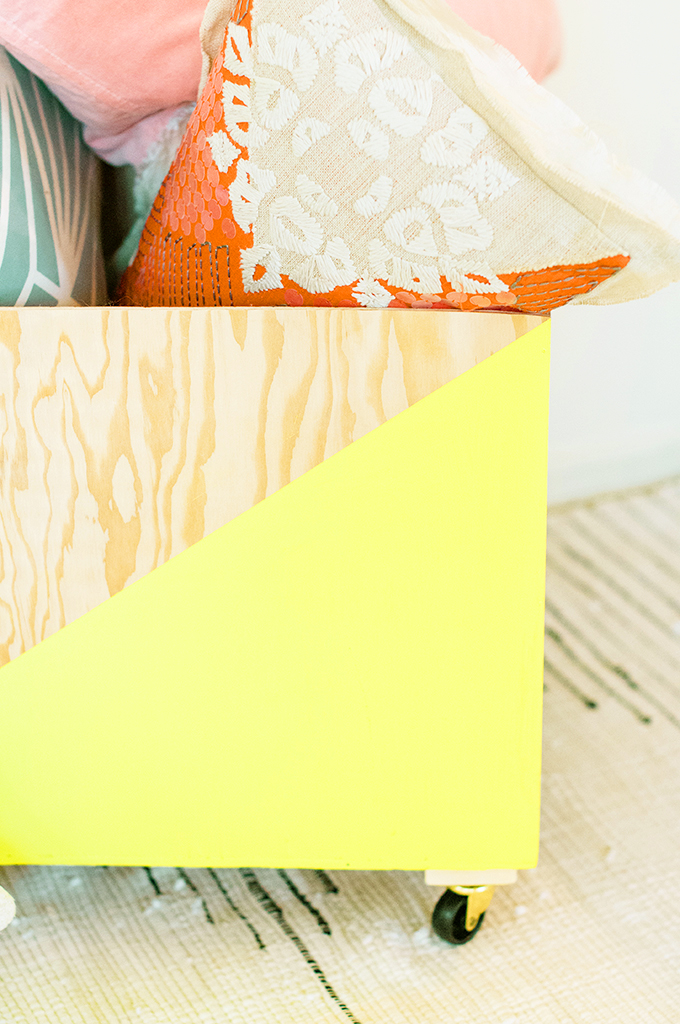
Wheels just make every item of furniture better. This bin has been pulling double-duty these last few days as we wheel it from room to room using it as a catch-all!
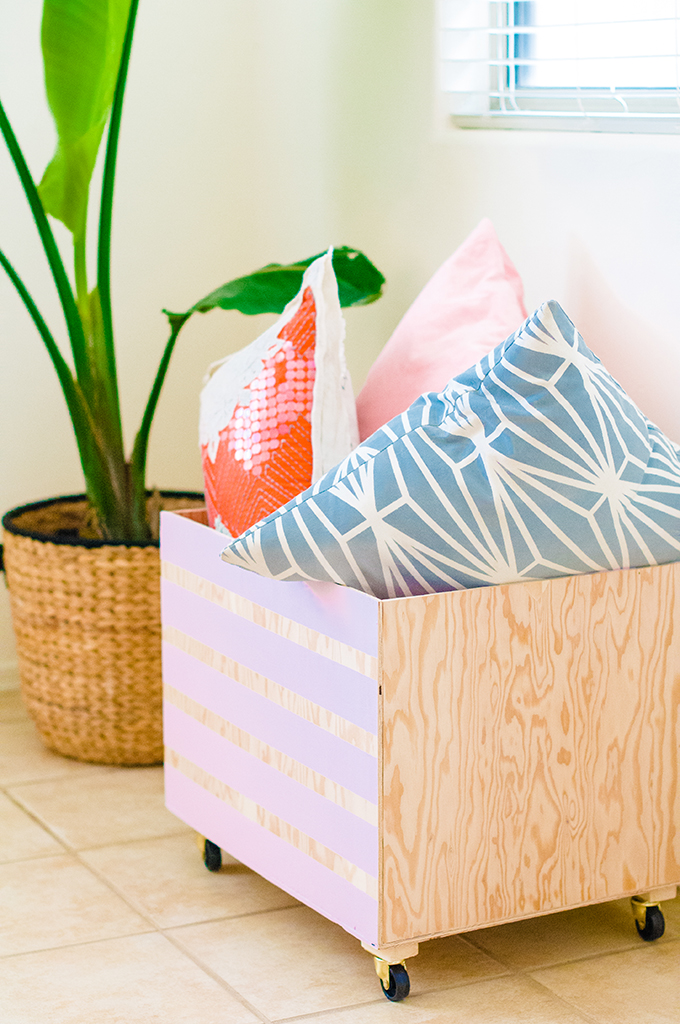
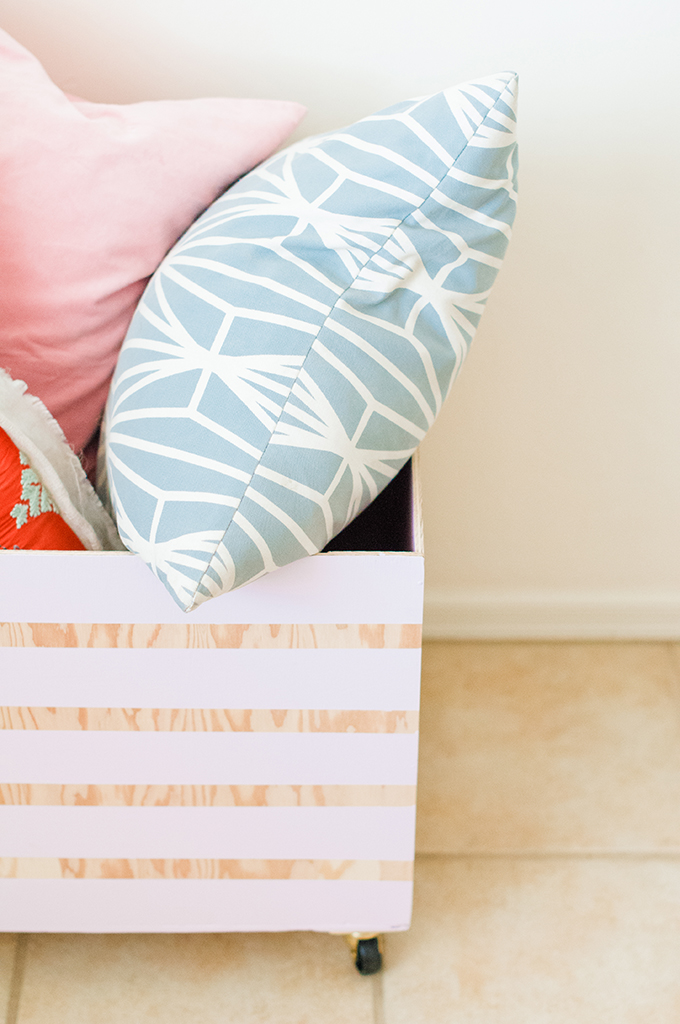
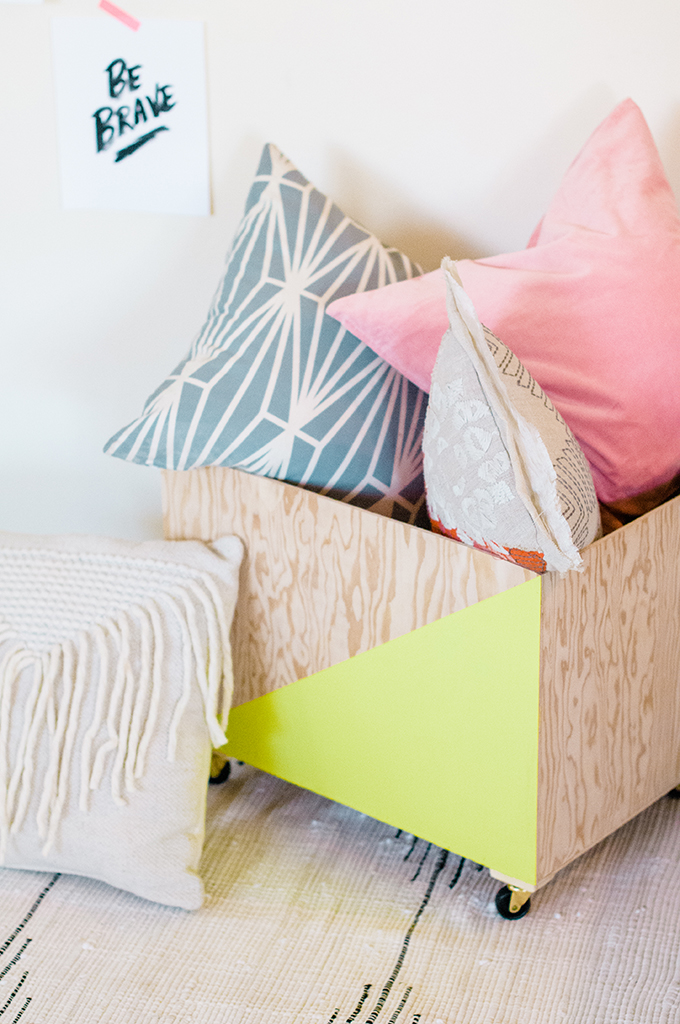
We’ve got some plans to bring more woody DIY projects to the blog so ready yourselves! I’m thinking of creating a wardrobe consisting of items that work well with sawdust. Totally normal to think about, right? What do you think? Raise your hand and say, “yes” if you’re into all things wooden! We’ve got some amazing shelves coming up real soon so stay tuned and check for sneak peeks on Instagram!
photography & styling \\ Lexy Ward







Oh I just adore this project!!! So beautiful.
Thank you so much, Malissa! I’m so glad you like it! 🙂
WOW! This is something super amazing DIY project. Such an amazing and worth doing DIY. So, this weekend I have a big project to accomplish. Loads of thanks.