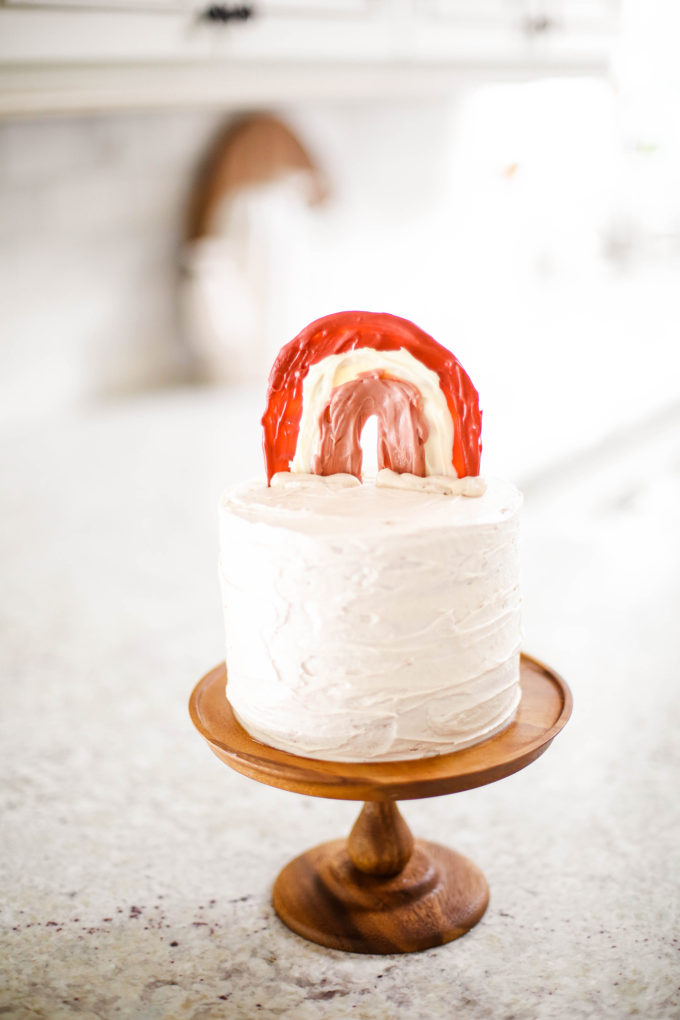
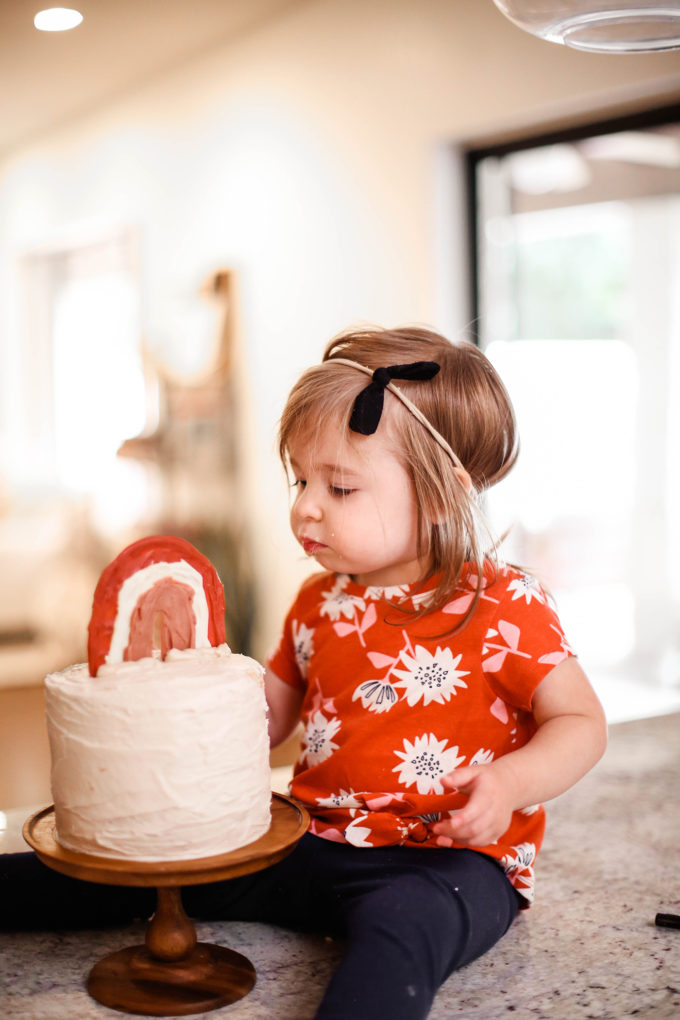
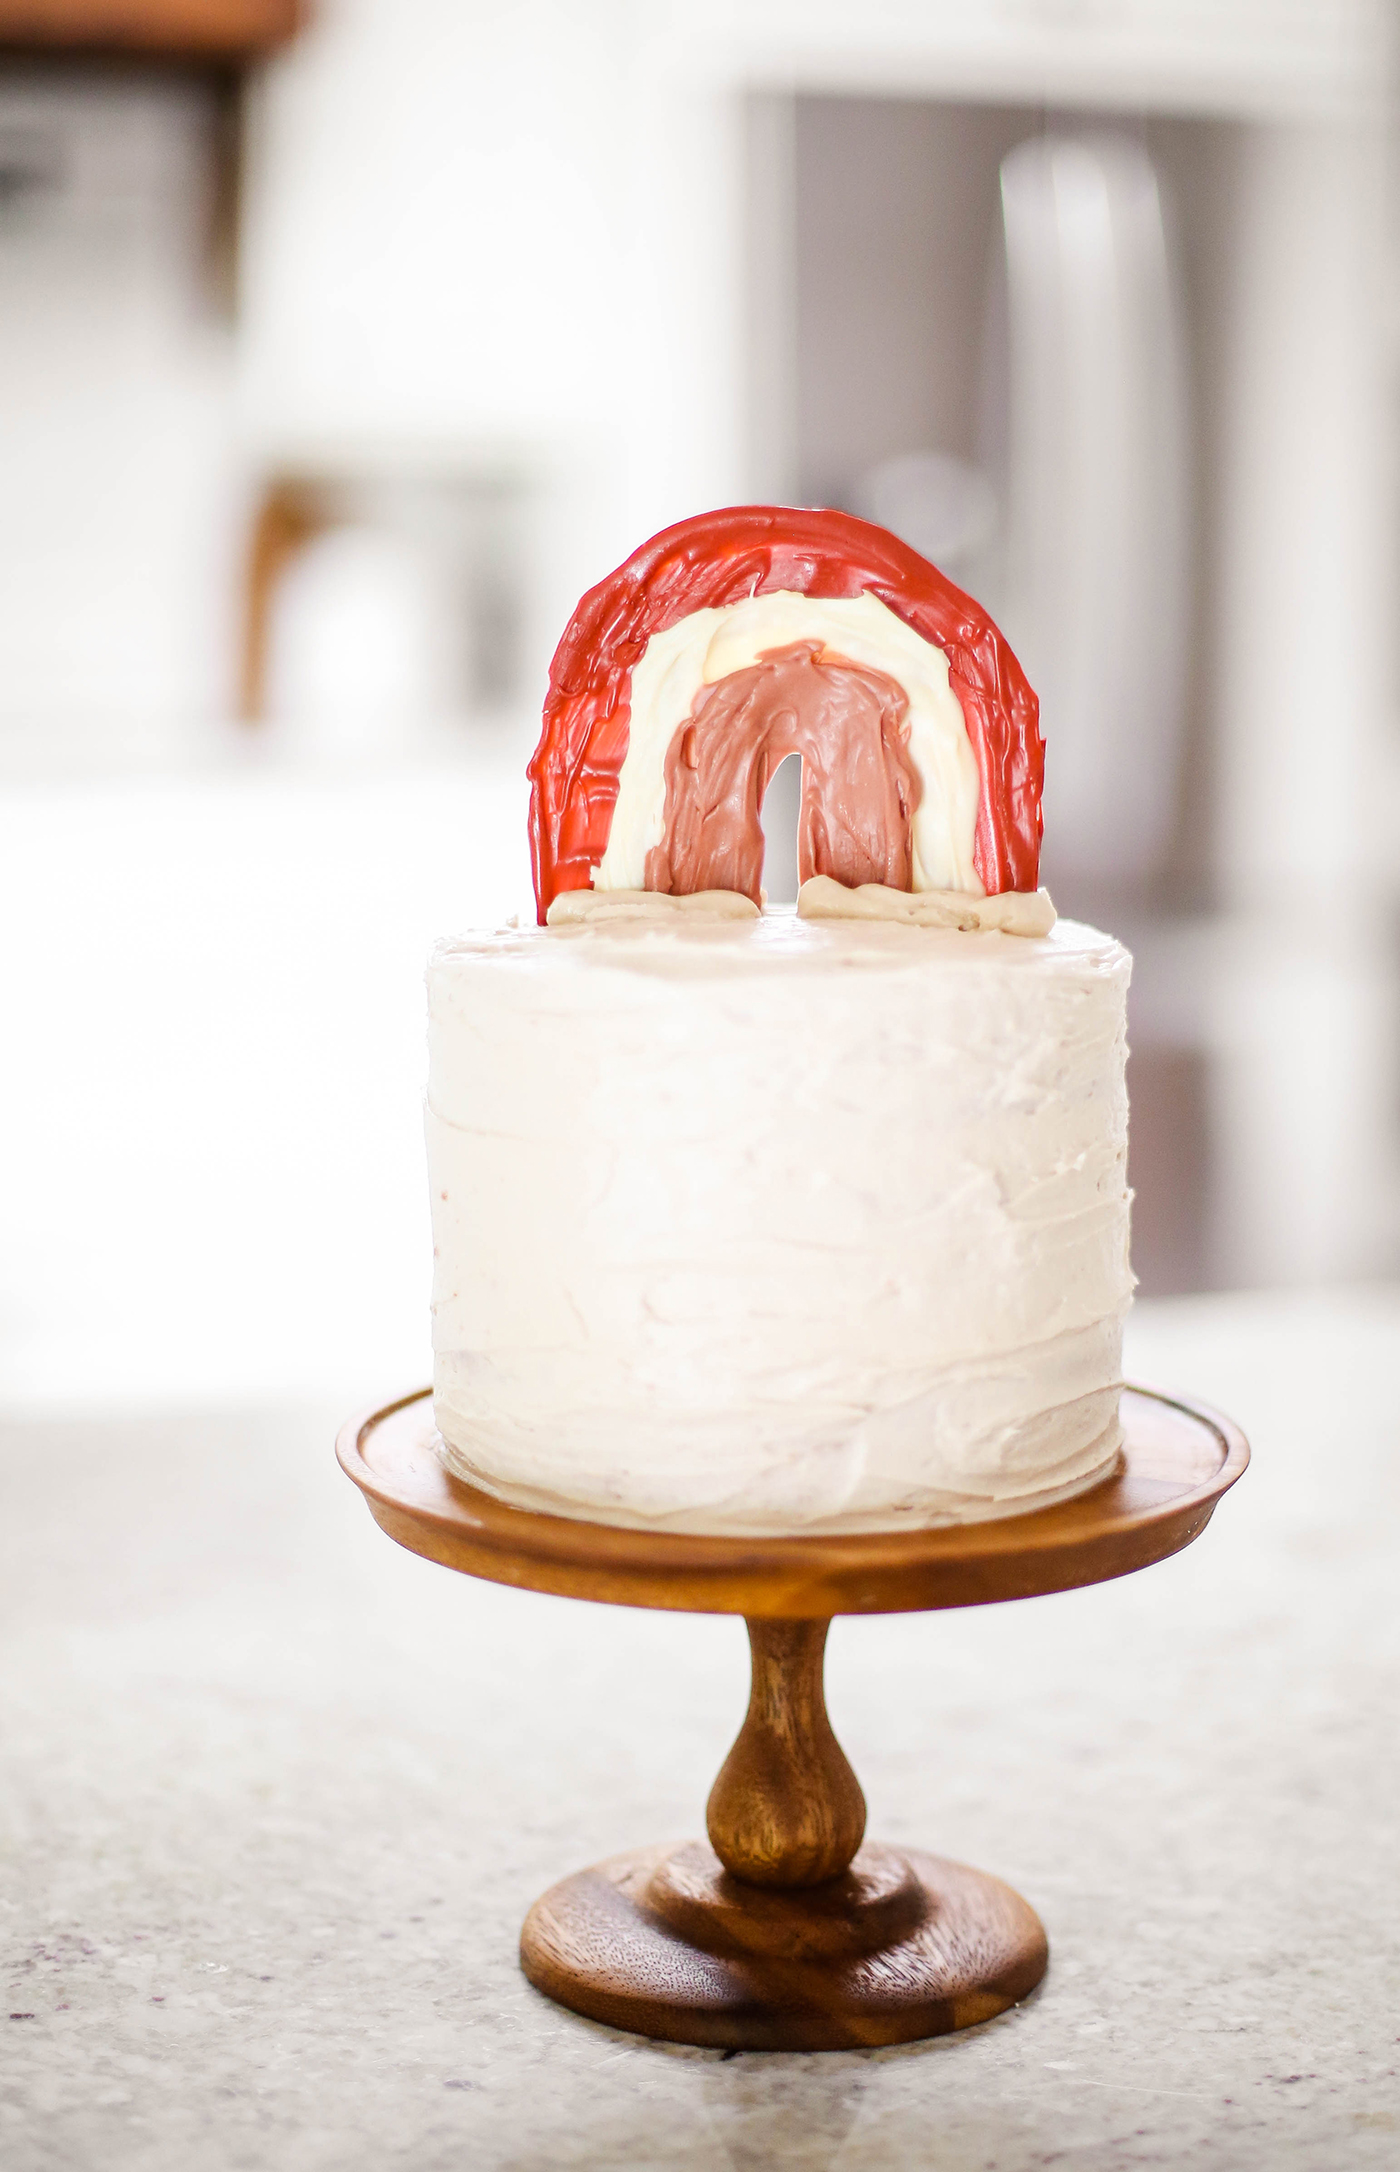
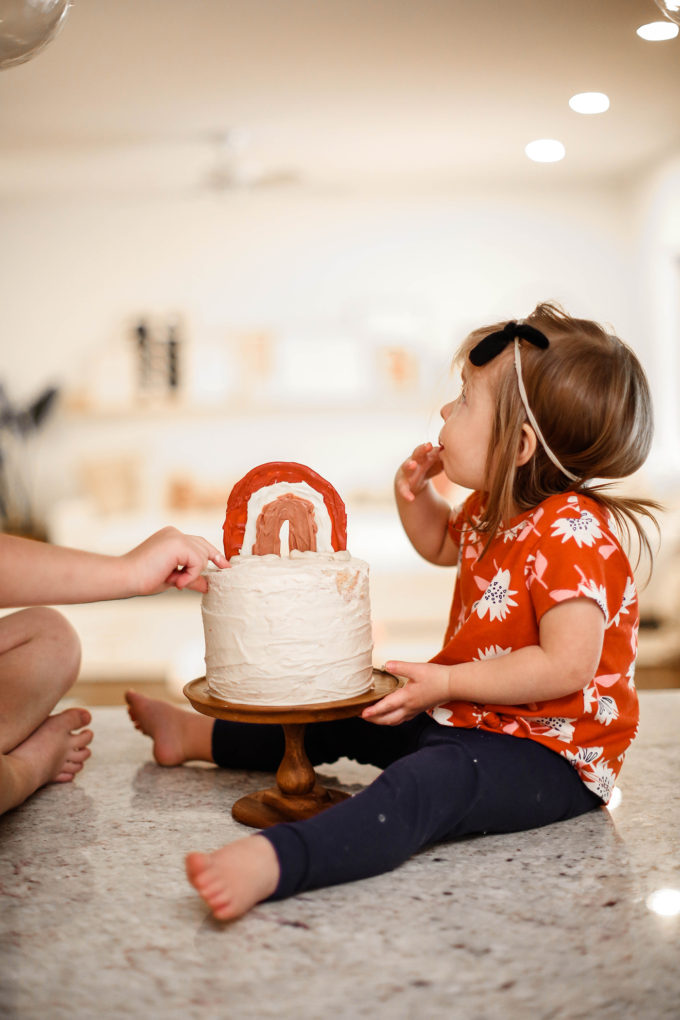
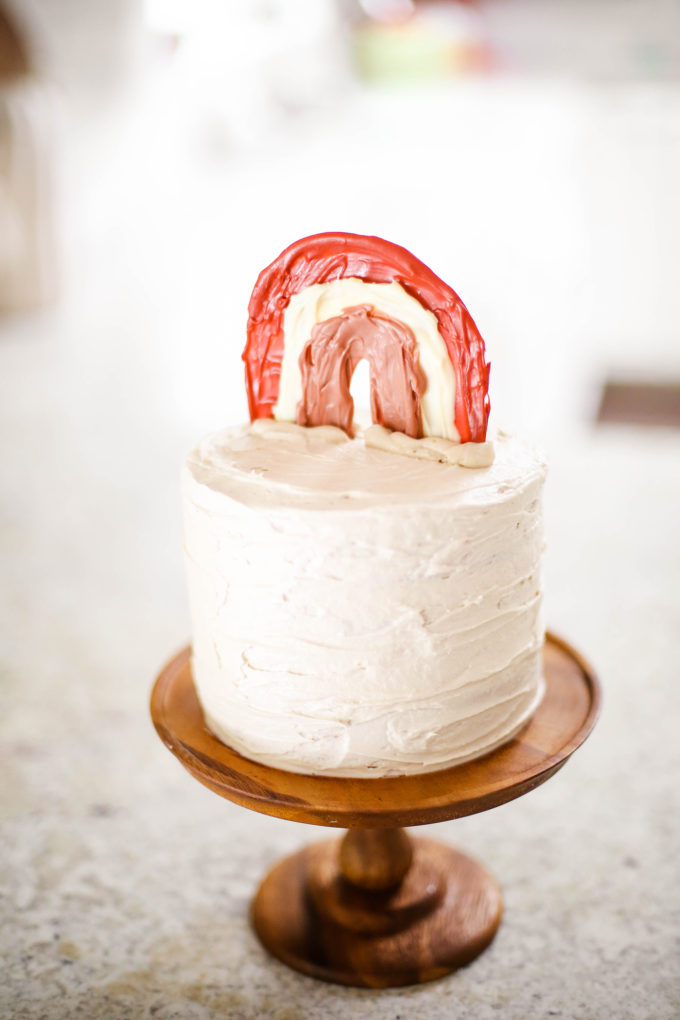
 On Mara’s first birthday, she wasn’t allowed to eat real birthday cake. She was still struggling to swallow many foods, and was rocking that puree dream. When her second birthday rolled around, I was ready to celebrate the fact that she was cleared for cake. So I made sure she had a cake made by yours truly. And I had just had to top it with this DIY chocolate rainbow cake topper because I had been envisioning some kind of cake with chocolate rainbows. I didn’t really get to it until her actual birthday, but I love how it turned out. And now I will be making all of the DIY chocolate rainbow toppers until I die.
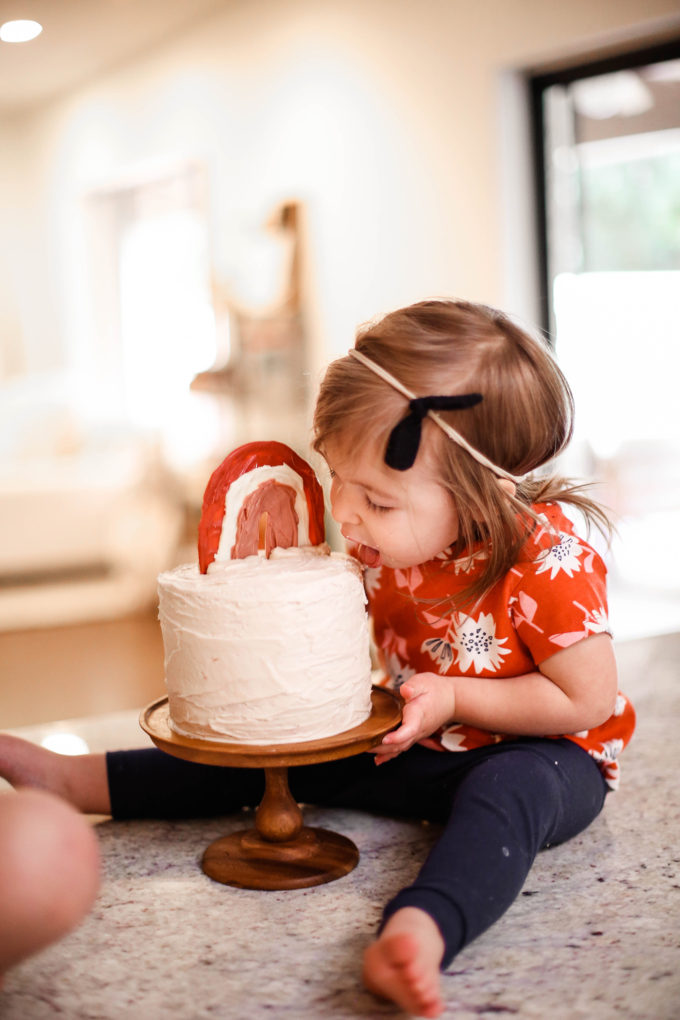
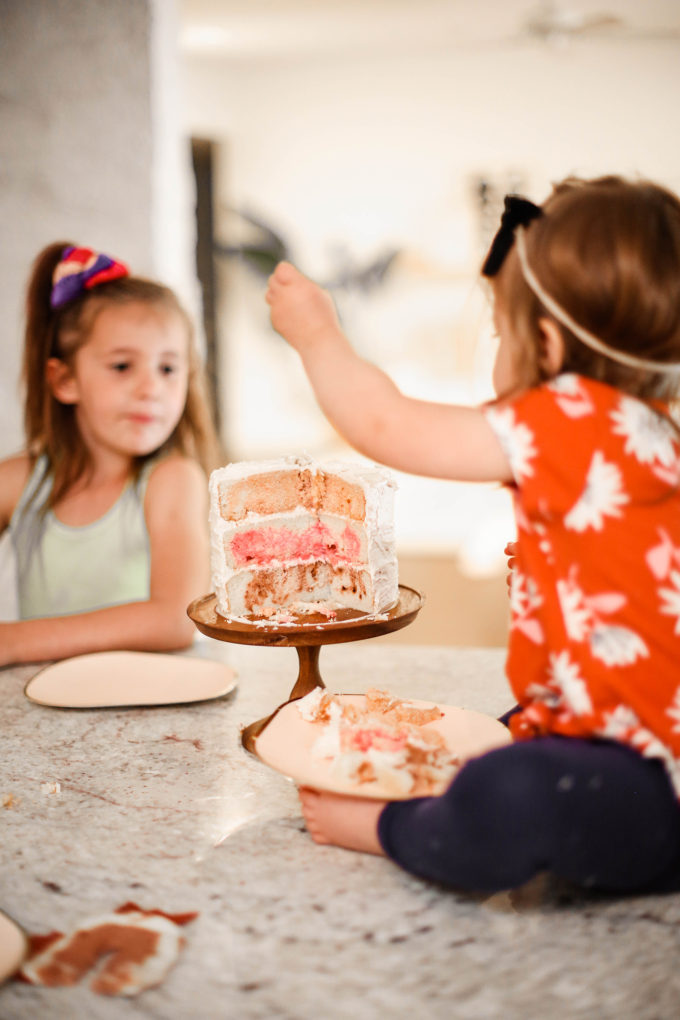
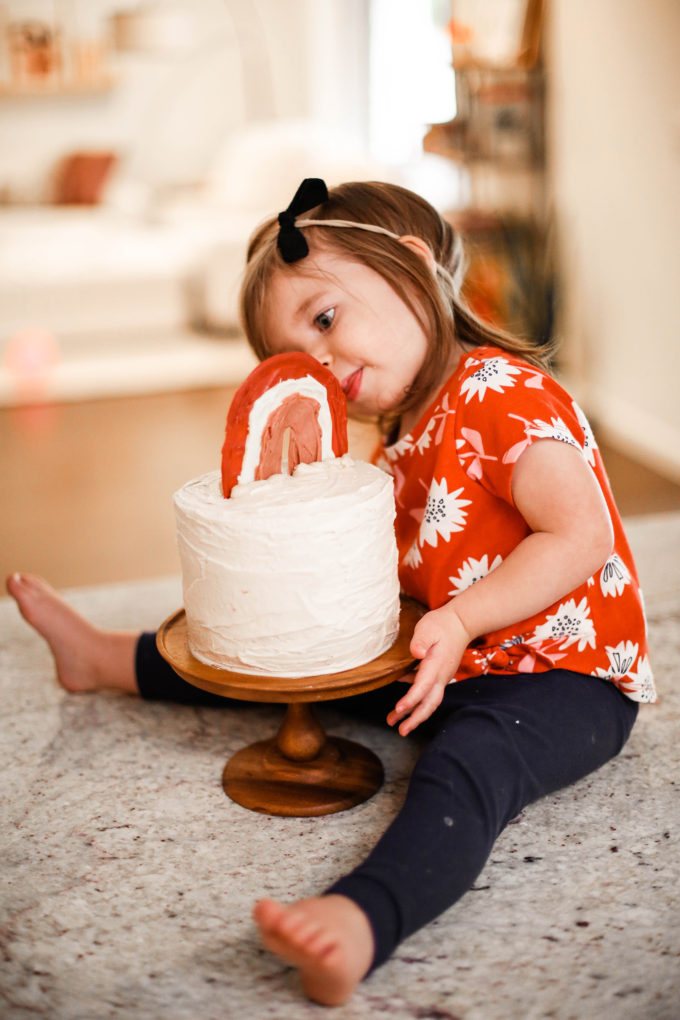 I received a lot of messages about this cake topper and figured I would share a quick lil’ rundown of how I made it along with a few pics of it being devoured by my girls. Man, I forgot how fun making cakes can be! I did NOT forget how fun eating them can be.
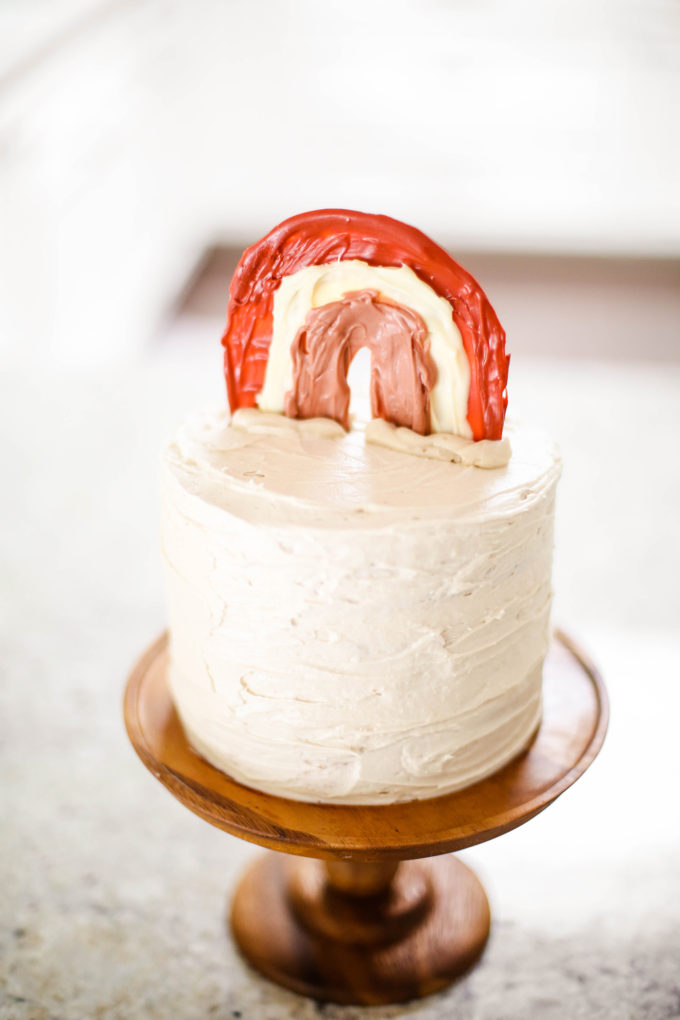
DIY Chocolate Rainbow Cake Topper
Materials needed:
- chocolate melts (I used both milk and white chocolate.)
- oil-based food coloring
- silicone mat
- 1″ paintbrush
- mini bowls and spoons
First, I started by dividing my chocolates into separate bowls for different colors. To get that rich brownish-red, I mixed a little red and orange food coloring with both white and milk chocolate chips. It’s better to add your coloring to the chocolate before melting. You can adjust it as you mix the melted chocolate, but it helps to do it beforehand to avoid cooling the chocolate. Our stovetop was out of commission, and I always have bad luck melting chocolate in the microwave – even in 30 second intervals. SO! I used a hair dryer.
And I’ll never go back.
I had initially planned to use the sun (hey, Arizona friends!), but it started raining shortly after I made that decision. The hair dryer was my total hero and melted the chocolate in no time!
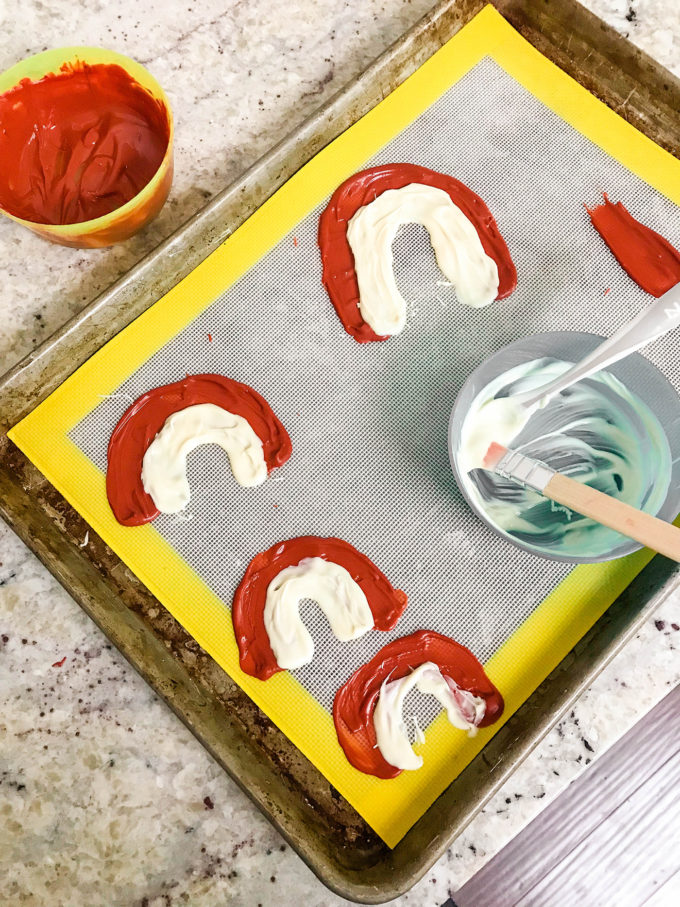
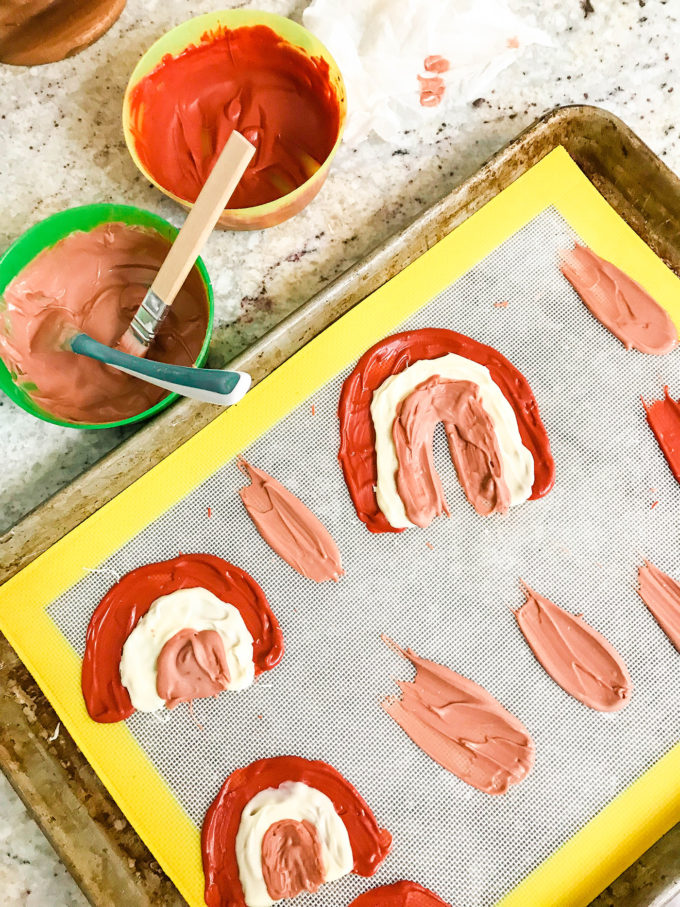
Once your chocolate is melted, dip a paint brush into it and paint small strokes on the silicone mat until you’ve gotten a feel for what you want. I did a few practice rainbows until I came up with one I liked. I was painting in small strokes to create the curves, but you’ll get a smoother rainbow if you paint the curve in one long continuous stroke and keep layering.
Paint the top curve first and then place the mat in the freezer to quickly set the rainbow. Paint the next curve slightly overlapping the top curve. Freeze. Repeat. And do that until you’ve completed your rainbow! It’s that simple!
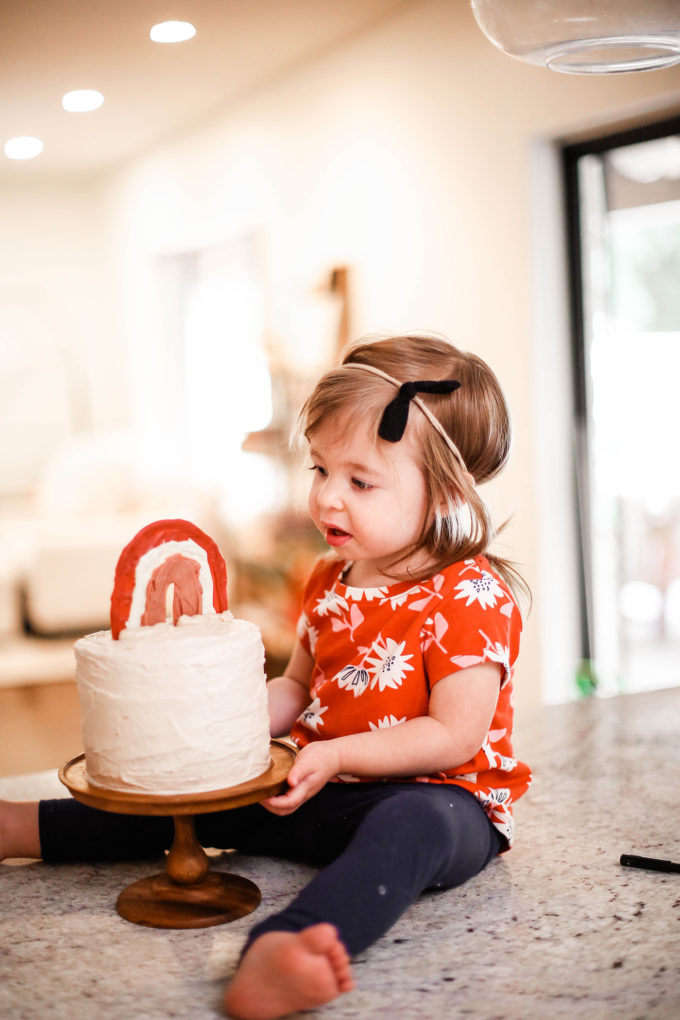 I had originally planned to cover the cake in mini chocolate rainbows, but it was easier to just paint one big one and call it a day. I’m such a good mom. 😉
 To place the rainbow, I piped a little frosting onto the bottom and pushed it down into the top of the cake. The piped frosting ended up looking like clouds!
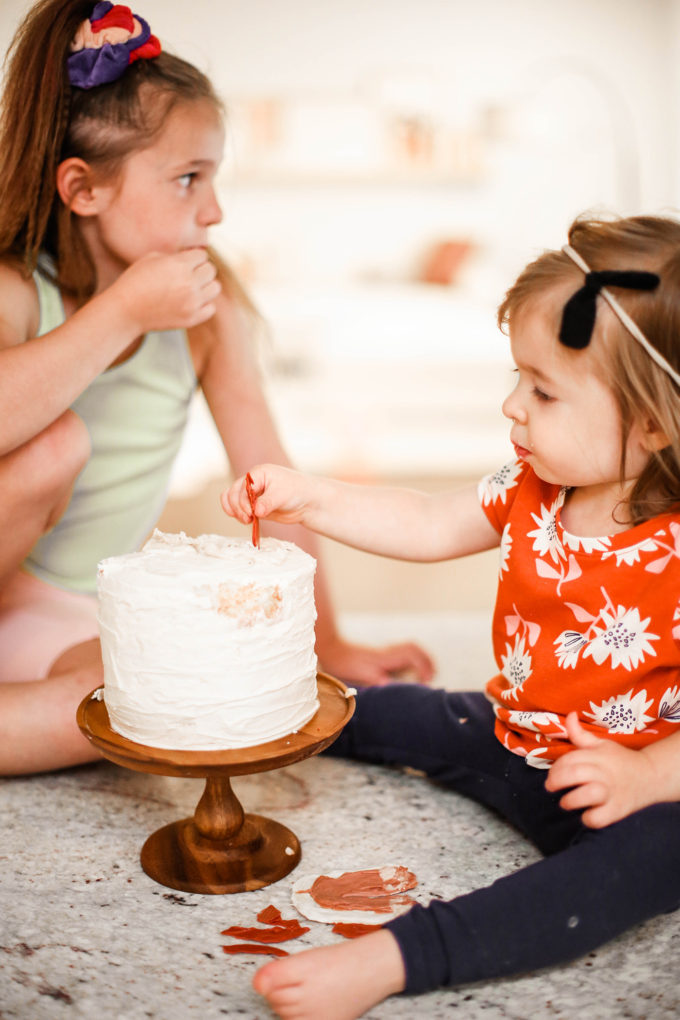
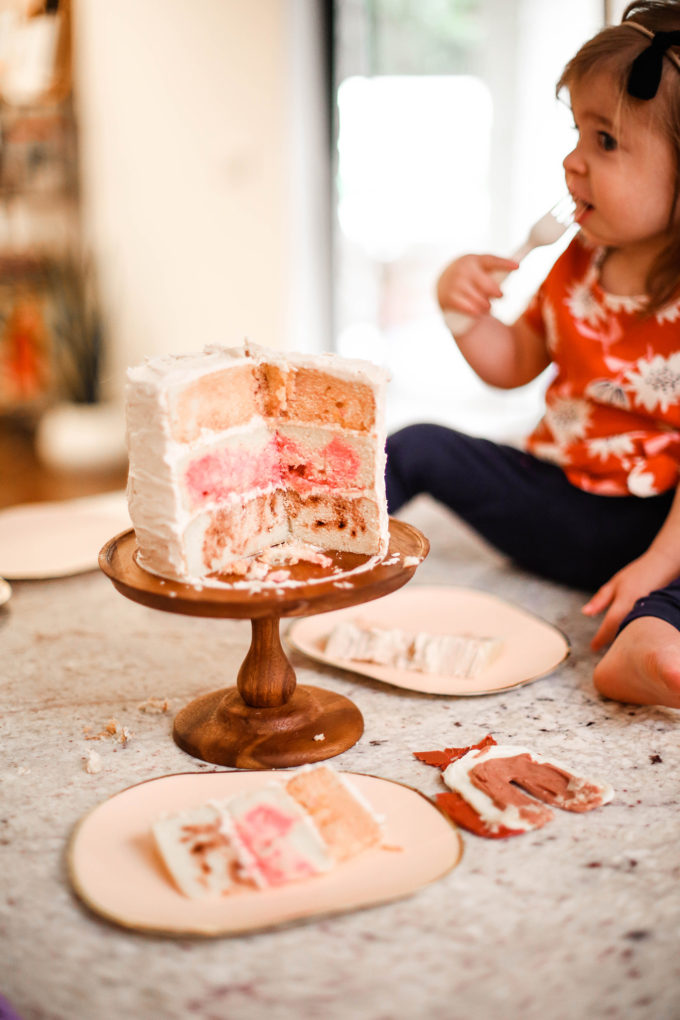 I marbled each cake layer with a few drops of food coloring and Vita thought it was the coolest thing. I may as well be a wizard in her eyes.
Also, three cheers for my pal Ashley of Sugar & Cloth’s beautiful paper plates! We use these for everything!
 After we had cake, we just played music and had a little dance party with the balloons I blew up the night before. It was simple, sweet, and really a good time for the four of us.
 She parties so hard.
 And that was the end of our good day! I couldn’t have loved the DIY chocolate rainbow cake topper more. It was the perfect touch to finishing our simple cake, and I know Marz felt the love!
photography \\ Lexy Ward


[…] 7. Flower Wreath Cake Topper DIY 8. How to Make a DIY Flamingo Cake TopperImage Source: 9. Have Your Cake & Eat It Too DIY Chocolate Rainbow Cake Topper 10. Shaped DIY Birthday Candles 11. DIY Balloon Animal Cake Toppers 12. DIY Dandelion Cake Toppers […]