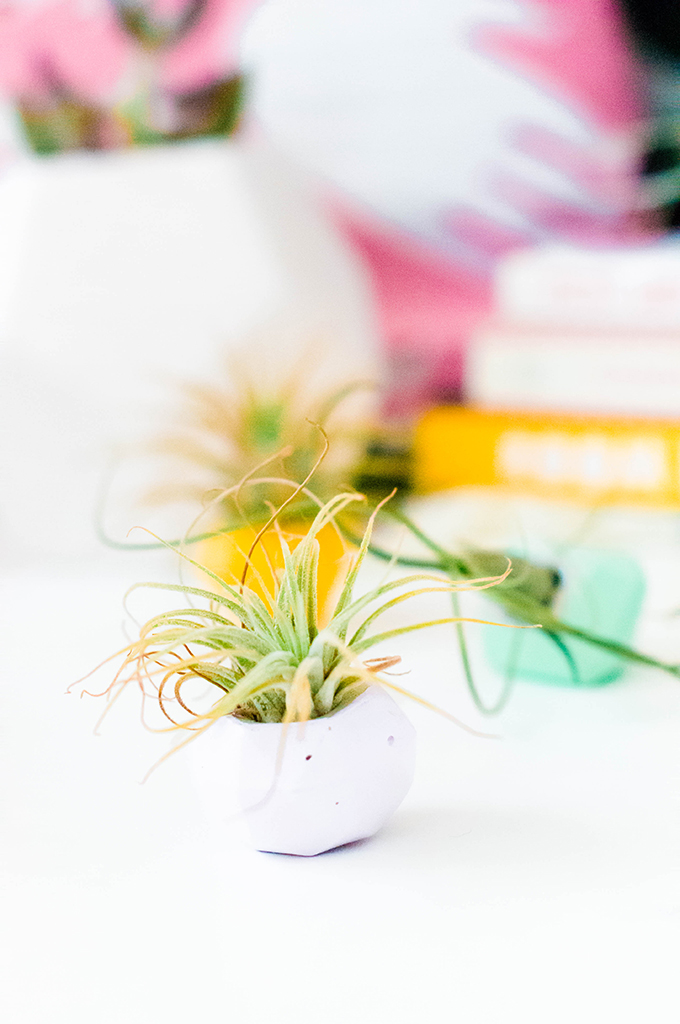
 Before we moved to Arizona, I loved on air plants. They were a great little desk accessory that could stand the test of time and could thrive against all odds under my care. (I’m a bad plant-waterer, you see.) But since moving here, I’ve really grown to obsess over them. They’re one of the only plants that don’t seem to die in this Tucson heat. And trust me, I know. I’ve done extensive research and purchased plant after plant. And the majority of those guys aren’t alive today to tell you about the heat. But the air plants can totally survive. And we’ve got a collection now. And they look great in these DIY concrete gem mini planters! Break out the quick concrete and let’s get to work!
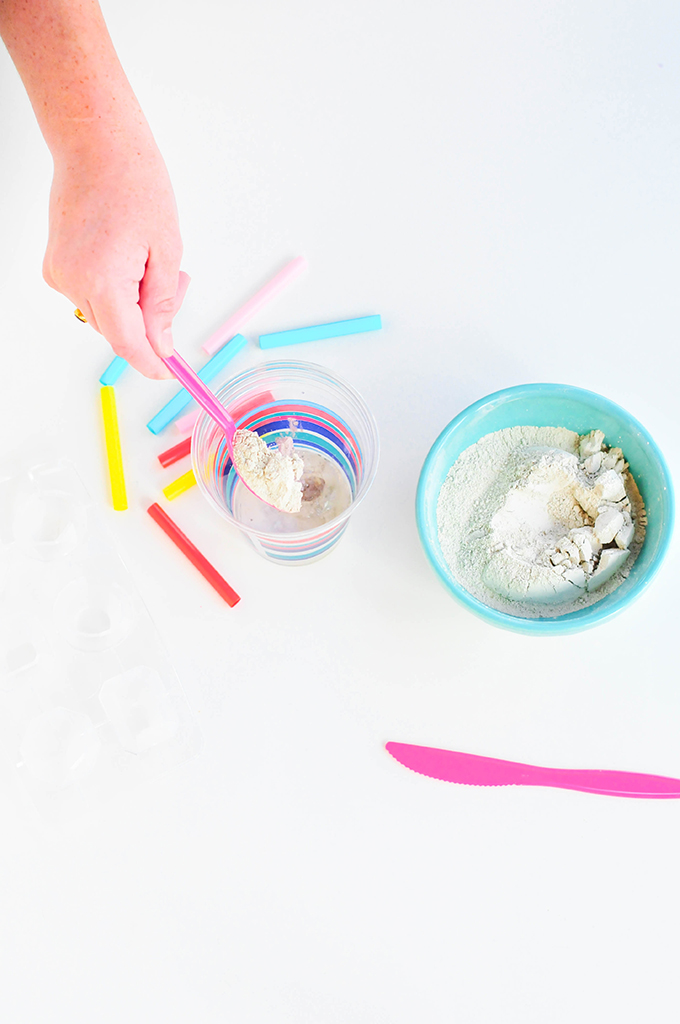
Materials needed for DIY Concrete Gem Mini Planters
- Cement All Rapid Set Concrete
- Gem silicone ice tray
- plastic cup and plastic spoon
- water
- straws
- paint (optional)
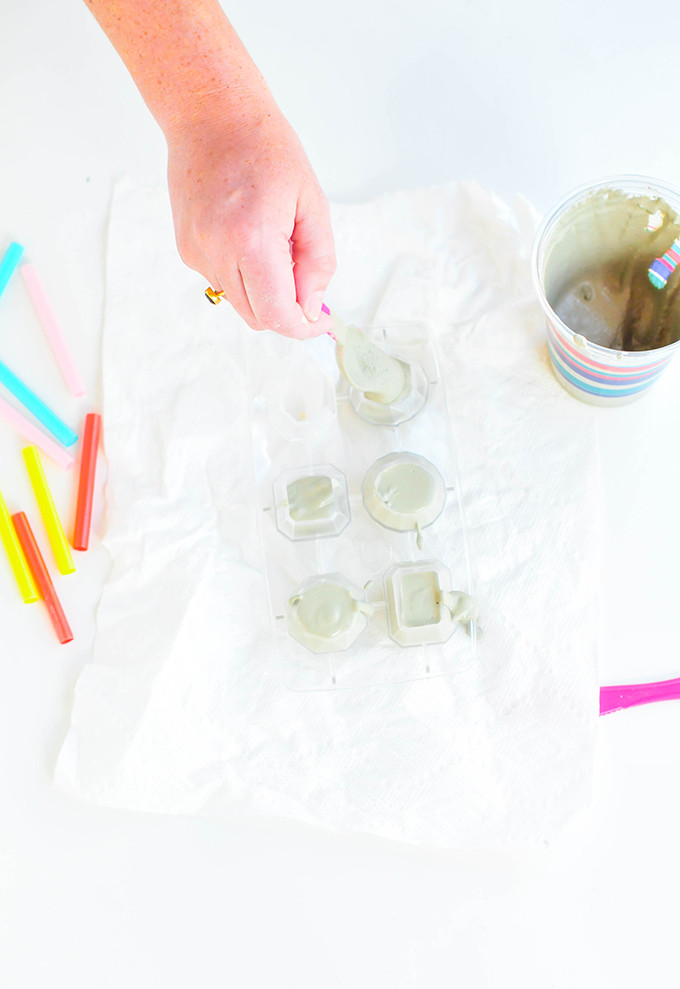
Start by mixing your concrete. The ratio is 1 part water to 4 parts concrete. Slowly add the concrete to the water and stir gently to mix everything together. If you stir too much, air will get into the concrete and create small bubbles when setting (you’ll notice that I was a stirring maniac and have several bubbles! So, do not as I do.)
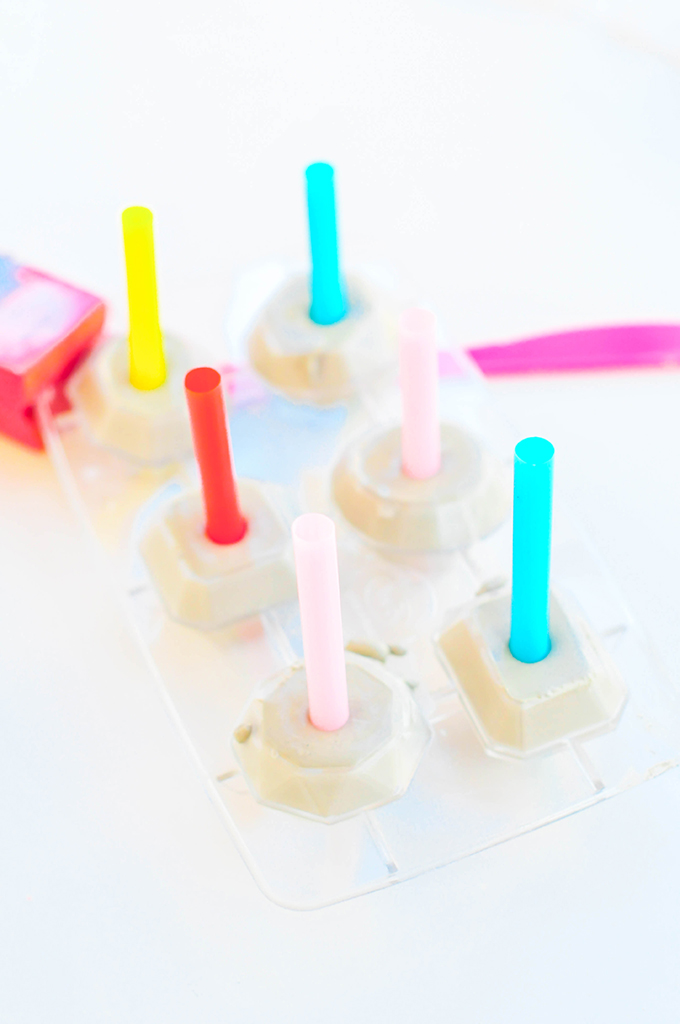
Once the concrete is mixed, spoon a little into each mold on the ice tray. Gently tap the ice tray on the counter or whatever flat surface you are working on to allow any large air bubbles to escape. Take a few straws and cut them into thirds. Place a piece of straw in the center of each mold taking care not to push it all the way to the bottom. Cover the mold with a wet paper towel and allow it to start curing.
After 15 minutes, remove the paper towel and pull the straws out of each mold. After the straws are removed, use your finger or the tip of a paint brush to widen the circle that was left behind. Make a space large enough for the base of a small air plant to fit. Cover the tray back with the paper towel and allow it to cure some more. The concrete will be set in about two hours, if not sooner. I occasionally lifted the paper towel and checked on the small holes to make sure they weren’t closing.
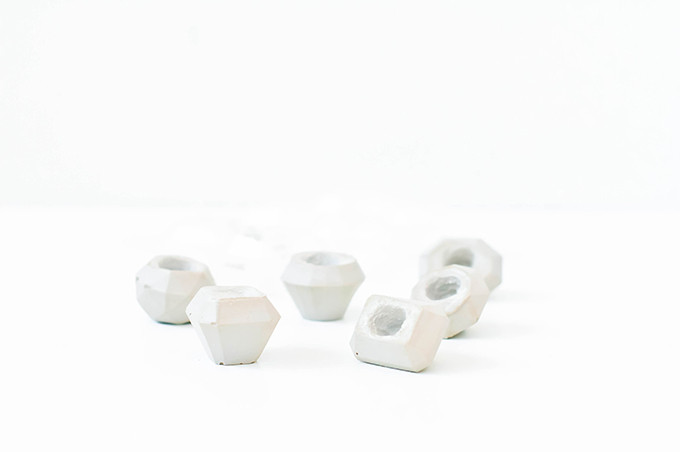
After the concrete has set, peel the silicone edges back and pop each gem out of the mold! They’ll come right out and you’ll be able to wash your ice tray and use it again for some beautiful gem ice cubes! Win!
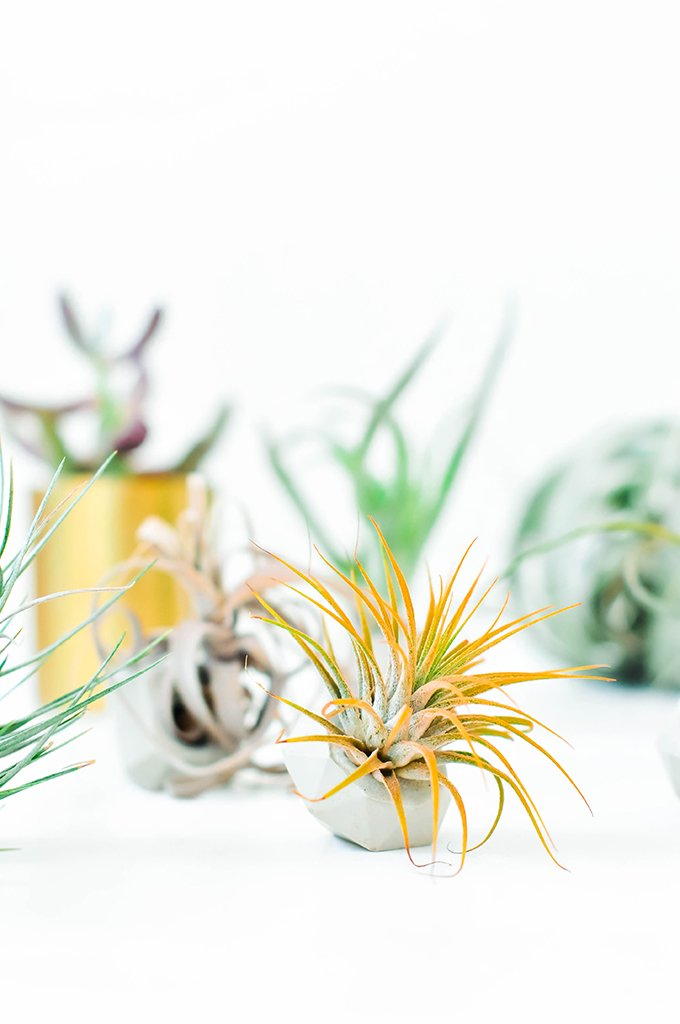
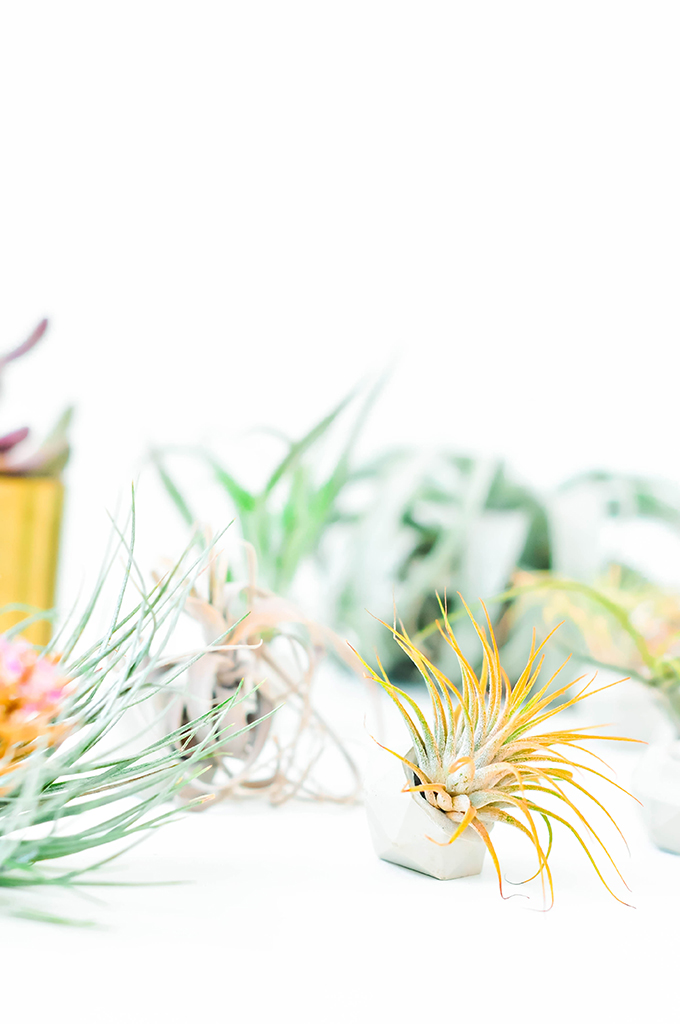
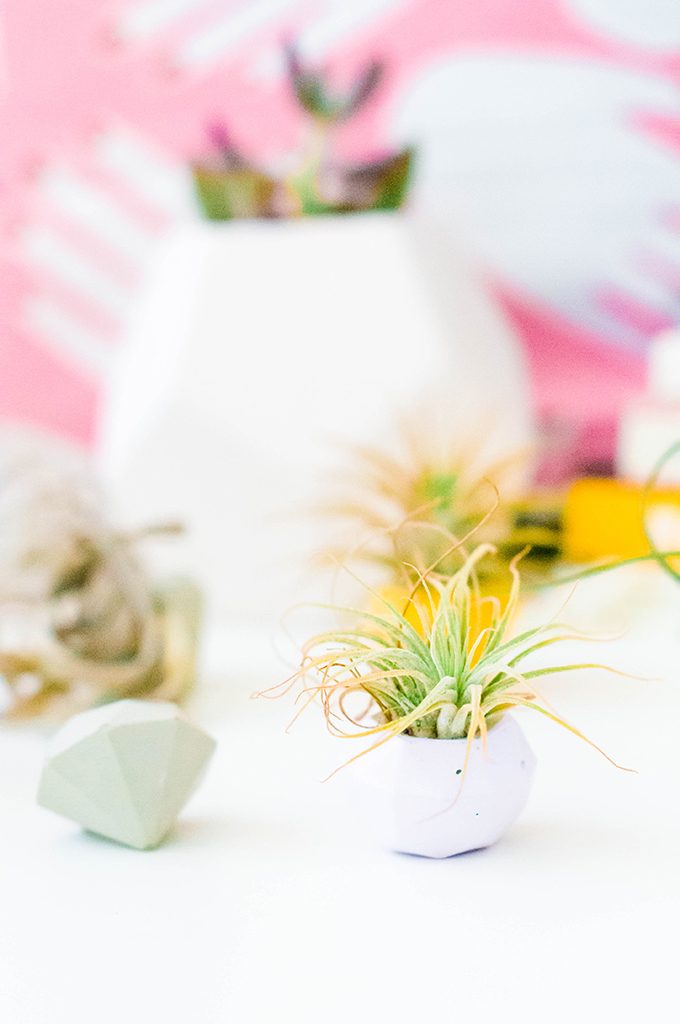
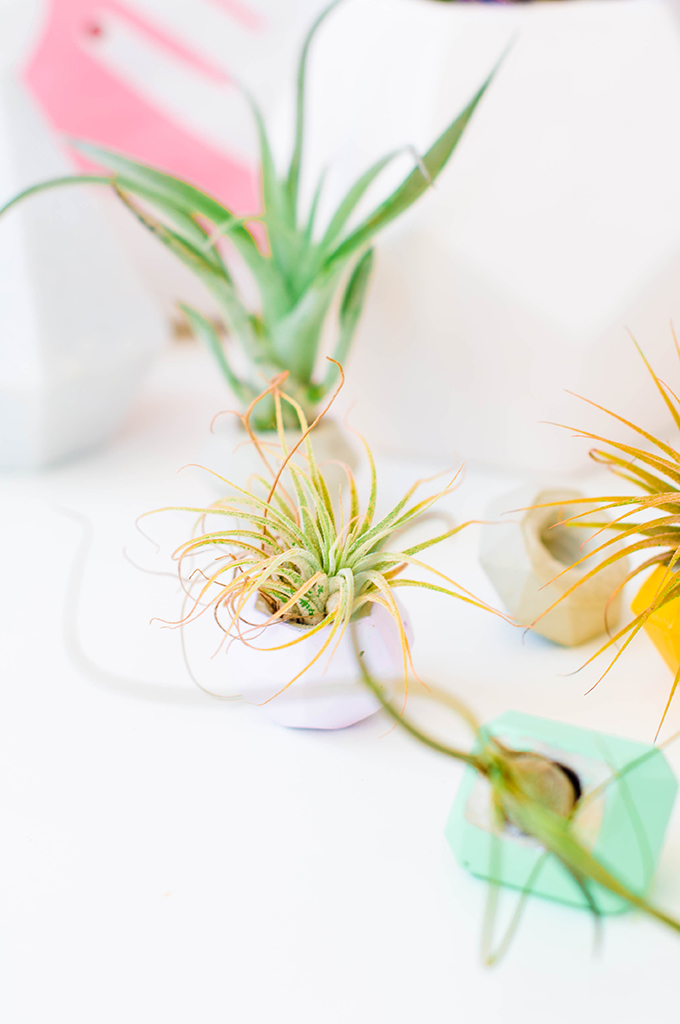
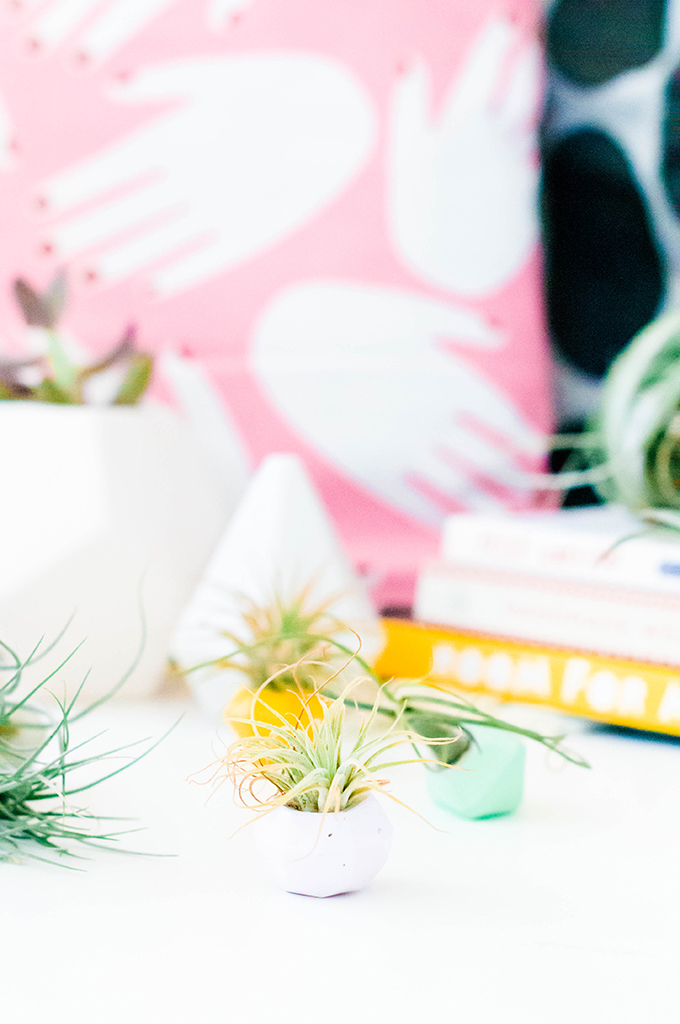
Stick some air plants into each gem. They look great in their natural concrete finish.
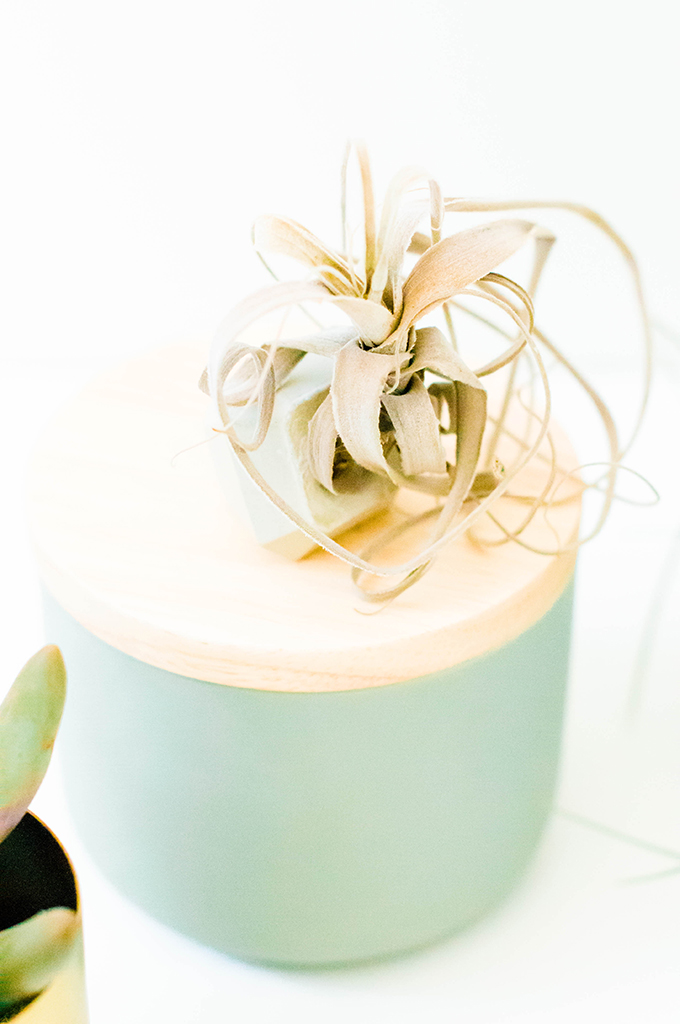
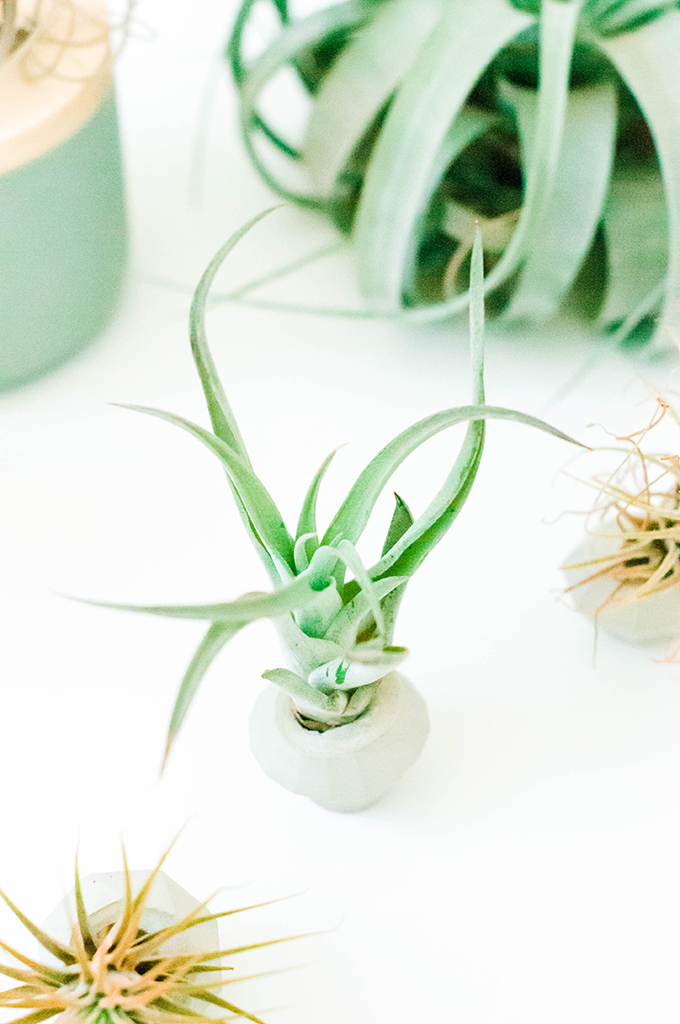
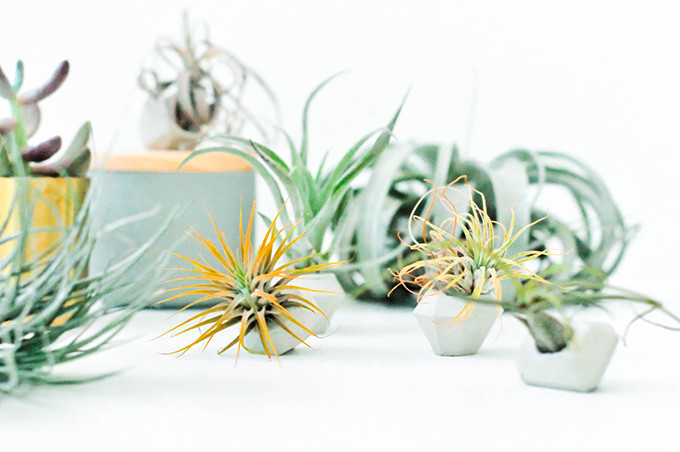
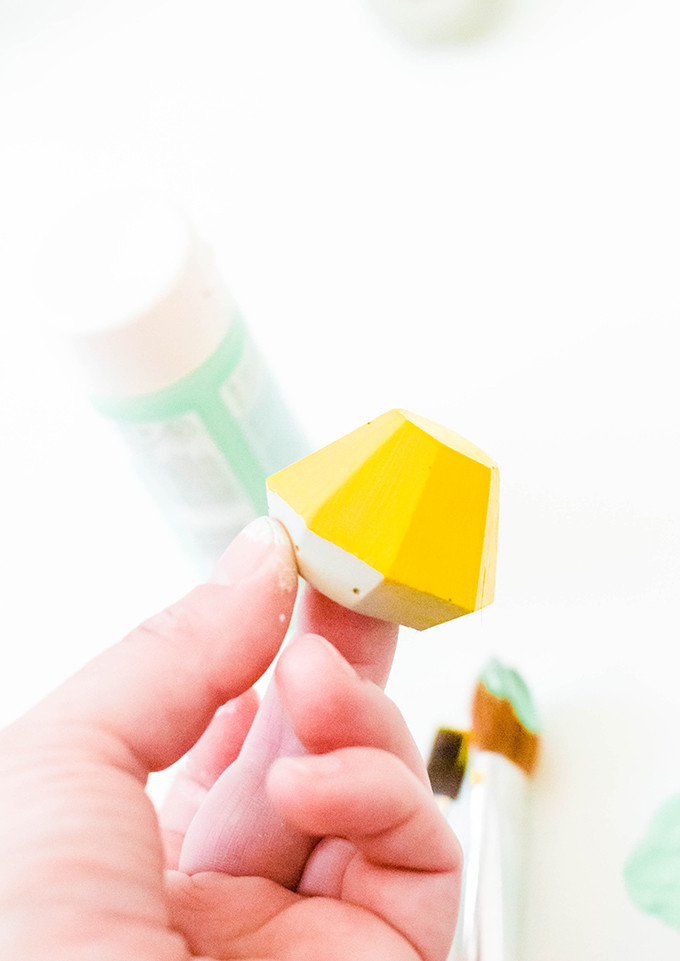
But you can also paint them to bring in a little color! I chose to paint a few of the DIY concrete gem mini planters in some of my favorite pastel colors including a yellow, purple, and mint.
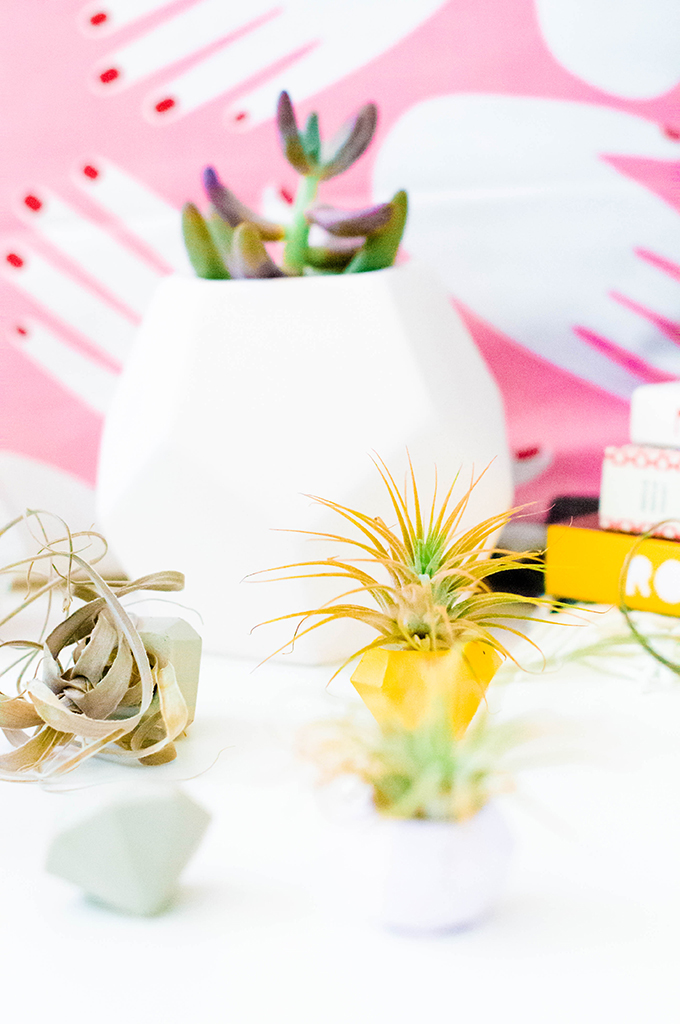
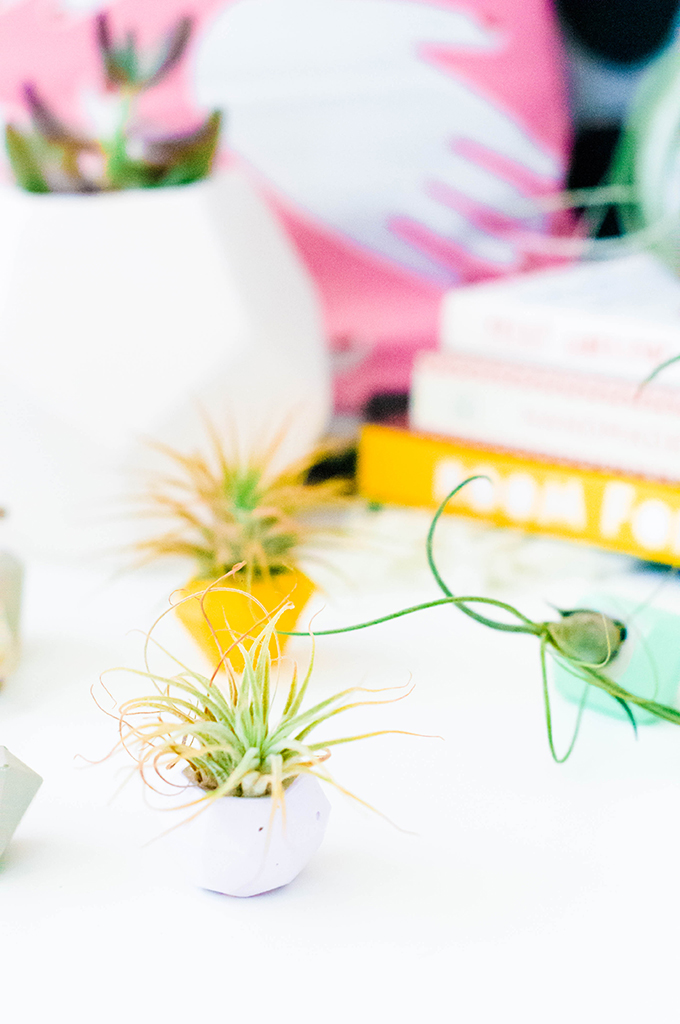
And they’re the cutest little accessory this side of the Mississippi!
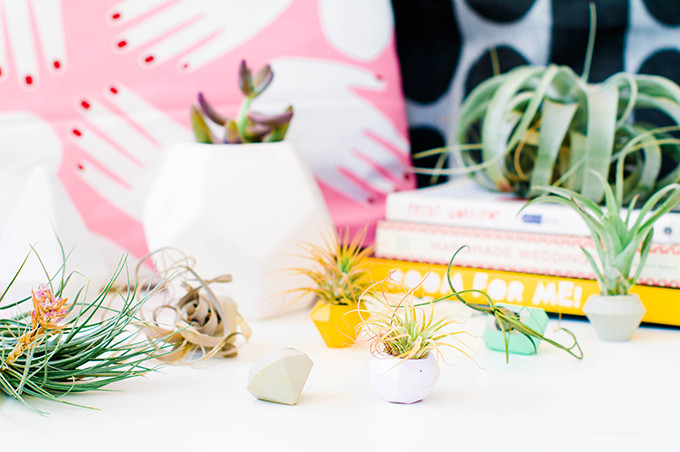
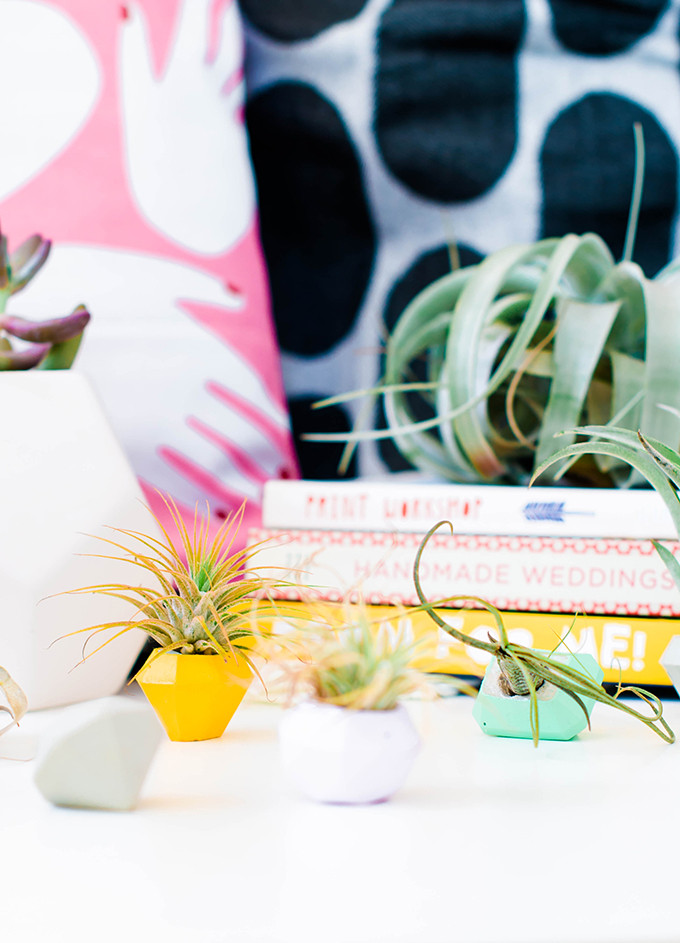
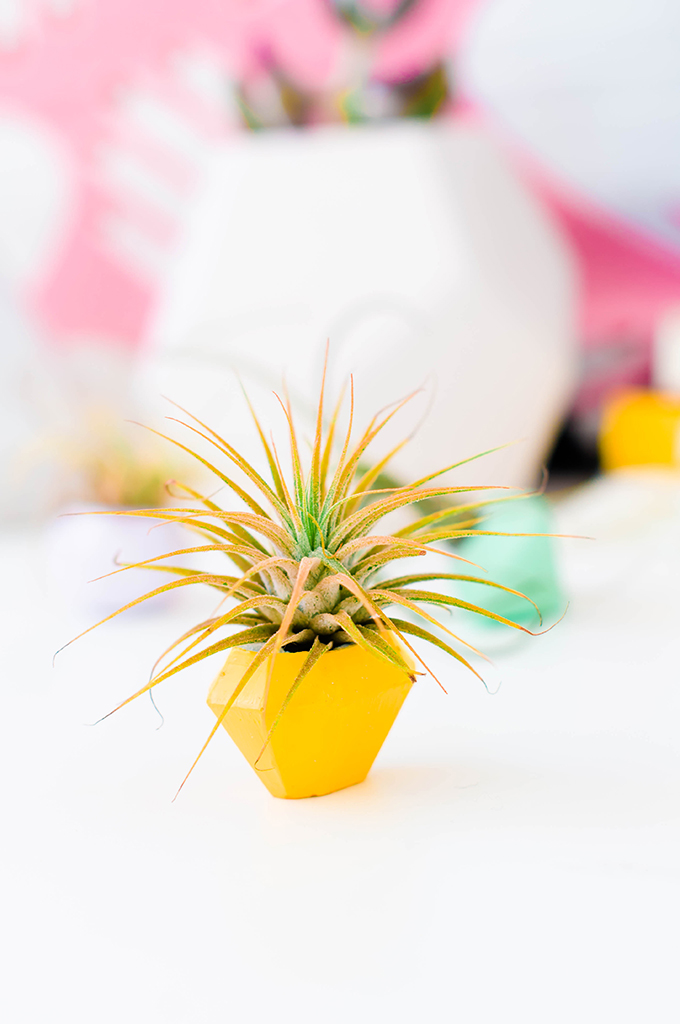
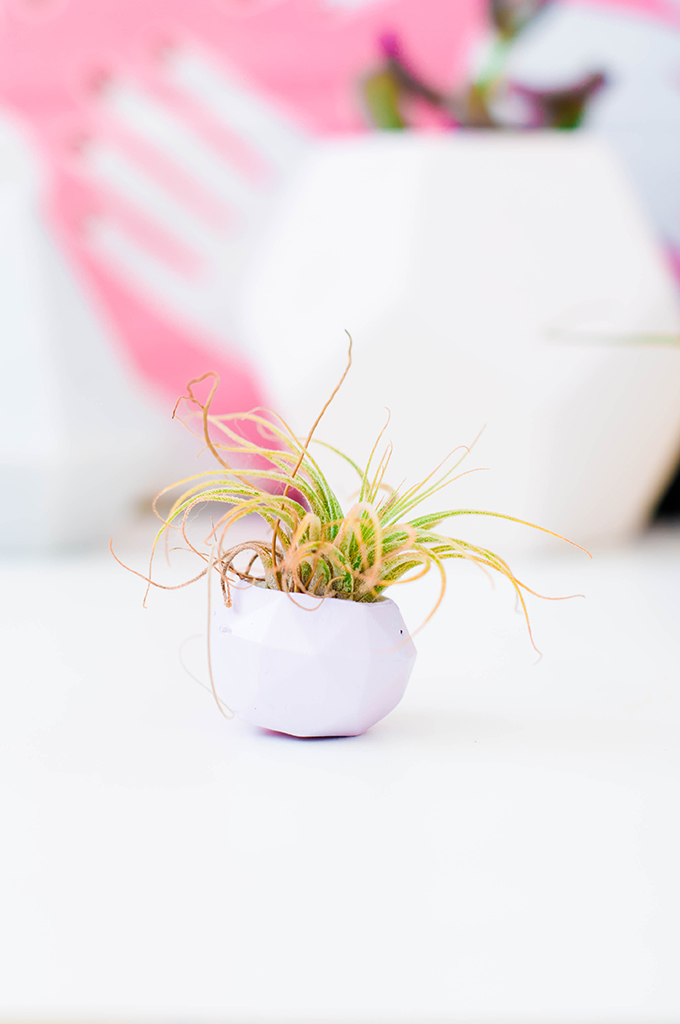
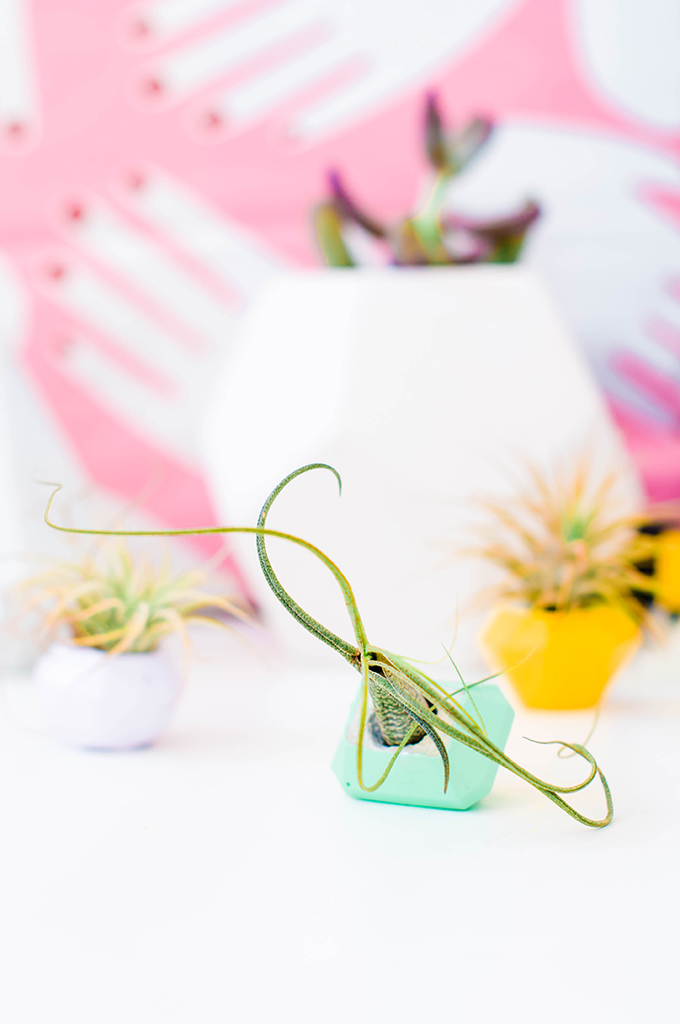
You can see a few of those itty bitty holes left from incorporating too much air in the mix. A bit of a bummer, but it only takes a few minutes to whip up a new batch, so I’m not crying on the inside or anything. 😉
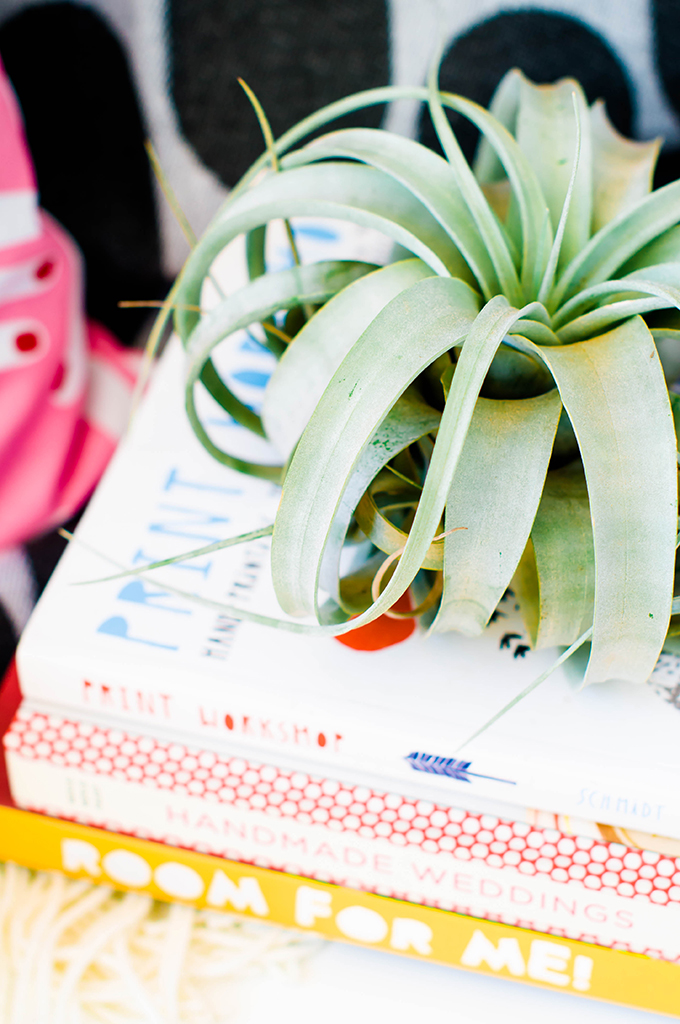
And there you have it! These make excellent little paperweights or small gifts to a friend whose fiddle leaf fig just died. (Raising my hand over here!) Have you ever worked with concrete? It’s easy peasy and you can use it for anything!
Check out some other cool and simple concrete projects like these pineapple pushpins or these pumpkin place card holders!
concept, styling, & photography \\ Lexy Ward



Such a great idea, I have yet to get an air plant. By the way, I actually like those small holes, they add texture to your planters
These are tiny and adorable! Love them!