 So I’ve been keeping a secret for a few weeks and was finally able to spill the beans last week on Instagram with this video! Cricut just released their latest product – the Cricut Mug Press and I gotta tell you how obsessed I am with this little machine. While I am a Cricut partner so I am compensated for some of the content I create with them, I also occasionally get to try out new products and share my honest review and this little guy does NOT disappoint! I’m not a professional mug-maker, but I freaking could be now. Sublimating mugs isn’t a new trend (and people have been doing it for ages), but the Cricut Mug Press has simplified it and created an almost fool-proof way to get beautiful, professional-looking mugs in minutes and with very little work! I’d call it a win! It’s also perfect for beginners who want to create mugs for all the gifting occasions that come up during the year. See all of the details below!
 All about the Cricut Mug Press
What materials can I use?
The Mug Press is compatible with Cricut’s Infusible Ink Sheets & Infusible Ink Markers (read here to see all of the materials it’s compatible with!). I’ll be honest and say that the Infusible Ink products always intimidated me. I wasn’t as comfortable working with those materials as I was working with iron-on, vinyl, paper, leather, etc. But after playing around for an afternoon or two, it’s ridiculously easy and I kind of have to laugh at myself for being so scared of this different medium. And now I want to use Infusible Ink FOR SO MANY THINGS. But back to the mugs! By using Infusible Ink, your mug design is permanent! These mugs are dishwasher safe and you no longer have to worry about that vinyl slipping or peeling off. These look like they’re were purchased from the store and there are so many beautiful mugs just waiting to be made!
How does it work?
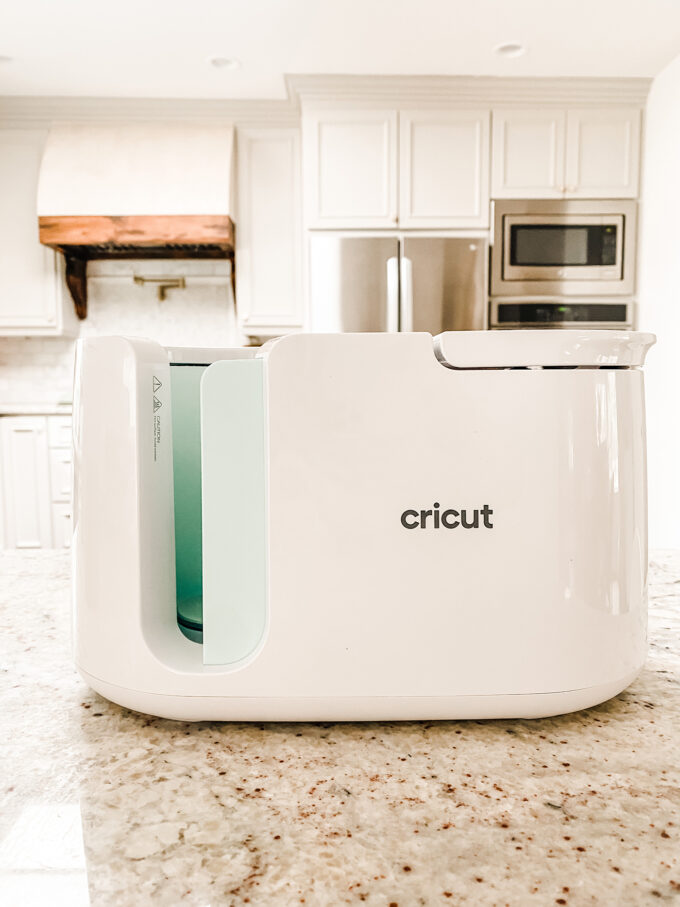
Here is the mug press in all its glory. It’s small and compact. About the size of a toaster. It fits one mug (straight-walled, infusible ink compatible mugs 11oz – 16oz!) at a time and there are no crazy settings to mess with. You simply turn it on, it heats up and beeps when ready to go, and then you can get to work! The lever on the top right of the machine lifts up to open the press and allows you to place a mug inside, and then you simply push the lever back down to lock the mug in place and start pressing your design. It applies the right amount of heat and pressure! You don’t even have to time it because the mug press does that for you! Seriously. Cricut has taken all of the guesswork out of this process so that a beginner like me can get great results consistently.
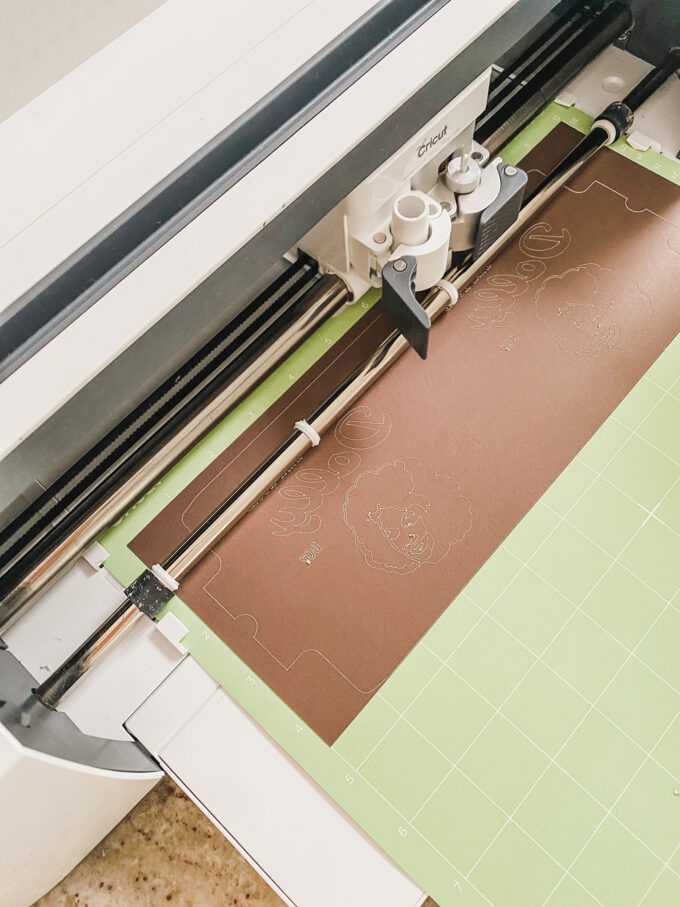 Cricut also launched Infusible Ink sheets specifically for the mug press and they’re sized for small or large mugs. You can trim down your existing sheets to use as well, but this is just one more step for simplification and I am here for it.
How can I design my own?
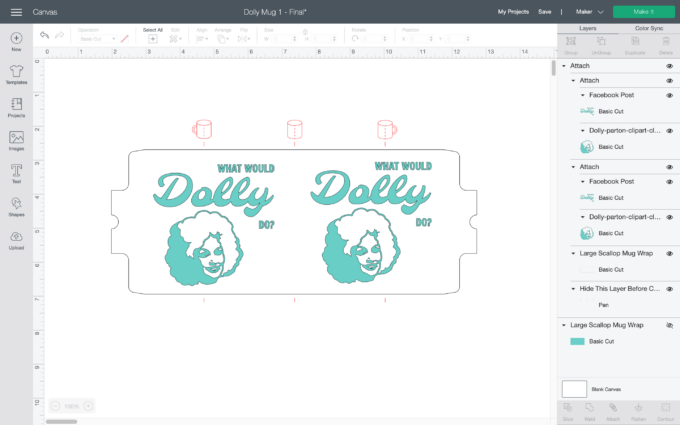
There is now a mug design template in Cricut Design Space for you to create your own design for your mugs. It’s very easy to use and you can control placement of your design on the mug using their markings that will “hide” when your design is cut out. Super easy! It’s as easy as adding text and images and moving on.
**Before cutting, make sure your image is mirrored! That’s something that can be easily forgotten so here’s your friendly PSA!
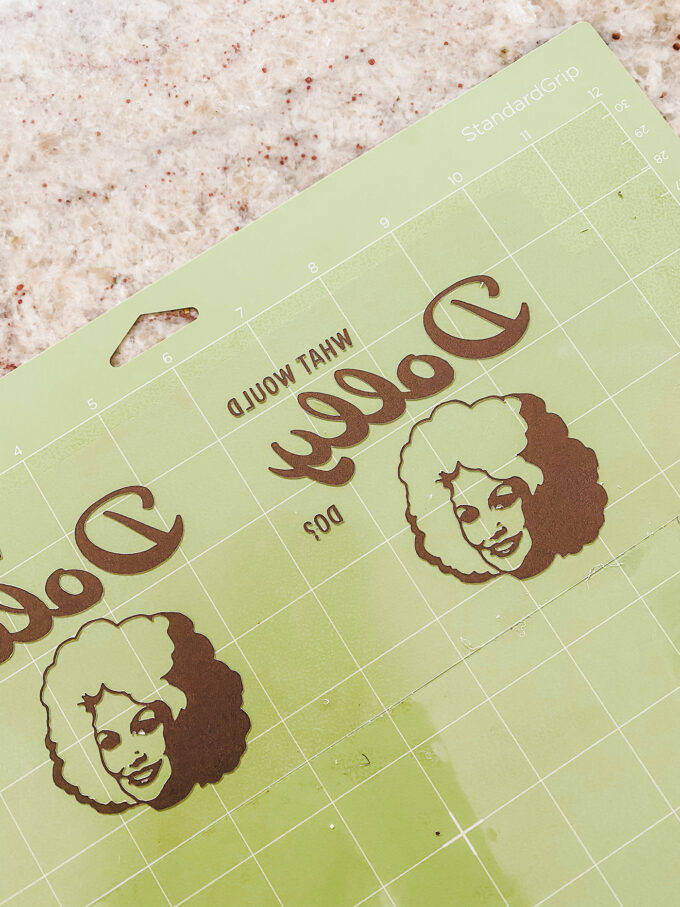 We all need more Dolly in our lives, so a mug was the answer. I bought this fun image of Dolly online and uploaded to Design Space and placed it under my text. The machine cuts out the design, but leaves the liner intact. Weed away what you don’t want to press onto your mug. It took me a minute to figure out what parts of Dolly needed to remain so you could see her beautiful face.
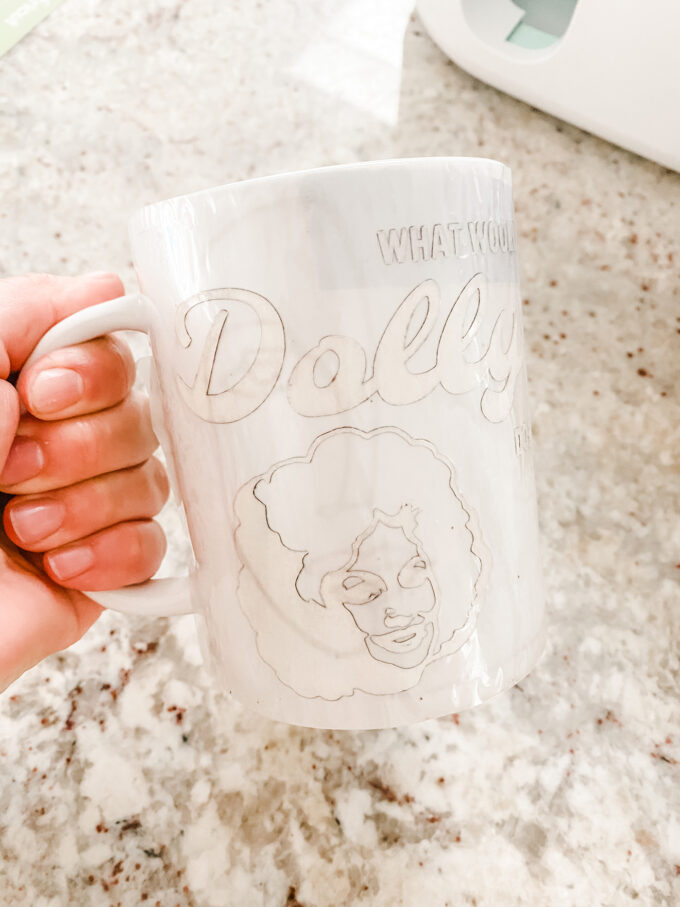 (The image above is after I pressed the mug. I forgot to snap a before of this specific mug, but you can scroll down and see the process of my other mugs!)
After you’ve weeded your design, simply wrap the liner around your mug with the colorful side pressed against the mug and the liner facing you. You’ll now see your design looking the correct, non-mirrored way. You want your design to be as tight to the mug as possible to help ensure even distribution of the ink throughout. Use a little heat transfer tape to lock loose areas in place.
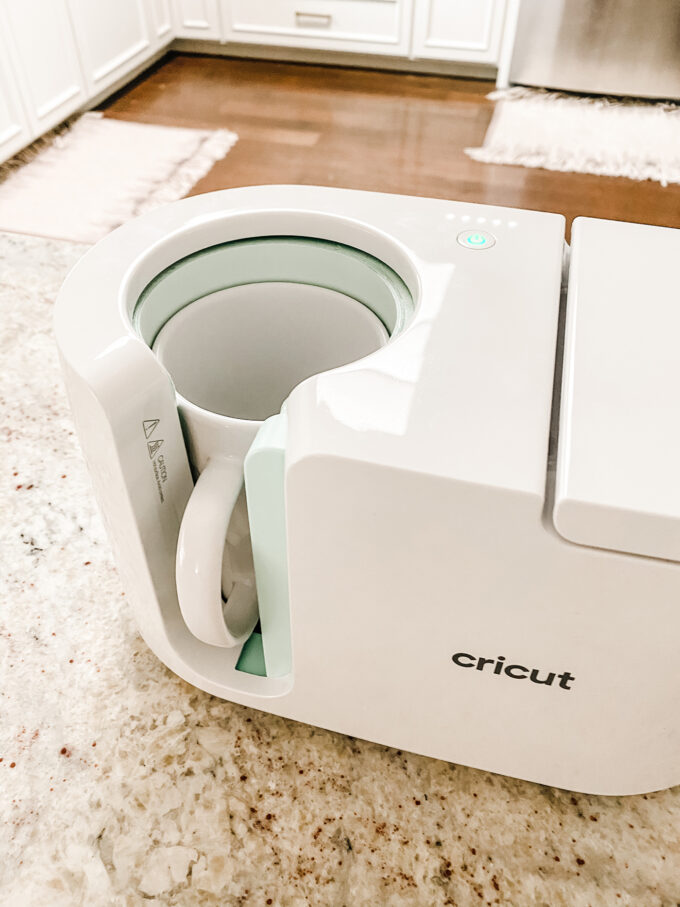 Lift the lever on the mug press to open the door and place your mug inside. Be sure the handle of the mug is facing out! Push the lever back down and wait for the press to beep to tell you your mug is finished. This process takes about 5-6 minutes so you can design more mugs while you wait!
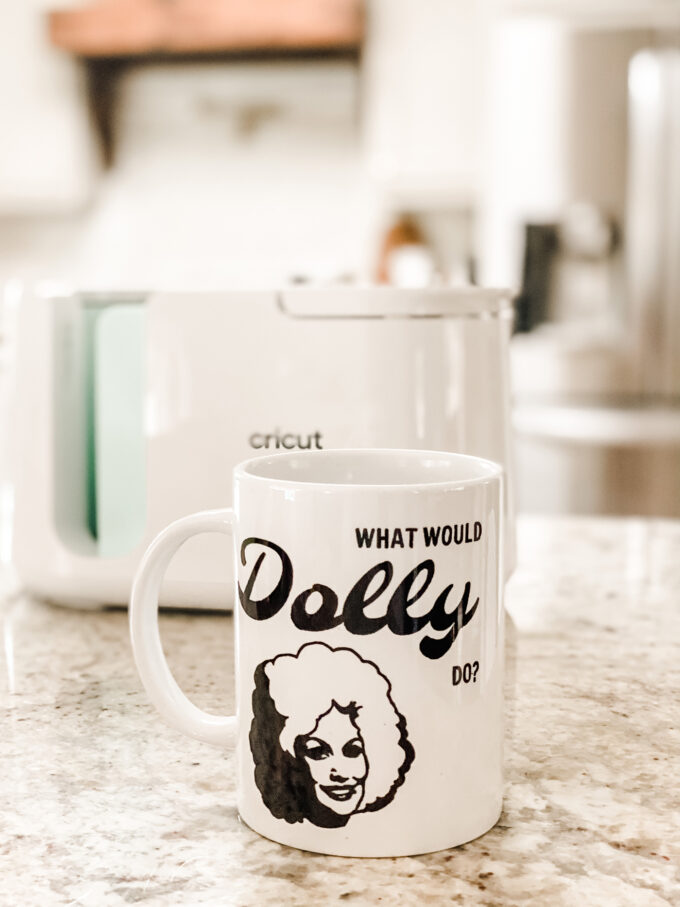 Remove the mug from the press and allow it to cool before removing the sheet and tape. This is BY FAR the most fun part of this process. I love a good reveal!
 Blam! Dolly for president! If you want to make this exact mug, click here for the ready-to-go template! This is on a large mug.
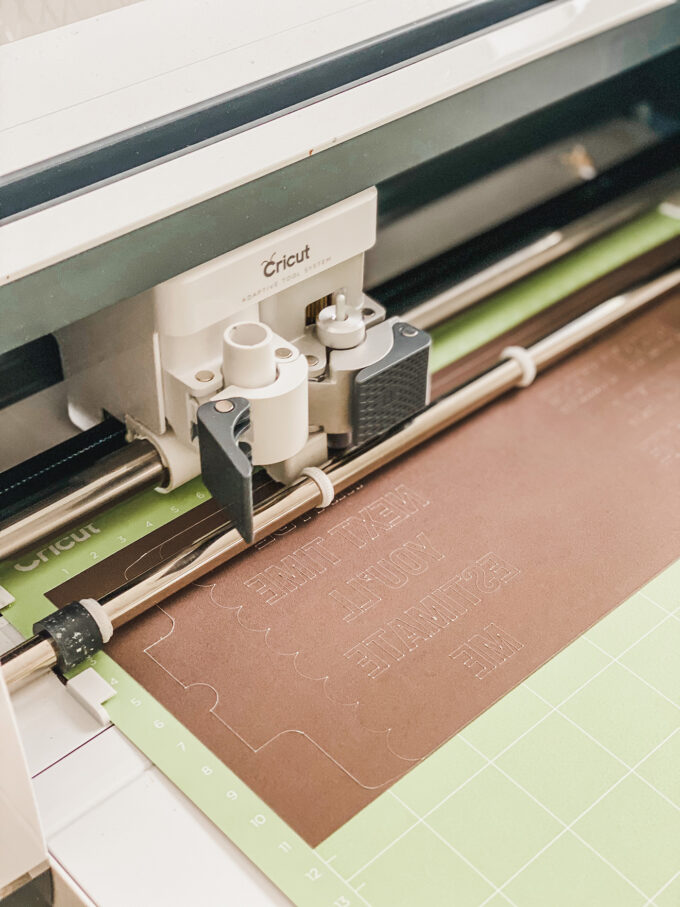
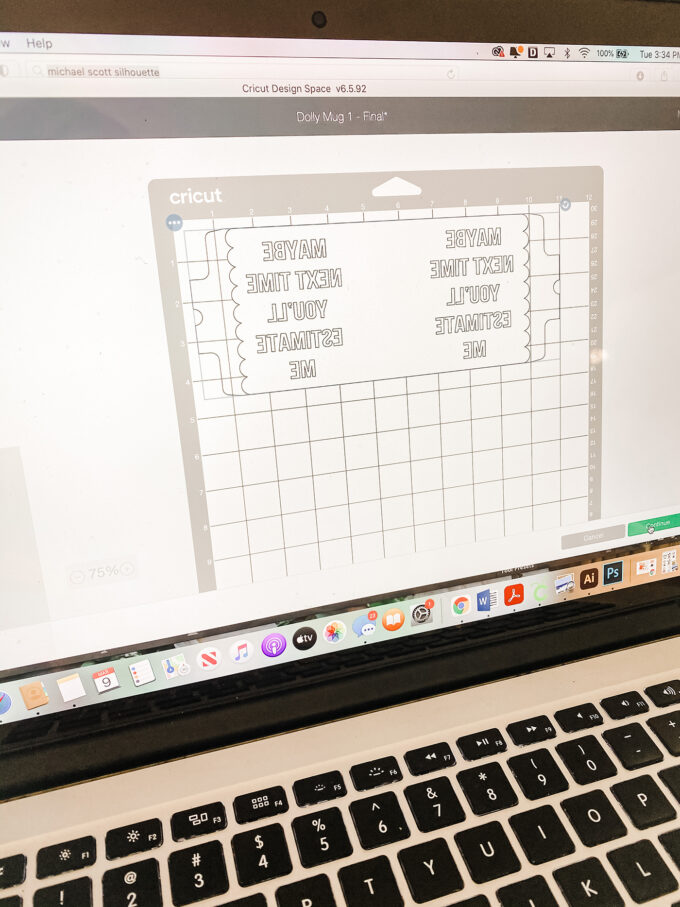 I cannot be stopped now. I’m a mug-making machine! I took one of my favorite quotes from Michael Scott of The Office and put it on a mug in big white letters on a black surface. You can see my design above prior to cutting. It’s mirrored and also has a scalloped edge and it’s gon’ be good.
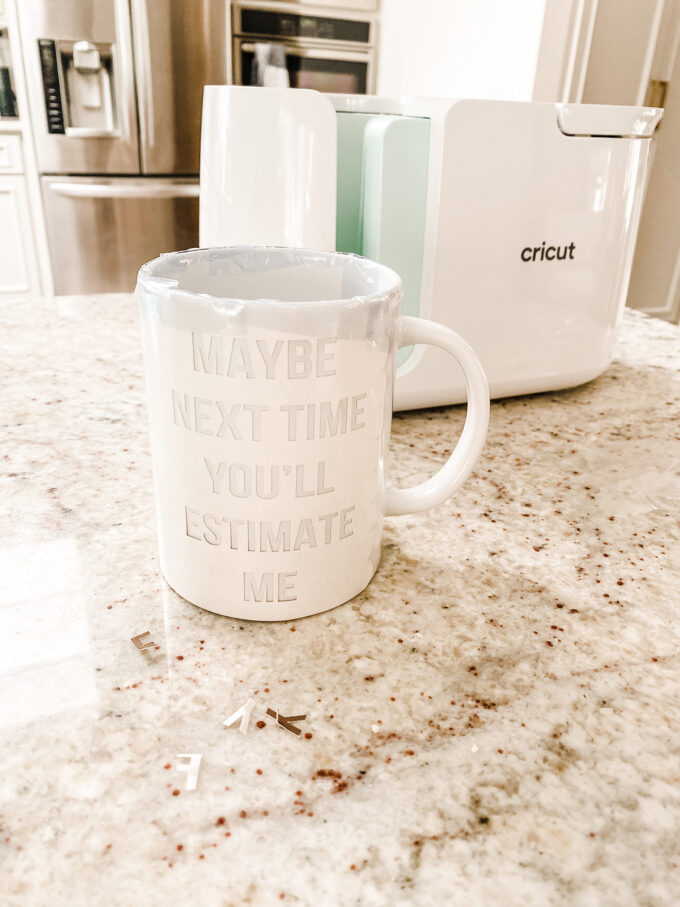 Weed your design. Then wrap your mug. You can see that the scalloped edge stops just a little before the mug’s handle. Because this mug is mostly going to be black, the scalloped edge is a nice touch. I also taped the top edge in place with some heat transfer tape.
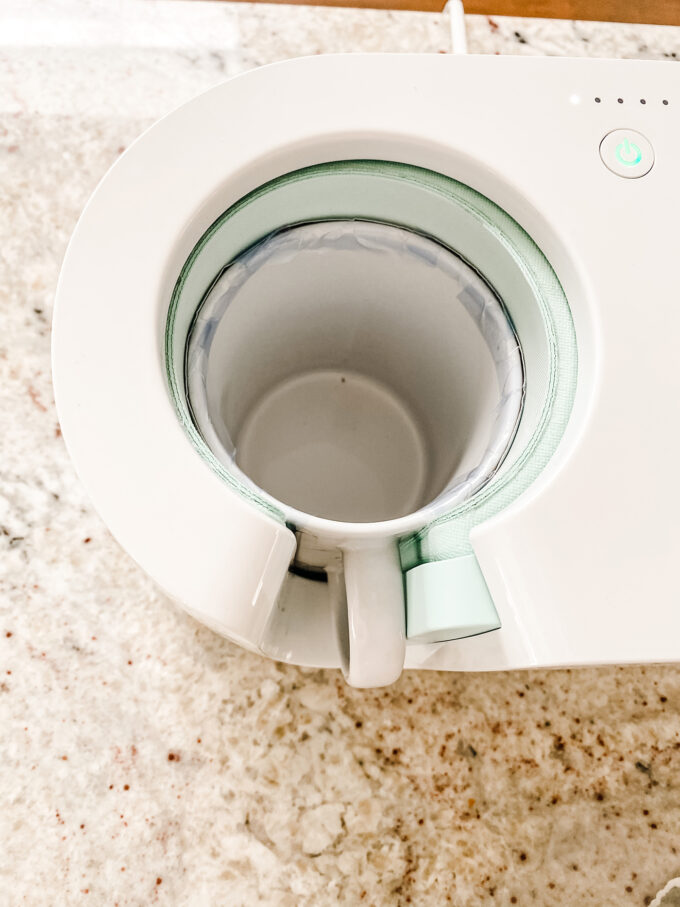 Set it and forget it.
 Can you just hear Michael saying this? Logan told me he now wants a “World’s Best Boss” mug and I will happily deliver.
“You get a mug! And you get a mug! And you get a mug!”
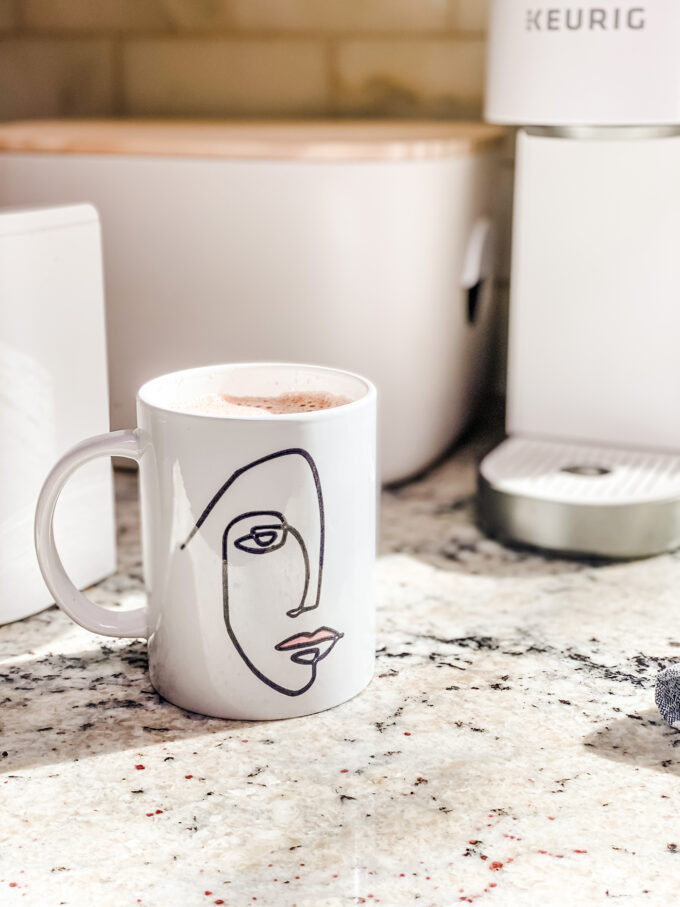 Lastly, you can also draw designs with the Infusible Ink Markers. This was perfect for a line art mug I had been dreaming about. You can create a design and have it drawn with the markers on laser copy paper and then cut. Remember to mirror before doing so!

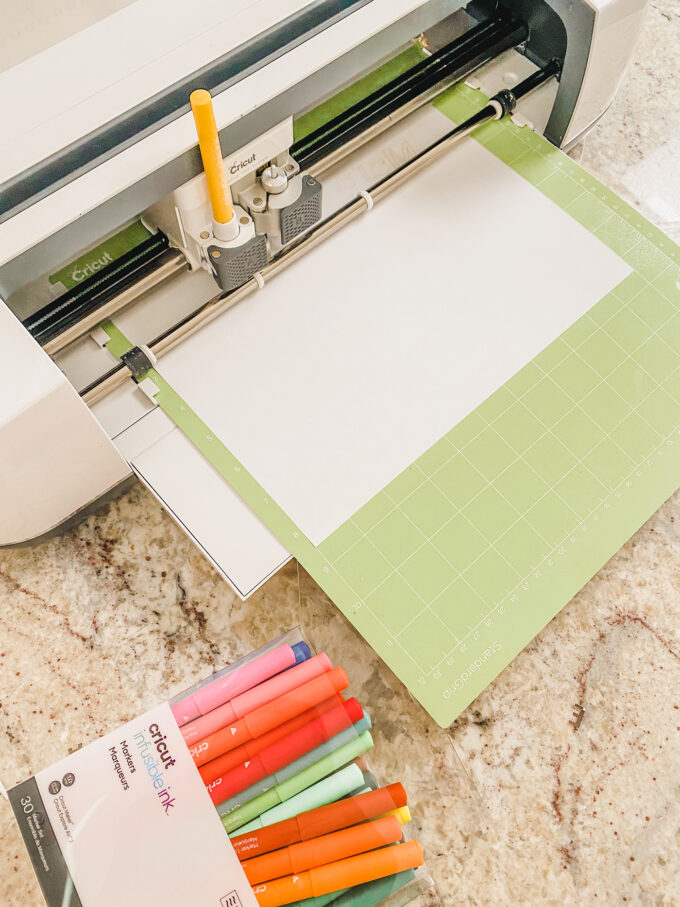
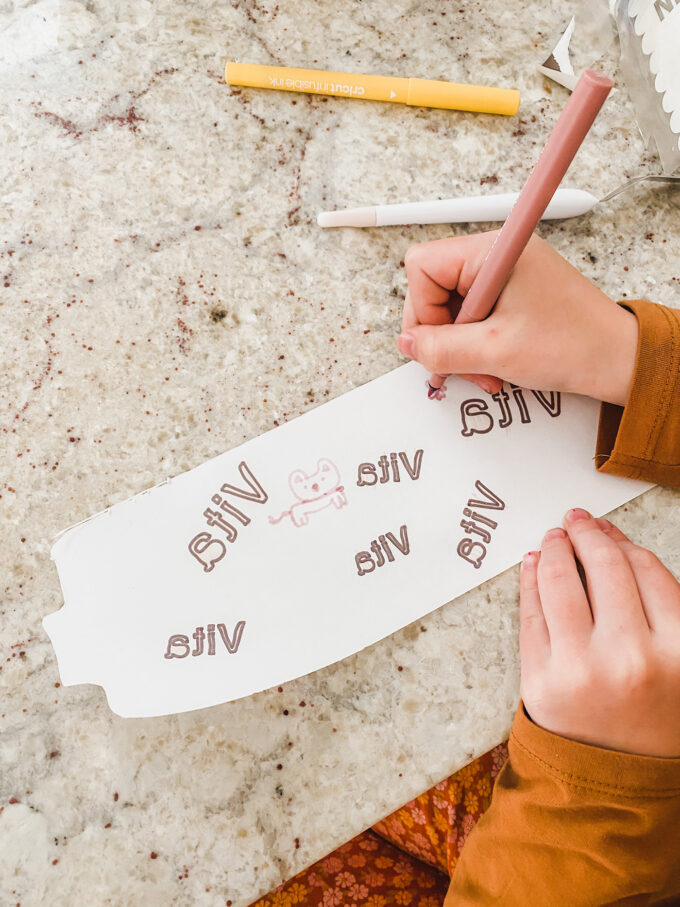 I had my Cricut Maker draw the girls’ names on paper and then cut out the mug template. They continued drawing with the Infusible Ink Markers and then we wrapped the mug the same way as above.
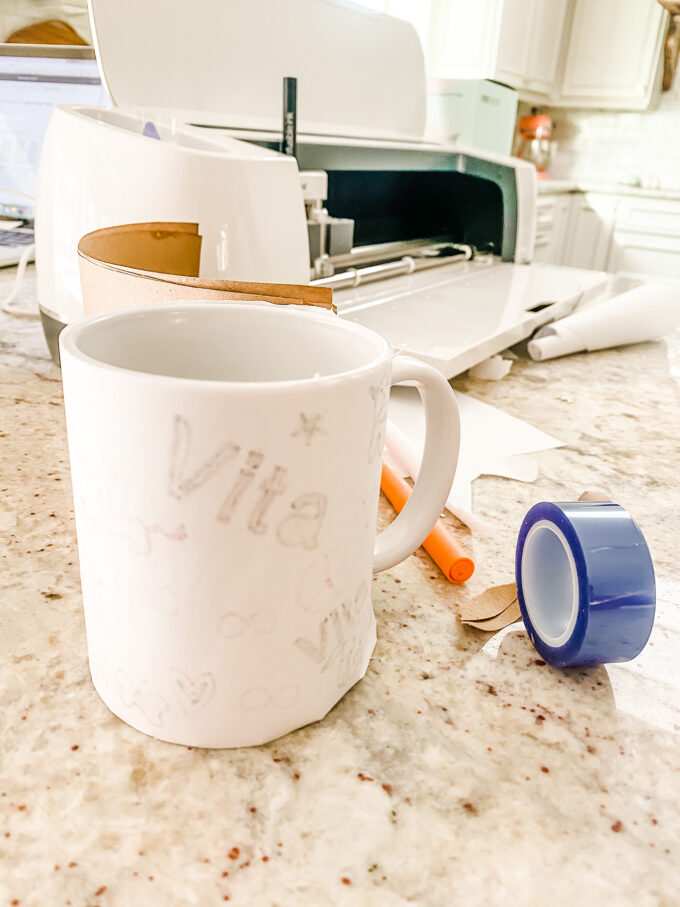 When using the markers this way, you need to create a liner of butcher paper (brown kraft paper works!) to stop any of your design from bleeding or sublimating onto your press. I used three sheets of butcher paper cut to size (about 9″ x 3.5″) and wrapped around my mug to prevent any bleeding from happening. Taped it in place and stuck that sucker in the mug press.
If you’re cutting your design from the Infusible Ink Sheets designed FOR THE MUG PRESS, you don’t have to wrap with a liner because they’re already backed with one. So just keep that in mind when figuring out your design.
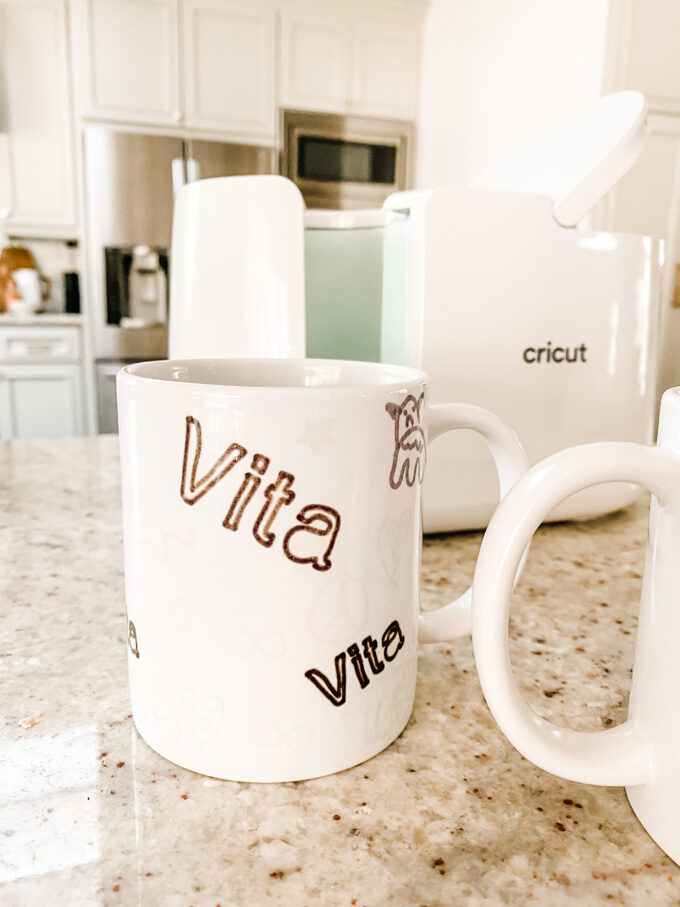 V used some of the really light pastel markers so her drawings are kind of light and this photo has them a little more faded than in real life. The darker the marker, the more vibrant the design!
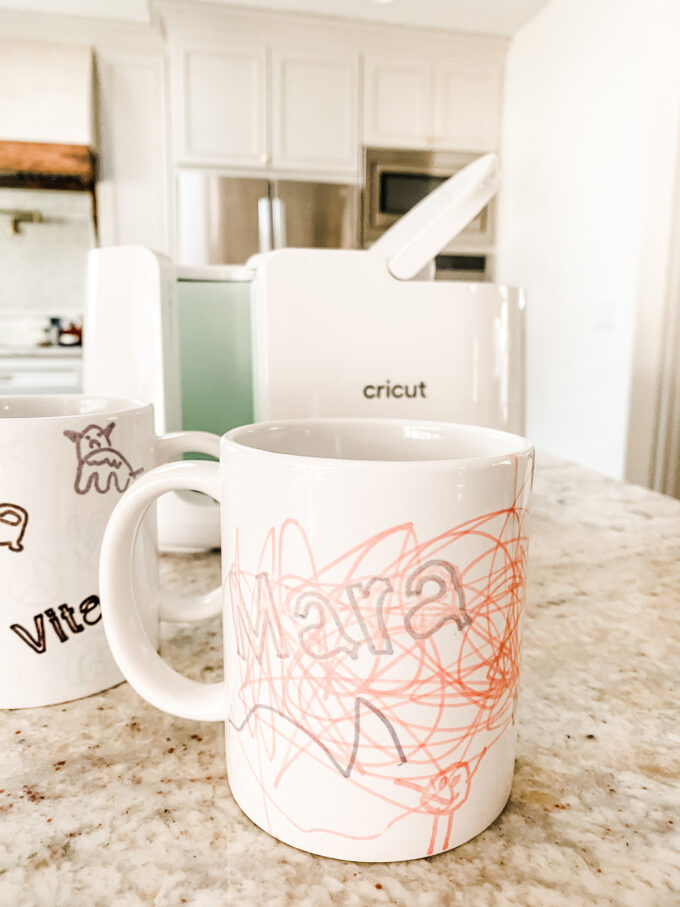 And Marzy’s mug has immortalized her little people drawings and I love them. I see a lot of personalized mugs for grandparents in our future! What a perfectly sweet gift!
 So many fun ways to use the markers and the design options are limitless. I have a calendar for all of the obscure holidays during the year (National Pizza Day, National Donut Day, etc.) and there will be mugs for those holidays, my friends. This is so fun.
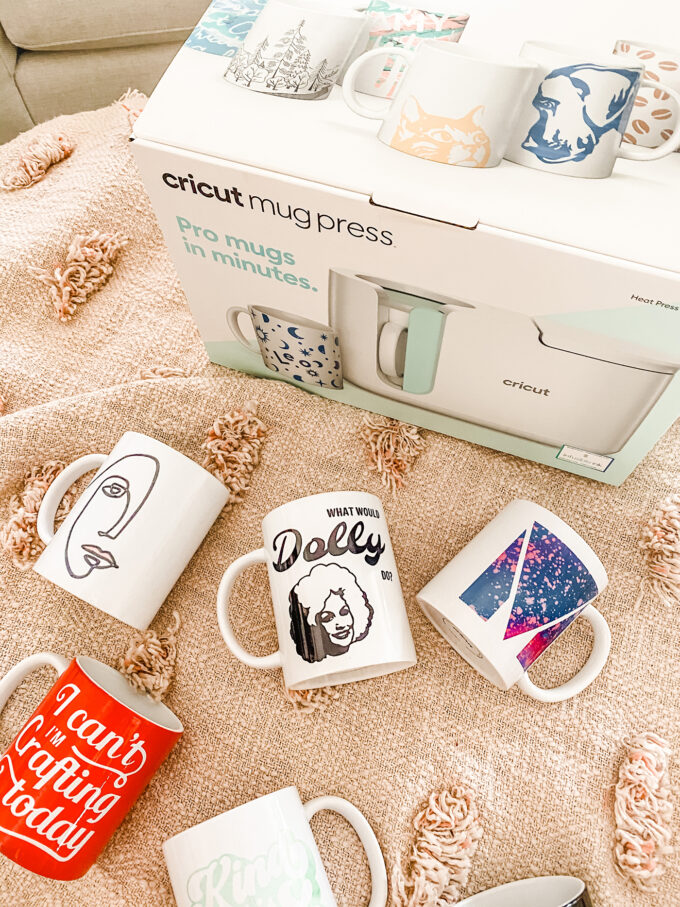 Guys. This isn’t even all of them. I have been pressing mugs like it’s my job. I actually have a really fun one that I created for one of my bestie’s upcoming birthday, but she reads here so I have to keep it a secret. For now. 😉
I’m a total fan of Cricut’s Mug Press and hope this showed you just how simple it is to use! There are lots of tutorials around the web for sublimating mugs, but those involve LOTS of tape. Special mug wraps. An air fryer. Loads of prep time. It’s possible to do, but takes sooo much more work and skill. The Cricut Mug Press has broken this craft down to its most simple and convenient form so that anyone AT ANY SKILL LEVEL can partake in the mug fun. Mugs for everyone!
The mug press is available for purchase starting today at your major retailers like Joann’s, Michaels, Target, Walmart, and Cricut.com! You can even snag it in a bundle to give you all of the essentials for mug time. Join me in the mug club!
**This post is in partnership with Cricut, a company that believes anyone can be a maker. I was compensated to write this review and shared my honest opinion about my mug love. Thank you for supporting the brands that help support PROPER and our little crafting family!







Hi. You mentioned brown kraft paper works as a liner. Have you tried substituting butcher paper with brown kraft paper then? If yes does it leave any brown/yellow stain?
Hi Kitty! I have now tried both and there were no stains when using either paper types! Hope that helps! 🙂