This is a sponsored conversation written by me on behalf of Cricut. The opinions and text are all mine.
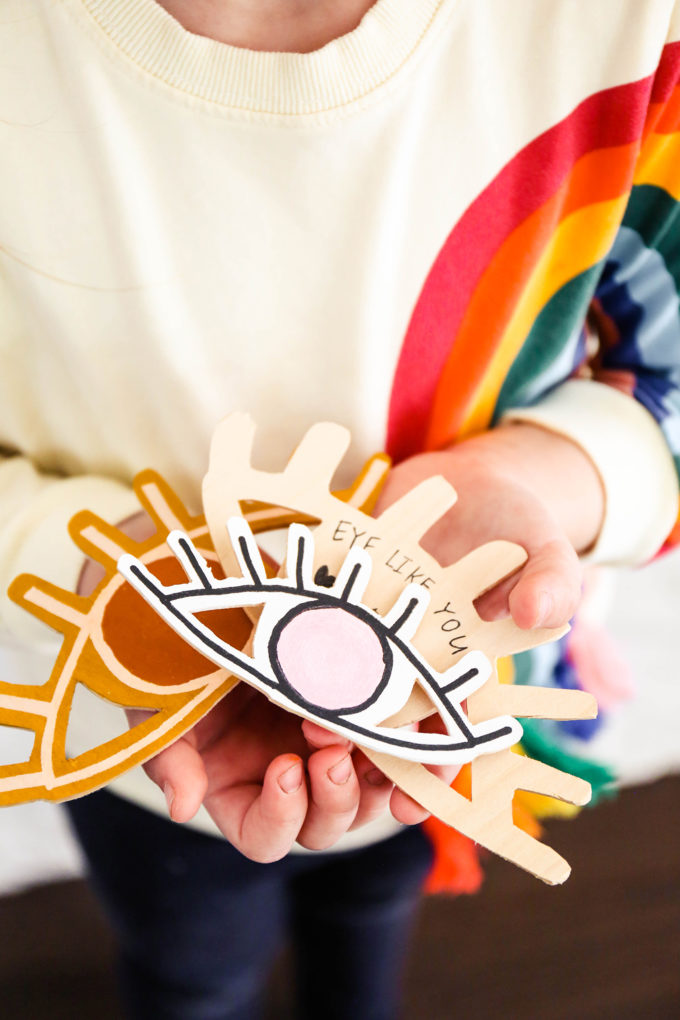 Here we go, folks. I’ve turned into that mother. The one who makes homemade valentines for her kids on Valentine’s Day because I JUST CAN’T HELP MYSELF, okay??? V and I had such a blast making and painting these DIY wooden valentines! They’re the perfect way to tell someone, “hey. EYE like you.” I’m really going strong with the puns these days and I don’t see it slowing down anytime soon. Hope that’s okay.
DIY Wooden Valentines
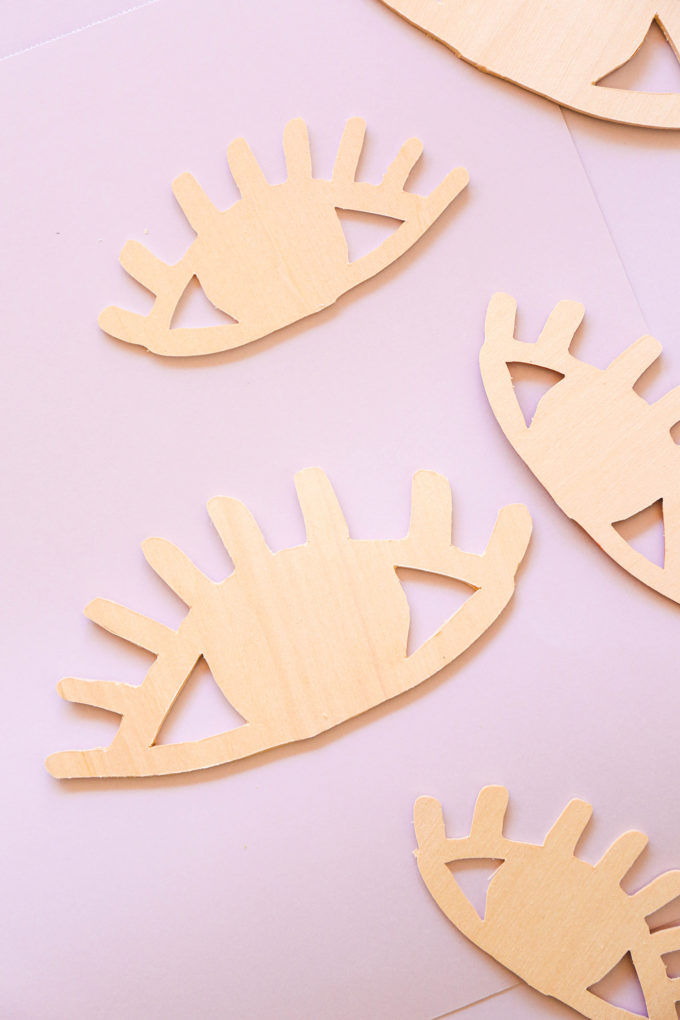
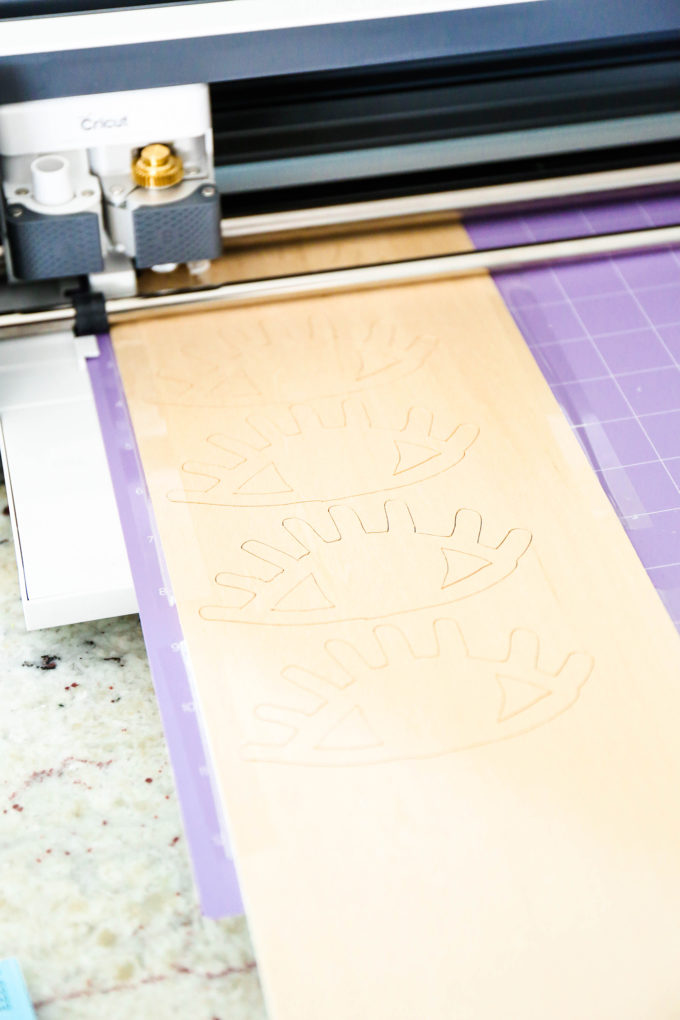
I had these wooden valentines cut out using my Cricut Maker. (Oh yes. It cuts wood now, y’all. Just make sure you use the knife blade!) This was super nice to be able to set it up and walk away while it made pass after pass through the wood until it had cut through the entire layer.
After mounting the wood (we used 1/32″ and 3/32″ basswood) to the strong grip mat, I secured it with some tape around each edge to help prevent any lifting or movement while the shapes were being cut. I uploaded the eye shape to Cricut’s Design Space and went to town! If you use their design space, click here to get started!
**Now, you can totally make these shapes without a cutting machine, but you just have to be prepared to hunker down for a bit while you use a craft knife to cut these suckers out. It’s not impossible. Just a bit more time-consuming!
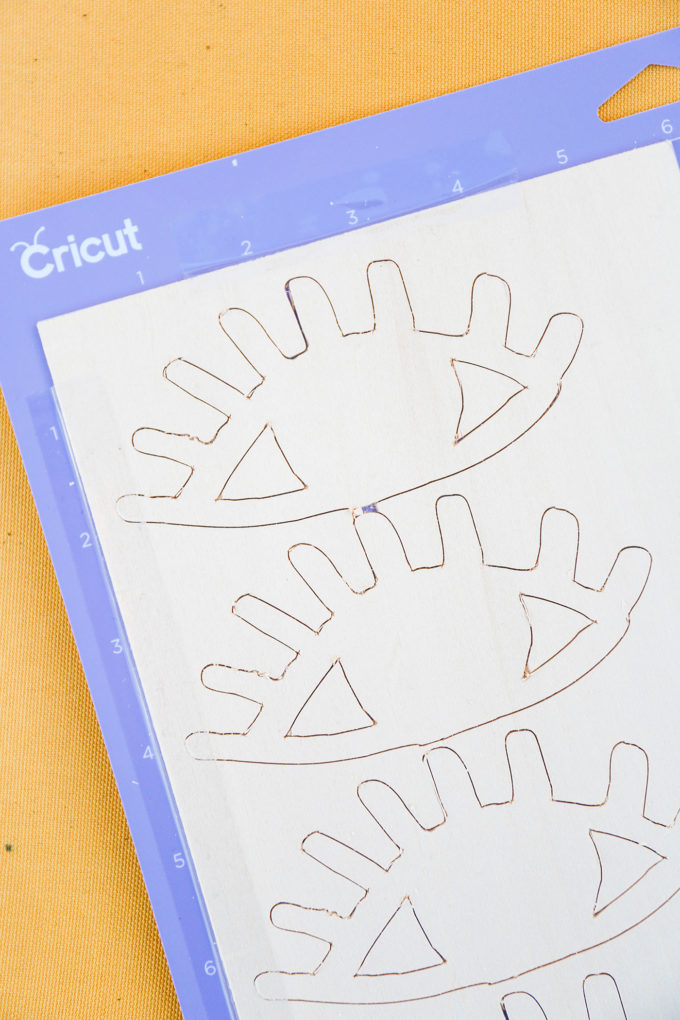 Depending on the thickness of wood you use, this process can take quite a while. For example, when cutting the 1/32″ basswood, it required 14 passes. This was about 1.5 hours so I worked on other things while I waited for this to be done. After the passes were complete, I simply removed the mat from the Maker and cleaned up any edges that needed it with a craft knife.
PAINTING!
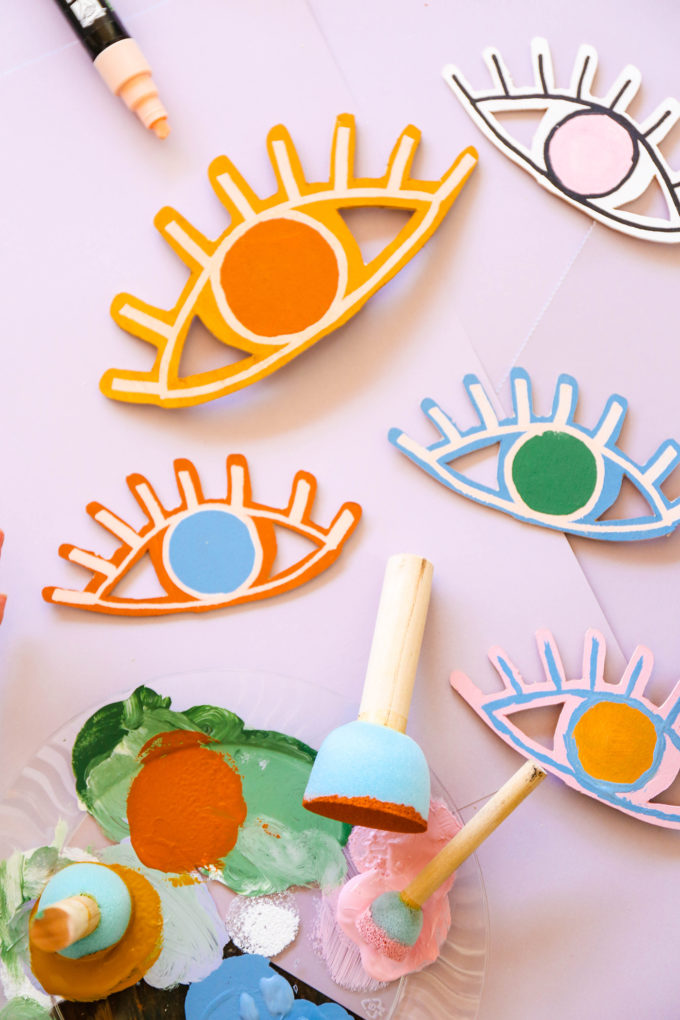
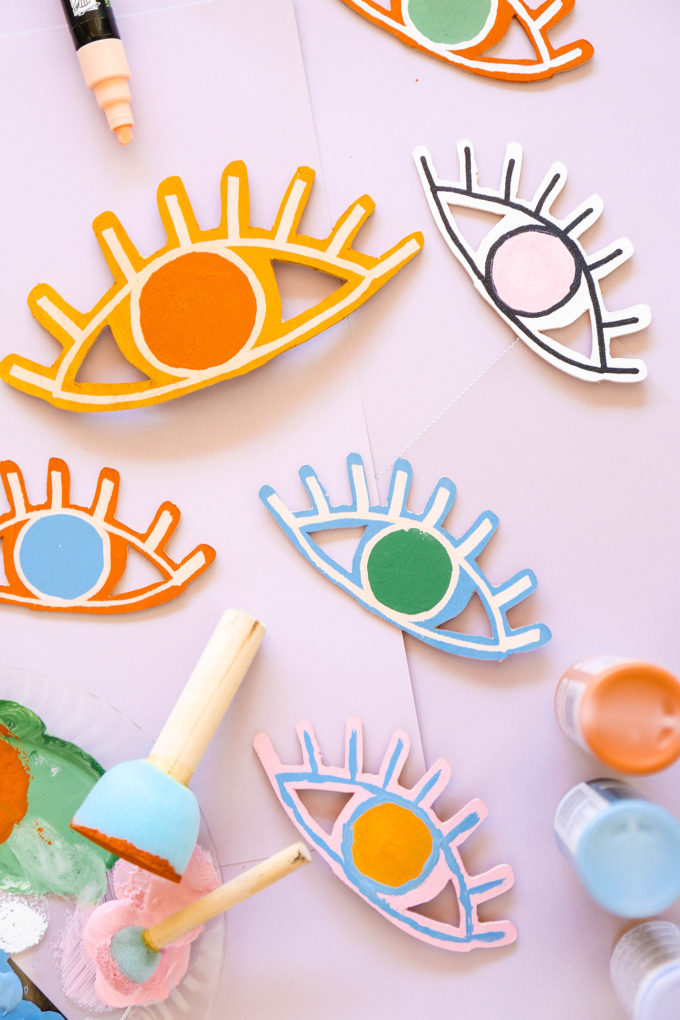 I had to really let the control freak in me take a break so that V could work on these. The girl is actually super skilled when it comes to art projects. I made a few eyes as an example and she followed suit.
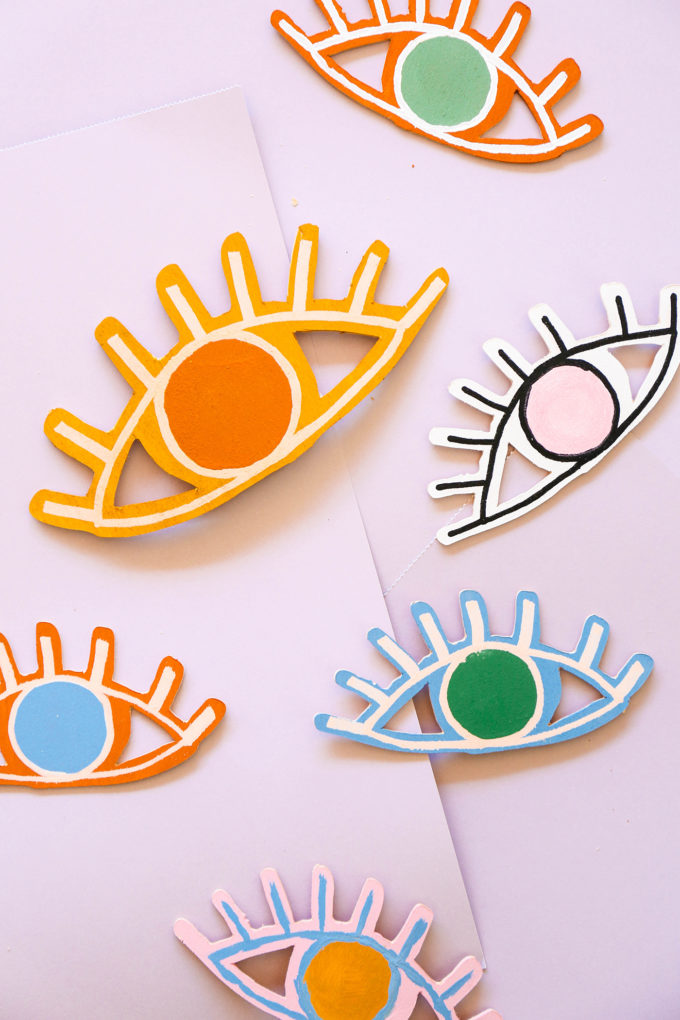
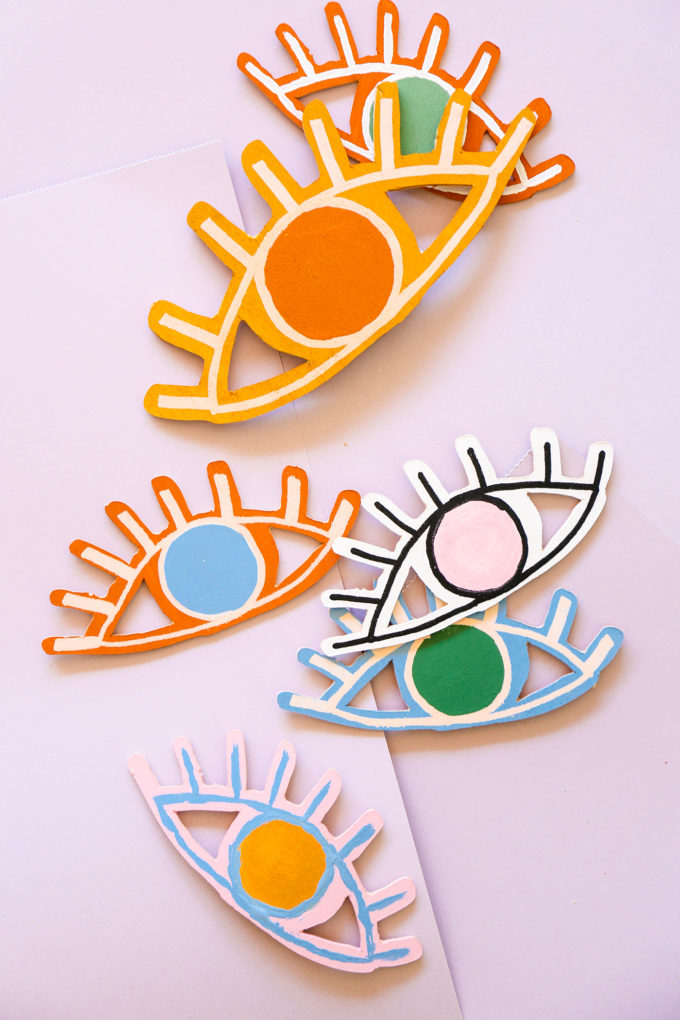
The pink, blue, and orange eye? She did that one. Also, she’s 5. Also, I’m bragging.
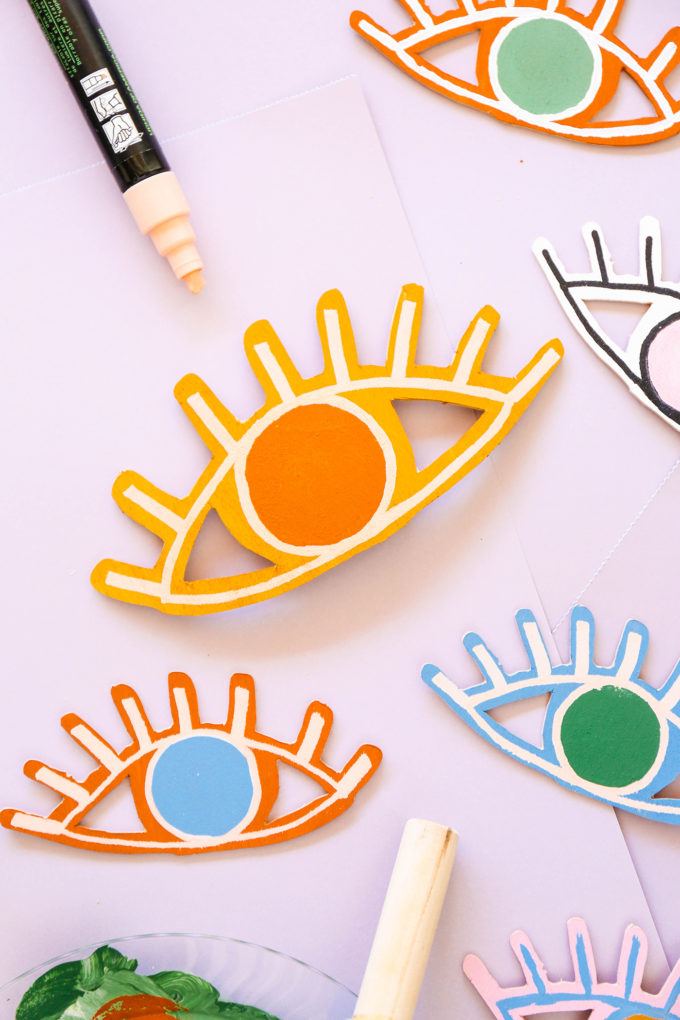 We used chalk markers to outline the lashes. They gave an opaque color that didn’t bleed.
 After the eyes were all dry, we flipped them over and used a pen to write a little message on the back.
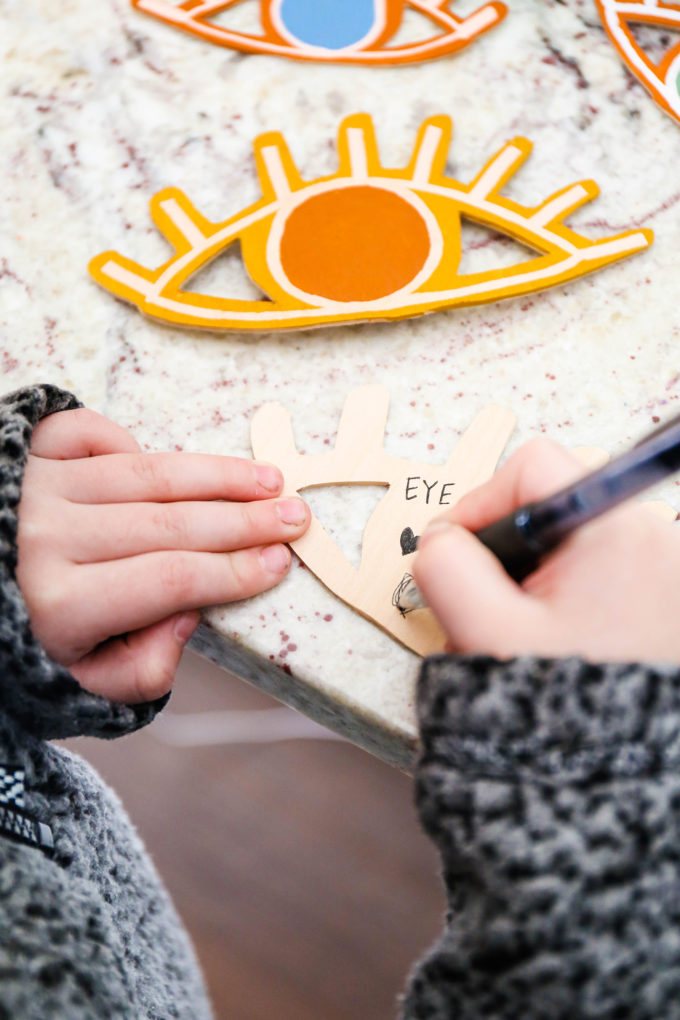
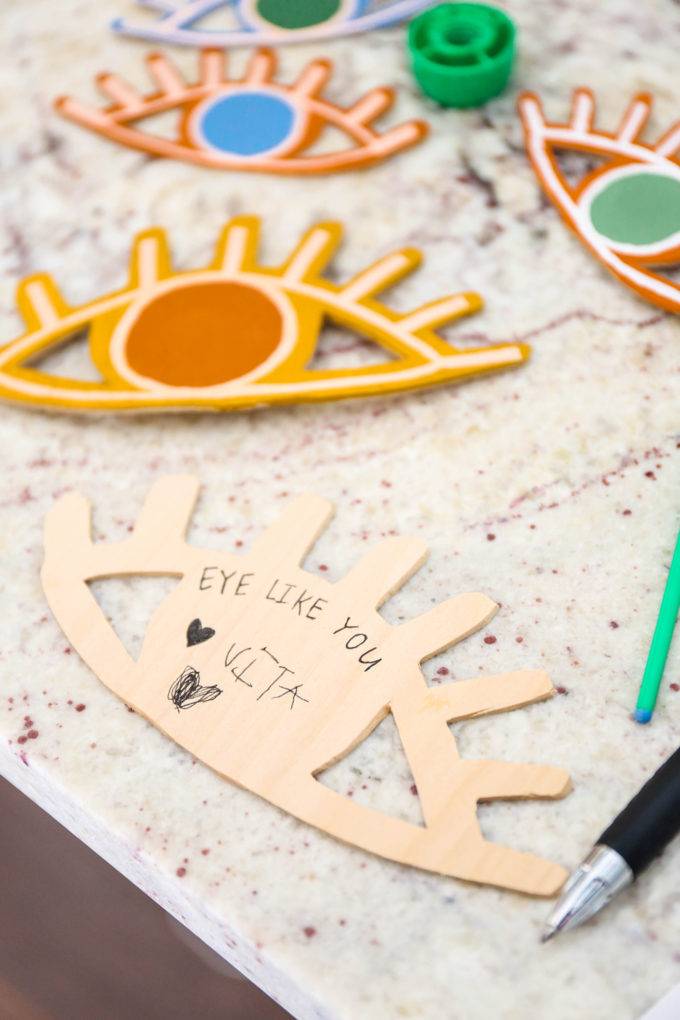 “EYE LIKE YOU”
That’s appropriate for preschoolers, right?
But let’s get real. I’m keeping these for myself. Forget the little preschoolers. They might not even appreciate these DIY wooden valentines anyway, right?
RIGHT?
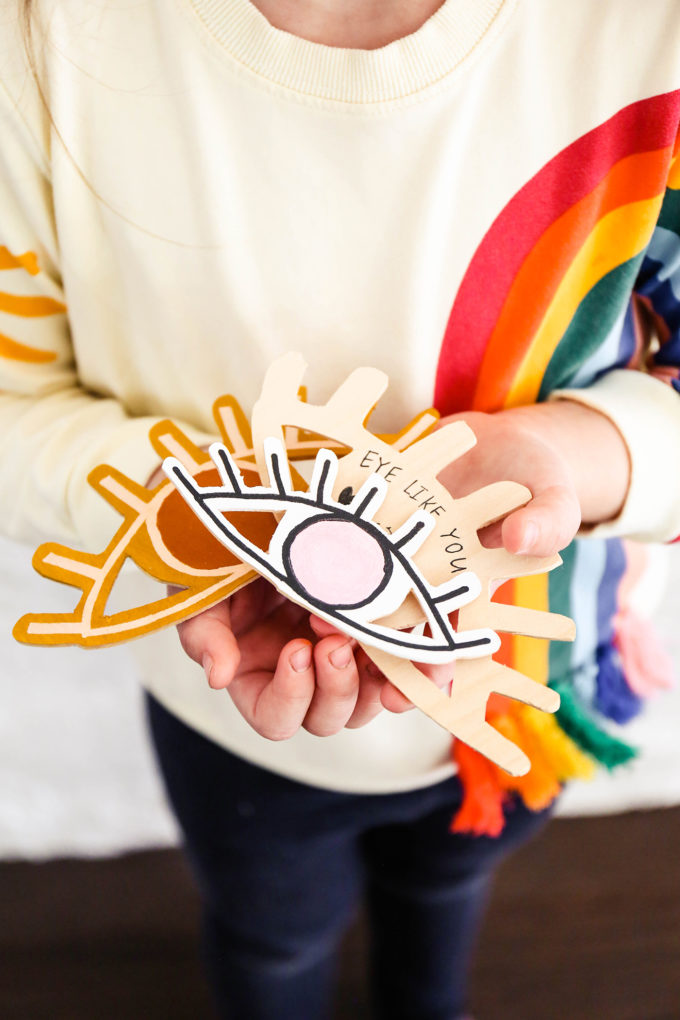
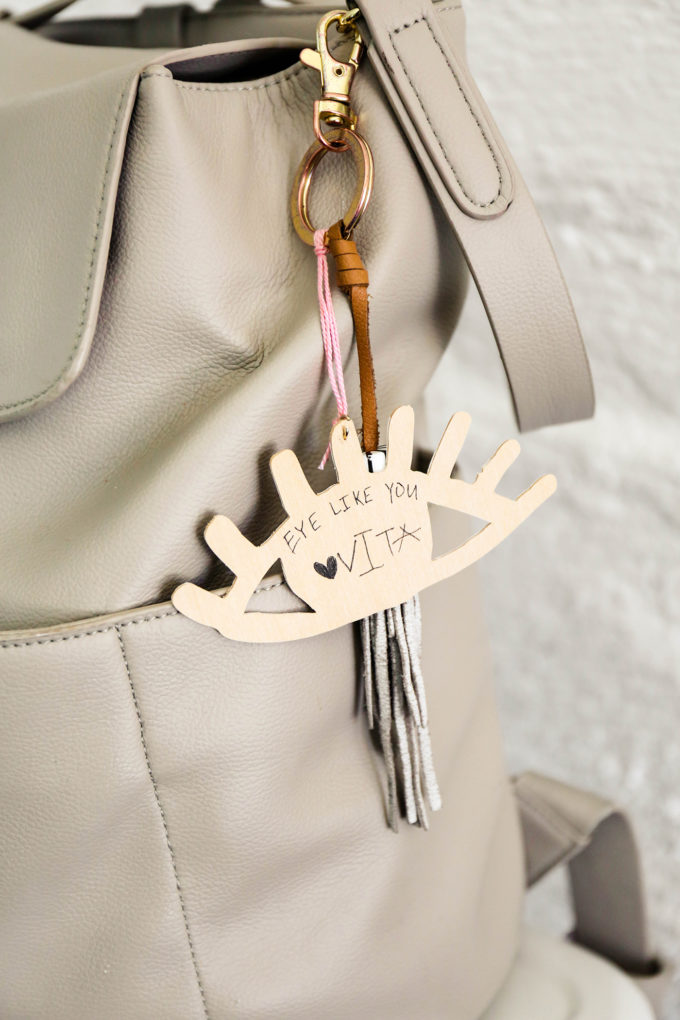
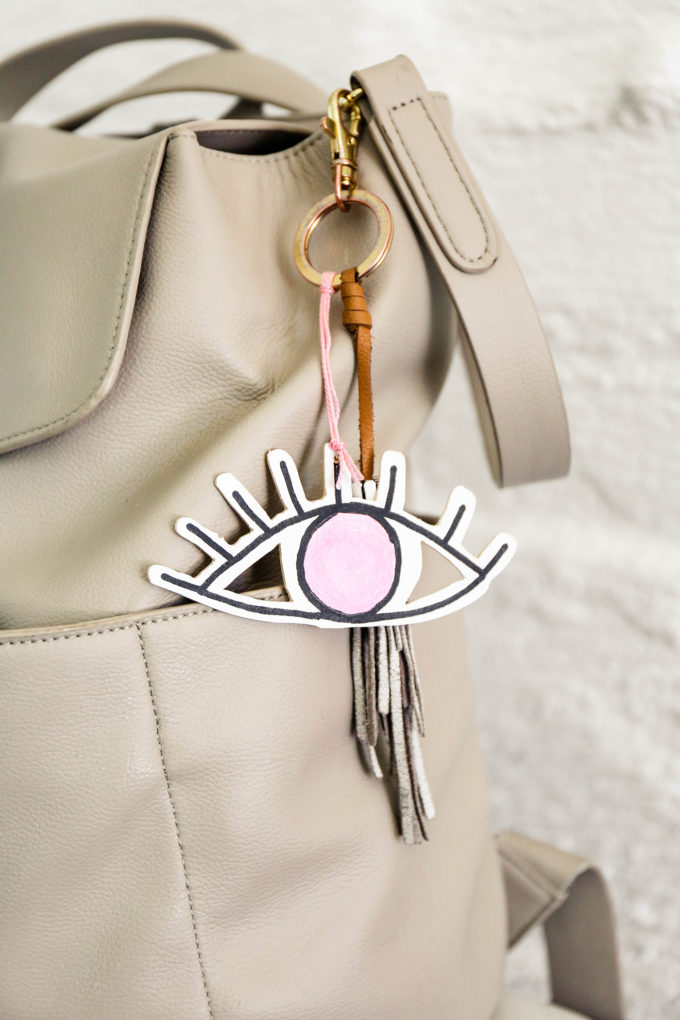
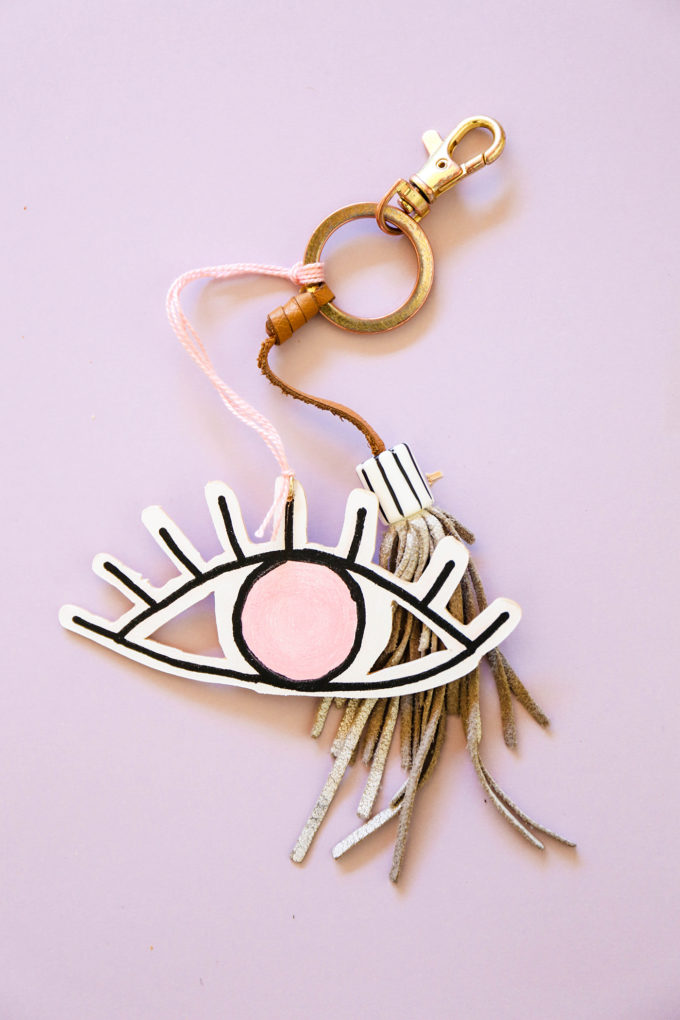 The smaller eyes actually make pretty great keychains. Which is what we’ve decided to make for Vita’s class. They look great on backpacks.
Or pencil boxes.
Or fanny packs.
The sky’s the limit.
Can every day be Valentine’s Day?
 We’ve made a lot of Valentine’s Day projects over the years (the proof is in the pudding. Er, the archives.), but these might just be my favorite! I love letting Vita help with little projects like this, and seeing her creativity come through! And now my mind is going crazy thinking of all of the things I am going to cut out of wood! This might be the year that my girls actually get birthday parties! (But good thing they don’t read here lest I don’t come through. ?)
DOWNLOAD \\ Eye Shape for DIY Wooden Valentines
concept & photography \\ PROPER
