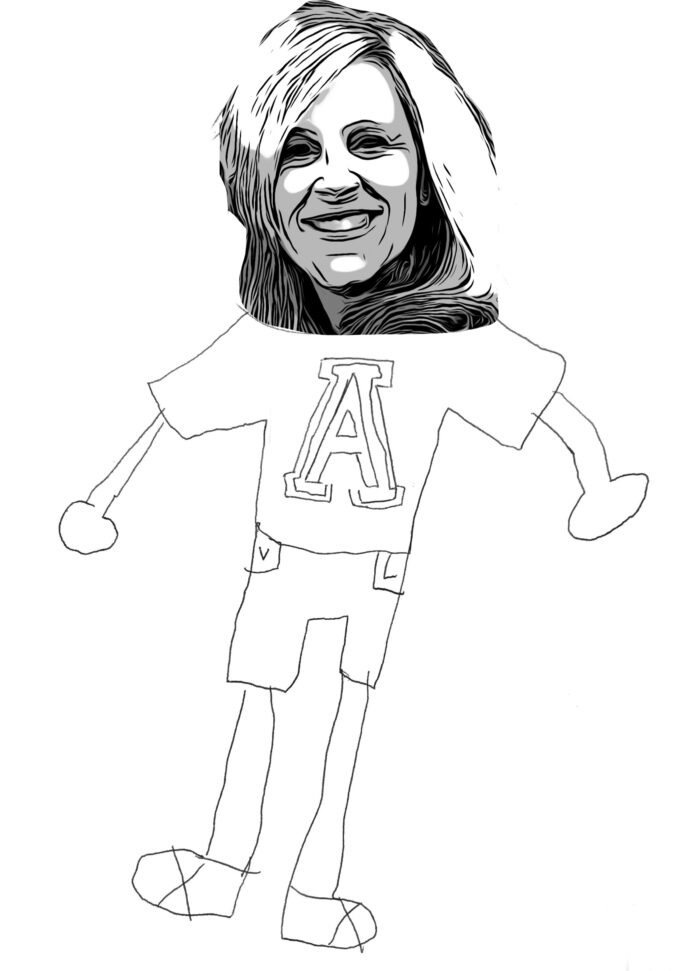
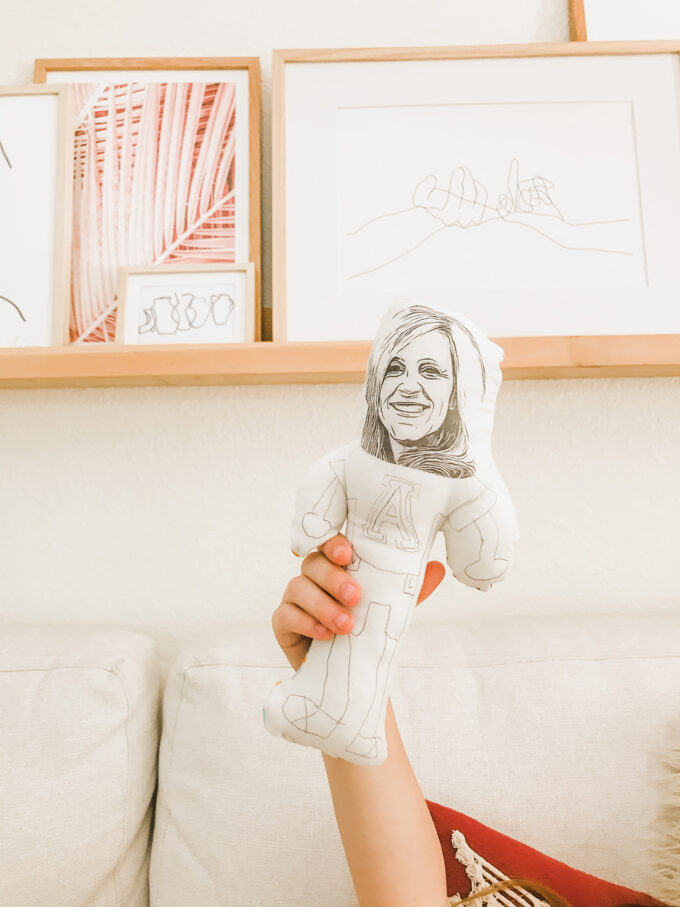
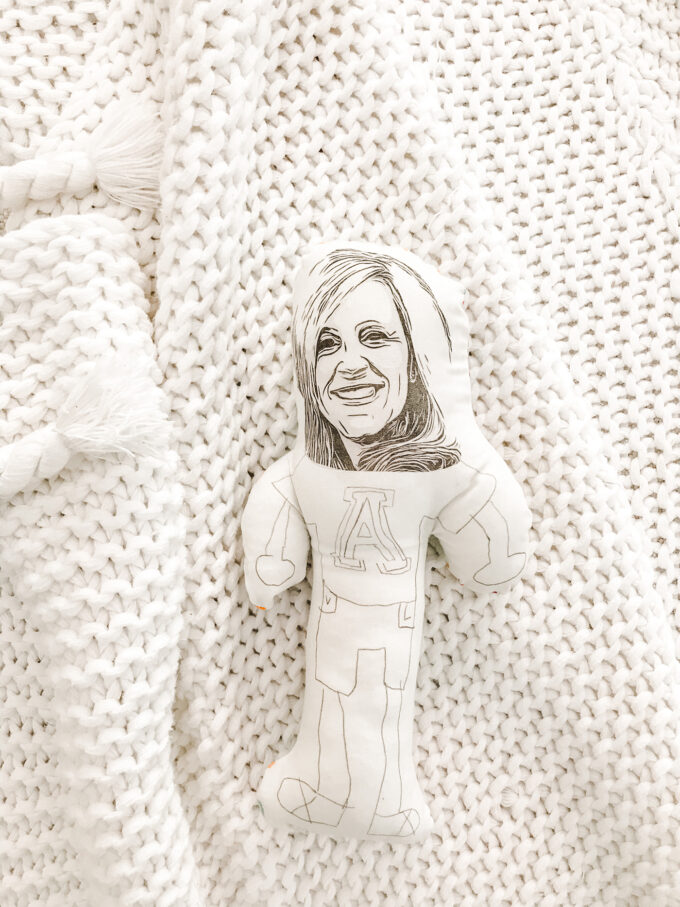
 Okay. Let me start this by saying that I KNOW how creepy this looks. lol. We wanted to make some sort of gift for Vita’s teacher. V is missing her so much and is sad she won’t be seeing her before the end of the school year. So we wanted to send her something. And this homemade doll is what Vita came up with. I told her we could print on fabric so she sketched up her body and we added her teacher’s face. It kind of turned out creepily cute and I shared the idea on my IG stories the other day and some of you had asked if there would be a tutorial. So here you go! This is how to make a homemade doll using your child’s artwork! Get ready. 😉
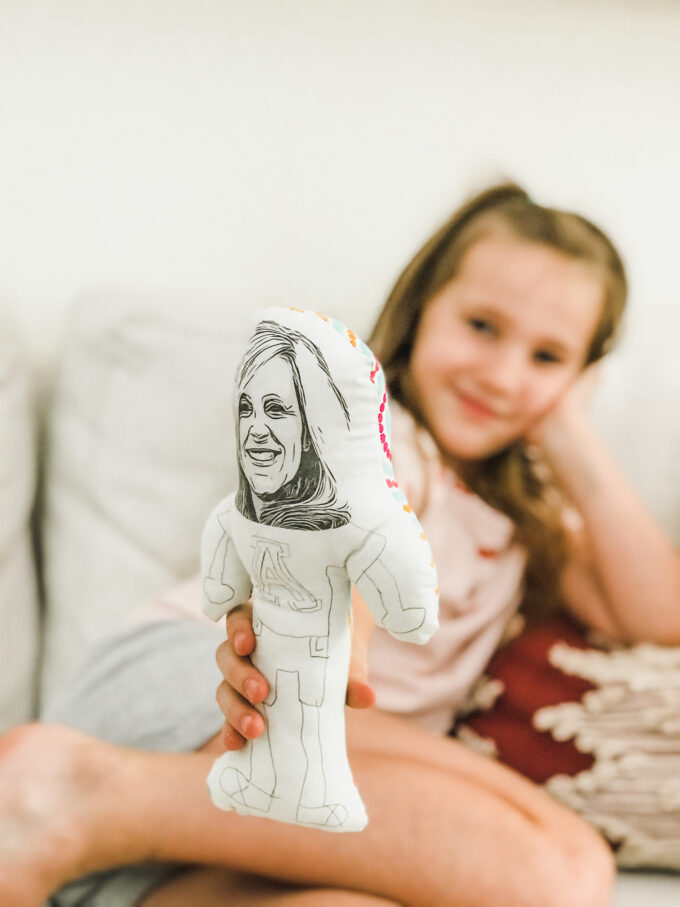 How To Make A Homemade Doll Using Your Child’s Artwork
materials needed:
- small piece of solid colored fabric for the front (enough to trim an 8.5″ x 11″ piece after you start)
- small piece of patterned fabric for the back
- iPhone or scanner
- Cookie sheet or small tray
- Bubble Jet Set & Bubble Jet Rinse
- freezer paper
- iron
- Inkjet printer
- sewing machine
- cotton polyfil
step 1 || Have your child draw a picture of a body. For the head, we found a picture of her teacher from her online social media profile, saved it to my phone, and then used an app to turn it into a cartoon sketch for simple printing and to best match Vita’s art. You might feel like a creeper doing this step. But it’s okay because who WOULDN’T want something like this of themselves?????
step 2 || Use an iPhone app to scan your child’s artwork (I love using Genius Scan for any type of scanning stuff.) and then combine the head and body using something like photoshop or Picmonkey.
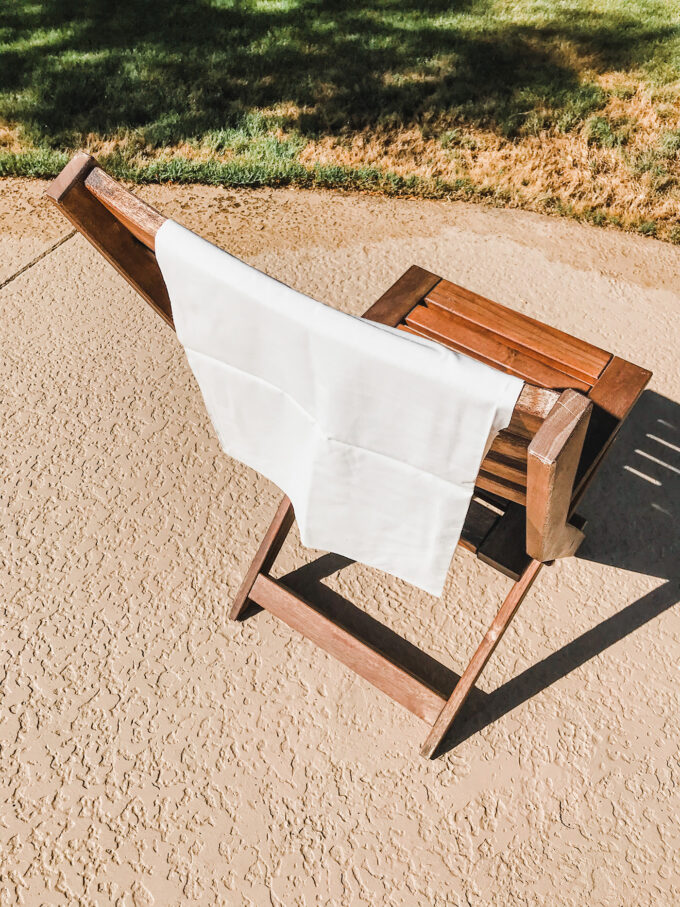 step 3 || Fill your tray or cookie sheet with some of the Bubble Jet Set liquid. (You’ll be able to pour it back into the bottle after you use it.) and soak the front piece of fabric in the liquid for 5 minutes. Remove it and hang it outside or lay it flat on a table to dry.
step 4 || Once your fabric is dry, iron it to the shiny side of freezer paper to stiffen it up for printing.
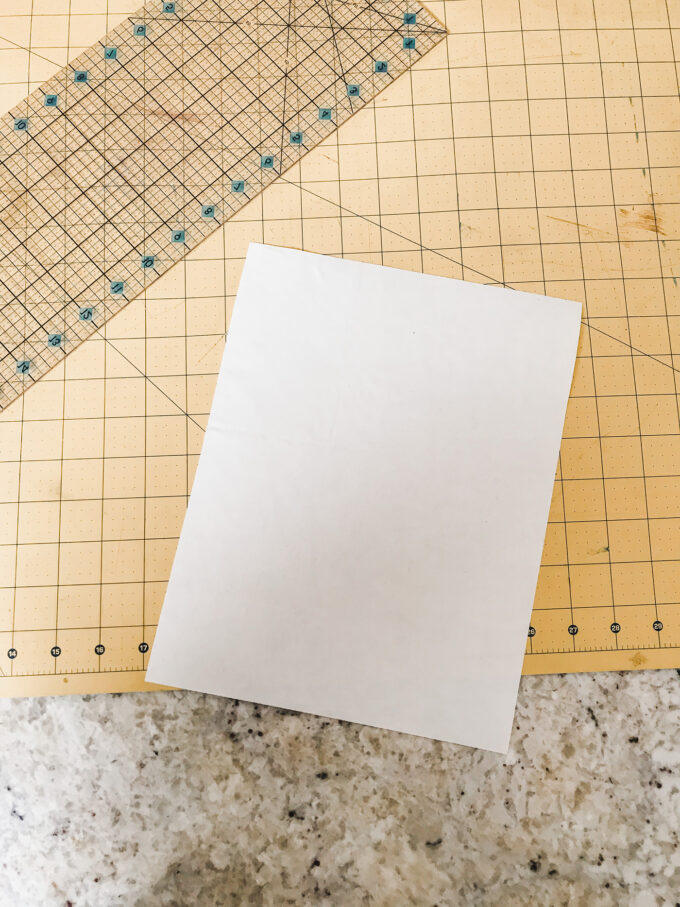 step 5 || Trim your fabric (with the freezer paper backing attached ) to 8.5″ x 11″. This is the standard size for a sheet of paper to run through the Inkjet printer.
step 6 || Print out your child’s artwork on the fabric and allow it to sit for 30 minutes. I left mine for 1 hour to be doubly safe.
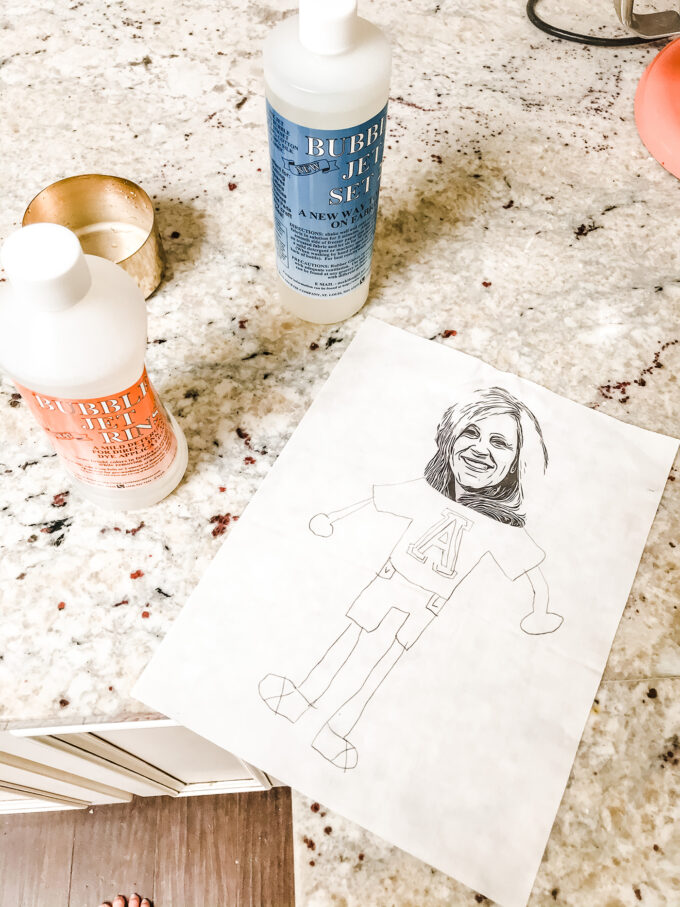 step 7 || Peel the freezer paper backing away from the fabric and rinse it in the Bubble Jet Rinse liquid for two minutes.
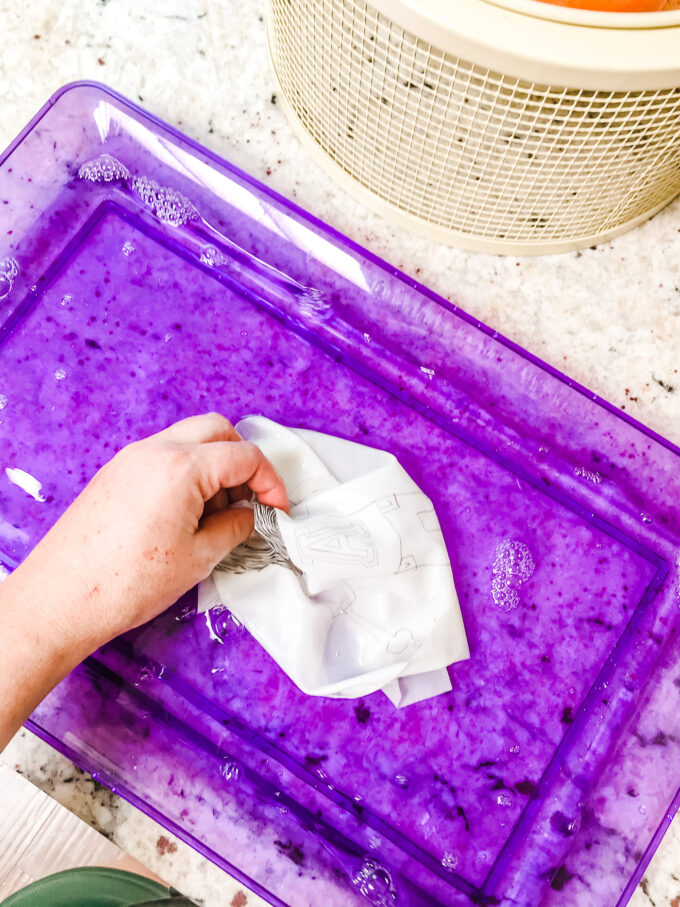
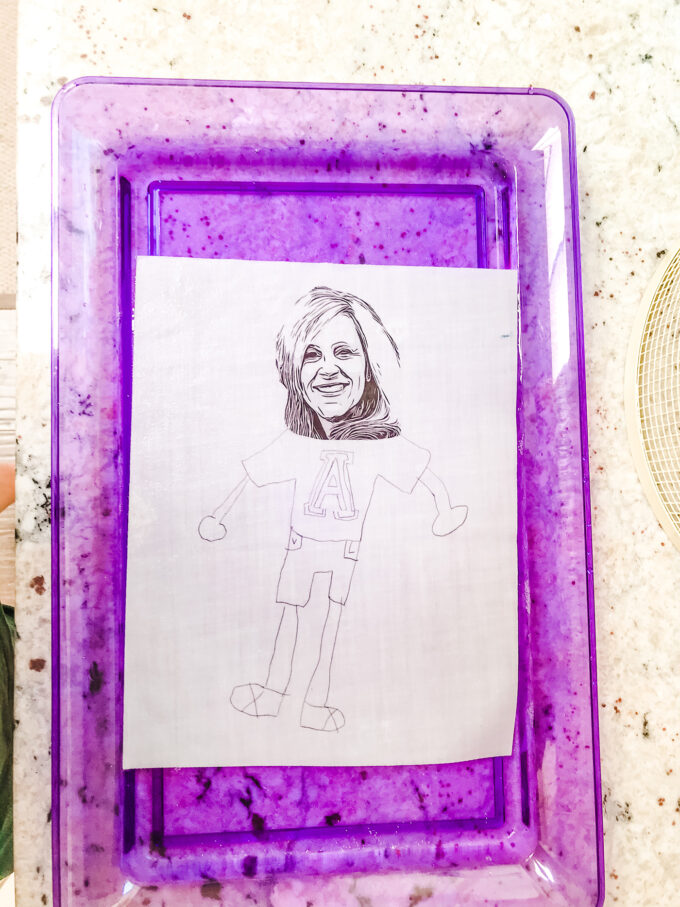 step 8 || Pour 1 capful of the Bubble Jet Rinse into the tray with 4 cups of water. Add the printed fabric and gently handwash for two minutes.
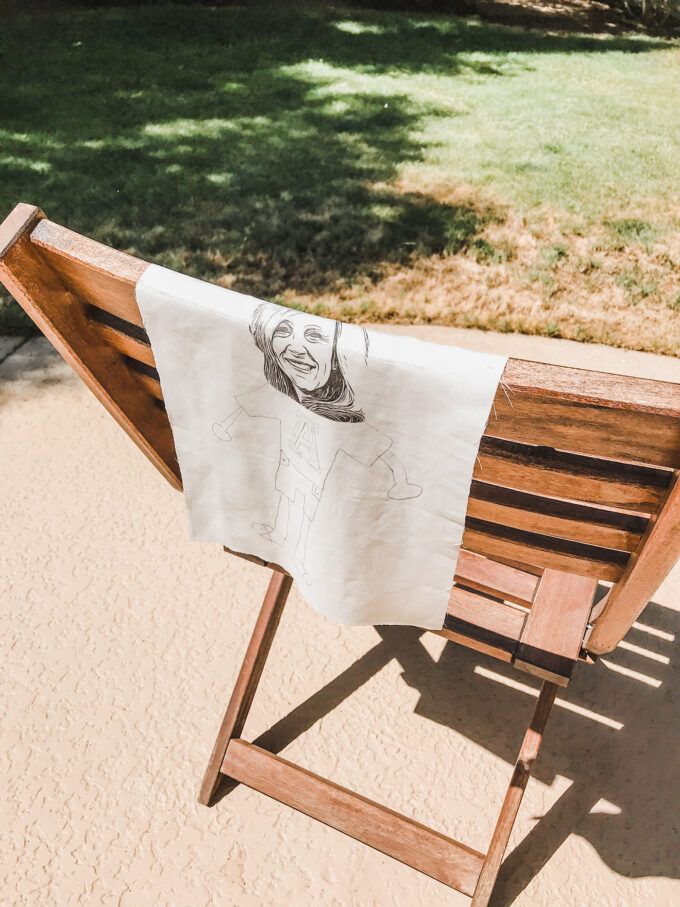 step 9 || Let the fabric dry. Don’t wring it out, just let it drip dry or lay it flat on a towel. I put everything outside to speed up the drying process.
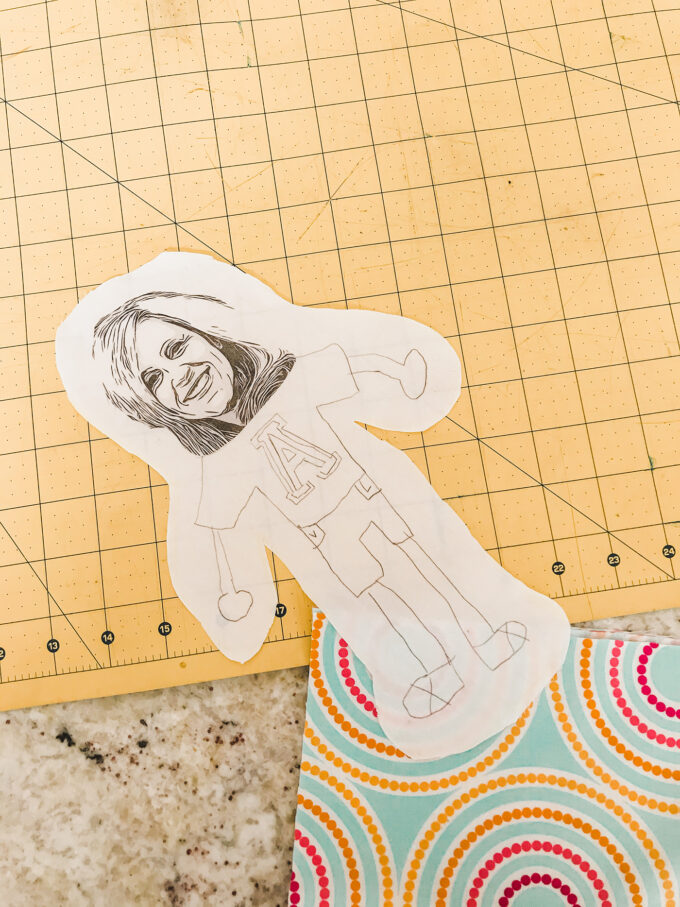 step 10 || Trim around the printed artwork. And then lay that piece on your fabric back piece and trim around it again. Make sure it matches for when you turn it all right-side-out after stitching. To sum up: Lay the printed fabric face up on top of the fabric back facing down and trace and trim.
** Tip: leave plenty of space to stitch a hem. This had a good amount of space, but I wish I wouldn’t have trimmed around the arms so much and didn’t think about it until I was sewing everything together. Hindsight is 2020!
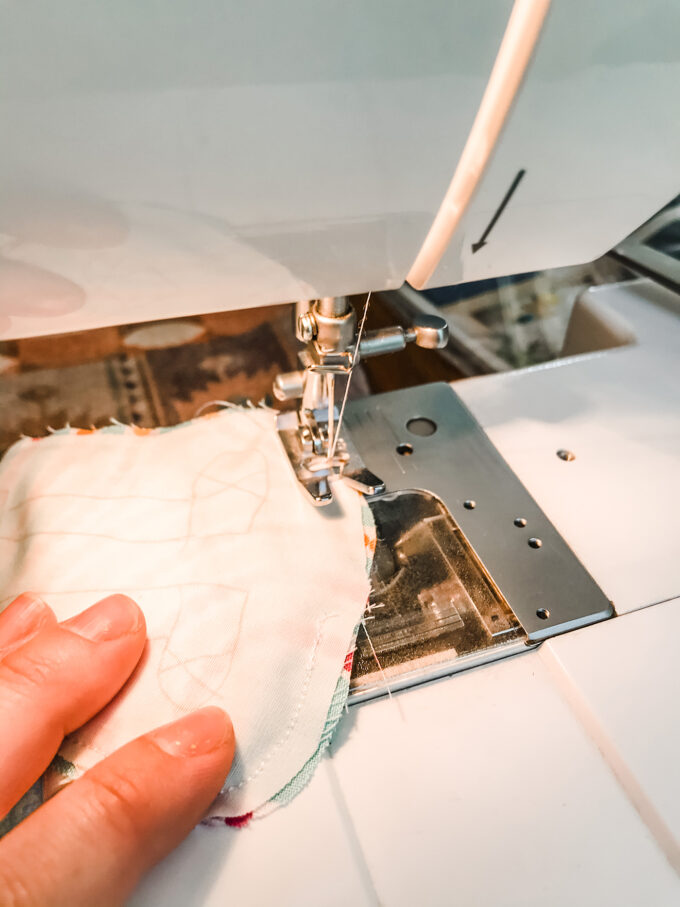 step 11 || Place the two right sides together and, using a 1/8″ or 1/4″ hem, stitch around the doll. Leave a small opening at the bottom to stuff the doll. This is definitely lookin’ homemade with those edges.
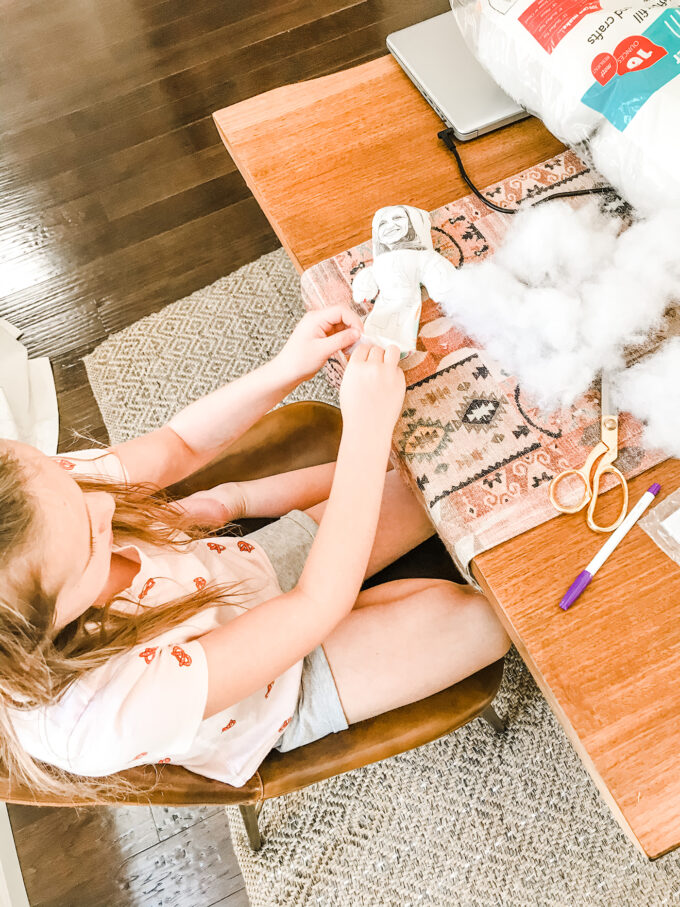 step 12 || Turn the doll right side out and stuff it using the cotton polyfil. Keep a pen or marker on hand to help you push the filling up to the head and down the arms. Stuff it as full as you like and then hand-stitch the bottom. I have been teaching Vita to sew so she did this part 100% herself and was so proud.
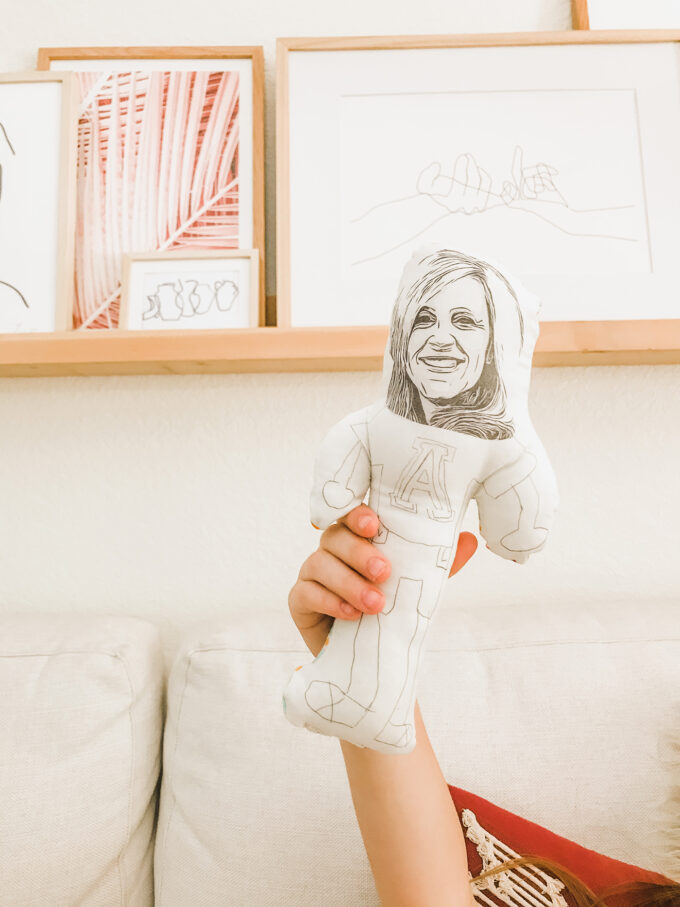 Annnnnnd BOOM. A cute and creepy way to show just how much you appreciate your teacher! That A is for the University of Arizona because Vita’s teacher is a diehard fan. And there is a V & L on the pockets for both Vita’s and her teacher’s initials. The thought in the detail, man.
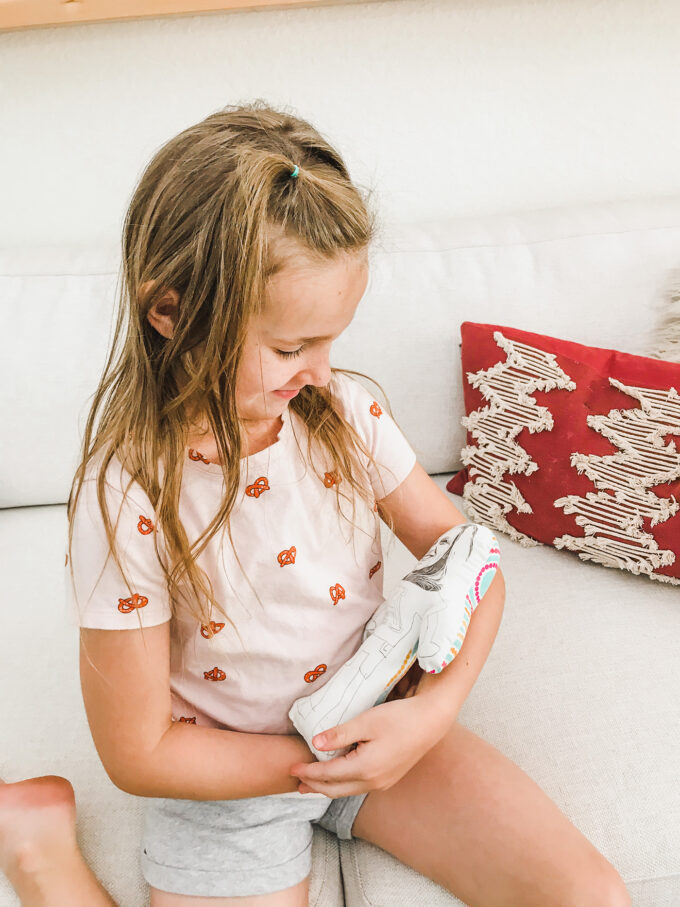 I feel like this homemade doll just opened up a can of worms for Vita though. She’s wanting to print all of the things on fabric now and I’m pretty sure I’m going to be making some sort of homemade doll everyday until I die now.
 ** A word about the Bubble Jet Set & Rinse product – there are tons of ways to print on fabric. You can use waterproof ink or I have even heard that you can soak the fabric in vinegar for a several minutes after printing to set the ink. I’m all about finding natural ways to do projects like this, but I have used Bubble Jet for years for projects and never had a problem. I wanted to make sure the ink was a permanent as possible and felt good about this stuff! You can snag it on amazon here!
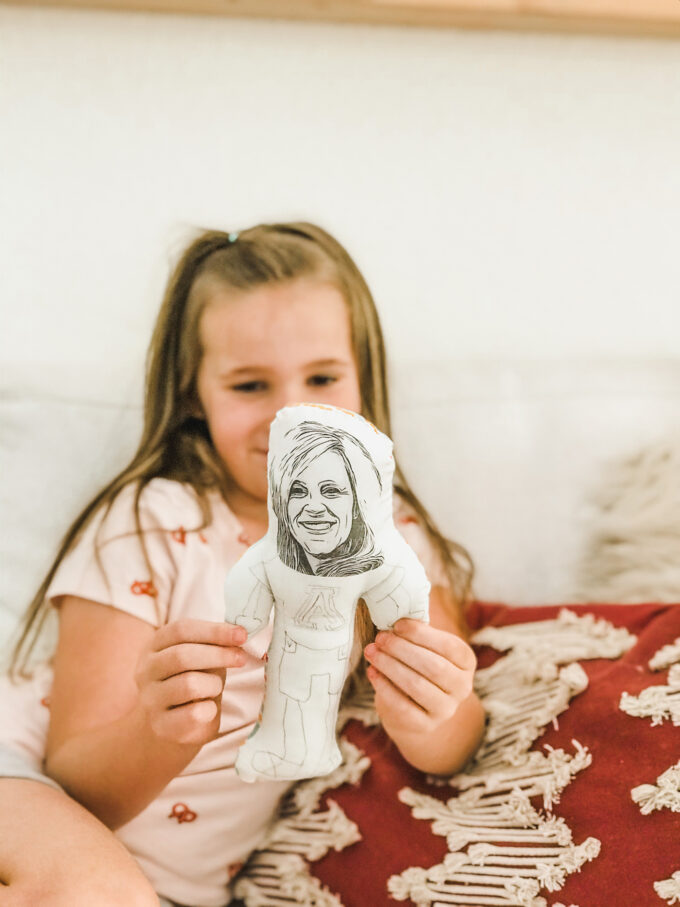
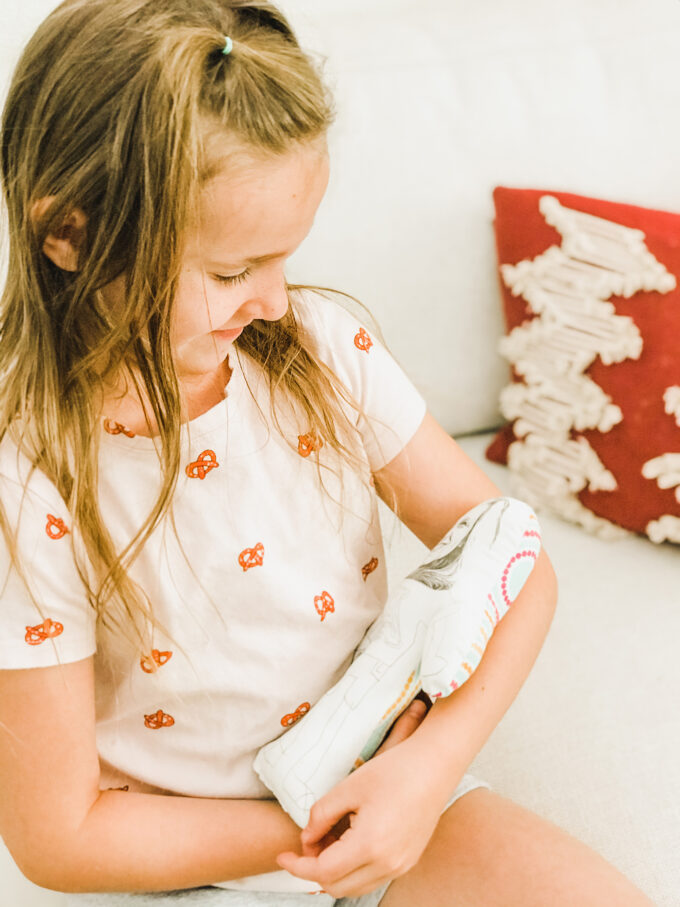 After we finished, Vita said she thinks that her teacher is going to put this on her desk at school. “But then all the people will want one and they’ll become so popular that we have to make and sell them. For $1 each. ” Okay, V.
There are lots of ways to incorporate your child’s artwork into your projects. This homemade doll is just the tip of the iceberg! Happy making!
