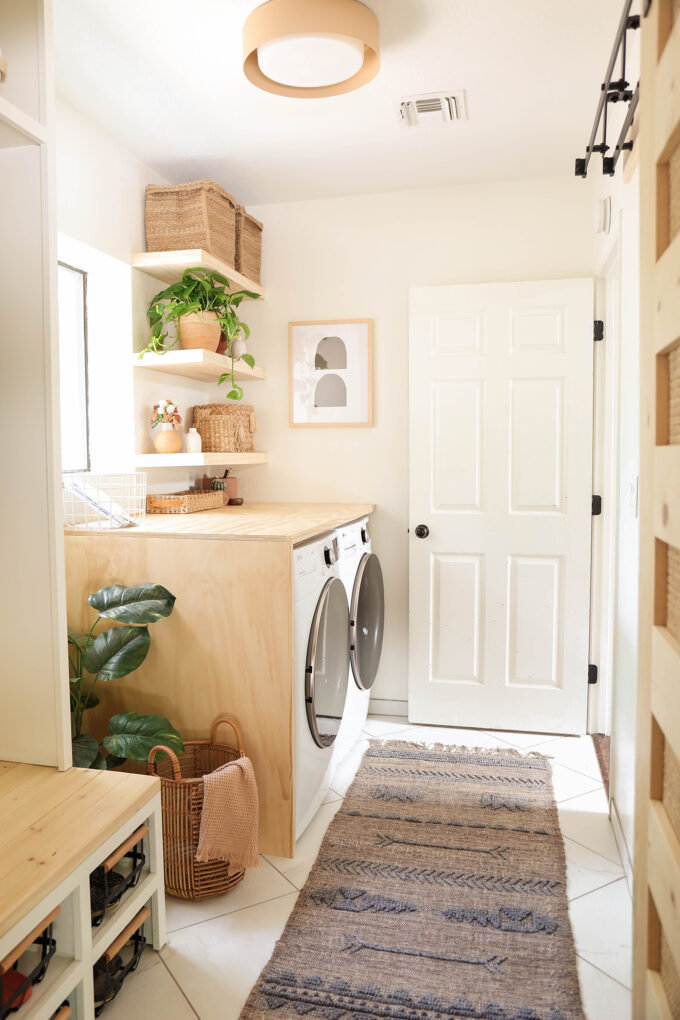
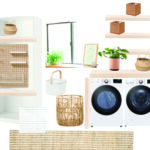
 It’s done!!! Done. Done. Done. It took me a hot minute to get everything in place, but today’s the day for the laundry room reveal and I’m so excited to share how it all looks now. We were actually laughing because Logan walked in there last night and kept saying, “Whoa! Whoa! Totally different vibe in here. Looks so great!” It’s completely different than what we started with. (Can ya believe it???) If you’ll remember in my post all about my plans for the space, I shared the mood board I created and I feel like the end result is pretty spot on! Tweaked a couple of things and I’m sharing the 411 below so read on and take a gander at all the pics!
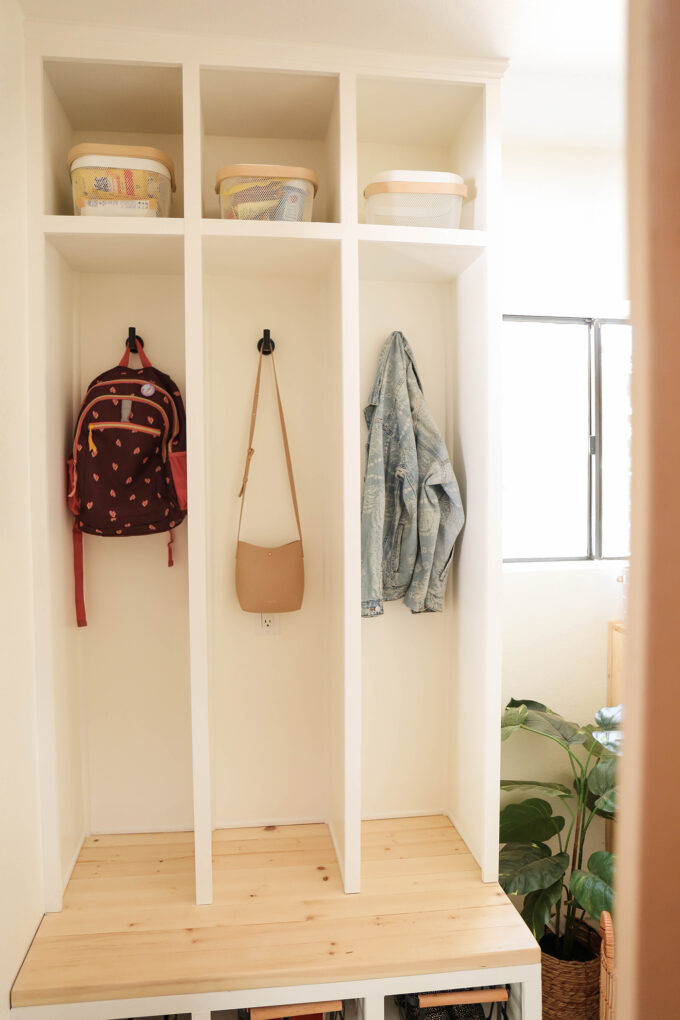 The biggest issue with this space was that it’s a laundry room, a pantry, and a mud room all in one. The space is only about 10′ x 6′ so we needed to maximize every inch as best as possible. SO we removed the claustrophobic cabinetry , the hardly-used sink, and the bifold doors to really open things up. I had plans to build and everything myself (hello, DIY), but was really stressed about the amount of work I had going on ASIDE from the laundry builds. Wise, old Logan suggested that I try to off-load one of the many projects and I found a carpenter who could come in and help me with the built-ins. I shared with him my plans and some inspo pics and asked that he not finish and seal anything so that I could sand, stain, and seal on my own once I finished the rest. We installed the built-ins and it’s been amazing having a space for shoes, bags, and jackets! We used to just drop stuff wherever in here (hanging jackets over the side of the sink. nice.) so it feels like a nice change to have things all in one organized spot. The shoes go in baskets. And there are extras for more shoes or school papers. Extra household items are stored above and then I installed these black hooks to hang coats and bags. I’m thinking I might install some more hooks on the sides and lower down. What do you think?
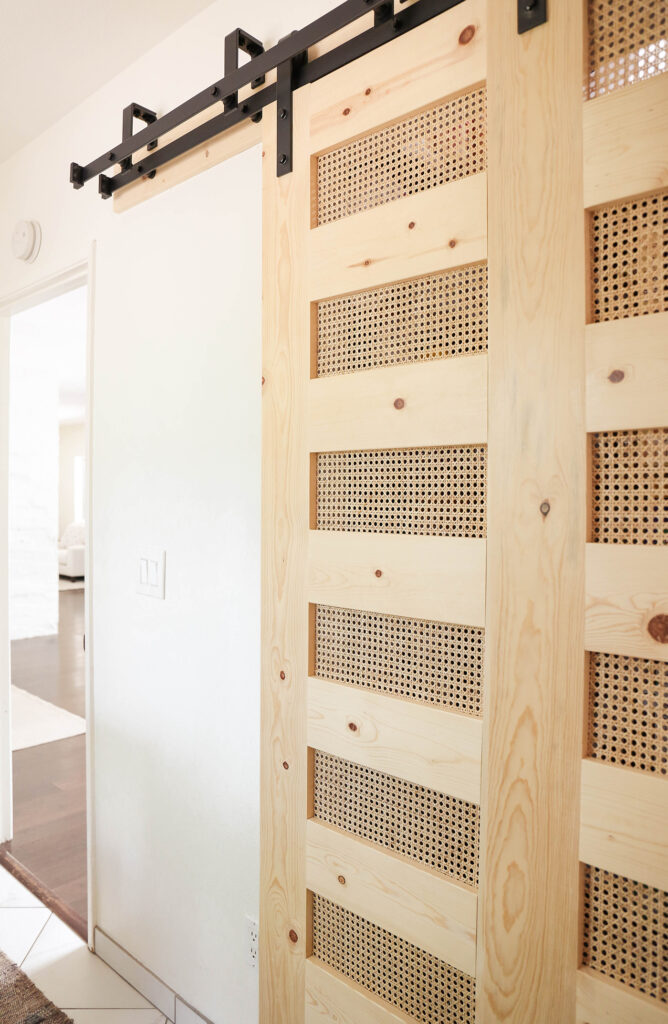 I think my absolute favorite feature in the new room is the caned sliding barn doors over the pantry! They don’t block the entrance/walkway from the garage door to the rest of the house and they look so good in here! I had planned to do one large barn door to cover the pantry opening, but the wall to the left wasn’t wide enough to slide the door and fully expose the pantry. My carpenter suggested using bypass barn door hardware that allows the doors to slide in front of/behind each other and helped put that together for me. I sanded and sealed them to match the plans for the rest of the room. I wanted a lot of natural wood in this space, so I used Radiata Pine and a clear water-based poly to seal everything. I wanted modern doors to match the rest of the room and decided to use caning behind each of the windows. The caning was actually really simple to install. I just let it soak in the bathtub for about 30 minutes and then trimmed everything down to size and stapled them to the backs of the windows on the doors. They slide like butter and I have a smile on my face every time I need to get something out of the pantry. Might be a little bit of food-related happiness too, but I can’t be sure.
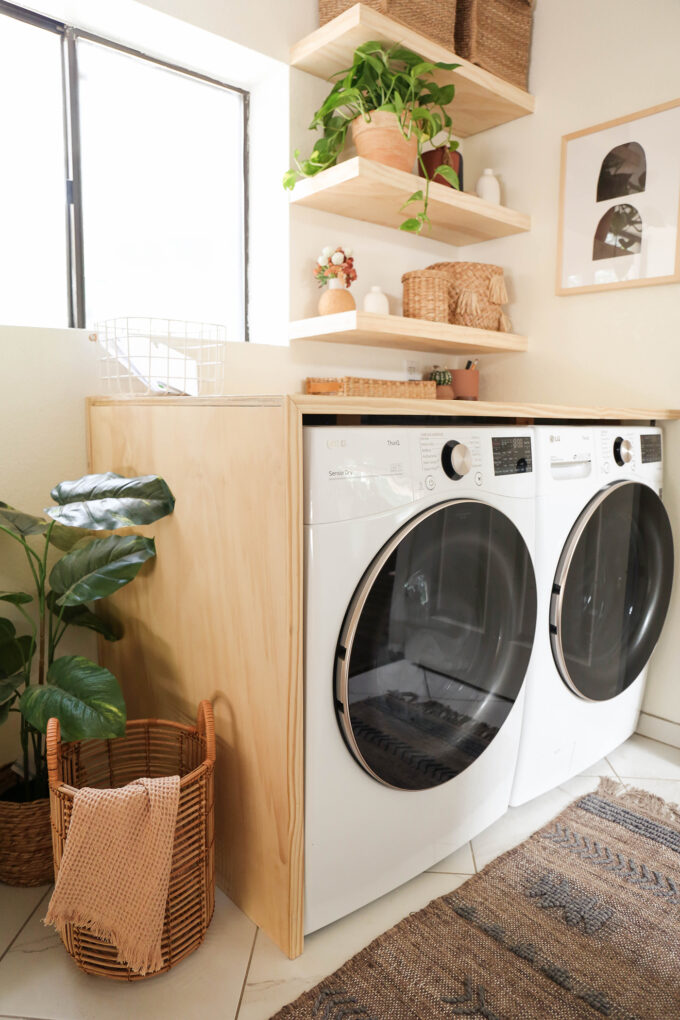 I used more Radiata Pine to build the counter over the new washer and dryer to give things a more customized-look. The counter is installed with some brackets in studs along the back and side of the appliances. It can easily slide out to allow me to reach the water pipes in the back for repairs/maintenance if needed. It’s awesome to have a spot to fold towels or just throw stuff on. Let’s be real. I usually fold laundry on the couch or on my bed, but I do try to fold towels in here because I’m by the linen closet and kitchen drawers.
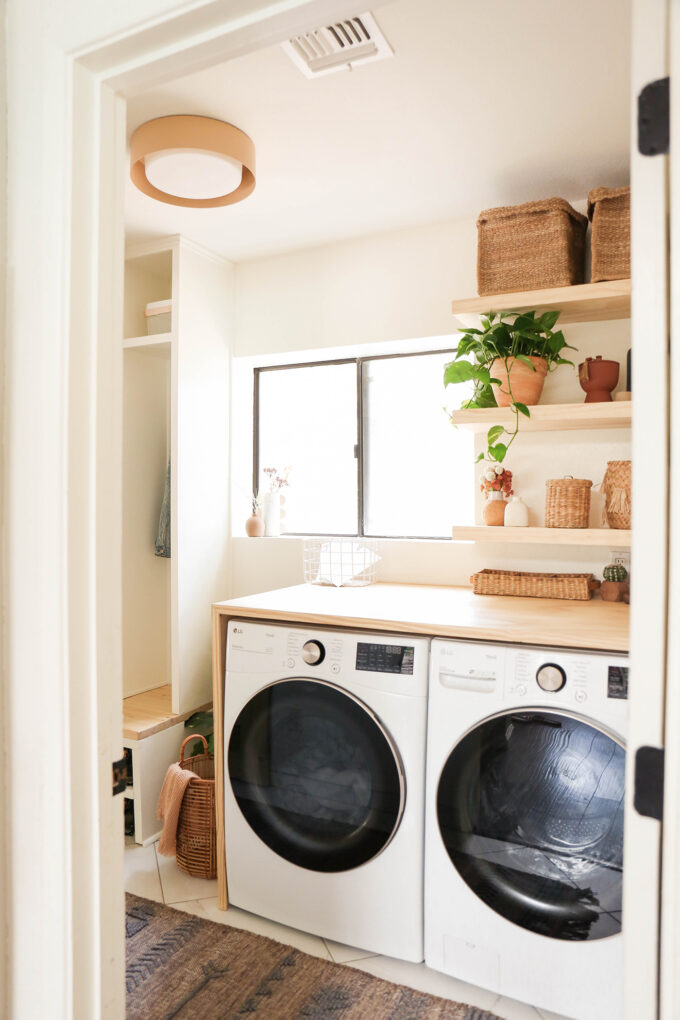 I ripped out the old boob light and replaced it with this pretty flush mount. Such an easy update that makes such a difference! The vent was looking a little sad too, so I removed it and gave it a fresh coat of white spray paint and screwed it back on. The ceiling looks top drawer now! I also sprayed our door closer a nice matte black to match the black metals throughout. Stuff like that is easy to refinish and takes a matter of minutes.
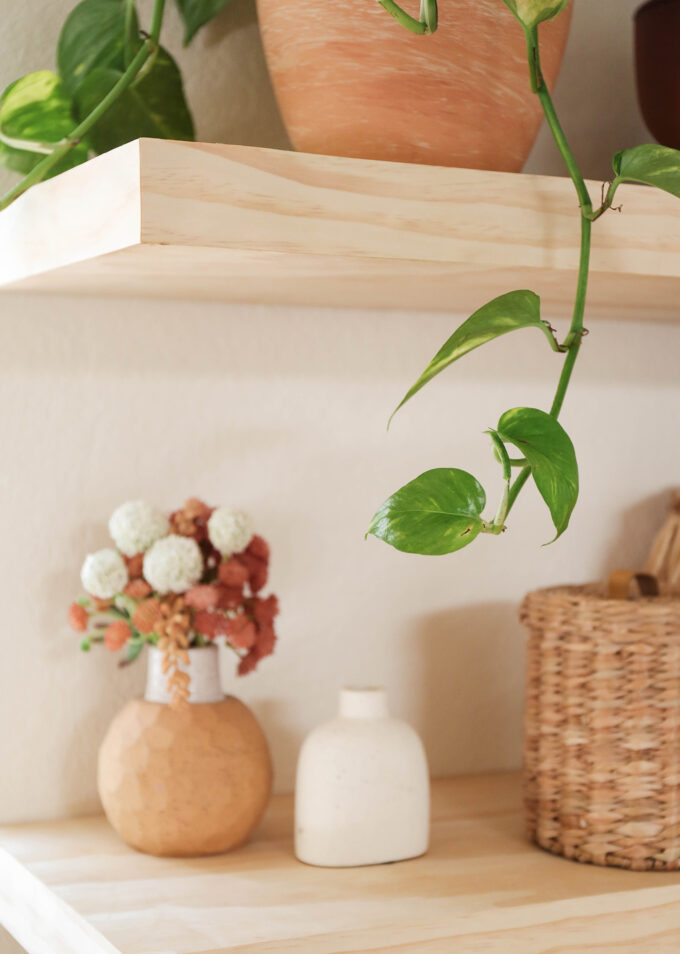
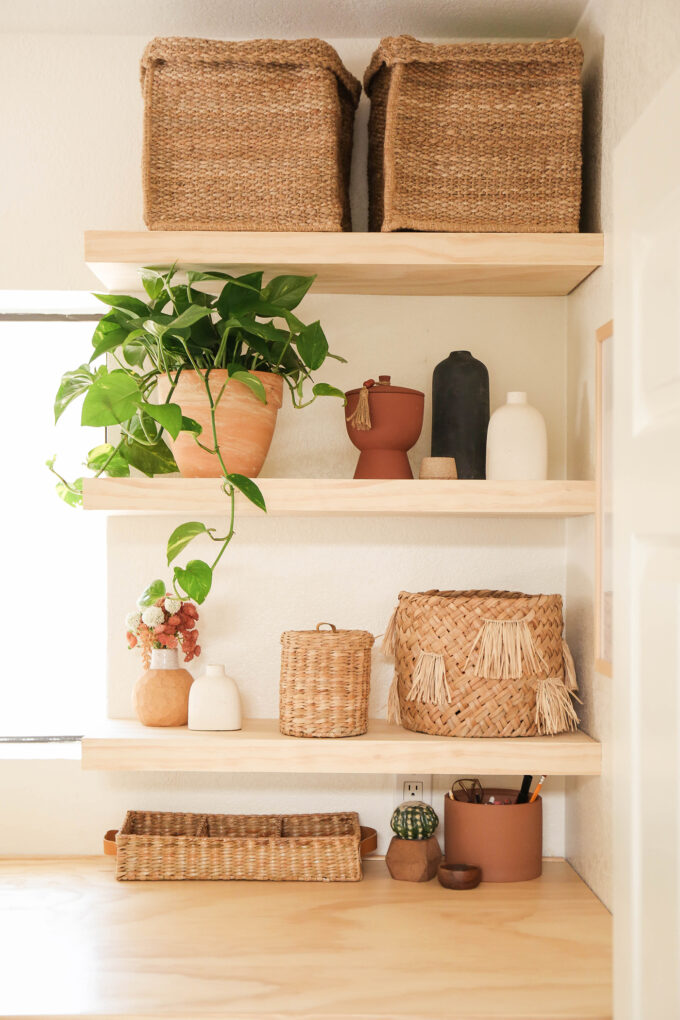 The last thing to do was build the floating shelves. I went back and forth on the layout (you can see the thought process on my laundry room highlight in my IG stories), and ultimately decided just some simple ones would be best. But I also kept putting it off because I wanted them to look profesh and I had never built anything like that and was nervous. Luckily, a friend of mine had given me some wood veneer edge banding that she had left over after a project at her house and it got me thinking about using it somehow in here. My shelves were two inches tall so the edging she gave was too small, but I found the right size here and it matched my wood EXACTLY! It attaches with heat so you can iron on or use a heat gun. Easy peasy. I looked at 1,000,001 tutorials on the web and this one was the inspo for my shelves and is the most similar to the method I used. I didn’t want anything thicker than 2 inches tall so I had to get creative when it came to making them sturdy enough to support baskets and cleaning supplies. I’ve got a post coming with a step-by-step for the shelves so stay tuned for that. I actually have how-to posts for a few of the things I built in here, but will share another day. Today is just about this pretty pretty reveal. Do I sound braggy? Oh well. I freaking love this room now.
 The best part about finishing a room project is the styling at the end. I love LOVE this part. I was looking for a nice, long rug for the space and knew we’d need a runner. I’d only ever used rugs that were about 4′ long and they slid all over the place. I had been perusing through all of the modern rugs at AllModern for a bit and initially wanted this one. I loved the style and felt like it matched the aesthetic for this room. Unfortunately, it was out of stock and the date kept getting pushed back, so I went with this one instead.
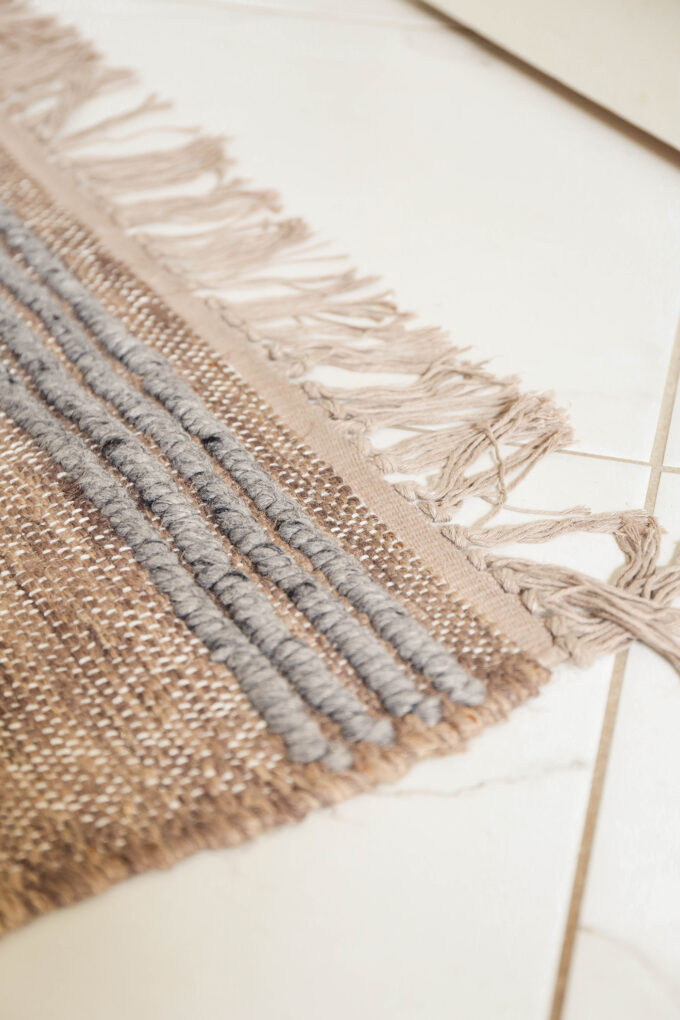 Gotta get a dark one to hide dirt and stuff in an entryway and this one is great!
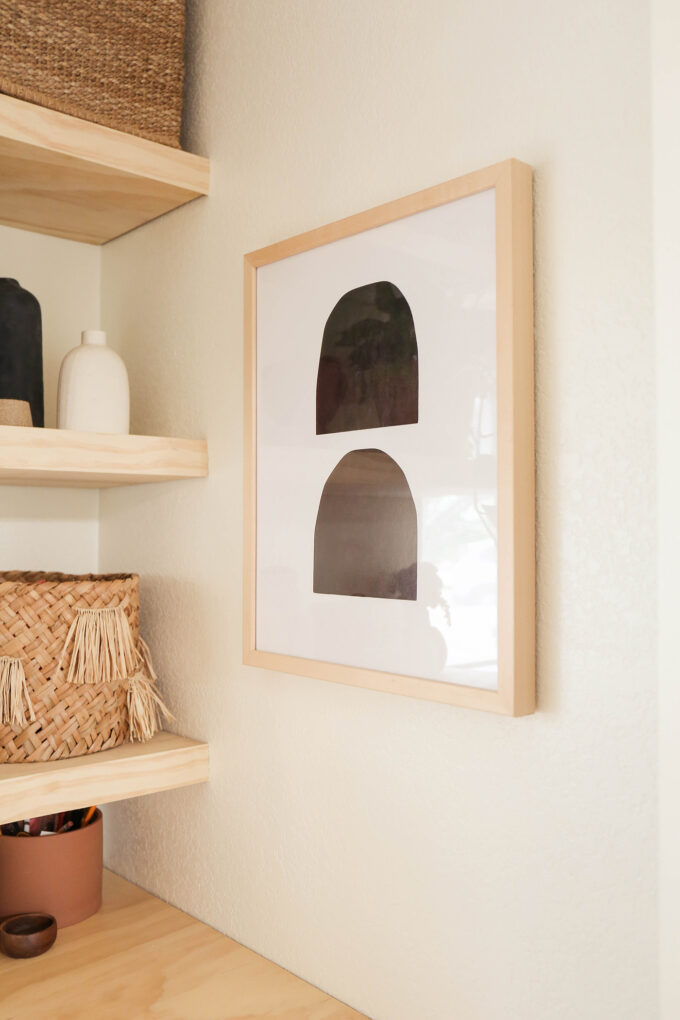 I also picked up some wall art and gravitated toward this print, obviously. It’s right in front when you first walk in from the garage and I love it. I’m thinking I might put a mirror in here, but don’t want to crowd things yet. I’ll live in the space for a bit and feel it out.
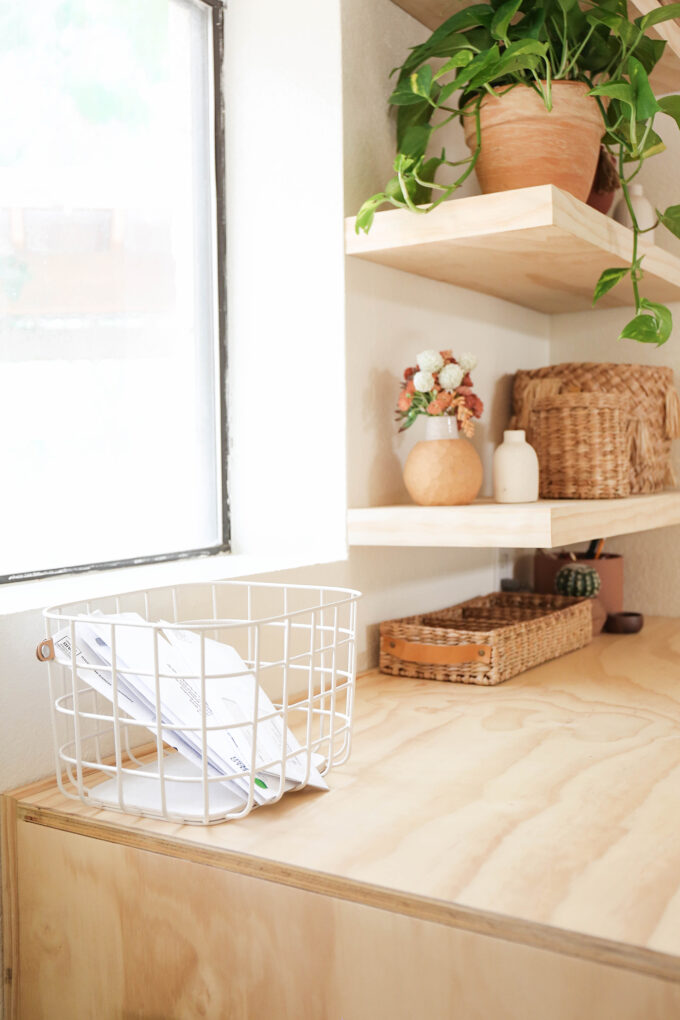 I shopped around my house for a few things to bring in like vases and baskets. I’ve hidden all of our cleaning supplies on the top shelf in these bins. And the laundry supplies like detergent are hidden in this storage canister. Our keys and pocket items can be dropped here. I had originally stored the laundry detergent pods in a glass jar, but didn’t like seeing the blues and greens from the actual pods. So I hid everything. 😉 Used one of my fave wire baskets from Open Spaces to catch our mail and loose papers!
The window edging has gotten quite a bit of paint on it over the years (even before we bought the house). I’m planning to just hand paint it all black again, but that’s going to have to wait! The girls are in school now so I think I can tackle it pretty soon.
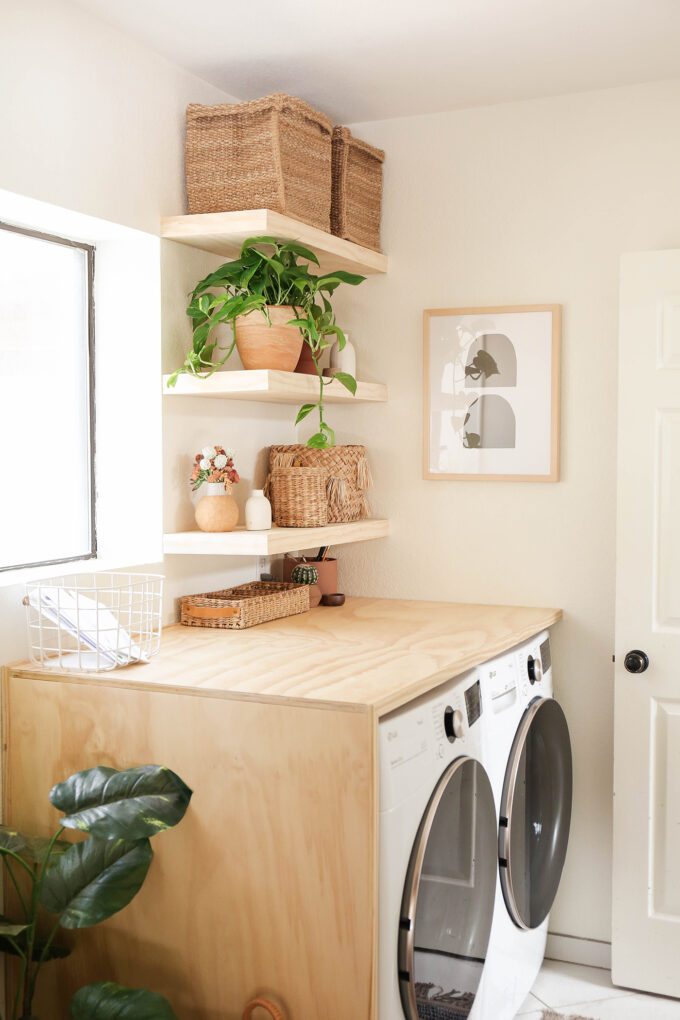
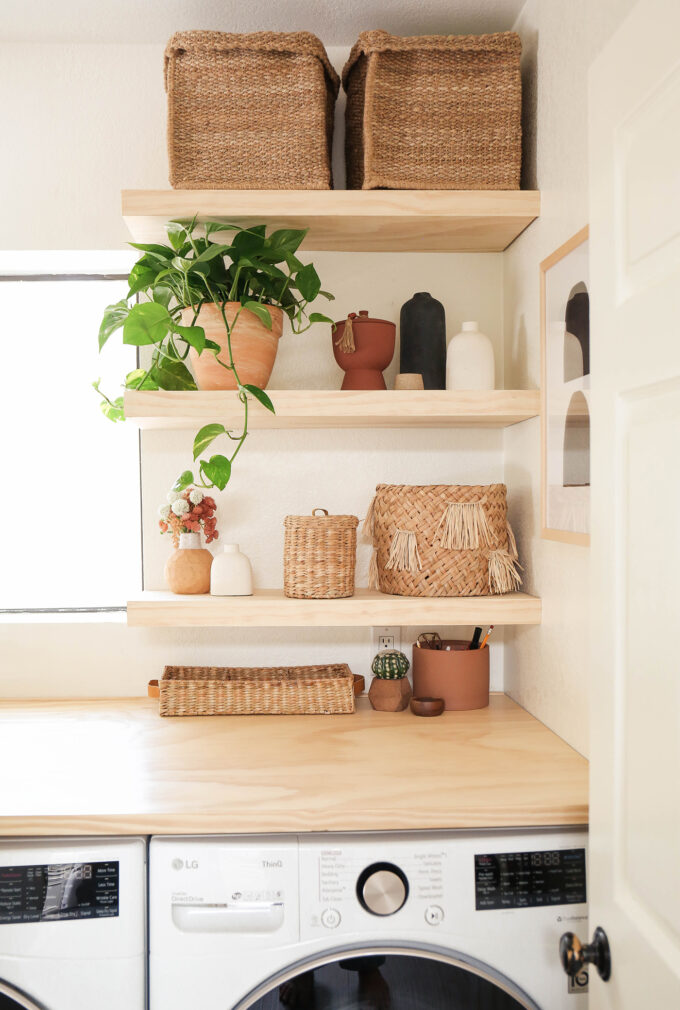 I just feel so happy to have this space complete! When our washer & dryer bit the dust, I was stressed about having to do things over and fork out the money for new appliances, but I had always wanted front loading appliances so that I could build a waterfall counter over the top. This pushed me to finally make this space match the rest of our house. We’re slowly getting there and are one step closer. I’ll happily keep the door open now because I’m so proud of all of the blood and sweat (no tears!) that went into designing and building this space from scratch! Fingers crossed I don’t make a mess.
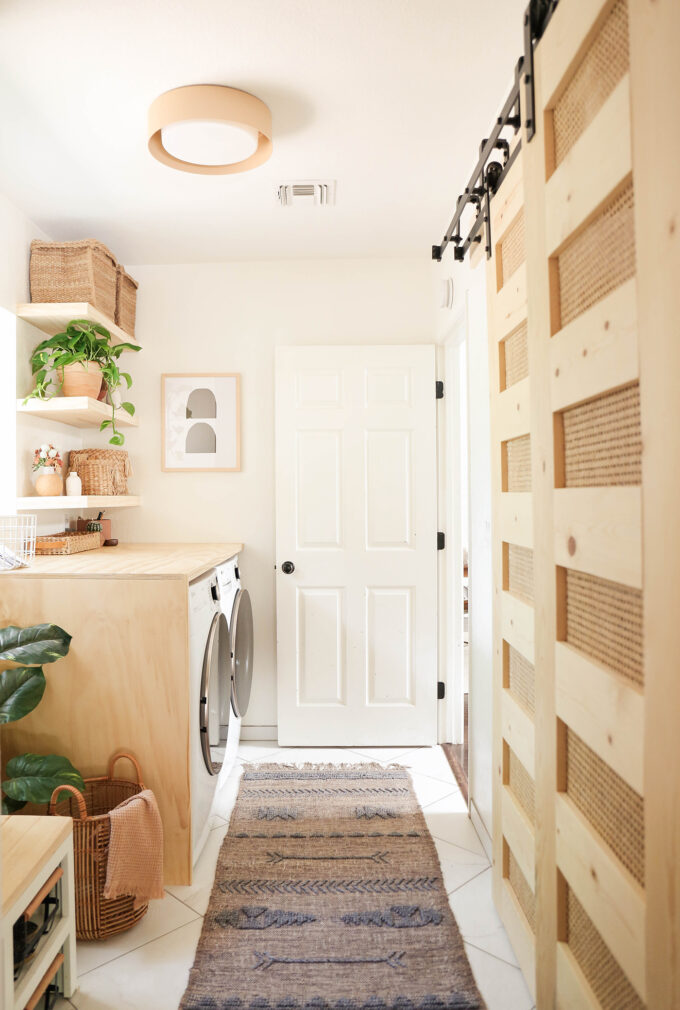 This is the view right when you walk in the house from the garage. If that’s not a grand entrance, I don’t know what is. Stay tuned for posts all about how I built everything! Those are coming now that this post is outta the way! 😉 For now, check out the entire saga from start to finish over in my IG stories – laundry room highlight!
** Special thanks to AllModern for providing the rug and wall art for this room. I feel so fortunate to be able to partner with brands to help my home vision come to life! Check out some of their home goods like modern lighting, wallpaper, and mid-century benches to make your own grand entrance in your home!



Oh it’s so good!!!
Thank you! I’m so happy with it!
This turned out amazing!!🙌🏻
I will happily do the laundry now!
Slow clap! Beautiful work friend!
Thanks, Erin! Feel great to have it finished!