This is a sponsored post written by me on behalf of Cricut. All opinions are 100% mine.
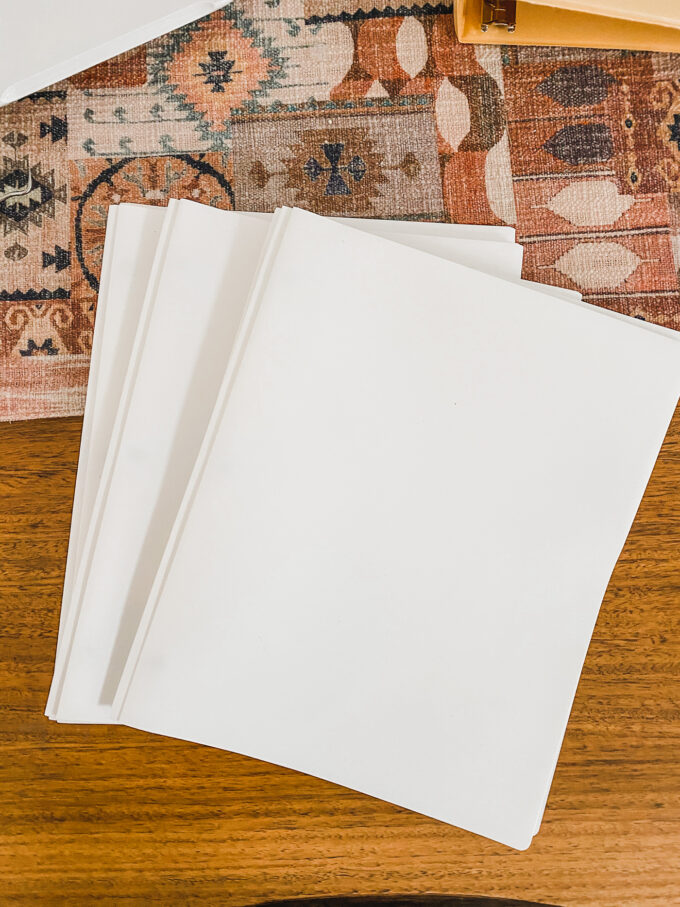
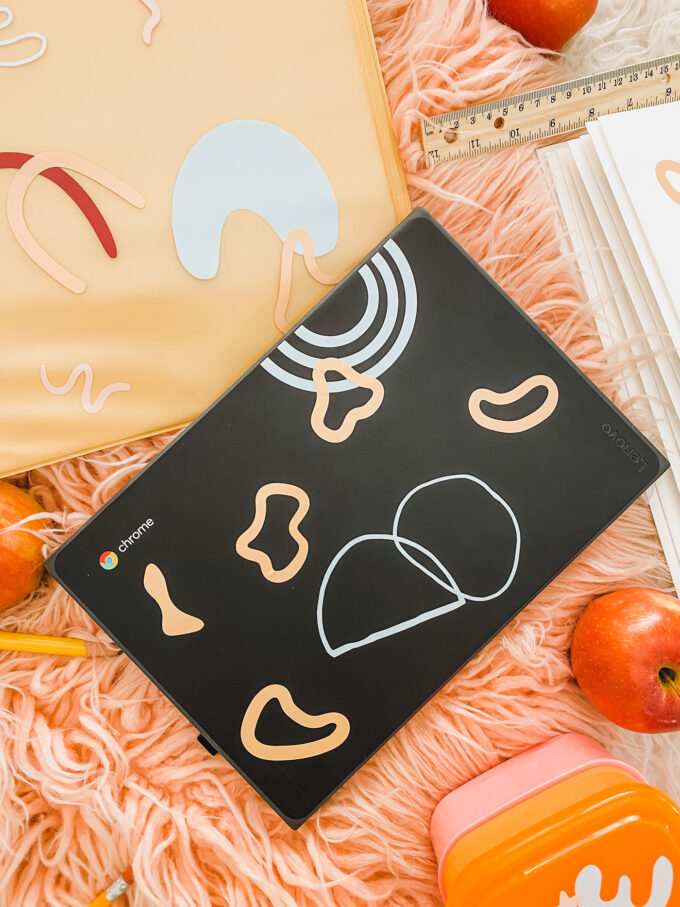
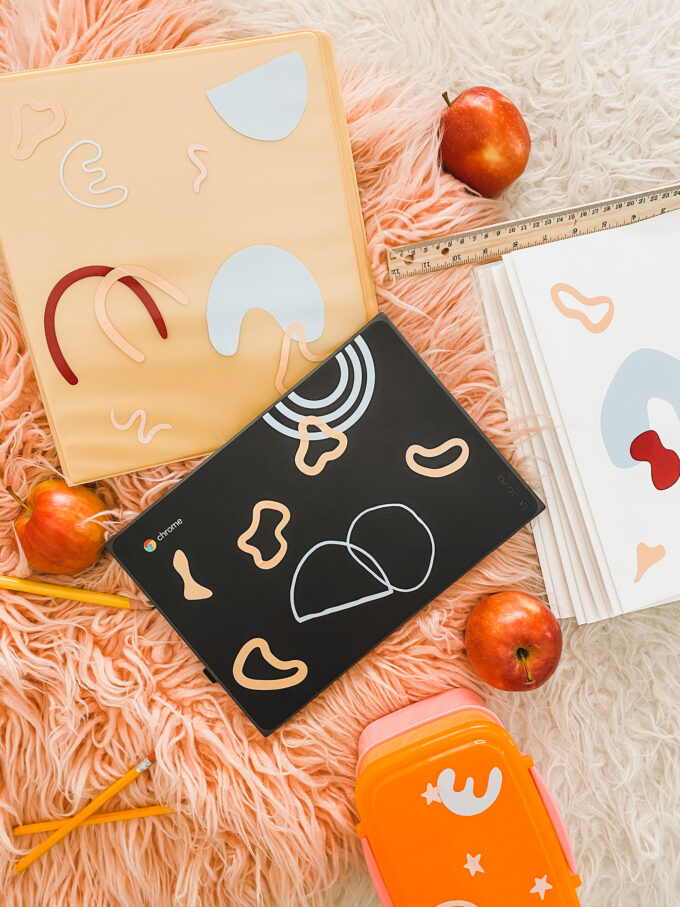 Soooooooo this year looks different, eh? I was so excited for Vita to start the first grade. (After paying for 3 years of preschool & 1 year of full-day kindergarten, I WAS READY.) And although we are starting the school year with a new routine that involves hunkering down at the kitchen table for class, I can still do my best to get Vita pumped for Back To School season. I really truly love my Cricut Maker and use it for every little project that pops into my mind. And since the Cricut Joy came into my life, I can personalize all sorts of stuff on a whim because Joy just hangs out around the clock on the shelf. I decided to create a bunch of abstract stickers for Vita to personalize her school accessories. We still have virtual class throughout the day and I snagged some plain white folders to keep things organized. But they needed some “pizzazz”. Vita’s words. Not mine. We decided to create a collection that includes folders, a yellow binder, a new lunchbox, and we even tweaked her Chromebook.
Now I want to go back to school! See how we cranked these out in an afternoon and there’s even a link at the end to take you directly to the project in Design Space so you can do exactly the same thing!
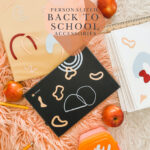
Personalized Accessories For Back To School with Cricut
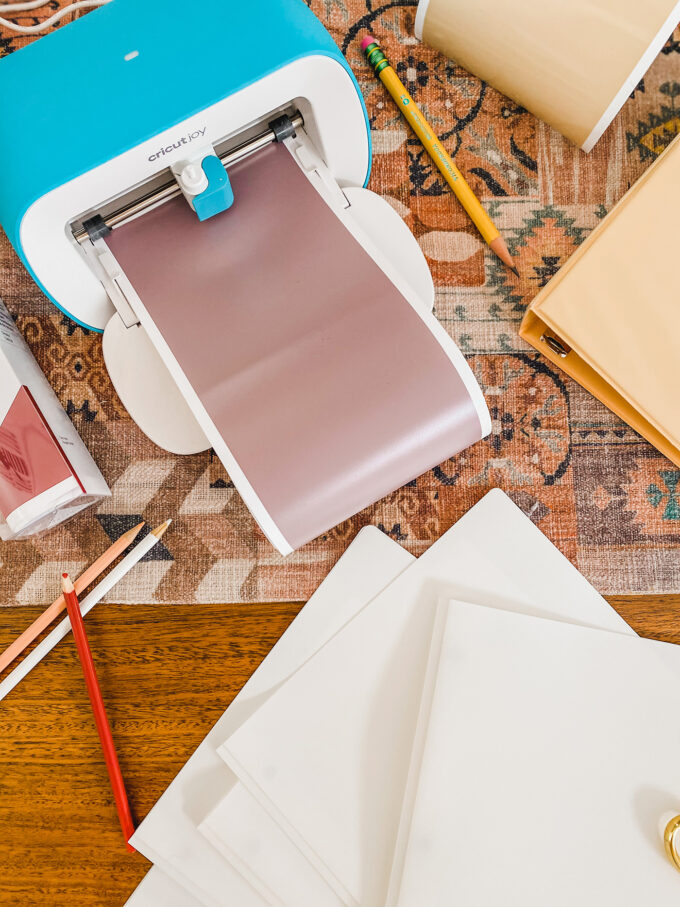 To make your own Back To School accessories you’ll need:
- Plain binders & folders
- Plain lunchbox
- Plain pencil box or pouch
- Any other school necessities (calculators, chromebooks, tablets, whatever!)
- Cricut Smart Vinyl or Premium Vinyl in assorted colors
- Cricut Joy machine
- Cricut Design Space™
- weeding tool
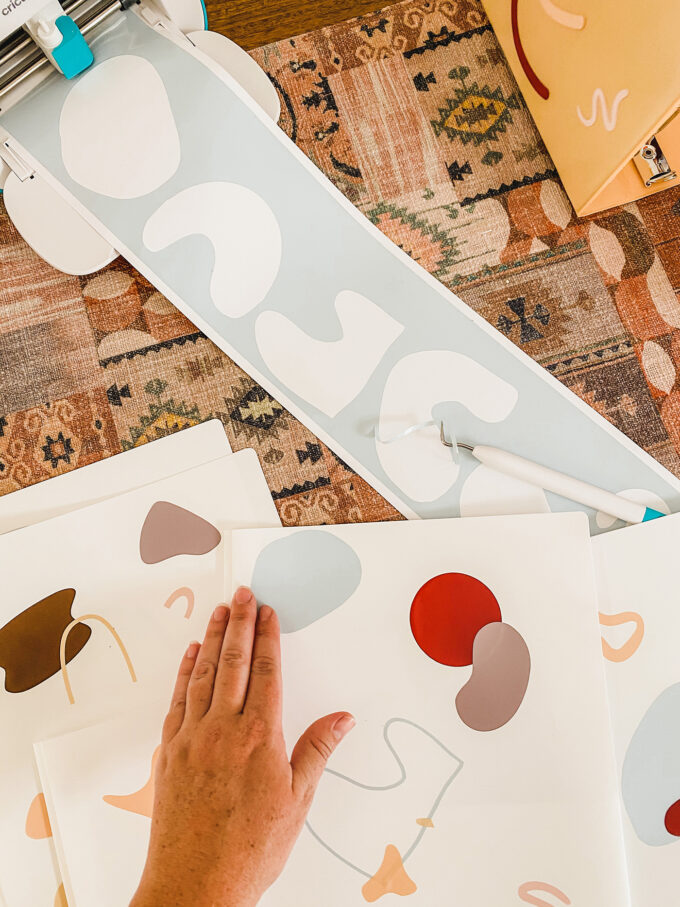
Start by CLICKING THIS LINK to be taken to Design Space. My stickers range from 1″ – 4″. You can customize the project to shrink or enlarge the shapes. When you’re happy with everything, click “Make It”. Set up your machine and load the vinyl. This is why I love my Cricut Joy so much. I can just load the smart vinyl in without worrying about a mat and it will measure my material to make sure I have enough for whatever it is that I am cutting. However, you can easily trim down regular 12 x 12″ vinyl to fit one of the Cricut Joy Mats and load that in as well.
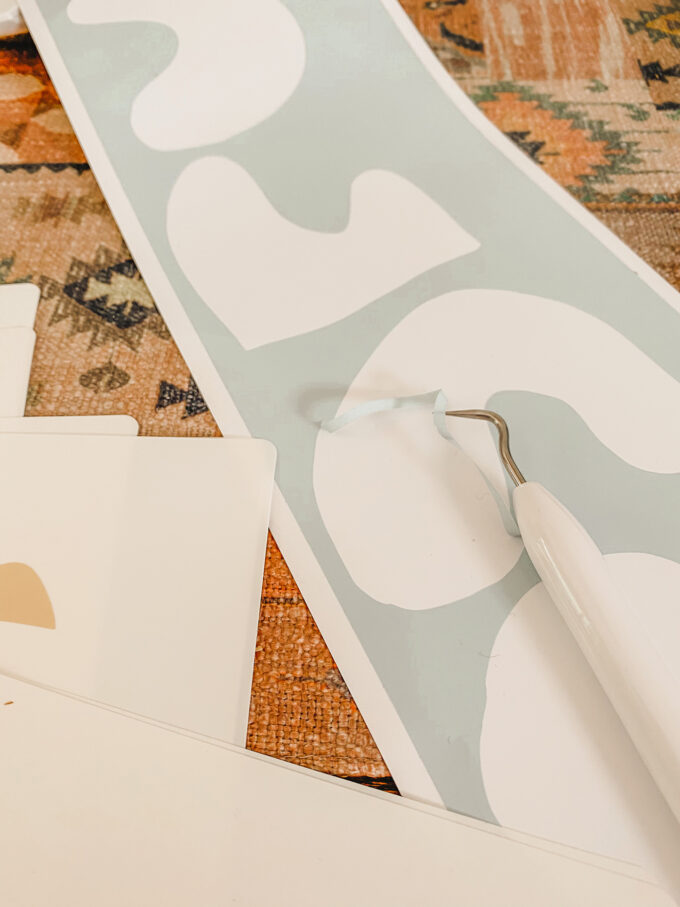
 After cutting a few of the shapes, I switched the colors of vinyl. After every shape is cut, trim around them and gently remove the excess material using the weeding tool.
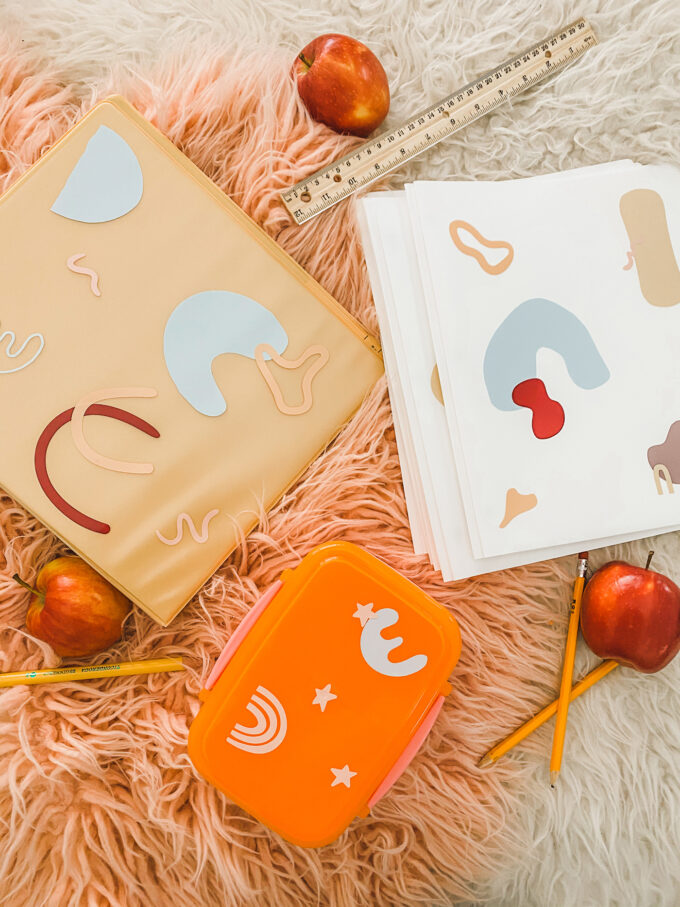
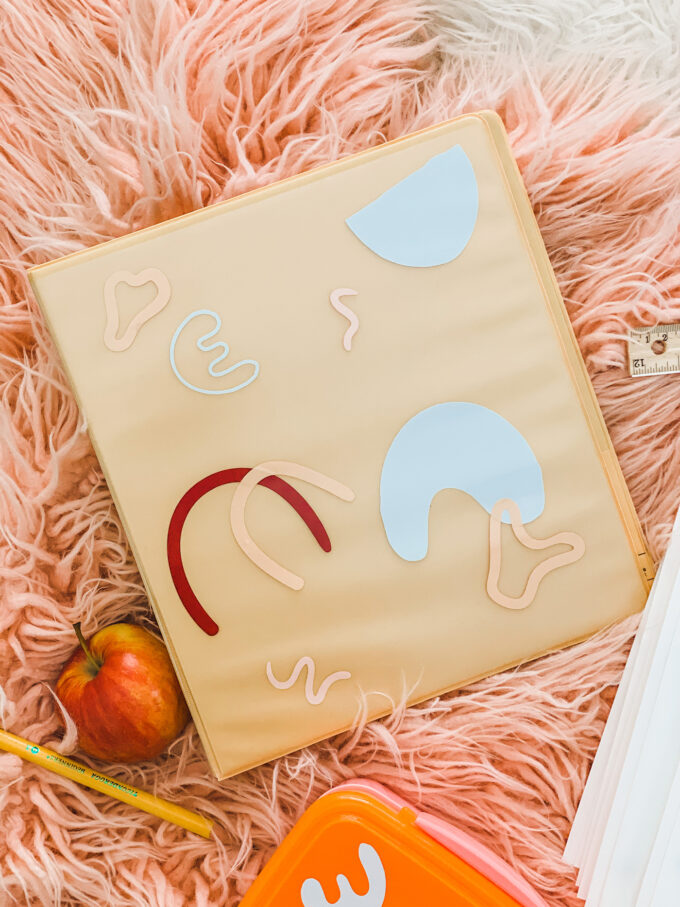
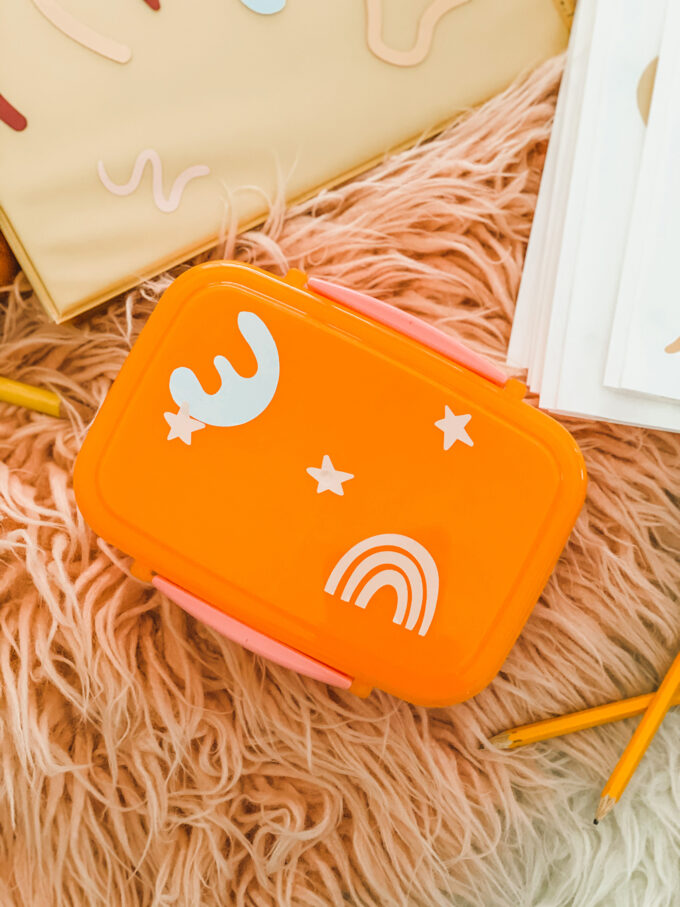 Play around with the color combos and add and layer the shapes to the fronts of your folders and the other accessories. The majority of shapes used came directly from Cricut’s image library, but I drew a few by hand and uploaded them to the project. They have an outline that will trim out, too, so you can use the perimeter of each shape as a sticker, too!
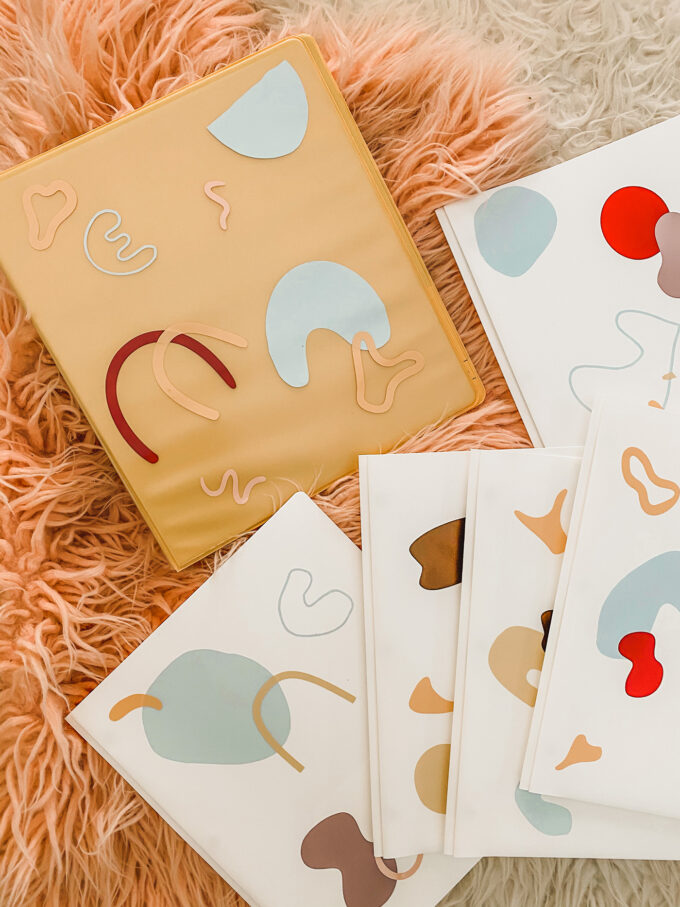
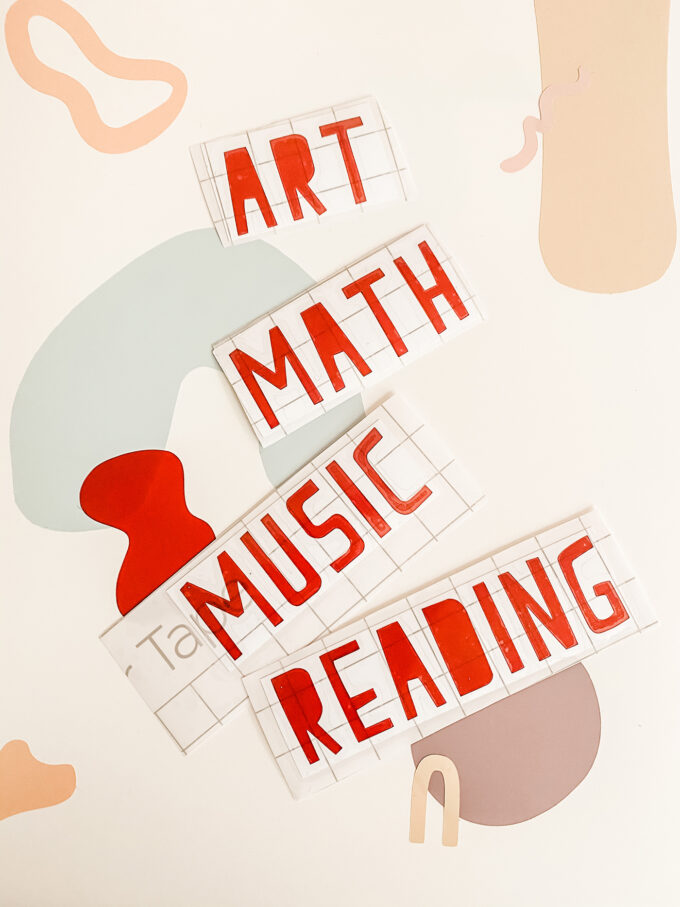
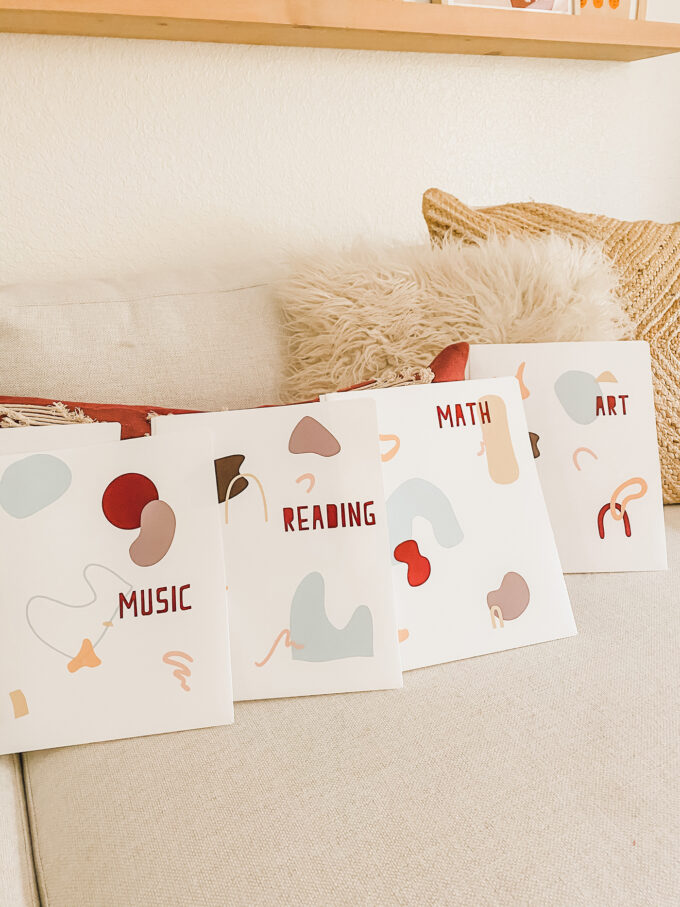 If you’re feeling really extra, you can label each folder specifically for the subject you’ll be using it with. *Be sure to add the transfer tape before placing the letters on your folder so they’ll be spaced evenly!*
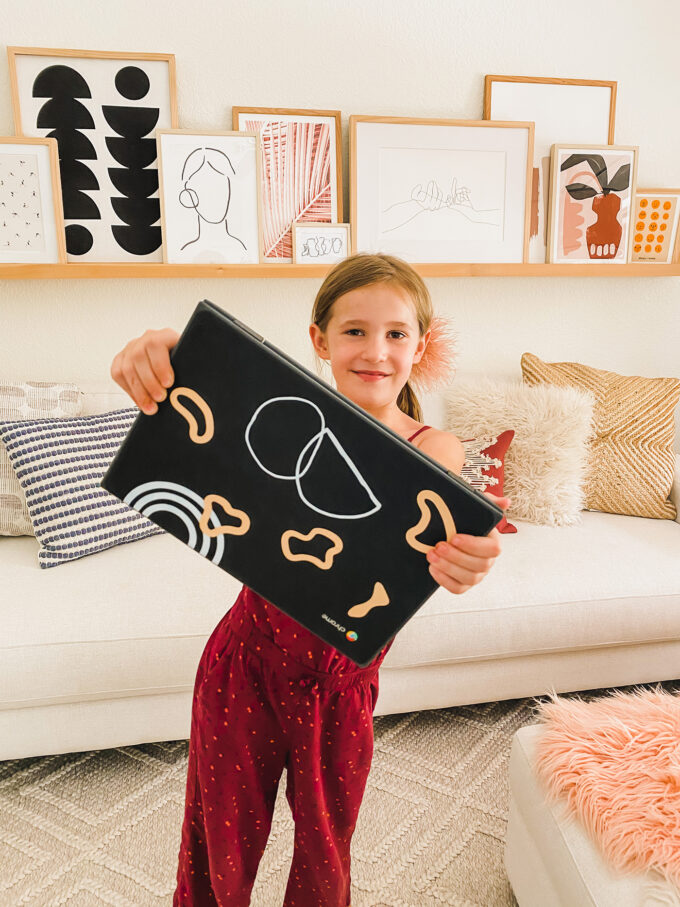 This cuts A LOT of shapes so you can add them to all sorts of Back To School accessories! We added a bunch to a binder and V’s Chromebook and it’s super stylish now. As you can see! LOL.
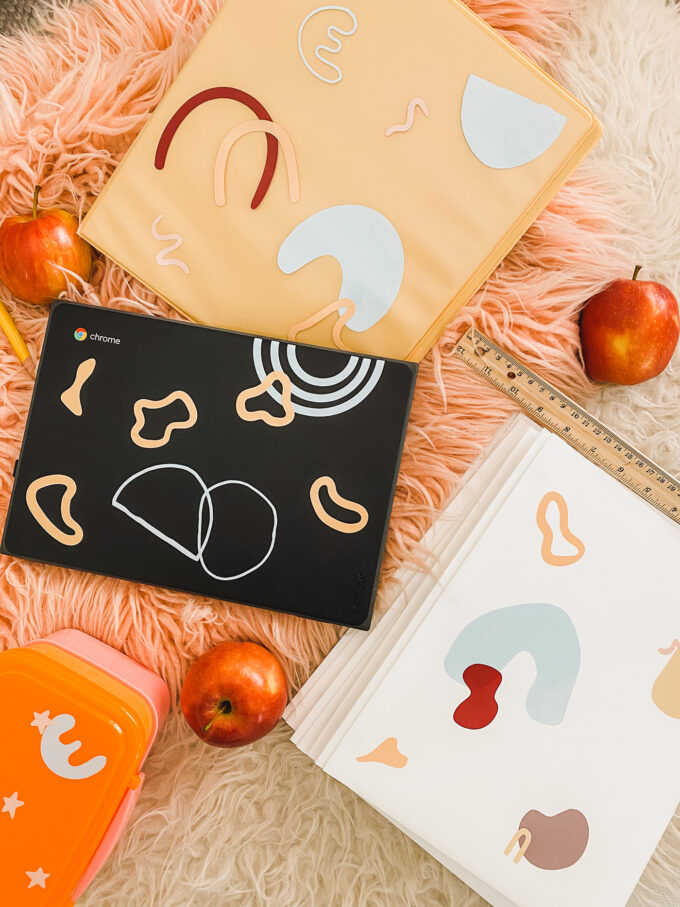 I’m really REALLY obsessed with how these turned out. I feel like I should probably go back to school, too, JUST so I can have a set of my own folders. This is just the tip of the iceberg, my friends. Click the link below to make your own exactly like these!
Back To School Abstract Stickers
I’m trying very hard to be as positive as I can with the strangeness of this whole situation. Our only option right now is online learning from home, but I’ve seen some kids going back to school in other states, some learning in smaller pods with friends, and some doing a full-on homeschool adventure. Whatever this looks like for you, know that I’m cheering you on! And I’m here to help glam up whatever situation you find yourself in. 😉
Looking for other back to school ideas? Check out my favorite backpack makeover right here!
photography \\ Lexy Ward

[…] The Proper Blog […]