I’m all about that wreath on my front door. At any time of year, really, but ESPECIALLY during the holidays. And I don’t know if it’s the color, the texture, the smell, or just the total beauty that they bring, but I have to have a fresh one on my door every time December rolls around. And although you can pick up a freshie at Costco, Sam’s, or Trader Joe’s, it’s more fun to make your own. It’s easier, too! We recently hosted a wreath workshop at Creative Tribe Workshop‘s studio downtown with beautiful greens & blooms from Flower Muse, and I’m sharing the recap below as well as instructions for making your own DIY wreath! Just in time for the big day! See more below!
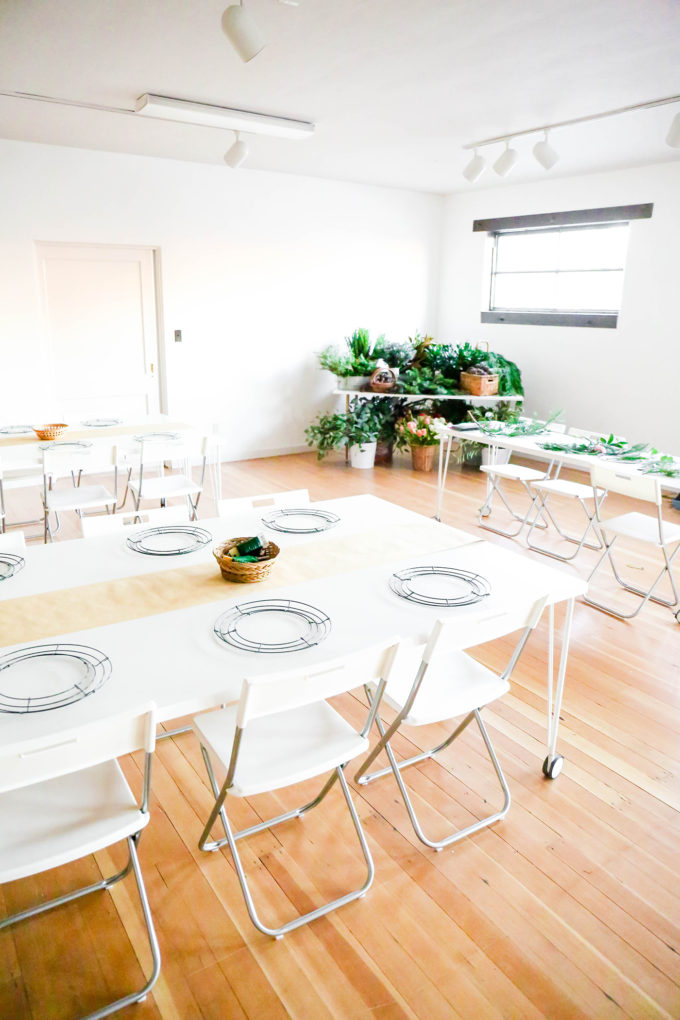
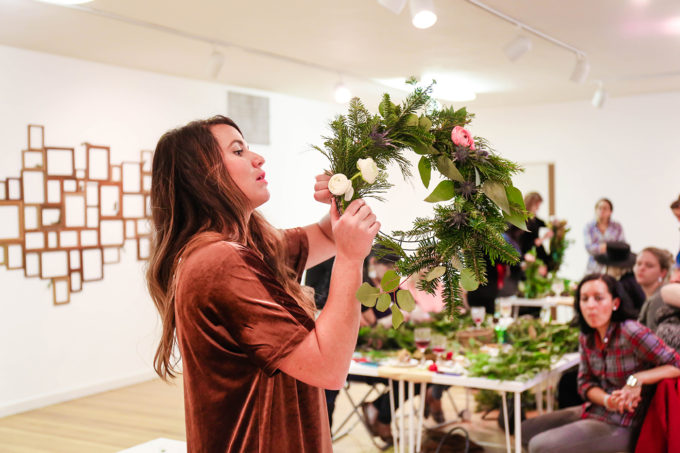
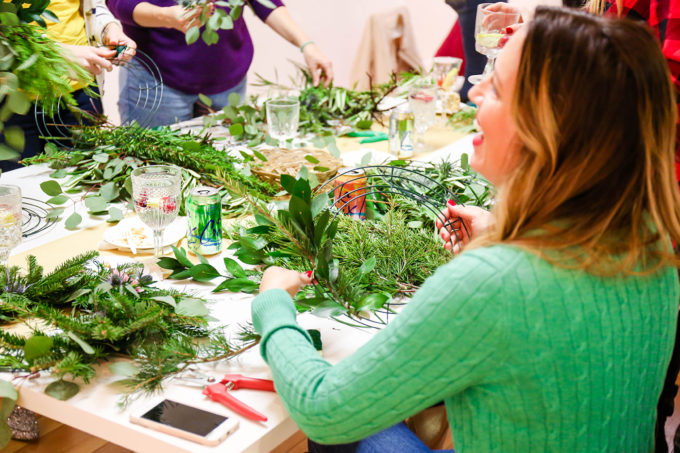
After this wreath-making photoshoot that I styled for Wedding Paper Divas a few years ago, so many of you said you wanted a workshop to learn how to make your own holiday wreath. I had planned to do one last holiday season, but just got so overwhelmed with it being our first year in Tucson and I just didn’t have the time or the space to do such a thing. But this year, I was able to get my act together and work with Theresa from Creative Tribe Workshop to host it in her beautiful new collaborative space (pictured above!). We had originally planned on a dozen spots, but I was so overwhelmed with the response that we extended it to 24. I’m sad we had to cap it at that and if you were wanting to attend, but weren’t able to snag a ticket in time, don’t fret! I’ve got a jam-packed calendar of fun in 2017 so we will get to see face-to-face if you happen to be in Arizona, Utah, Colorado, and/or California! It’s still filling up, so I’ll keep you posted! And if you want to get a beautiful wreath on your door before Christmas, let’s chat below!
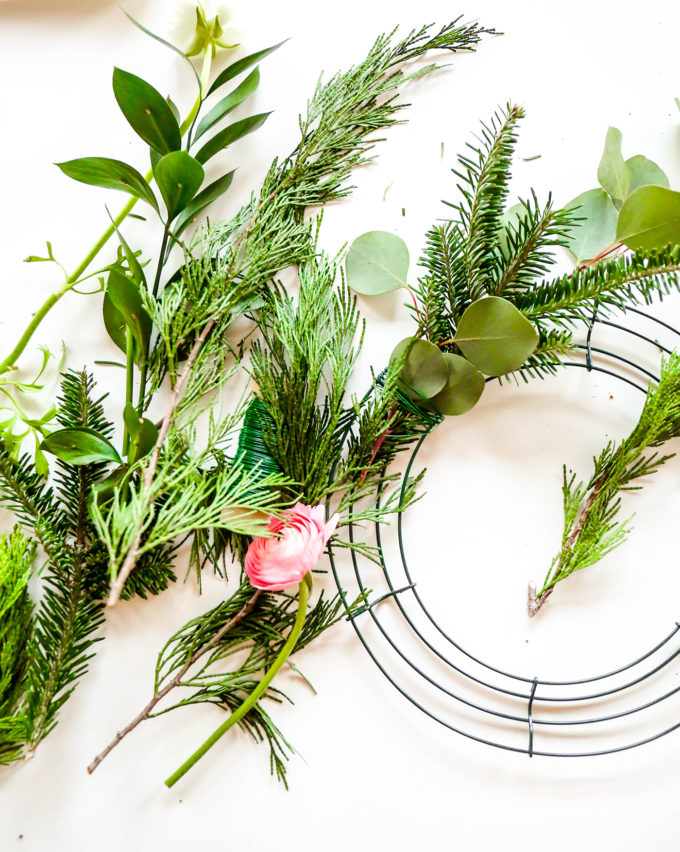
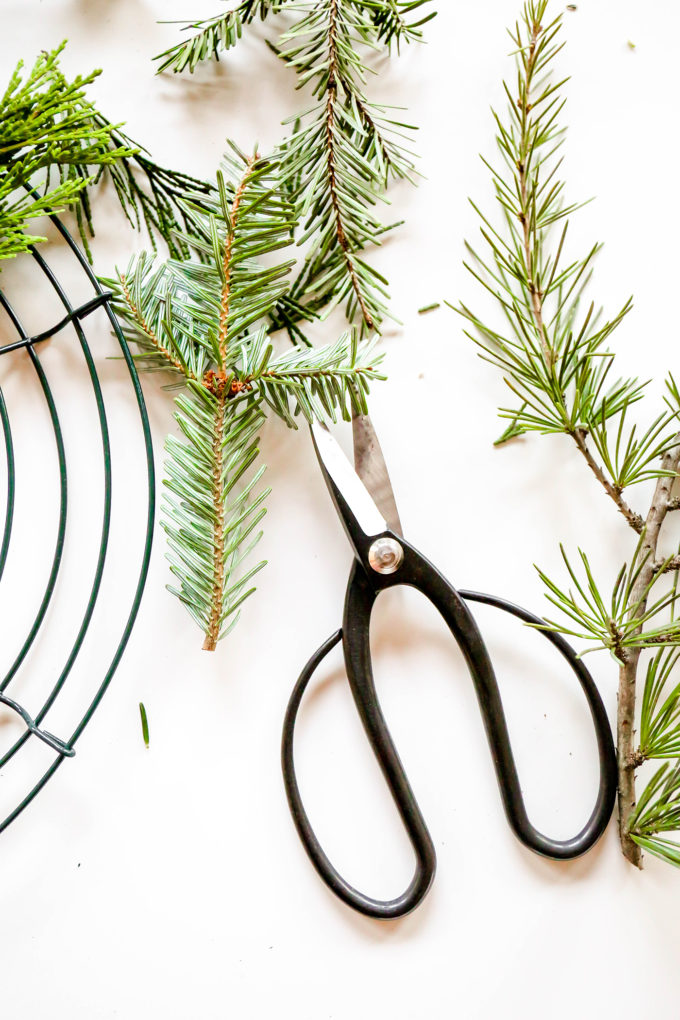
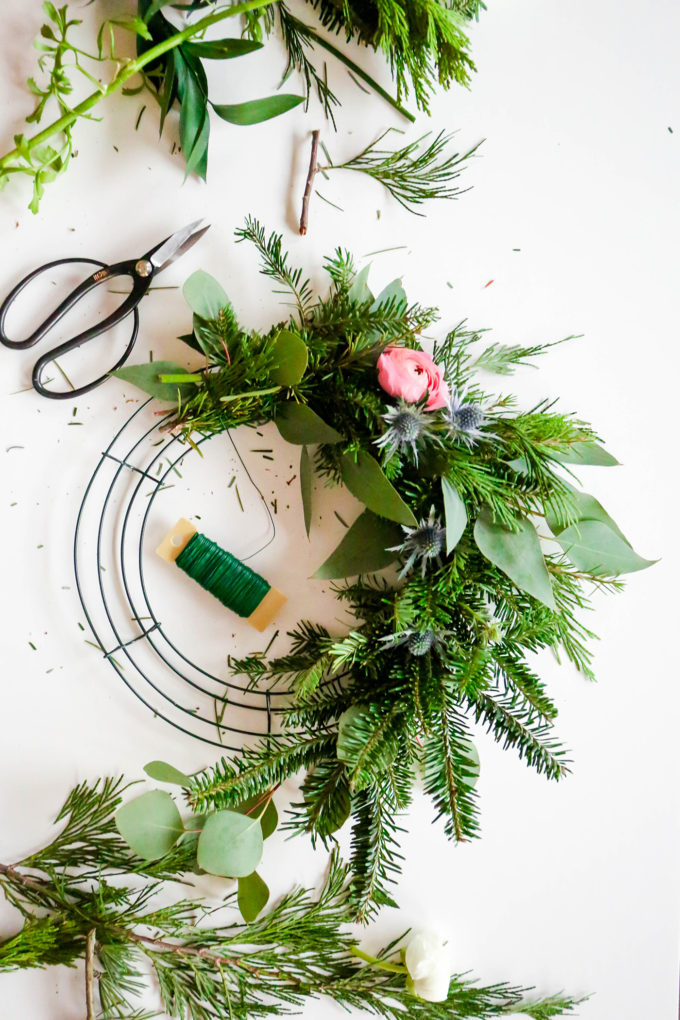
Materials needed:
- wire wreath form
- floral pruners
- 22 or 24 gauge green floral wire
- assorted holiday greens
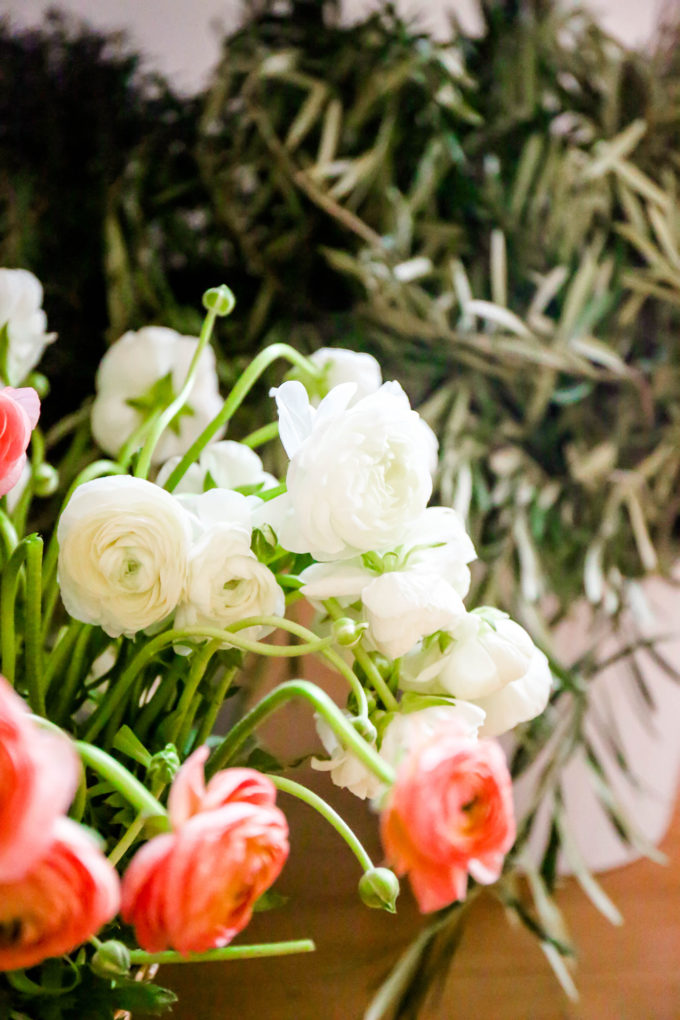
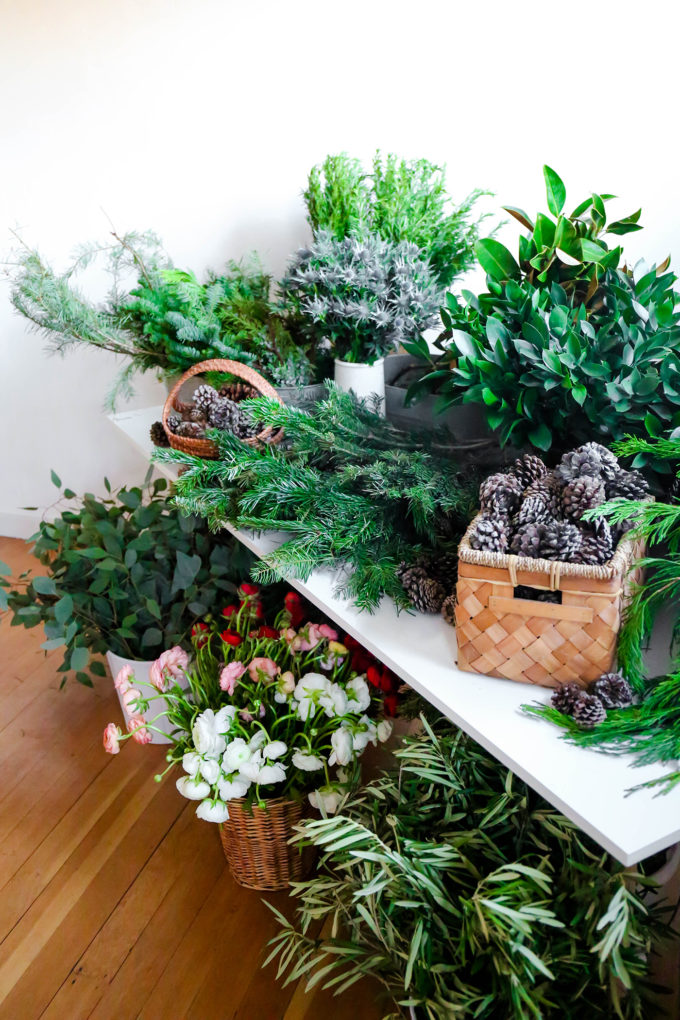
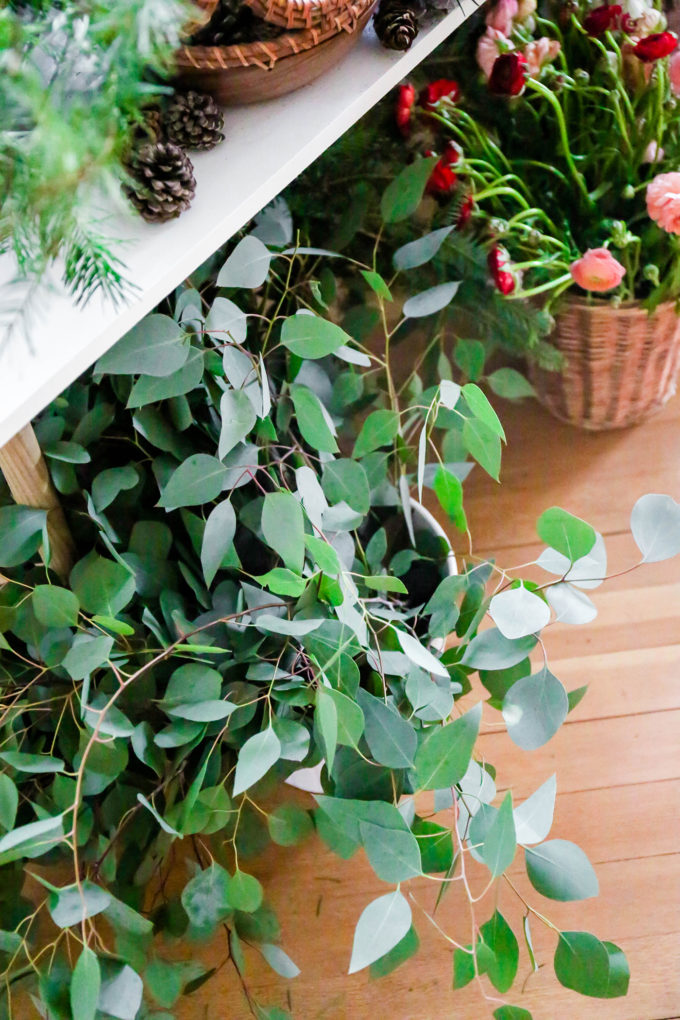
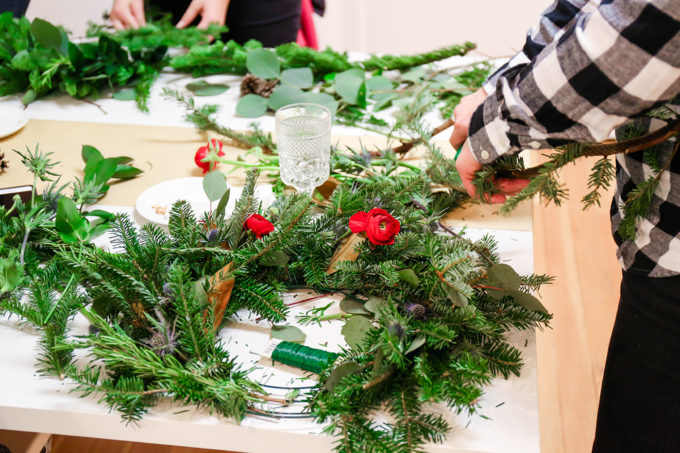
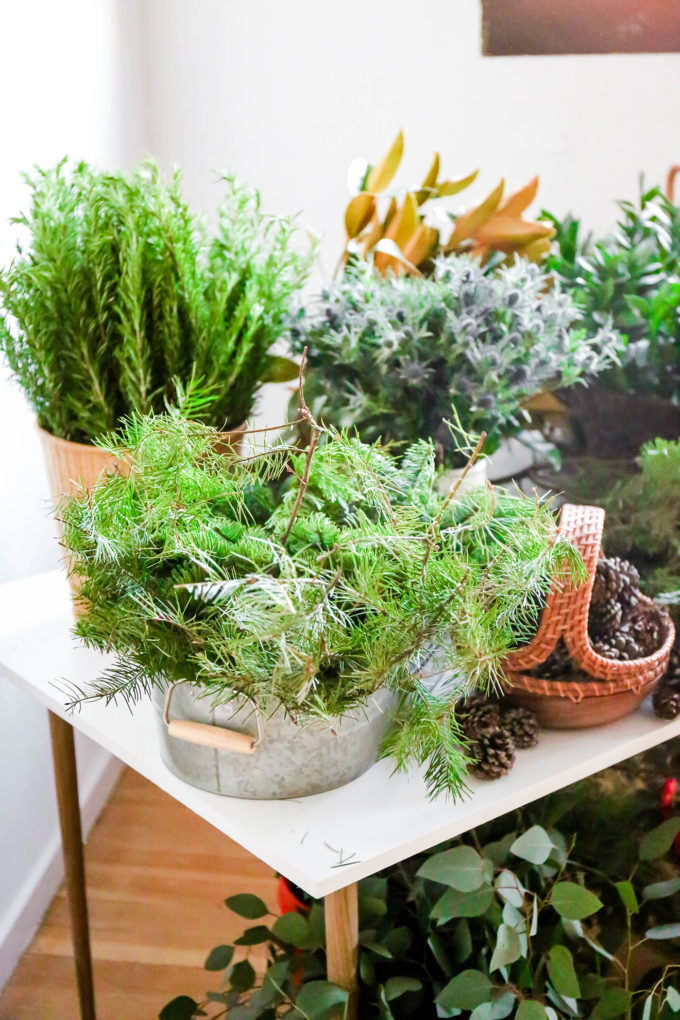
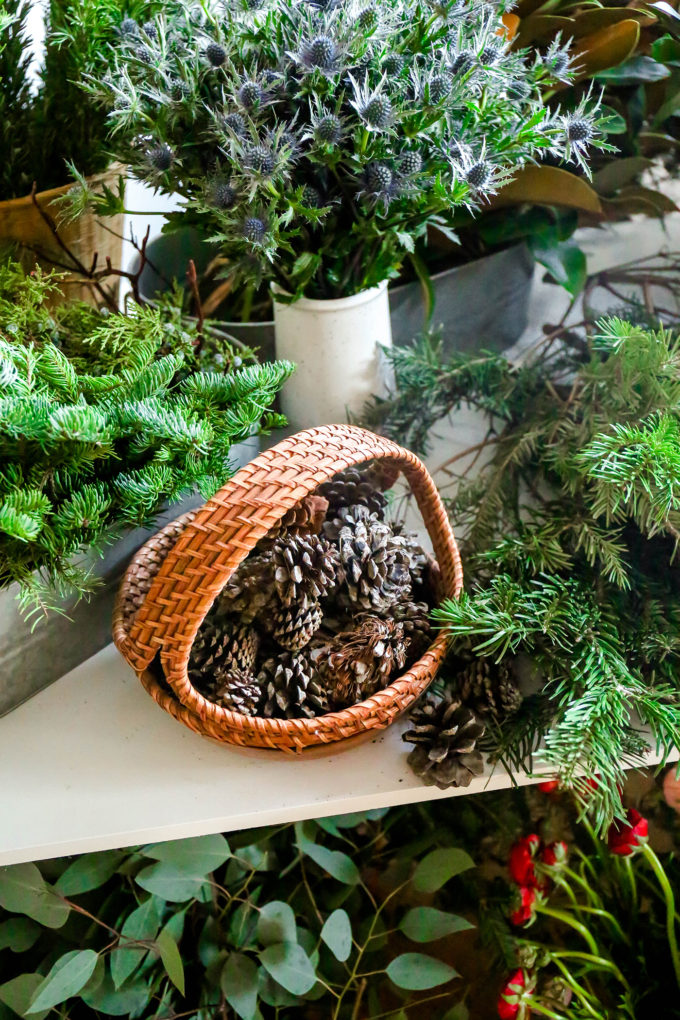
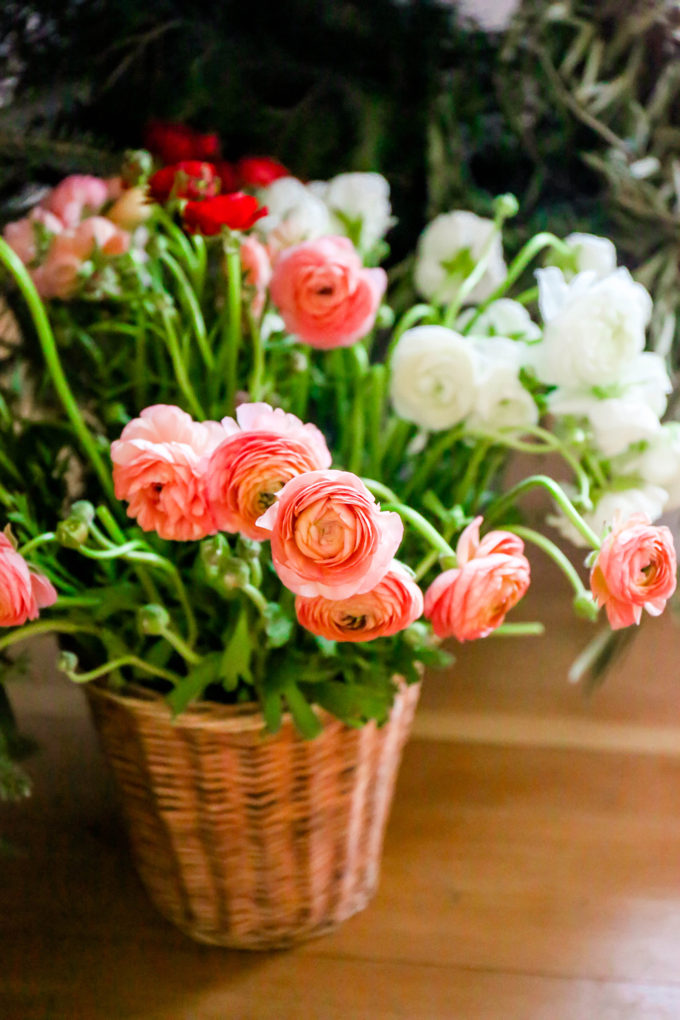
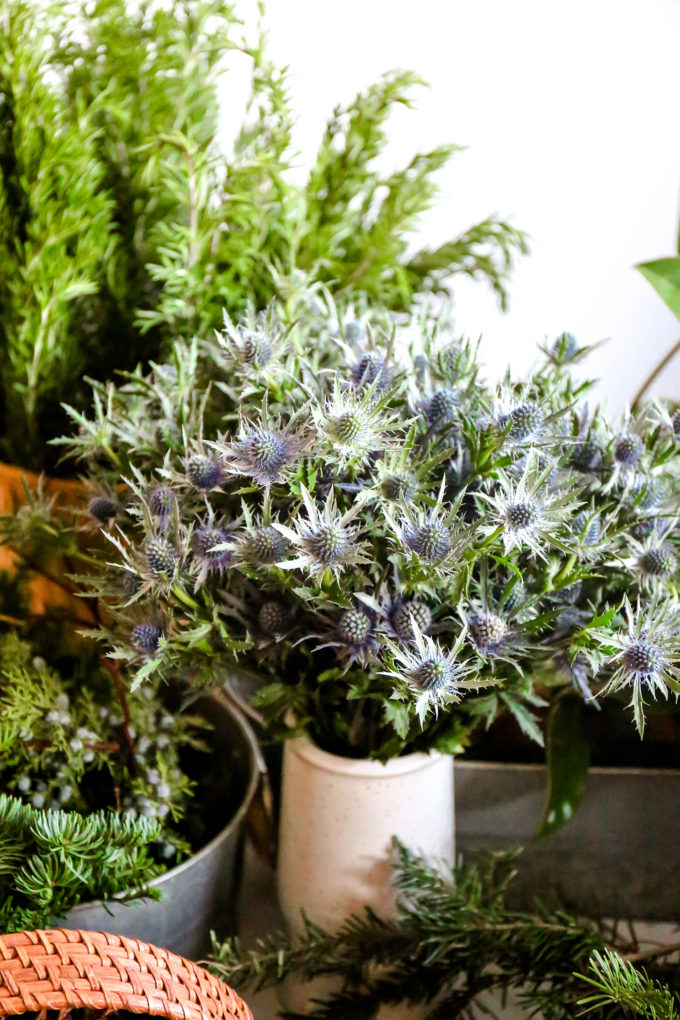
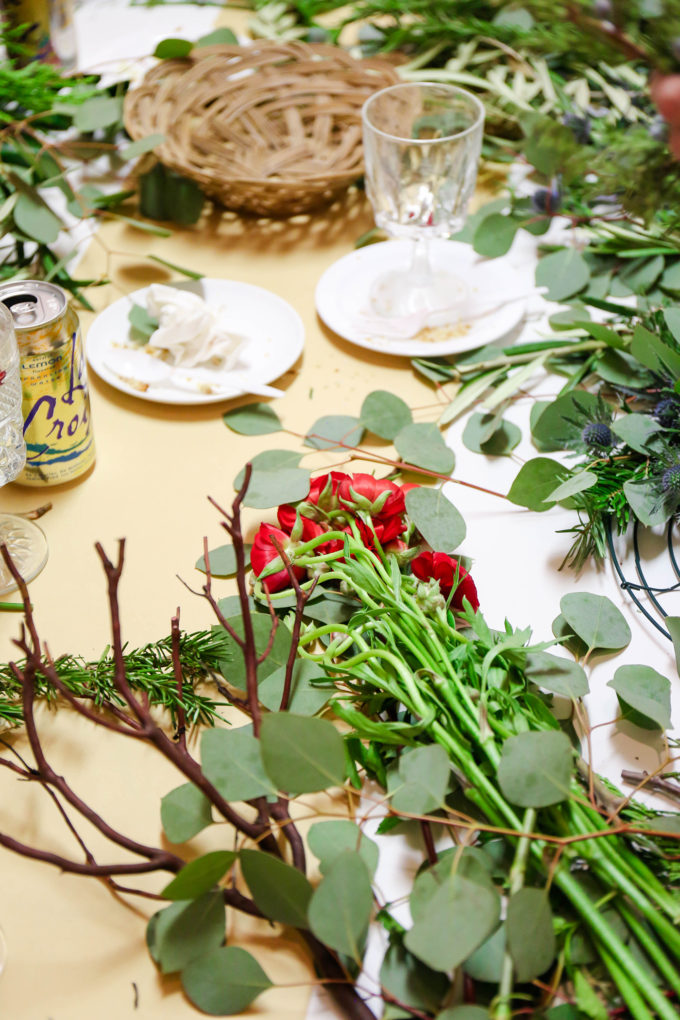
Flower Muse went ABOVE and beyond to provide us with all the greens we could ever dream to work with for our wreaths. We used a mix of green spruce, cedar, pine, rosemary, eucalyptus, olive, ruscus, & magnolia. We also added blue thistle and ranunculus in white, coral, and red for some pretty color.
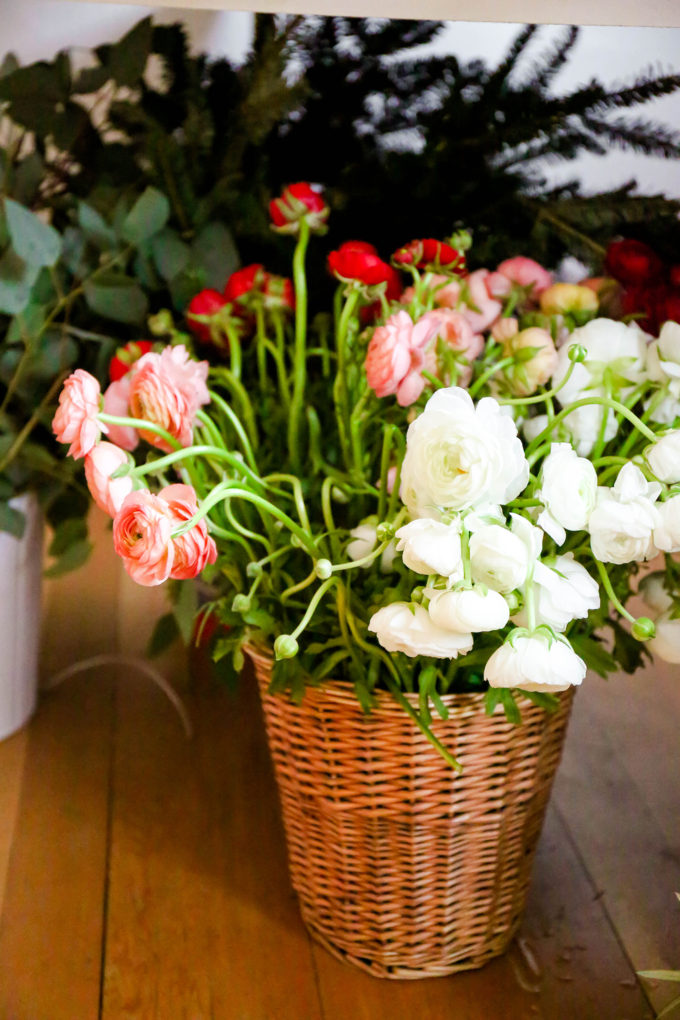
Flower Muse works with flower farms all over to bring you the freshest flowers & greens for your event. They shipped everything to us the day before the workshop to give it time to settle and open (if necessary). Everything came packaged tightly wrapped in newspaper and tissue, and was shipped overnight so things weren’t out of water too long before getting to me.
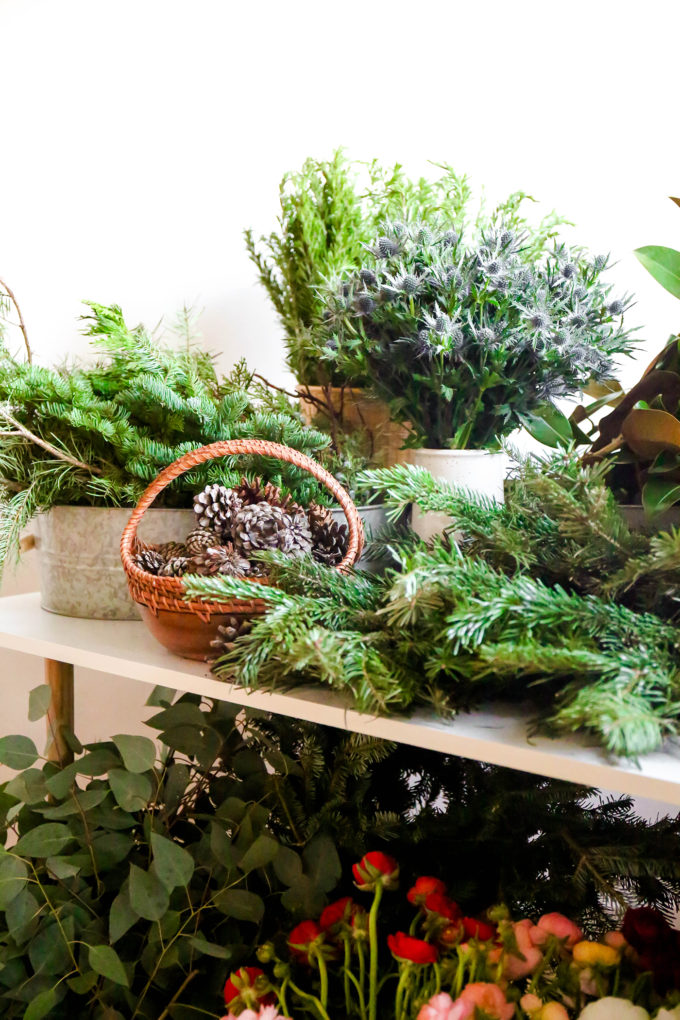
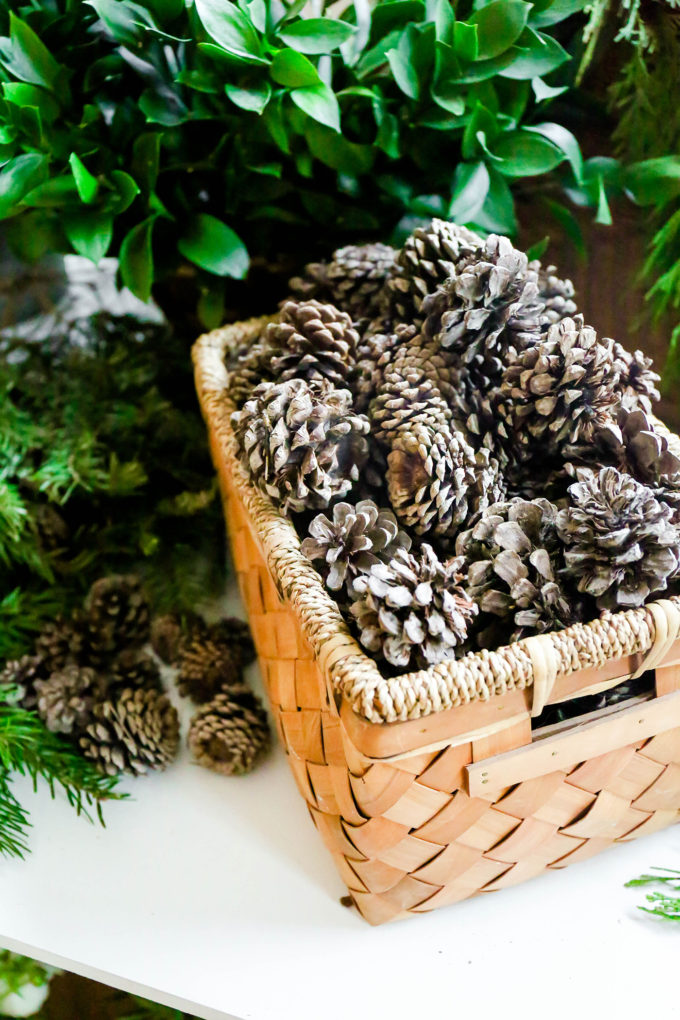
We also threw in some pine cones in case workshop attendees wanted their wreaths to look a little “woodsy”.
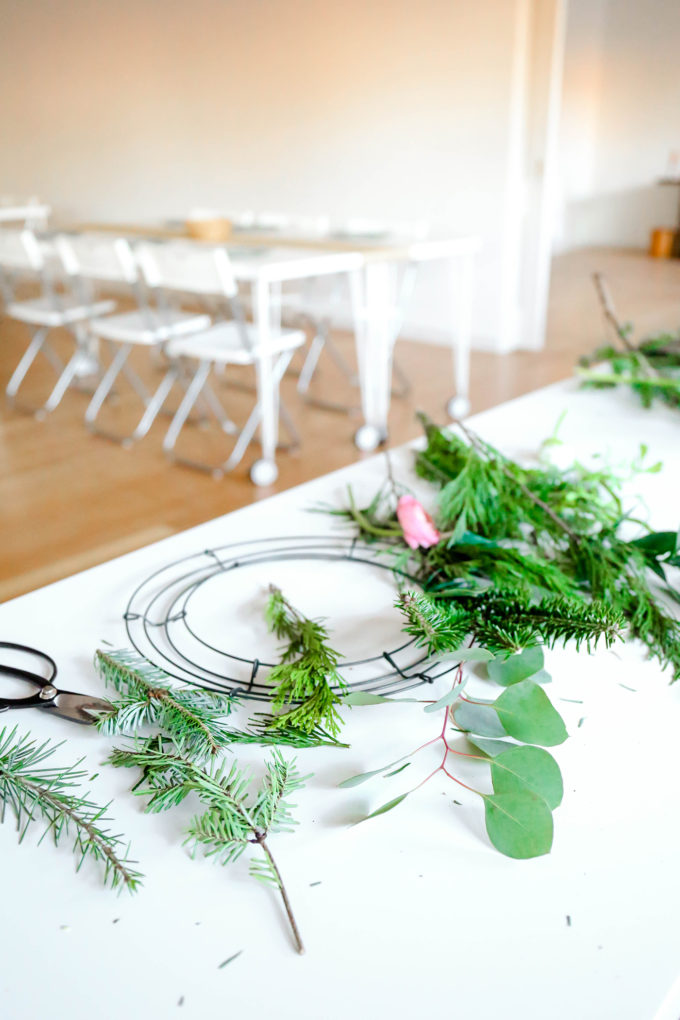
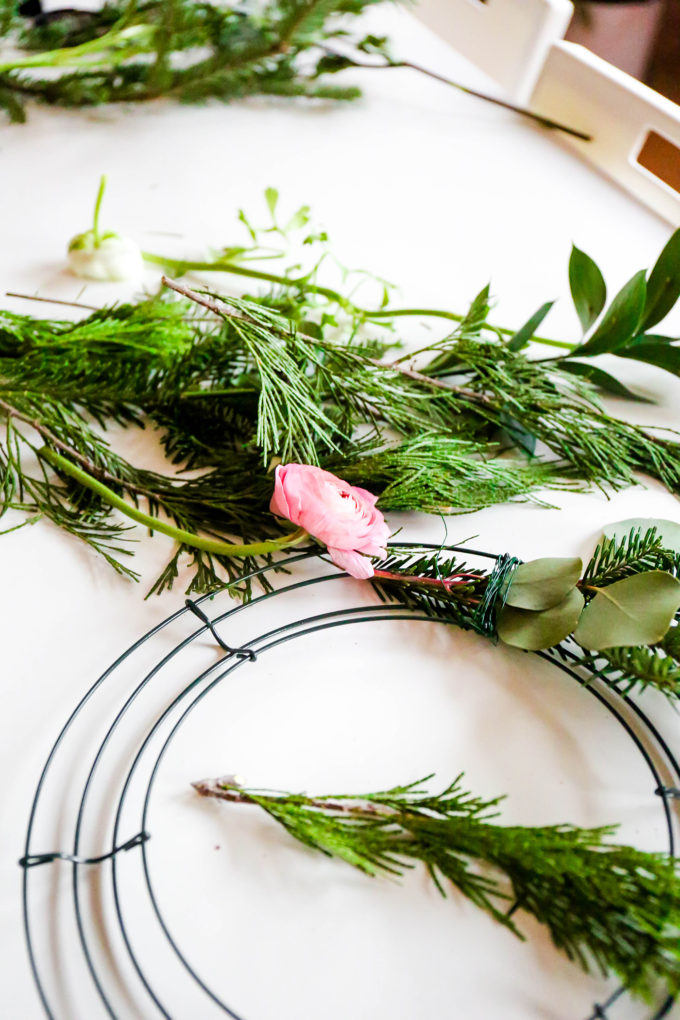
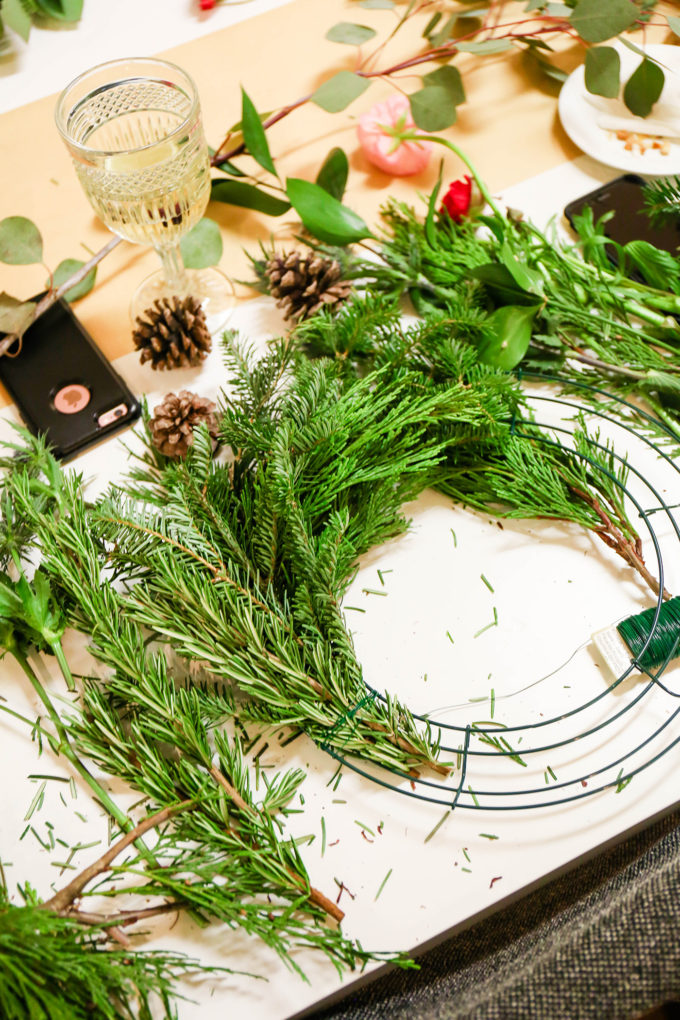
To start, attach your wire to your wreath by weaving through one of the inner circles and pinch and wrap the wire to “tie a knot”.
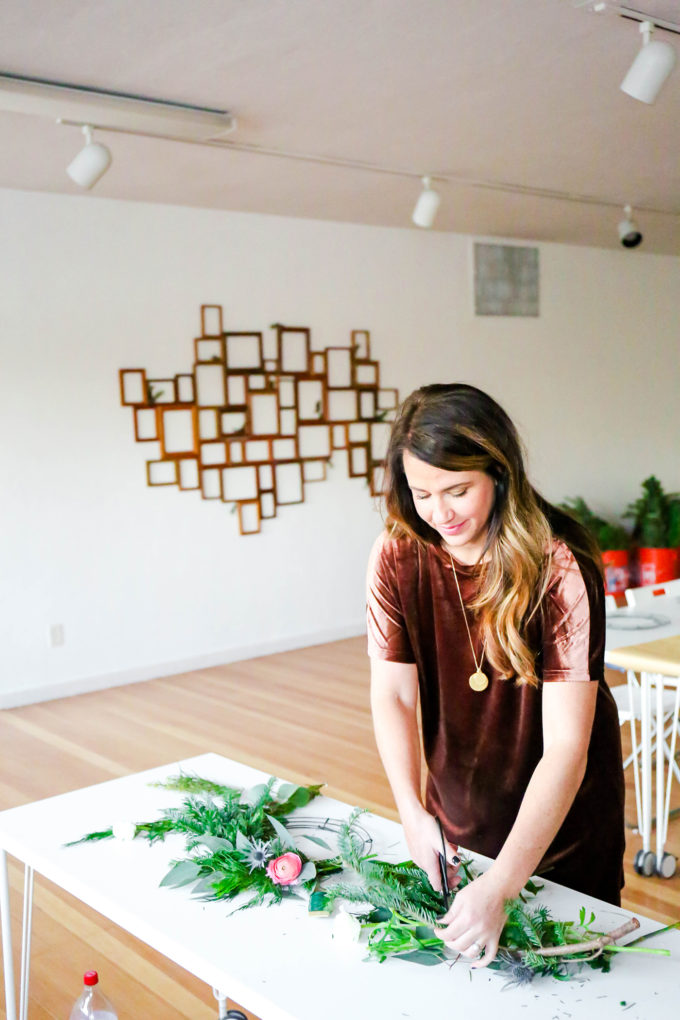
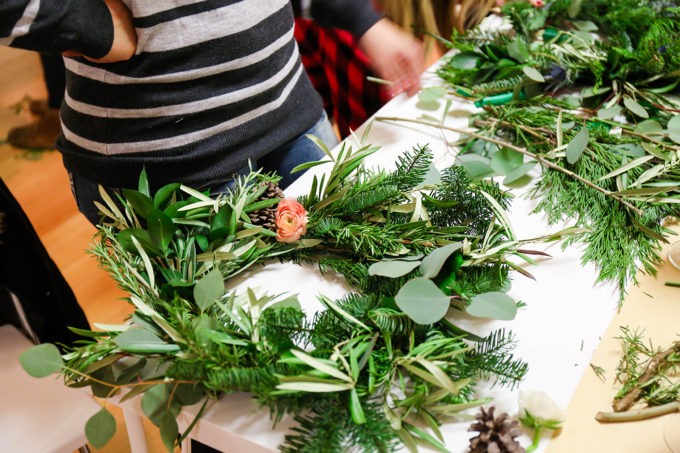
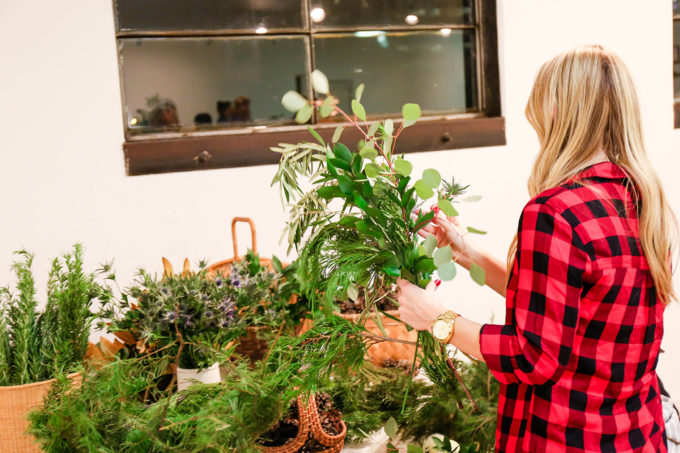
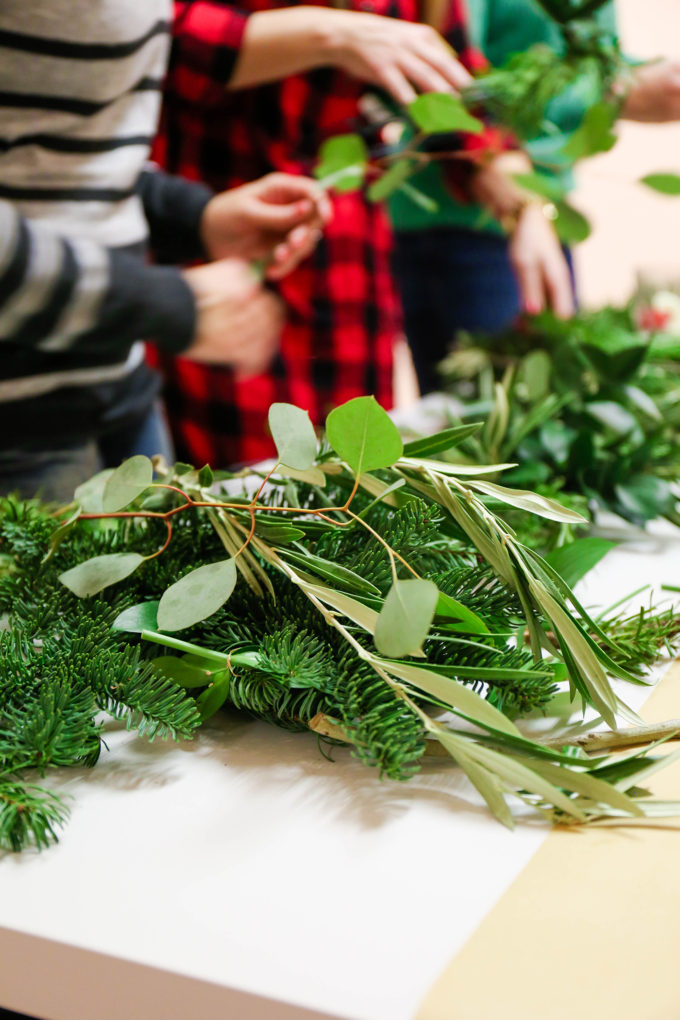
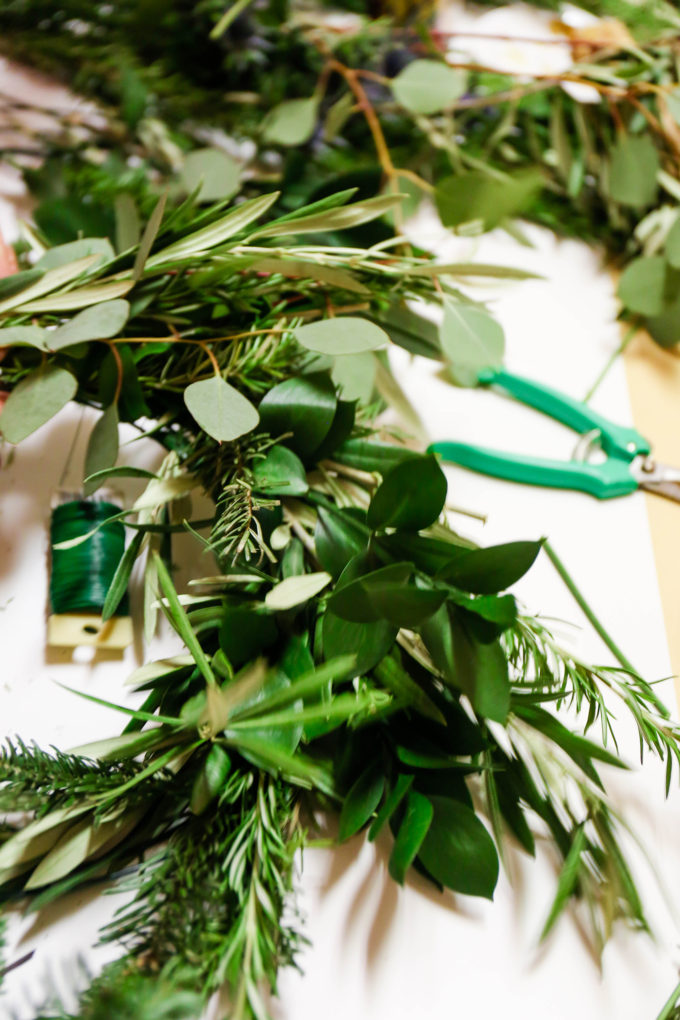
Next, collect a miniature bunch of greens. I use about 2-3 different sprigs to create my mini bunch. Once you have the sprigs in the order you would like them, lay them on the wreath form near where you started the wire, and then grab your wire and wrap it around the bunch and wreath form 2-3 times (pictured above). The tip for wreath-making is that you don’t cut your wire until the end and you’ve attached all your bunches.
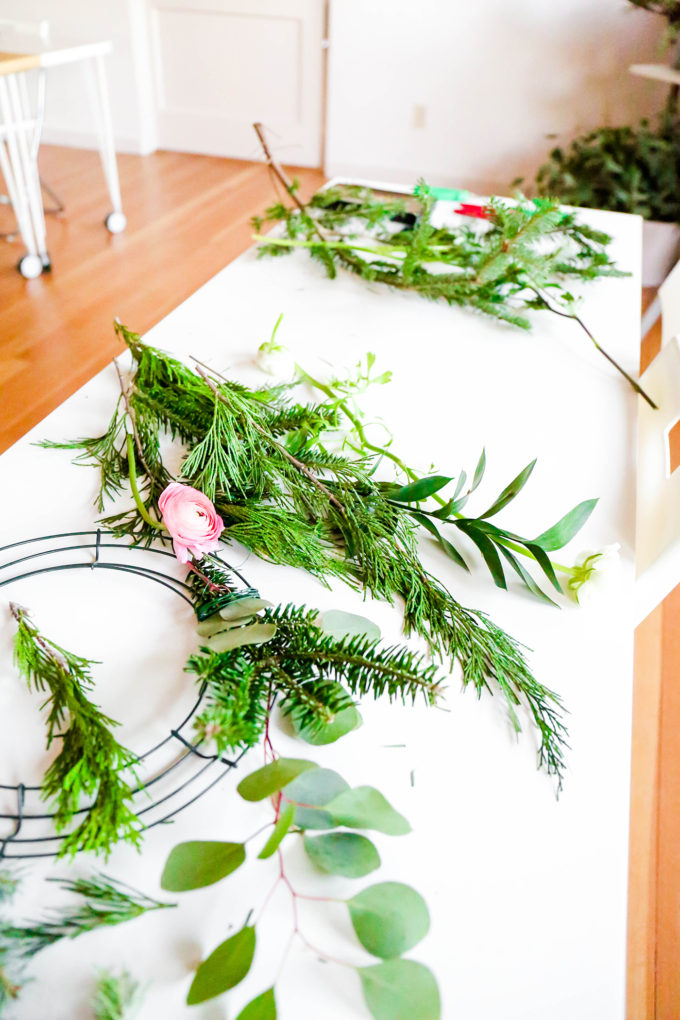
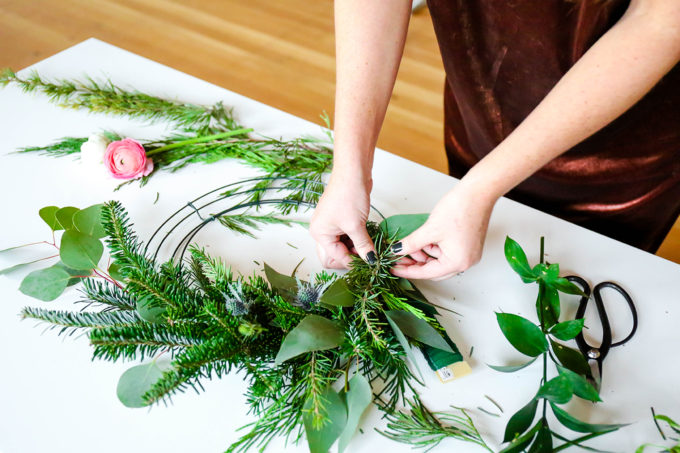
Keep creating miniature bunches of greens (2-3 sprigs) and slightly overlapping them.
- Create a bunch and lay on the form.
- Wrap with wire several times.
- Create a second bunch and lay 2 inches lower than your last bunch.
- Wrap with wire several times.
- Repeat until you make your way around the entire wreath form.
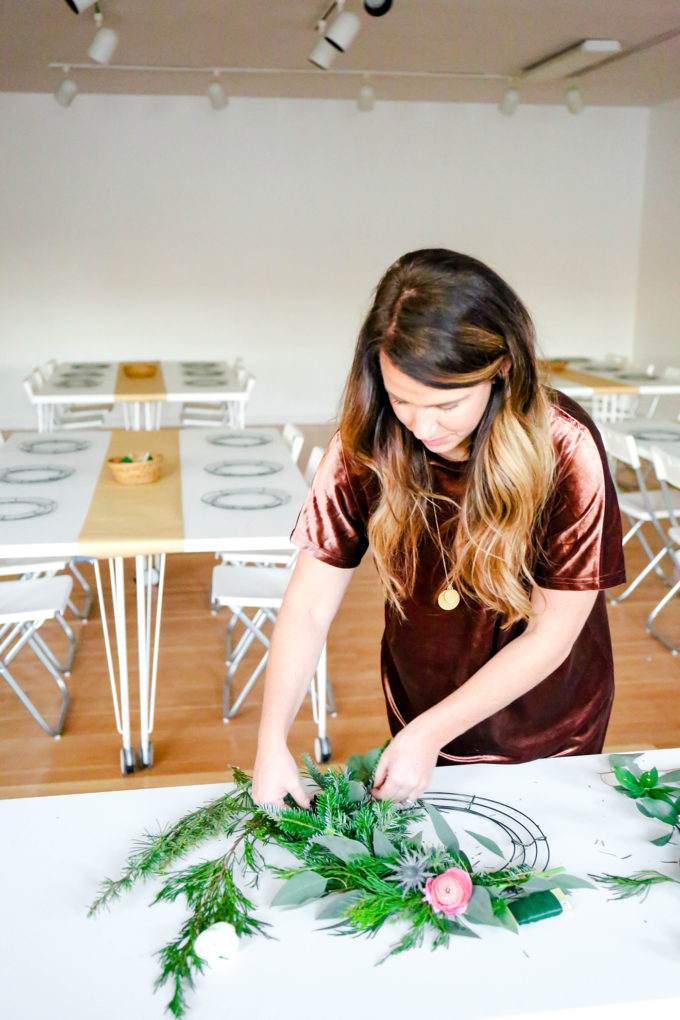
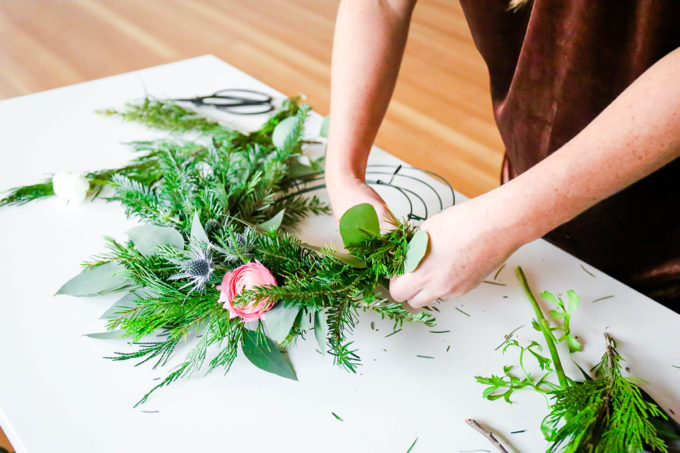 Once you get to the end of the form, you’ll cut a tail of about 5-6 inches of wire, and flip the wreath over so you’re looking at the back. Take the tail of the wire and tie it in a knot around a section of the wreath form.
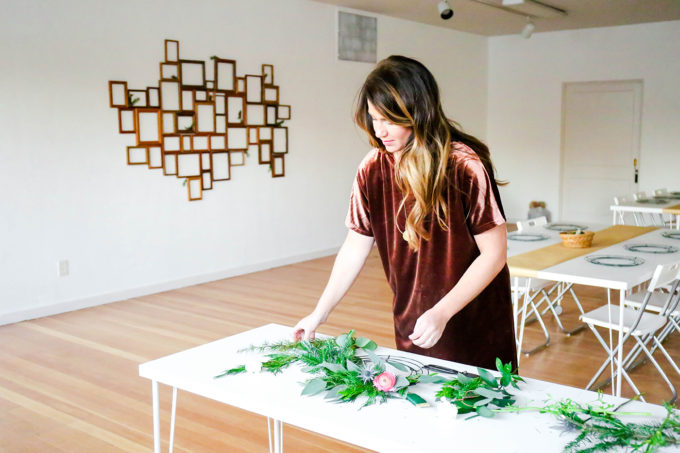
WHEN YOU’RE DONE
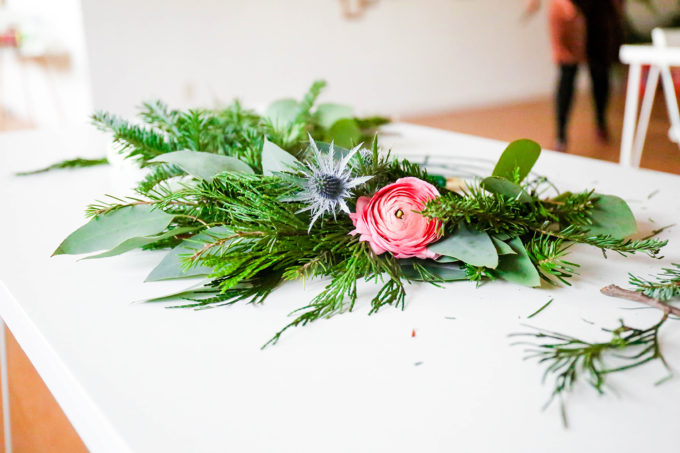
Just tie it several times and then trim the tail or push it into the wreath to hide it. And that’s it! I left my wreath half-finished during the workshop so that attendees to could take a closer look.
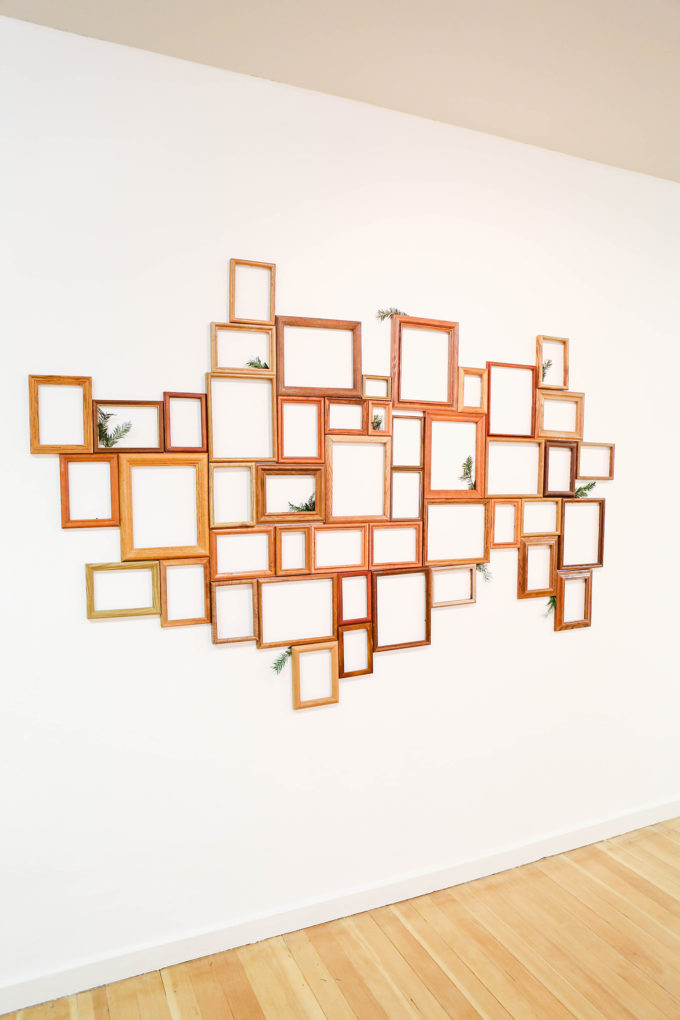
A wall of pretty frames to pose in front of when the wreaths were complete!
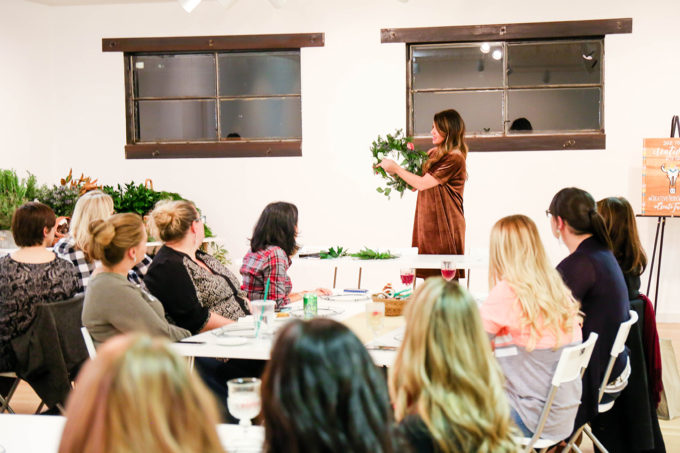
Me. Being a teacher. And coming up with my own phrases when I forgot technical terms.
I was so impressed at the variety in everyone’s wreaths. We used 12 inch forms, and some wreaths were small and tightly woven. Others were large, loose, and filled with branches and other clippings for texture!

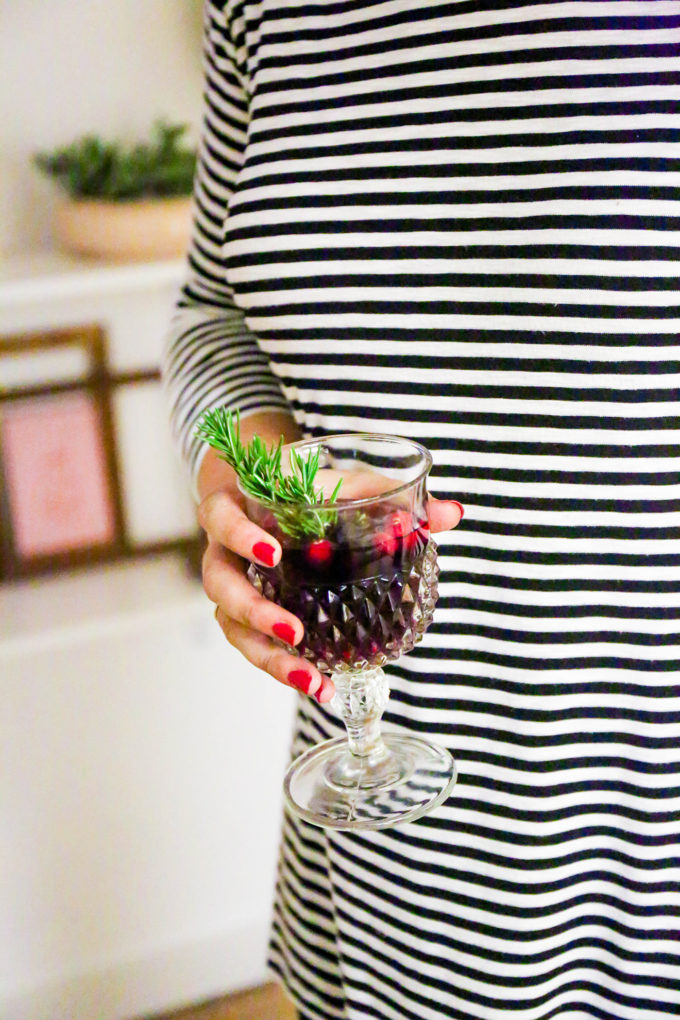
We had an assortment of beverages (both alcoholic and non, lookin’ at you La Croix!) garnished with holiday greens and berries.
Whether you’re a flower pro or a flower beginner, Flower Muse makes it easy for you to select the best of the best. Their floral directory is easy to navigate, they share tips for getting the most out of your flowers when they arrive, and their prices are comparable to wholesale so you can rest assured that you’re getting an amazing deal. It’s the perfect option for a DIY bride or someone like me who just can’t leave flowers alone!
You can see in the photo above how the wire is still completely attached to the wreath as this one continues to be built and greens are added in. Rosemary for the win!
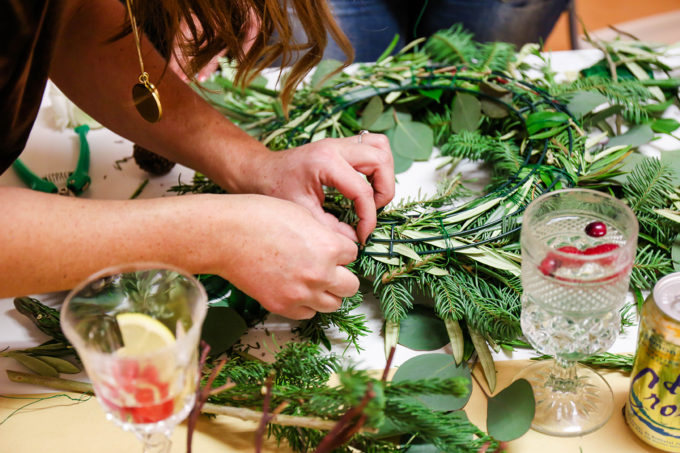
When you’re about to tie your wreath off, you’ll see a bunch of small sections of wrapped wire on the back of the wreath. After you’ve tied the wire down, you can use needle nose pliers to “twist” the wire sections and tighten the wreath even more.
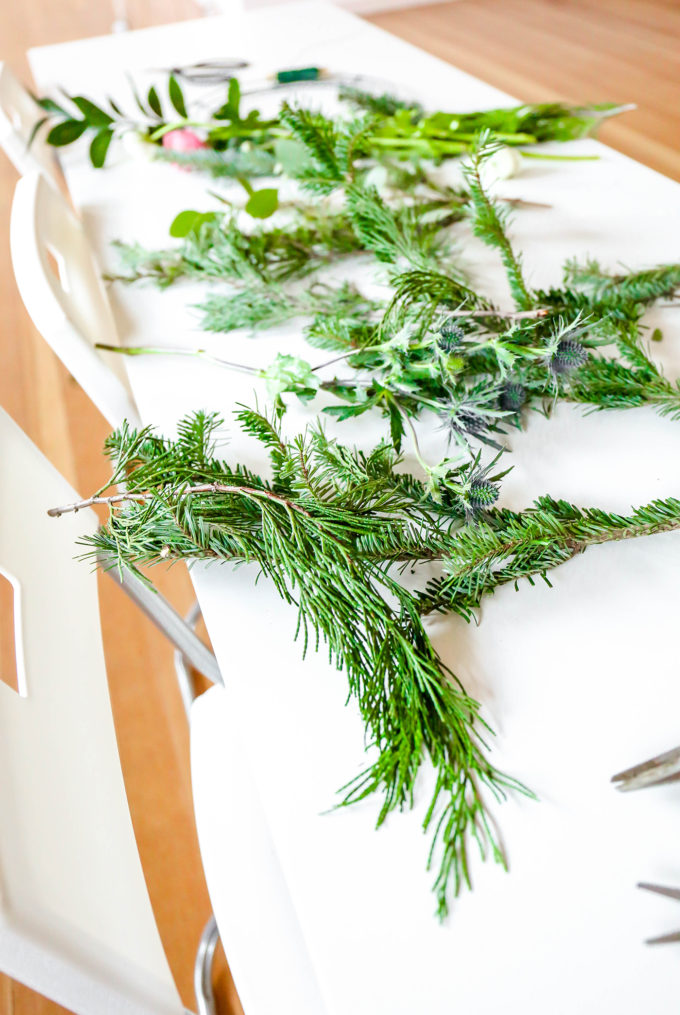
Save me the scraps! They make beautiful additions to gift wrap!
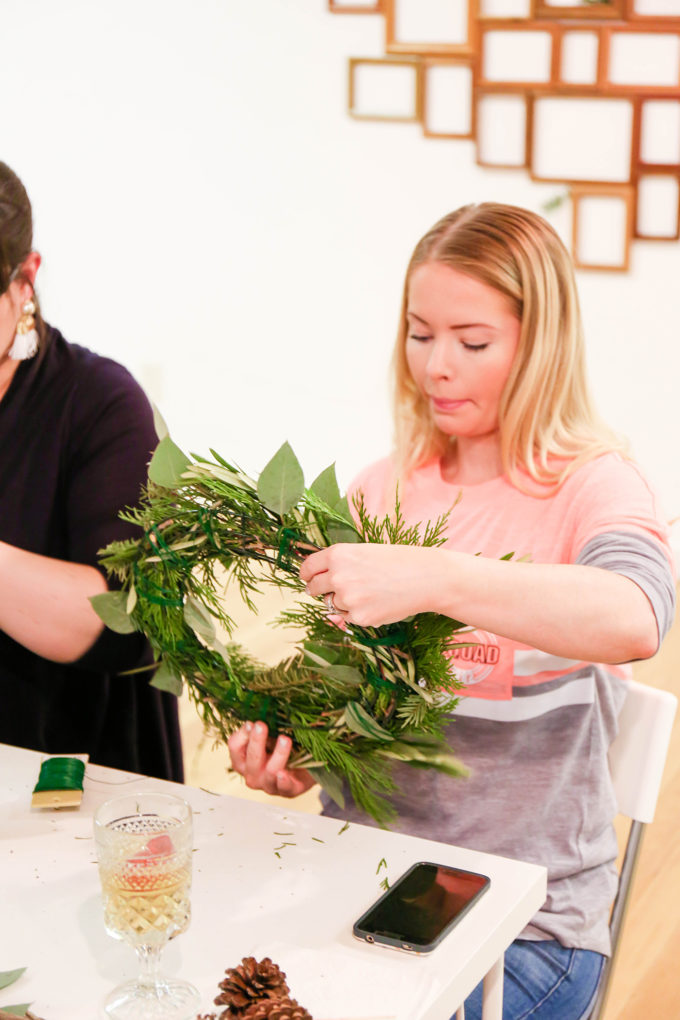
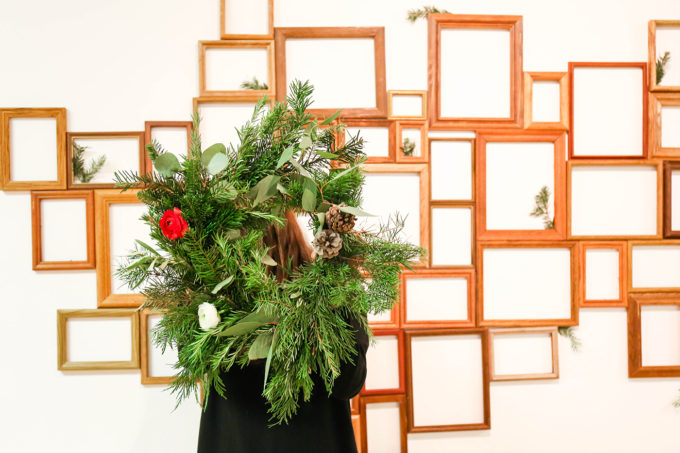
This guy was just one of my faves. So lovely and irregular! The thing I love about wreaths is that you CANNOT make them look ugly. It’s just impossible.
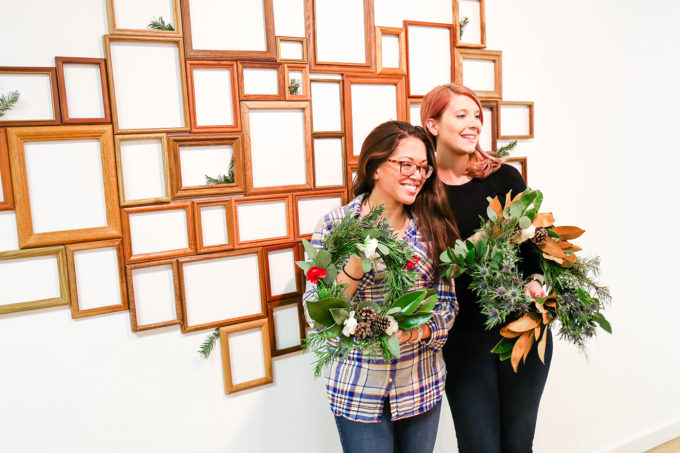
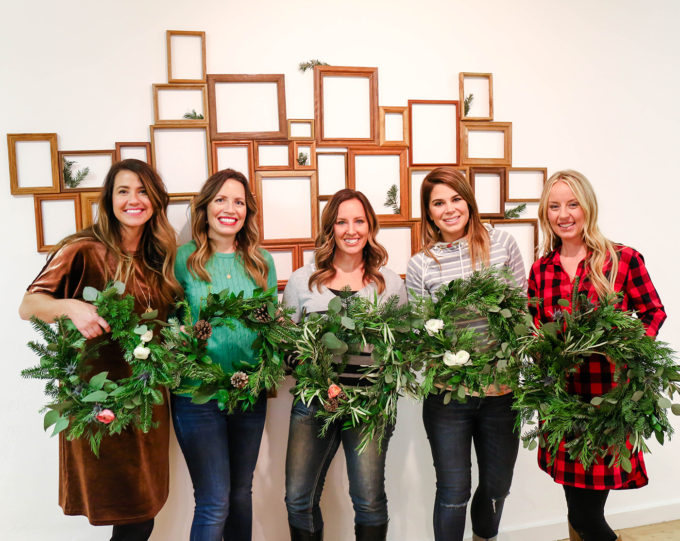
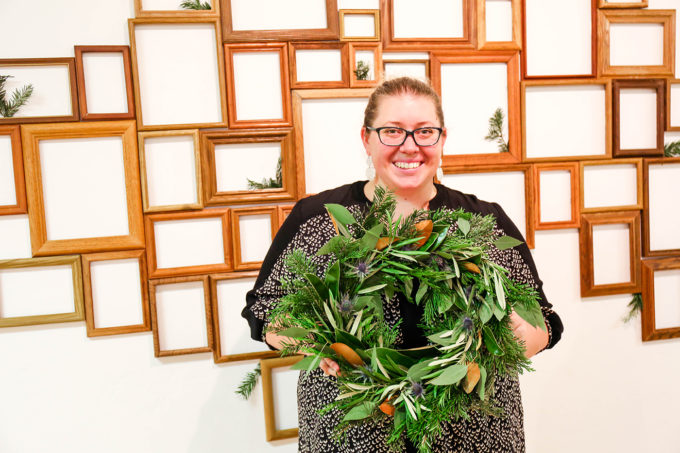
Look at that magnolia! I’m so thankful to all who came out to party with us! I had a hard time leaving Denver behind and felt I’d never find a crowd like I did with #EatDrinkCreate. But creatives are everywhere and I was welcomed right in to a beautiful community that I’m so proud to be a part of here in Tucson!
Now, hop on over to your nearest hobby store to pick up a wreath form and some wire! Your door needs you! Check out some of our other favorite wreaths right here like this paper poinsettia and this accordion wreath! Both are perfect for the holidays!
If you’d like to be up to date on our schedule of workshops and events next year, follow along on Instagram! To get the extra inside scoop, subscribe to our newsletter so you’ll be the first to know everything!
**This post is in partnership with Flower Muse, a brand that believes in bringing beautiful and affordable blooms to all. Thank you so much for supporting the brands that help PROPER keep creating!
photography \\ Lexy Ward & Theresa Delaney






This class was seriously so fun!! Lexy is so talented it’s kinda scary ? Even those of us with almost zero crafting skills were able to create beautiful wreaths. She is that good! Plus she is seriously as sweet and fun as she is beautiful ?Thanks Lexy!!
This was such a fun night! You are the best teacher!
You girls are cute! I have never been brave enough to work with live florals, but this makes it look pretty easy. I’m a child ‘s of the 80’s and seem to love silk florals. Thanks for the tutorial, I’m going to jump in and try some live ones!!
What a fun event, wish I lived closer! The photo recap is so gorgeous too!
i loved this workshop!!! i am so excited to create new wreaths for each season. also, i was kind of obsessed with the flowers!!! such a simple thing these wreaths are but they just add something so amazing to your home. loved it!!! thanks for putting all the work and effort into it Lexy!!! can’t wait for more!!!