This is a sponsored conversation written by me on behalf of Cricut. The opinions and text are all mine.
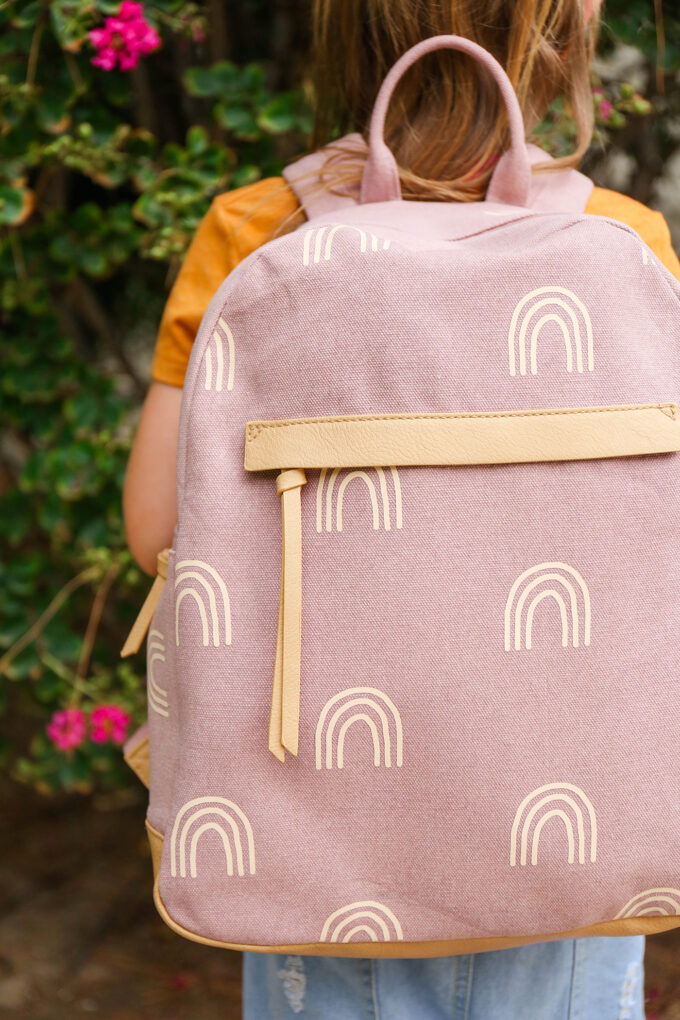
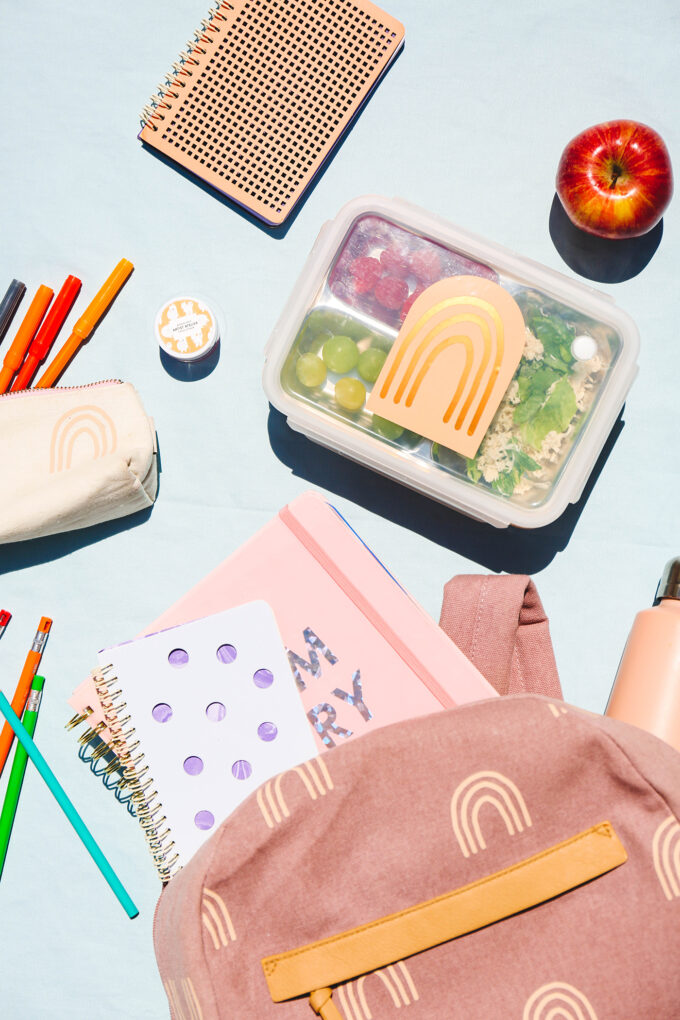 I really just can’t quit it with the making over of the things. Especially now that Vita is in kindergarten, it’s been really fun to come up with some unique back to school DIY projects. A few weeks ago, I picked up this backpack from Target for only $9! Nine bucks! It’s a really pretty canvas fabric and it was just begging to have some designs added to it. So I broke out my Cricut Maker and got to work with this DIY backpack makeover. And because I’m a little bit extra, I decided to create a mini collection of personalized back to school accessories.
Using the abstract rainbow I drew for the engraved leather keychain project, I uploaded it back into Design Space and created these mini templates with vinyl and attached them using an iron-on technique. (I used my Cricut EasyPress 2 machine as it has a large flat surface to evenly disperse the heat, but you can use an iron for this project as well!)
DIY Backpack Makeover
Instructions for DIY Backpack Makeover
Materials needed:
- Cricut Maker machine
- Cricut Design Space™
- plain backpack (I used this one)
- scissors
- weeding tool
- abstract rainbow template
- Everyday Iron-on in Parchment
- heat press or iron (I use the Cricut EasyPress 2)
Start by downloading the rainbow template and uploading it into Design Space. Adjust the sizing (mine are about 2.5″ squares). Duplicate the shape to fit around two dozen rainbows on one mat. Be sure to set the Cricut to “mirror image” before cutting. Place the material on the mat shiny side down, and then load and cut the shapes out on the iron-on material.
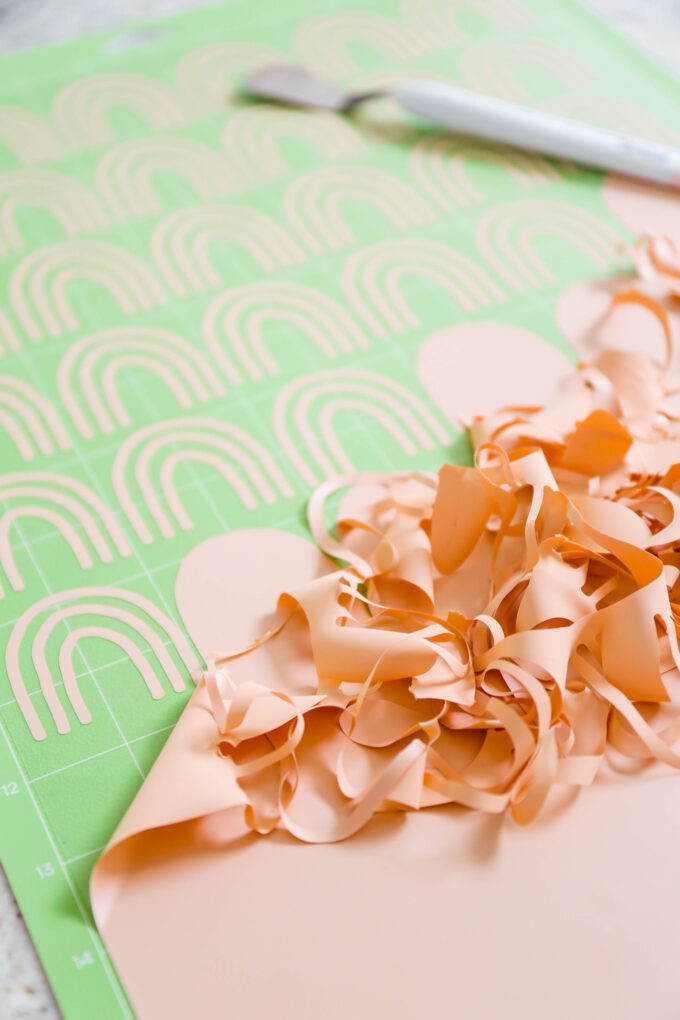 Peel the material gently from the mat and weed any stray pieces.
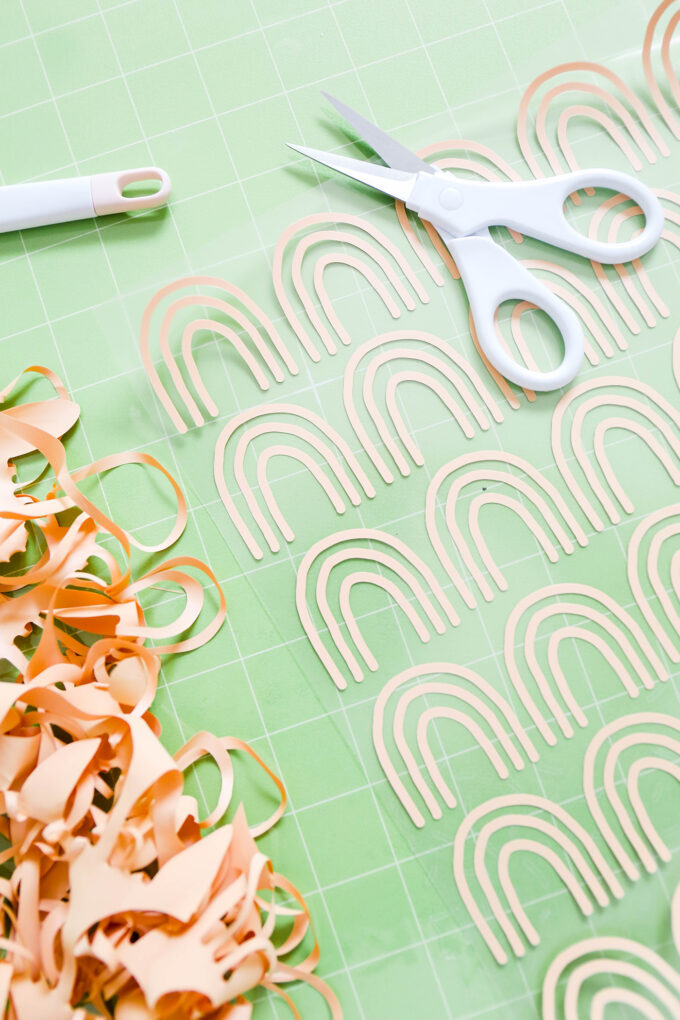 Use scissors to cut around each rainbow to create a bunch of mini templates.
Now the fun part!
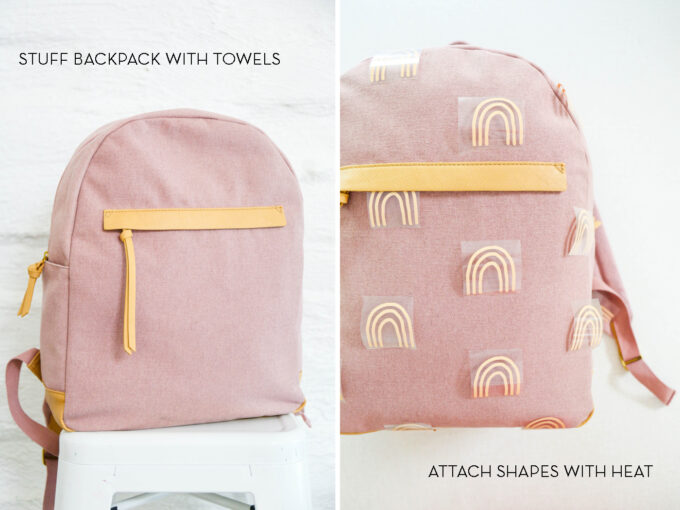 Stuff the backpack full of towels to create as stiff and flat a surface around the backpack as you can. Lay it flat and place the rainbows wherever you like. I trimmed some and played around with how they laid so it looked like the canvas fabric came this way before the backpack was sewn together.
Use the EasyPress to adhere the rainbows with heat. I heated the surface for five seconds prior to laying the rainbow down (shiny side up!) to help it adhere better. Firmly hold the EasyPress against the backpack for 30 seconds to allow it to evenly attach. Remove the EasyPress and then gently peel the backing away. If some of the template is still sticking to the backing, apply more heat until it doesn’t.
*Bonus – If you’re unsatisfied with the results when using Cricut’s Iron-On material, they’ll replace it for free as part of their Strong Bond Guarantee – so don’t sweat it if you’re a newbie to the material!
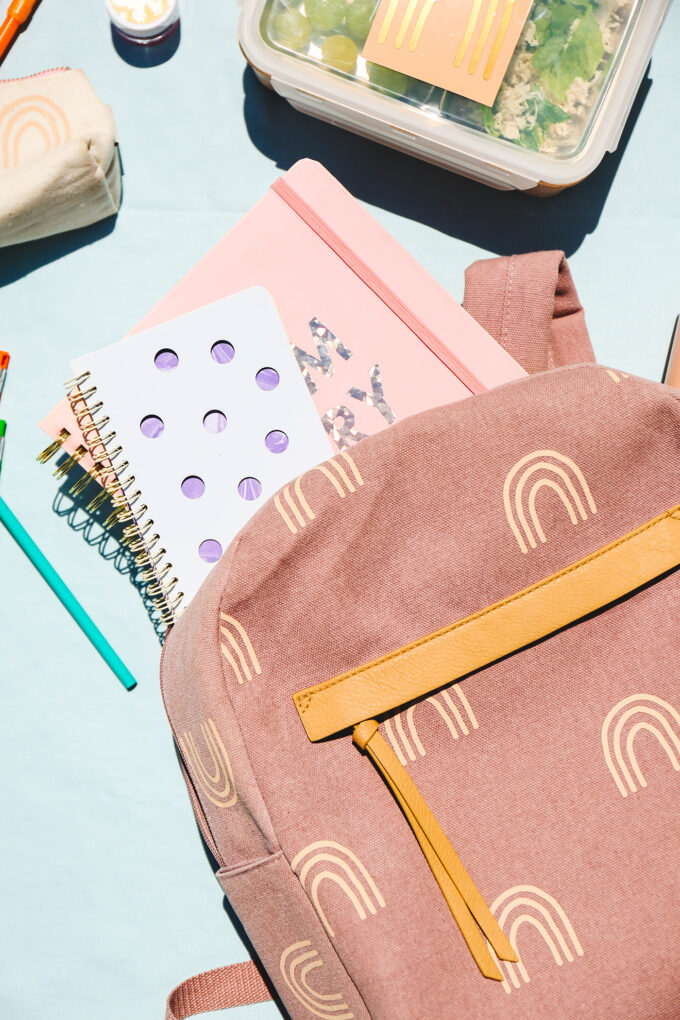 Keep applying the rainbows all over until you’ve covered the backpack how you want. Step back and admire your handiwork.
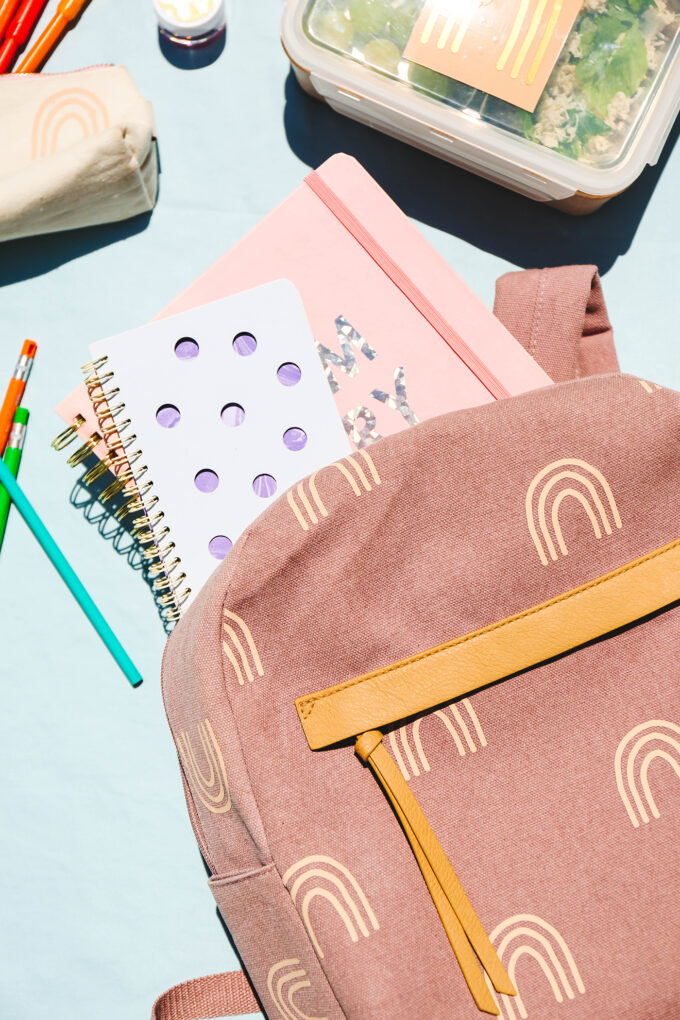
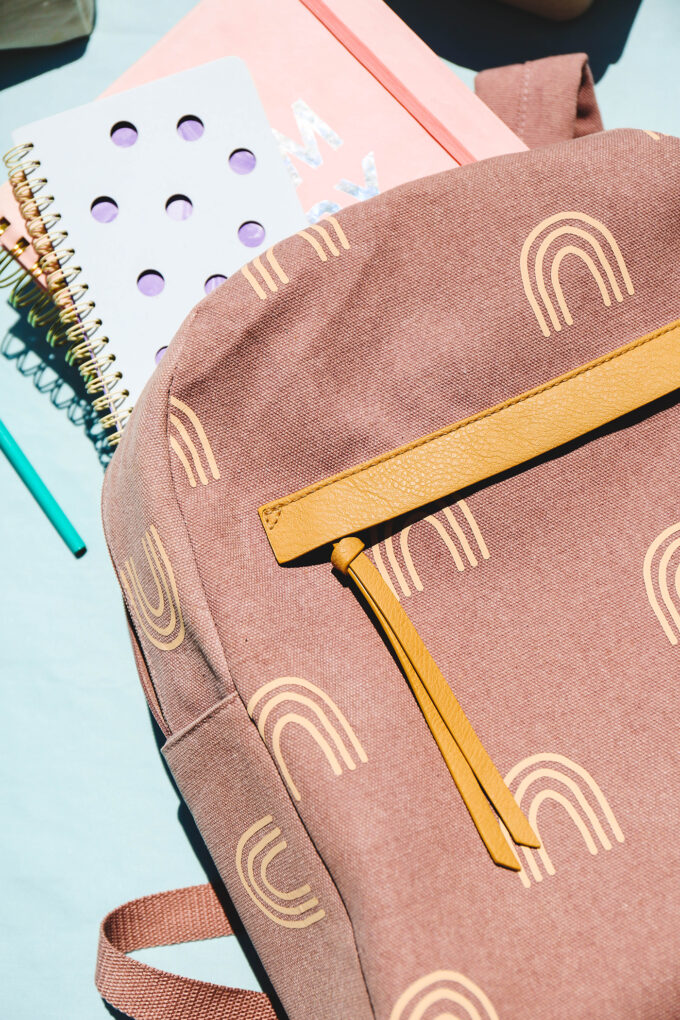
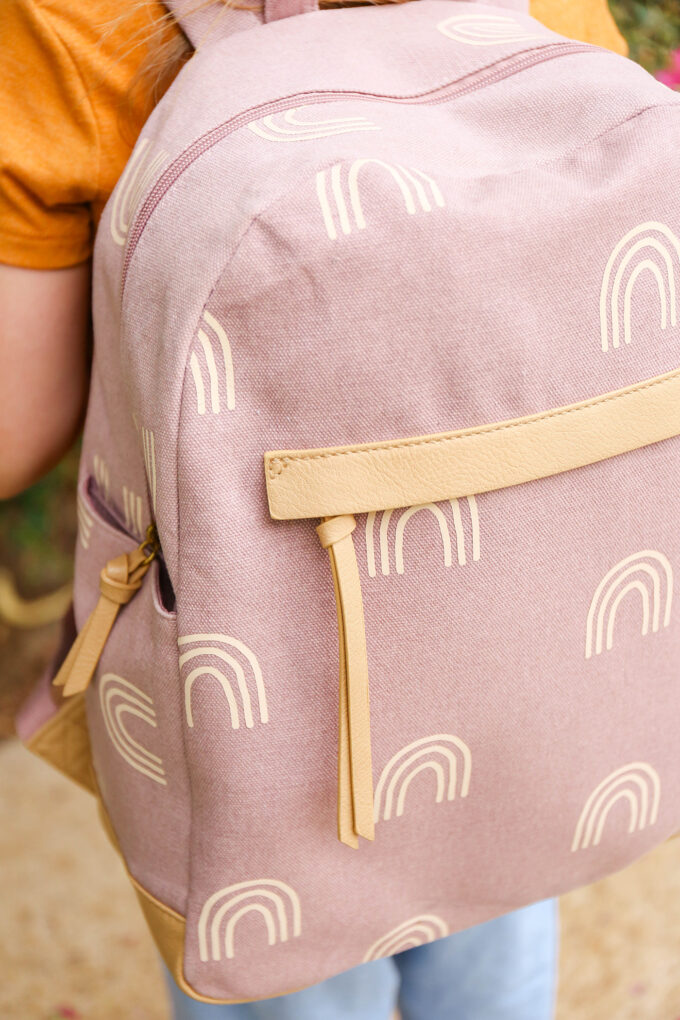
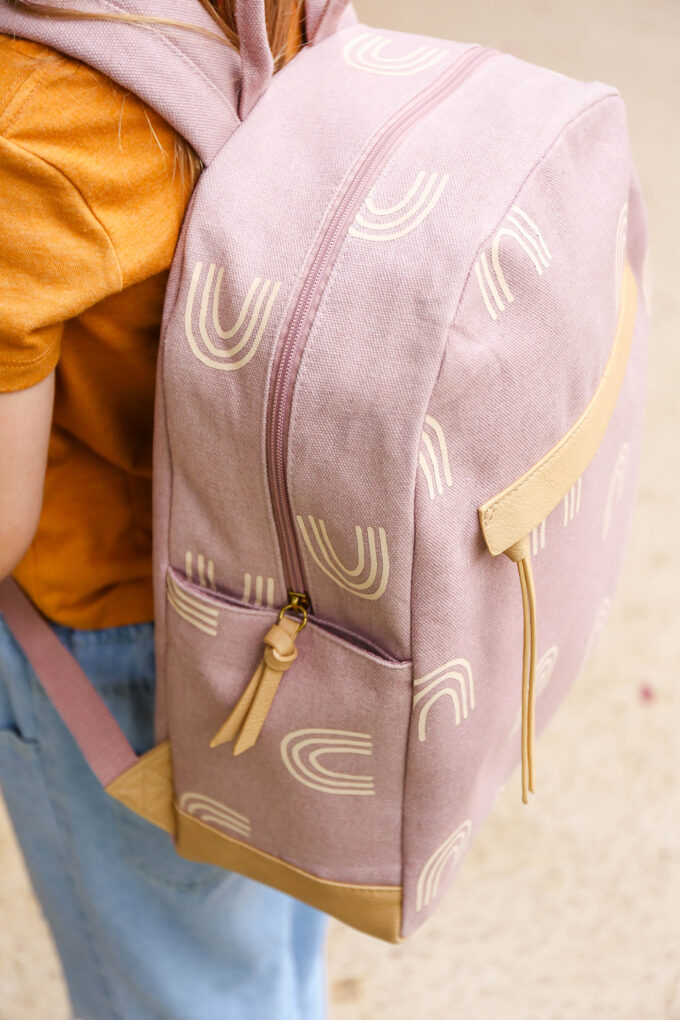
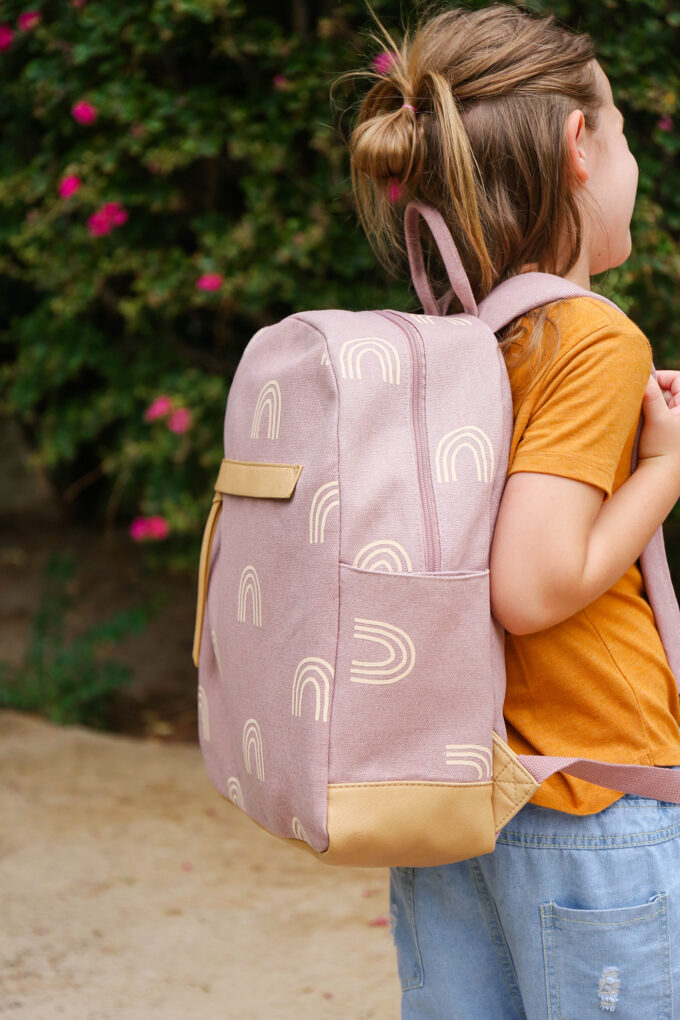 Like, I know this was supposed to be a backpack for the kids, but come on. It’s mine now. It’s been a good lil’ travel companion!
DIY Lunch Box Makeover
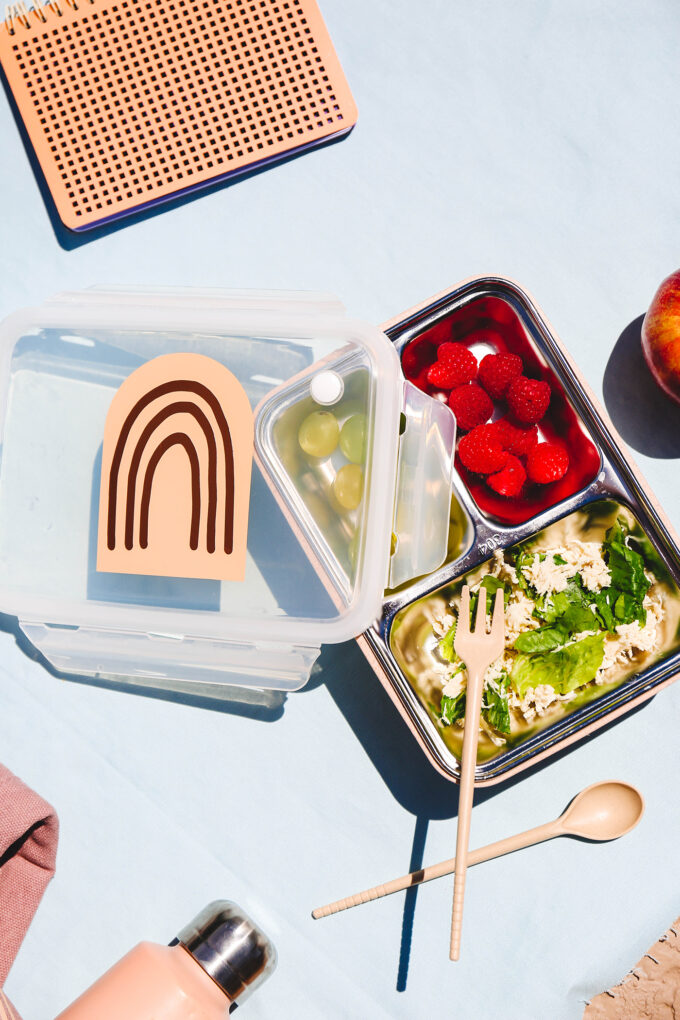
Like I said, I couldn’t stop at just the backpack. I recently picked up a few new lunch boxes for me and Vita and this Bento one had a not-so-beautiful-giant-green-label. So I grabbed some more vinyl and covered that up REAL QUICK.
Instructions for DIY Lunch Box Makeover
Materials needed:
- Cricut Maker machine
- Cricut Design Space™
- Abstract Rainbow Template
- Premium Vinyl – permanent
- Bento lunch box
Start by downloading the rainbow template. Upload it into Design Space and stretch/size it to cover your lunch box label. I combined a rectangle and circle shape and welded them together to create the base for the design. When everything is sized right, send it to cut and let your machine work its magic.
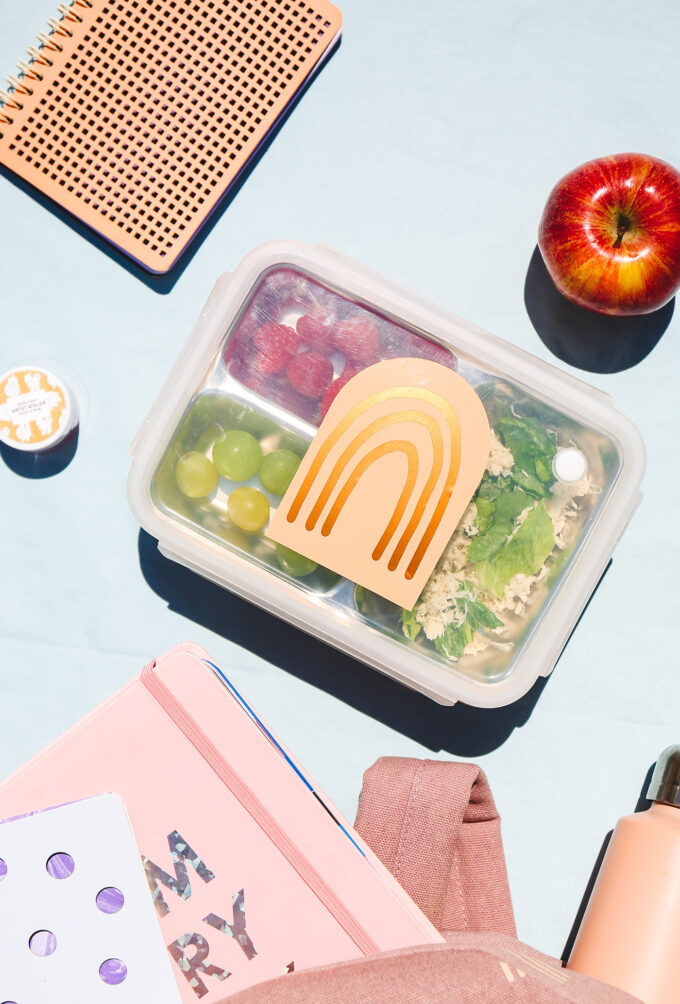
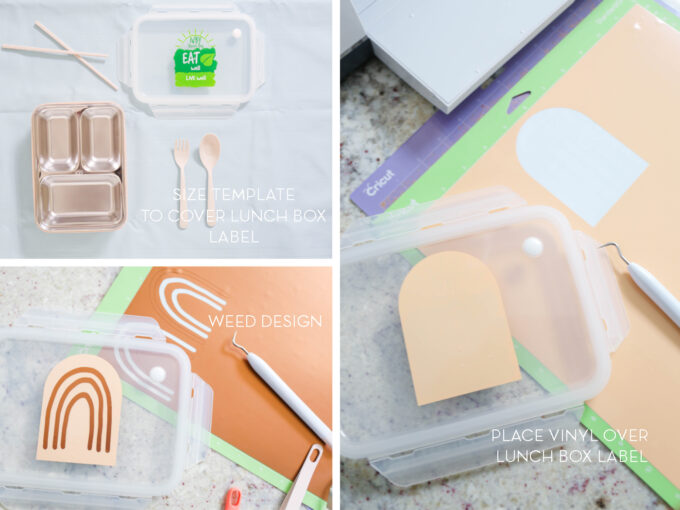 After it’s cut, gently peel it away and place it over the label. I used permanent vinyl so that it could run through the dishwasher after each use.
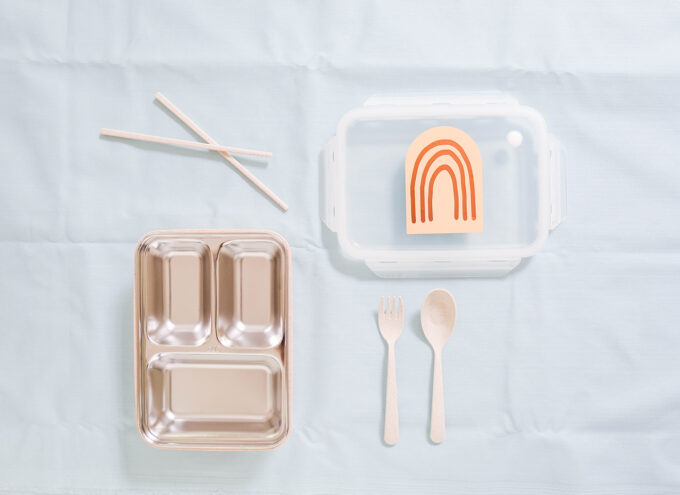 Vita has been using this lunch box at school everyday so far and has loved it! And I love it too because it’s super cool-looking. Which is what matters, right? Am I a shallow mom? 😉
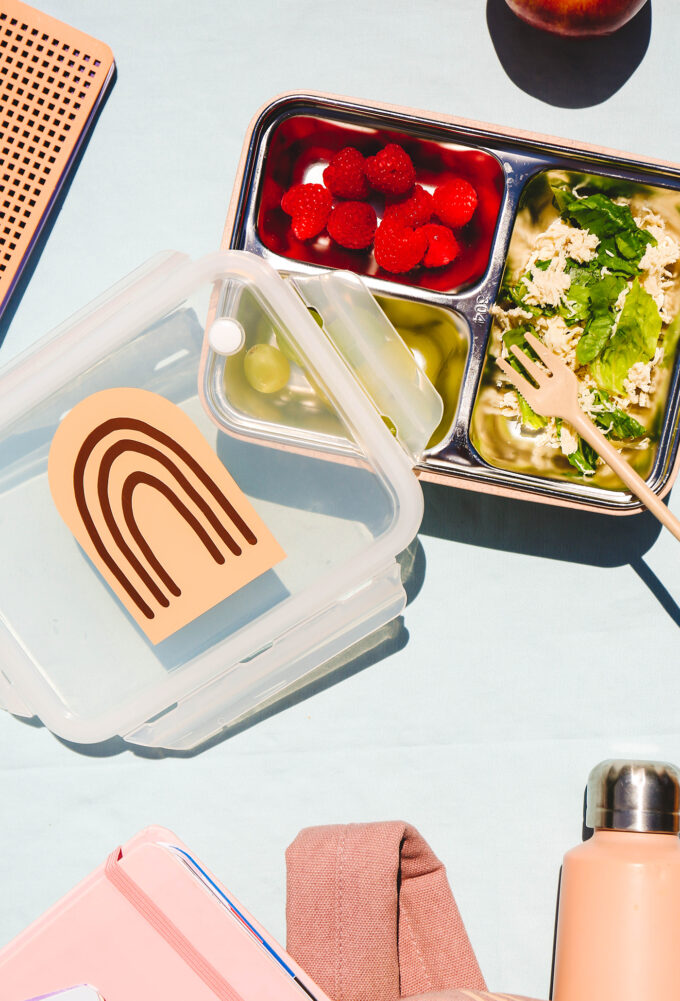 Hi, I am now going to be moonlighting as an adult lunch box designer.
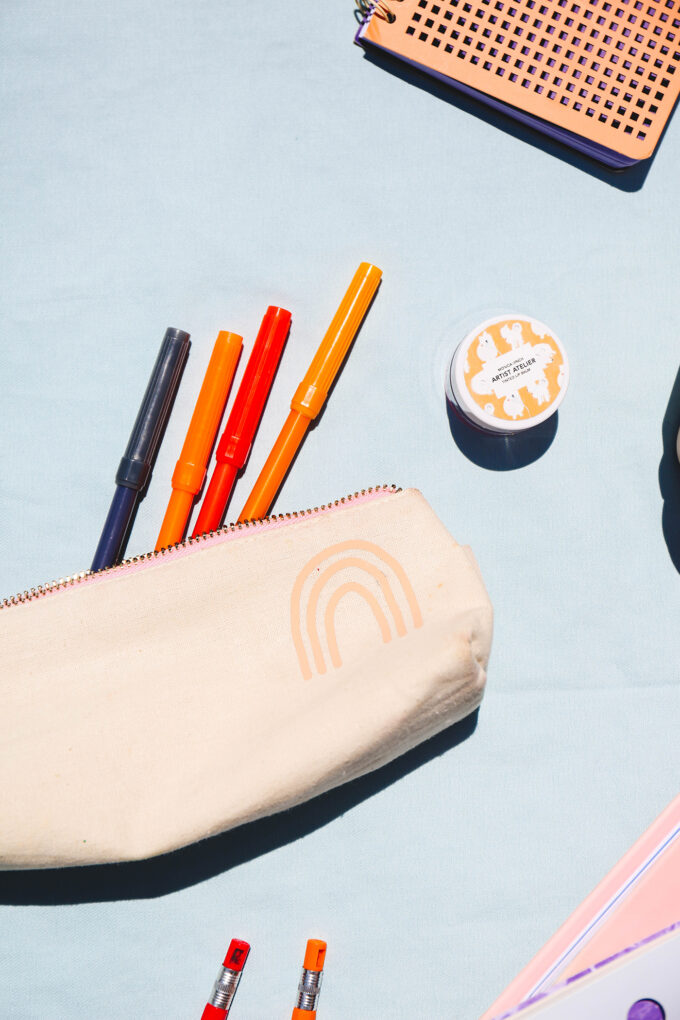
 I went one step further and ironed one of the rainbows onto a small pencil bag. And now we have a mini collection and the most stylish kindergartner around town.
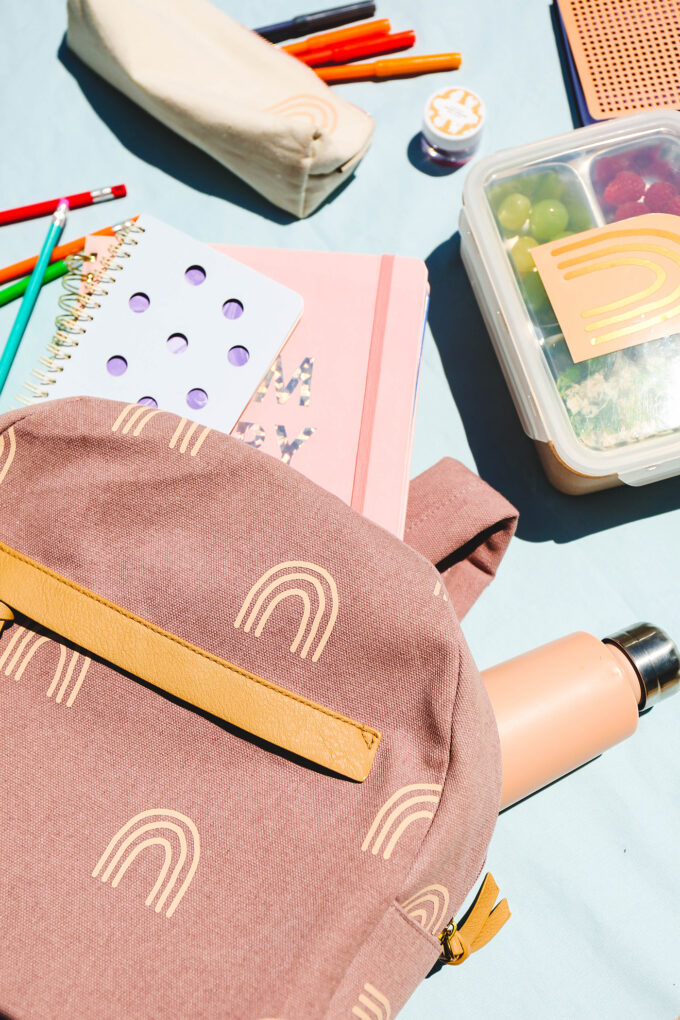 I’m feeling a little unstoppable at the moment and am currently addicted to making over everything I can get my hands on. I think Vita might be a little exhausted when she comes home and sees all of the iron-on action happening at our house.
This DIY backpack makeover might just be one my most favorite back to school projects over the years. When can I go back to school?!?
Love this idea? Check out a few of our other Cricut projects like these abstract napkins or the leather bib and engraved keychain!!
concept, styling & photography \\ Lexy Ward

[…] moment with a fun DIY back to school crafts night with your kids or with your friends. Make this DIY rainbow backpack to hold your school supplies or make your own DIY abstract pencil cases. If your kid is studying […]