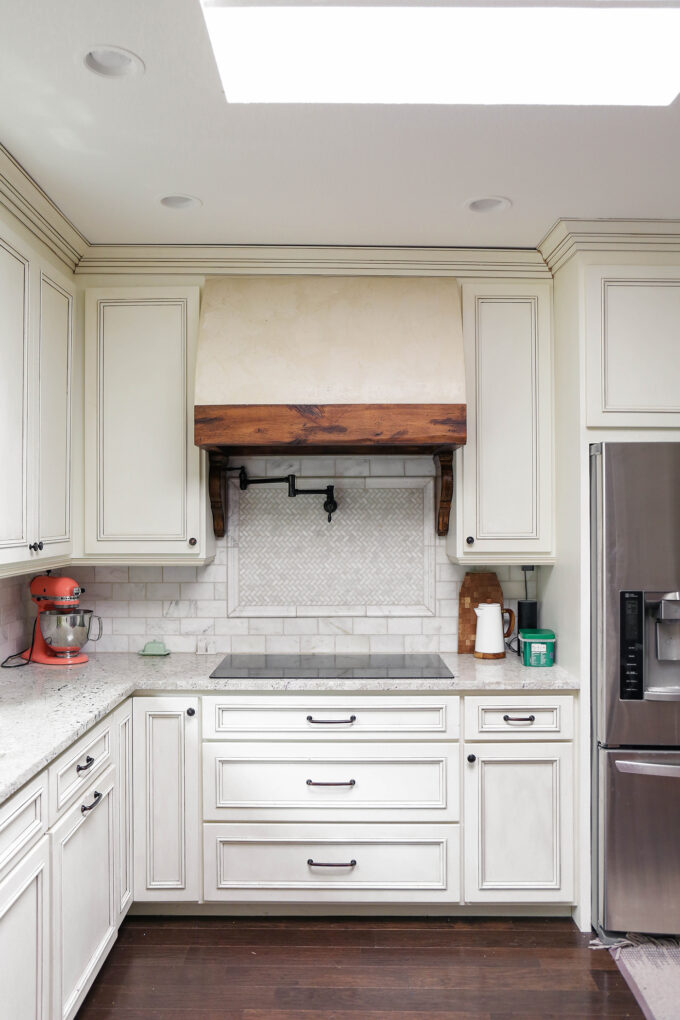
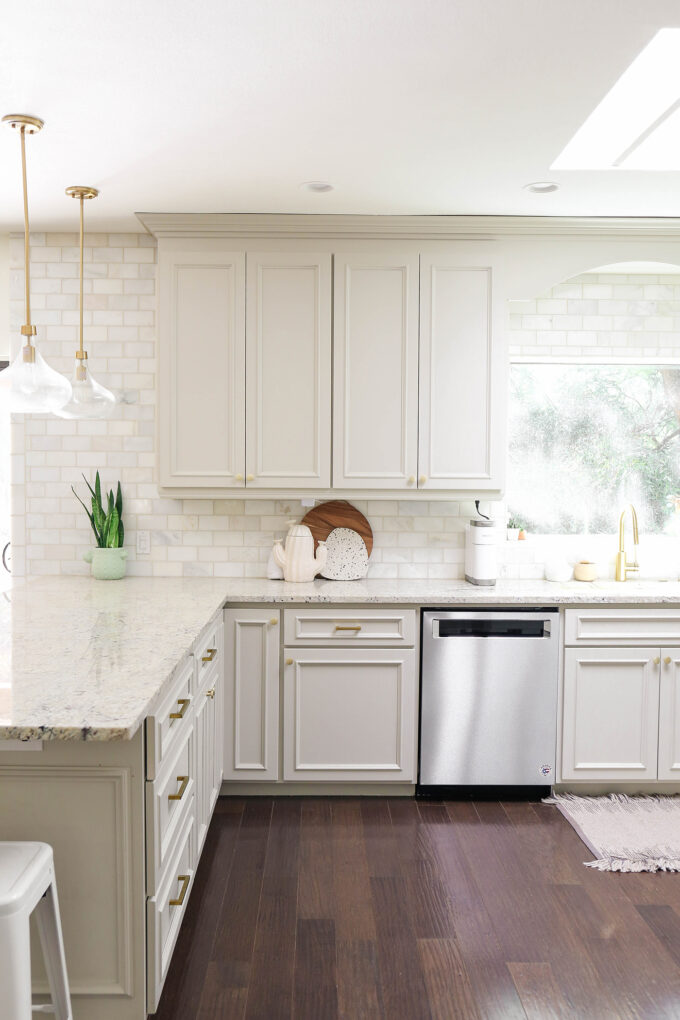
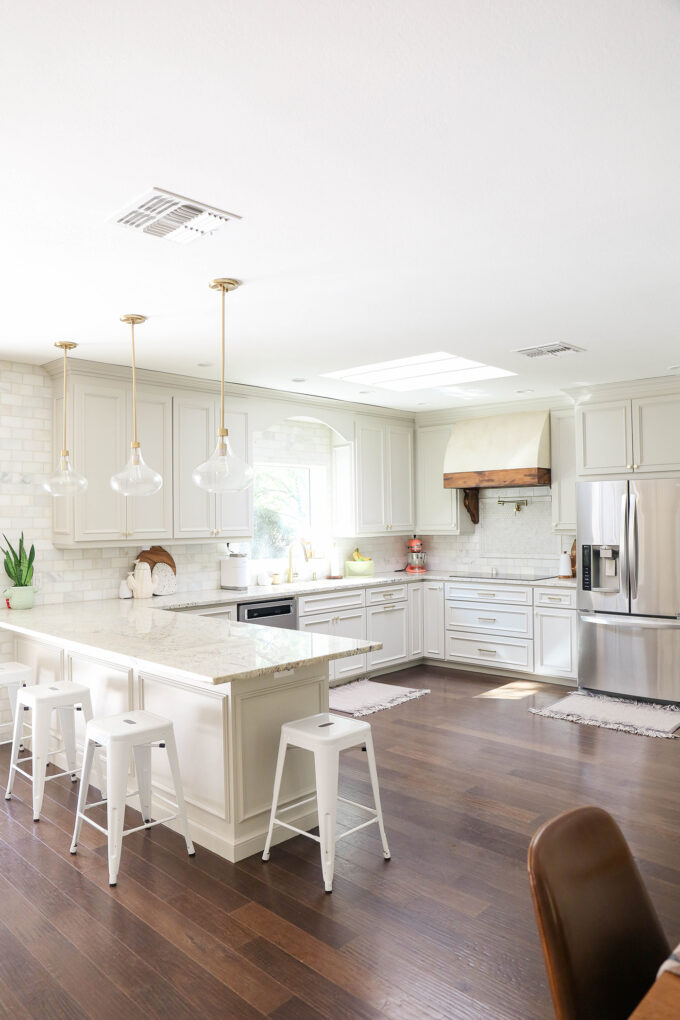
 Well, folks. Here we are two months later and I’m finally sharing the snaps of the painted kitchen. If you’ve been following on IG stories, you KNOW this was a process! This isn’t completely finished (still plotting out what to do with the range hood), but I couldn’t wait any longer to share! It took me some time to clean this place up and take some quick photos – which is actually an impossible task with two kids at home and when one is doing distance learning for school. I’m a teacher now! COVID’s been great. Anywho. I wanted to share my tips and tricks on how to paint kitchen cabinets by yourself. Aside from Logan washing a couple of cabinets and moving some of them in and out of the garage, I did this job 100% by myself. And you can too. (And before you think he’s a total dud who doesn’t help, he travels during the week for work and isn’t home so I tackled this alone WILLINGLY.) These are my favorite kind of projects and he’d help me if I asked for it, but I’d rather go it alone! Let’s go!
*This is quite the lengthy post, so if that’s not your thing, you can head to my Instagram highlights to watch the process that way! But be sure to see the total budget breakdown at the end of this post!
 Make A Plan
I decided I wanted these bad boys painted back in September and I told Logan it was happening. I put a little proposal together with total cost and paint samples together (he’s a spreadsheet kind of guy) to convince him. And I’ll share that total breakdown a ways down so keep reading. You’re going to die when you see the amount of $$$ I saved.
First, you need to decide how you want to do this. Do you want to brush and roll everything by hand? Are you planning to spray the kitchen cabinets? Spraying is a little more of a cost investment as you don’t want to buy a crappy sprayer that just does a crappy job. In my opinion, spraying is 100% worth it. The prep up front takes longer, but the actual spraying itself takes minutes and the finish looks so professional. Spraying also allows for a smoother final product vs brush lines that come from painting by hand.
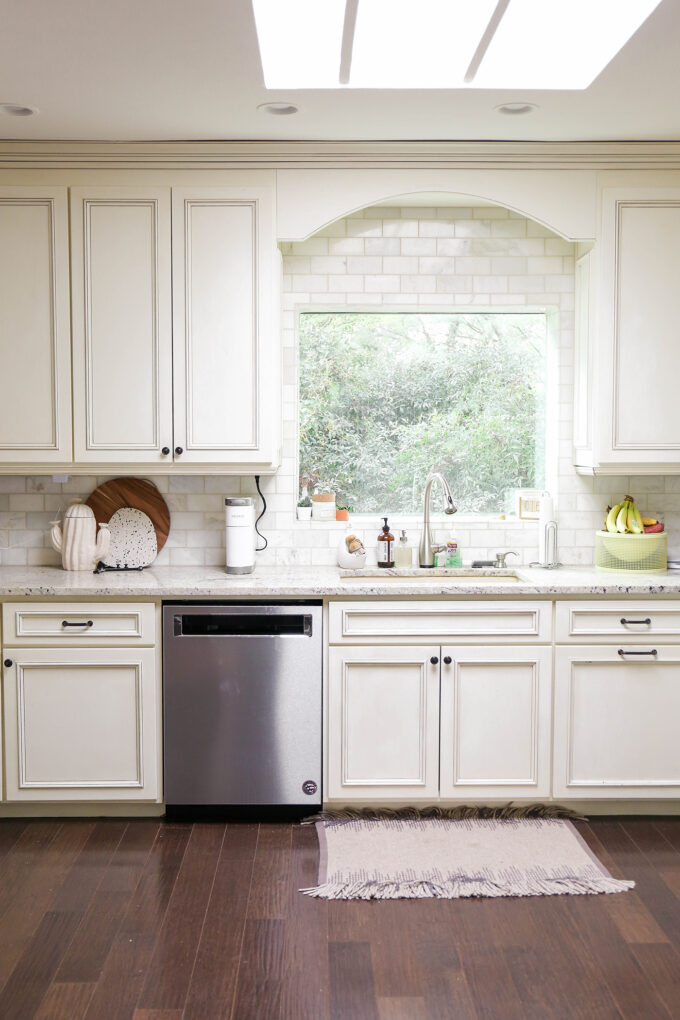
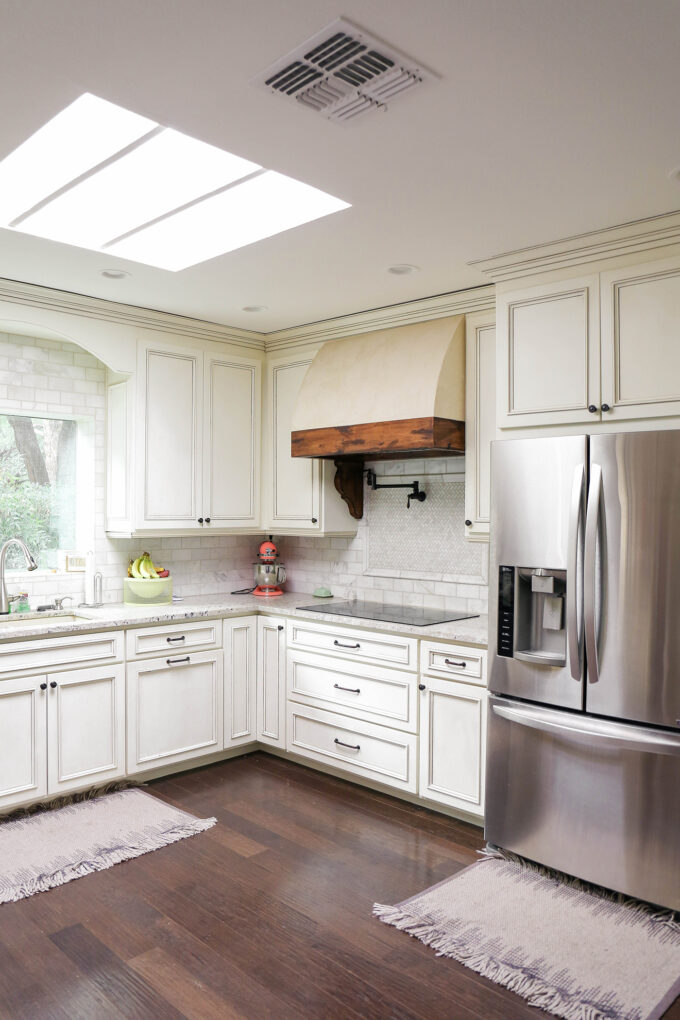 The above is the kitchen BEFORE. It’s pretty. It’s nice. It’s just too traditional and antique-y. I felt like the color was just never my thing. It was a cream with some dark antiqued lines throughout. I don’t love the trim added. It just felt ornate. I obviously don’t have the funds to do a complete kitchen overhaul with new minimalistic cabinetry, backsplash, counters, and more. But I could paint!
How To Paint Your Kitchen Cabinets By Yourself
Choose A Paint Color
I decided to find a paint color that would compliment the counters, backsplash, and grout. I actually really like the marble backsplash. It wouldn’t be my first choice when designing a kitchen, but it’s definitely a beautiful backdrop for the kitchen and I could easily work with that. I grabbed a bajillion samples from Sherwin Williams and the top contenders were Shiitake, Alpaca, Mindful Gray, & Worldly Gray. I knew I was going with a satin finish and, luckily, my paint samples came in satin so it was great to see what the actual sheen would look like.
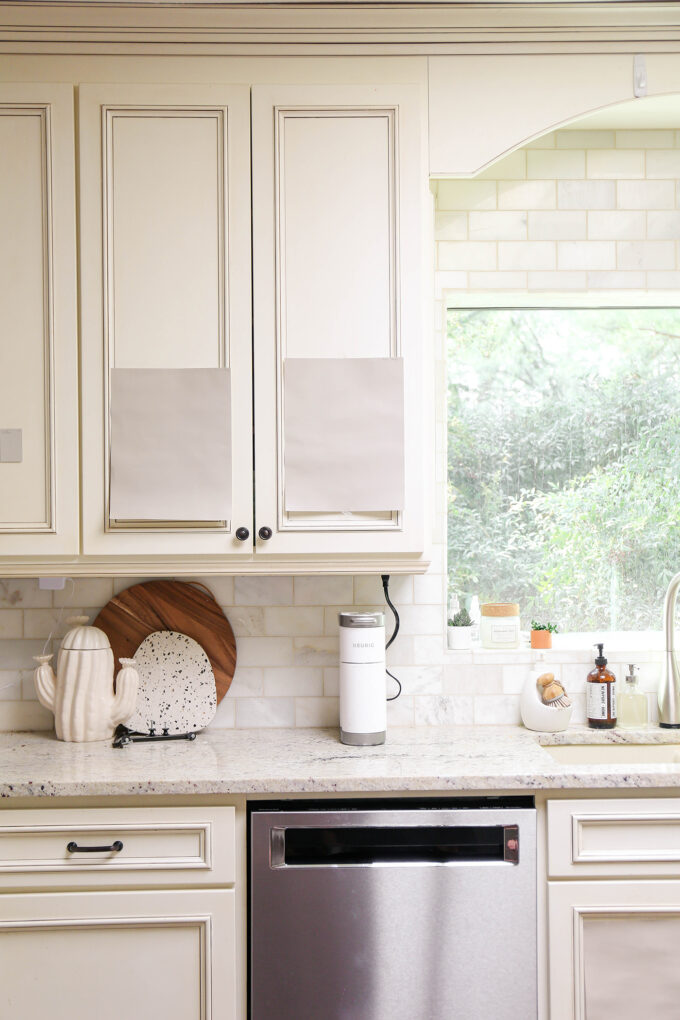
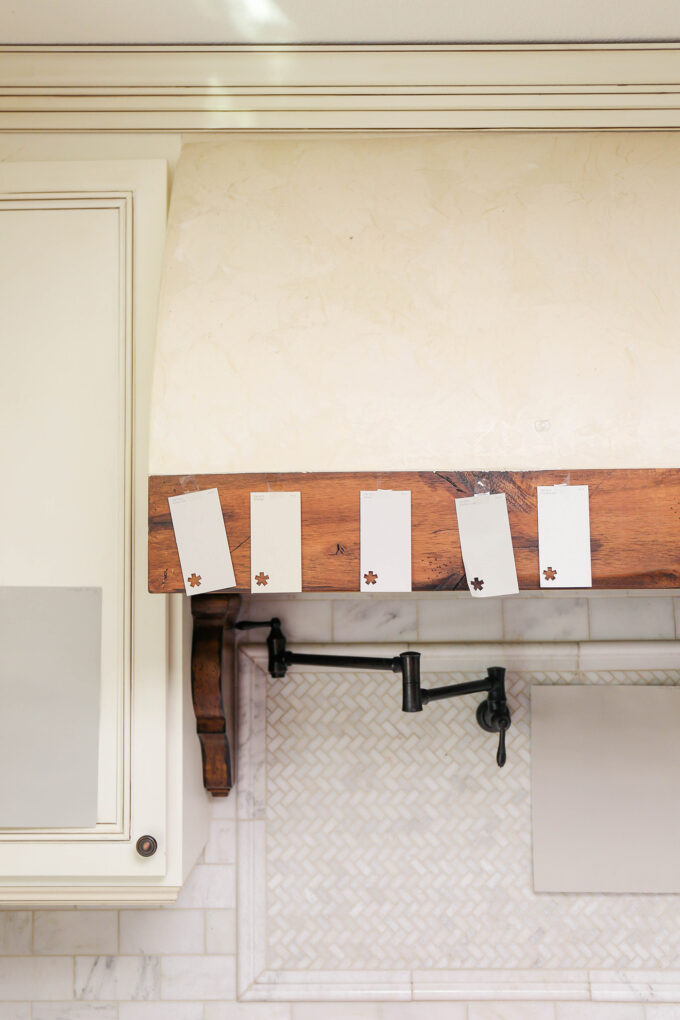 I grabbed a few posters from the dollar store and painted 2 in each color sample. (One for upper & one for lower cabinets.) This is so much easier than actually painting samples to the surface. Doing it this way allows you to move the samples to different areas of the kitchen as needed. I taped them all over and lived with them for a week. This was really helpful to see the samples in different lights throughout the day and helped me narrow down the color choice rather easily.
I was looking for a gray that was light, warm, and didn’t have purple undertones. Alpaca was the front-runner before actually painting samples. But after the samples were taped up, it was definitely a purple hue.
I landed on Worldly Gray (taped to the marble backsplash in the photo above), and it’s a beautiful warm, putty-like color. I just love it.
I shopped Amazon, Home Depot, & Lowes to grab supplies. While all sources sell many of the same products, occasionally, something will be discounted at one store and isn’t at the others. So I am out for the best price possible!
I knew that I was planning to spray the cabinets so I researched one million and one paint sprayers. Truly. When it comes to things like this, I’m an informational sponge and needed to know the down and dirty when it came to the spraying of the paint. I read all the blog posts and this one by Chris Loves Julia was rather helpful. I’d narrowed it down to a few different sprayers and then went to review the reviews everywhere. I didn’t want to splurge, but I also wanted a sprayer that would last and handle bigger jobs (like home exterior spraying) down the road. This sprayer happened to be the one I landed on. The fact that it doesn’t require an air compressor, came highly reviewed on every website I could look at, and that it was under $300 made it the sprayer for me.
It’s interesting because I had two friends who had some small painting jobs around the same time and both actually bought a cheaper paint sprayer. One was the Wagner Opti Stain sprayer and exploded the paint cup all over my friend’s bathroom drawers. (I actually have one more gal-pal that this happened to as well!) He was supes angry about it and I offered to loan him my little guy after I was finished. The other was this HomeRight sprayer and my girlfriend who used it complained of a lot of overspray and her cabinets were very rough after she was done. So I’m not bragging! (I swear I’m not, but it sounds like I am.) But I feel like I made the right decision because my cabinets look and feel like butter. Obviously, every sprayer has its pros and cons. You just have to research what works best for your needs.
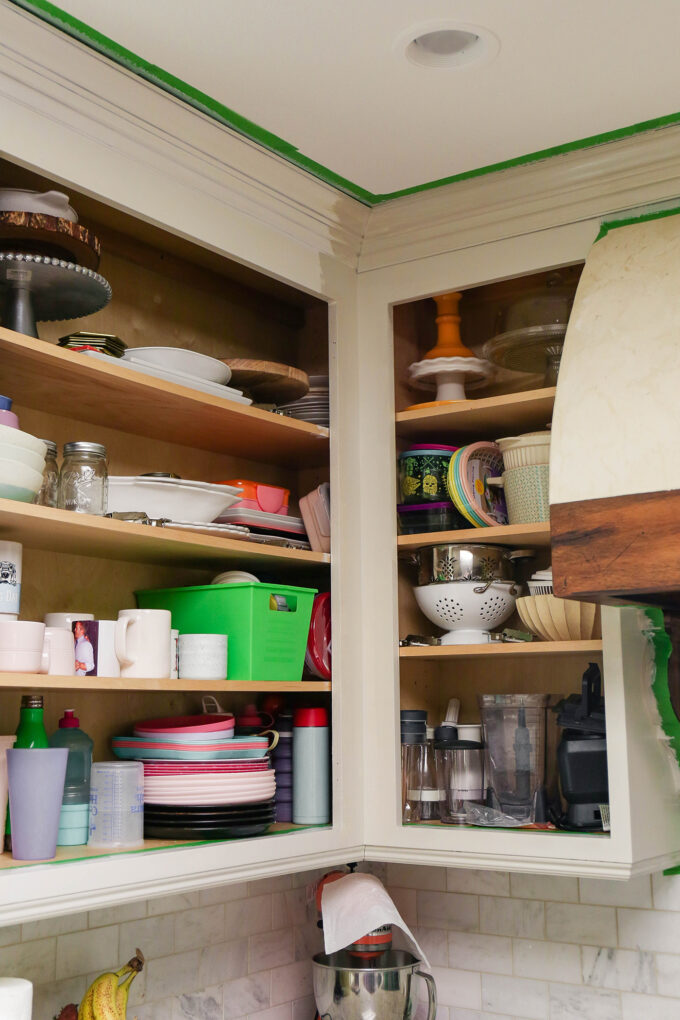
Remove Cabinet Fronts & Tape Everything Off
Remove your cabinet fronts and keep track of which ones go where. I labeled every door and drawer with a letter of the alphabet on some painter’s tape and put a second piece of tape with the same letter on the inside of its matching cabinet. So Door A goes with Cabinet A. Easy peasy! And I actually used every letter of the alphabet to do this. A to Z!
Use a good tape when taping around everything. The blue painter’s tape is okay, but go for the green frog tape. It sticks and seals SO much better.
Degloss & Prime Your Cabinets
I decided to spray the doors and brush/roll the cabinet boxes. Instead of sanding everything, I used this deglosser and gave everything a good scrub. This created a rougher service for the primer to adhere to. And that leads me to my next point. Absolutely, under no circumstances, never ever skip the step to prime your kitchen cabinets. By priming them, you are prepping the surface for the paint and your paint finish will last MUCH longer with it than without it. Don’t skip this step. Don’t.
I painted two thin coats of primer on everything. I probably could have gotten away with just one because the original cabinet color was light. But I wanted to make sure all of the dark lines were covered and wouldn’t show through.
Paint Two Coats On Cabinet Boxes
Using a good angular brush and a mini high density foam roller, give everything a twice-over with your actual paint. Which paint did I use? I went with Sherwin Williams ProClassic. It’s an Acrylic Enamel that is self-leveling and dries FAST. When I was reading reviews about this paint, some folks were saying this was tough to work with and avoid drips as it dries quickly. This happens if they’re painting the paint on too thick. I took my time. I did thin coats but made sure there was good coverage everywhere. And while the paint was wet, it looked like it was going to be uneven in some places, but I KID YOU NOT, everything smoothed out and currently looks amazing.
Prep Your Spray Area
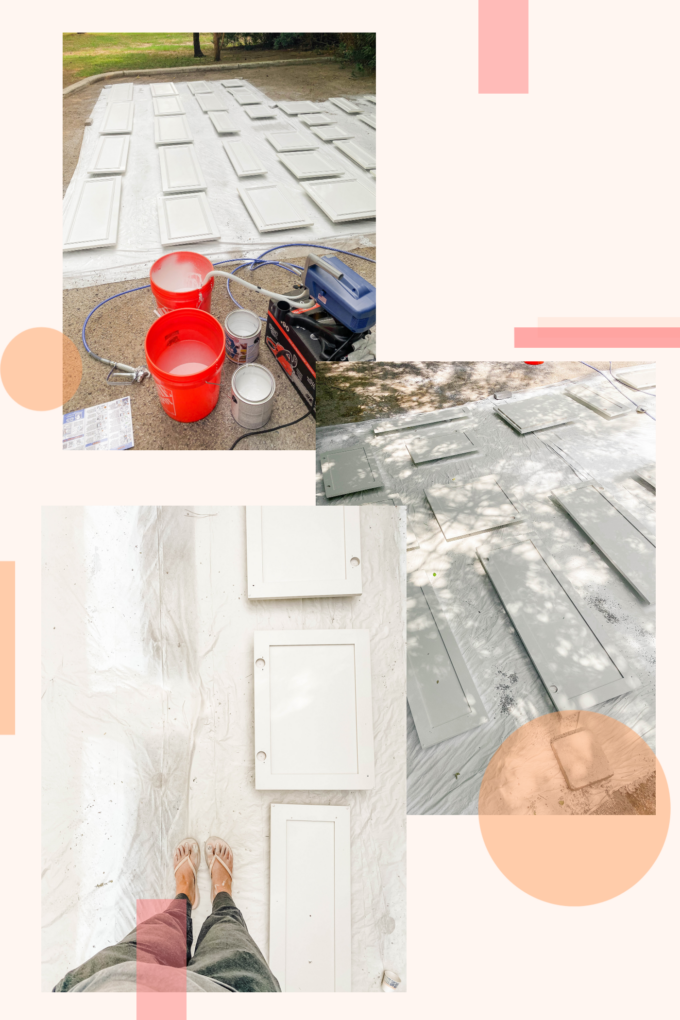
We have no basement. We have no room in the garage. We don’t have a spare bedroom. The best option for us was to spray these outside. This might seem tricky for most, but we live in southern Arizona where the weather is amazing 90% of the time. Sunny skies. Warm temps. Low wind. This is ideal! I laid out several plastic dropcloths at the end of our driveway and weighted down each corner with a brick.
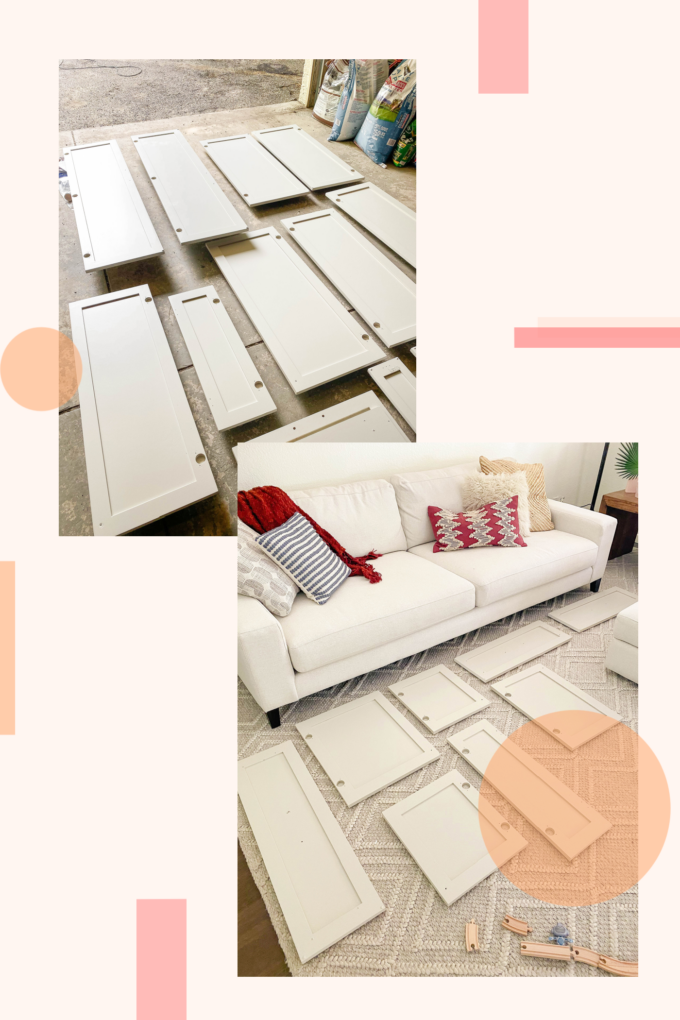
Prop each cabinet up with something. You can use little cans of food or tiny cups, or those special little triangles that professional painters use. I grabbed a bunch of mini paper cups from the dollar store. It was about 4 to each cabinet door and 2 for the drawers. Lay your cabinets facing down so the backs are facing up. Is that clear? It’s a little late as I type this.
I laid each cabinet out with enough space to walk between and made sure that the spray cord wouldn’t get tangled or knock anything over. It took me a bit to find my stride, but here’s how things went when I finally got it down:
It’s easiest to paint your kitchen cabinets by yourself if you work with a few at a time. Once your sprayer is primed, head to your first cabinet. Keep a microfiber cloth draped over your shoulder or in your pocket to wipe off any dust or settled debris before you paint. Starting just to the left of the top left corner, engage the spray trigger and move your arm slowly to pass over the cabinet. The trick is to start the sprayer before you actually pass over the cabinet so that everything goes on smooth with no drips. Move the sprayer in a clockwise direction. Spray the top, move your arm down the right side, spray the bottom side moving right to left, and back up to the top left corner. And then make 1 or 2 passes vertically down the cabinet door to make sure there’s good coverage. Each cabinet took about 12-ish seconds. This is not the typical way to do things, I’m sure.
In a nutshell:
➡️⬇️⬅️⬆️⬇️⬆️
There are tons of spraying tutorials on YouTube, but this one was very helpful to me. I tried a few different spraying techniques, but by the end I found what worked best for me and it’s just the pattern I explained above. When I tried to spray an entire row of the cabinets moving in one continuous direction, I found that I missed a LOT of spots and ended up using so much more paint than necessary. I was also knocking cabinet edges with the spray cord and it was SOOOO frustrating. Basically:
Start with cabinets face down.
Spray first coat of primer. Let dry.
Spray second coat of primer. Let dry.
Spray first coat of paint. Let dry.
Spray second coat of paint. Let dry for 24 hours.
Flip cabinets and repeat the process on the front.
This entire process took me longer because I’m a total perfectionist. I used way more paint in the beginning than necessary because I wasn’t sure what I was doing. Luckily, I had an old kitchen cabinet front (from when we replaced the dishwasher), so I used that to prime the sprayer with before each coat. It was helpful to make sure things were going on evenly before I actually sprayed the cabinets.
There were a lot of questions about dust and debris from trees falling on the cabinets while they were drying. Sherwin Williams ProClassic dries crazy fast. So by the time I finished a pass on the cabinets I was working on, I picked up the first cabinet I sprayed and gently moved it into the garage and left it until it had dried more. I did this each time. It was a lot of back and forth steps, but I didn’t mind because I knew that I was saving myself $thousands$ so I was happy to do anything it took!
The biggest tip I can share is to take your time. Wait 24 hours for the cabinets to dry completely before flipping them over and doing the fronts. You’ve spent all of this time and effort, so be patient, and see it through.
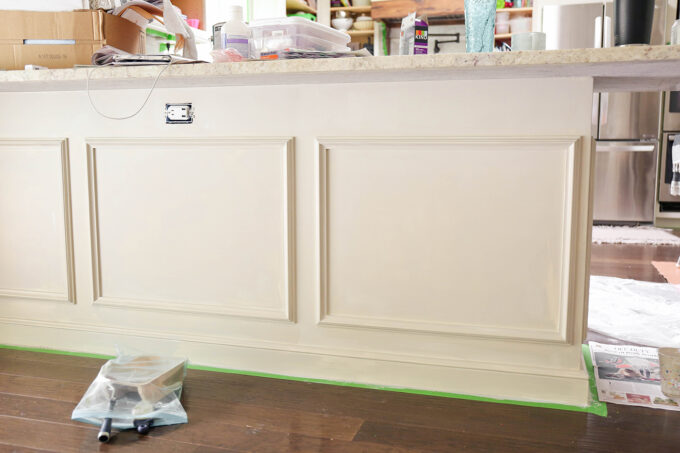
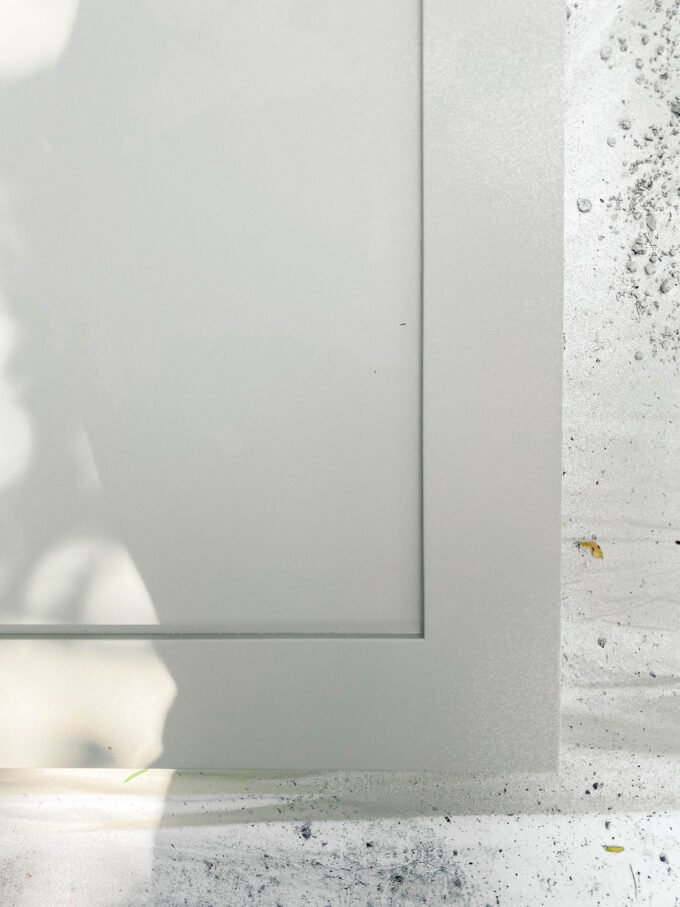 Here’s a closeup of one of the cabinets after the first coat of gray. You can see how fine the spray is, and why it’s necessary to do two coats. But isn’t that gray pretty?
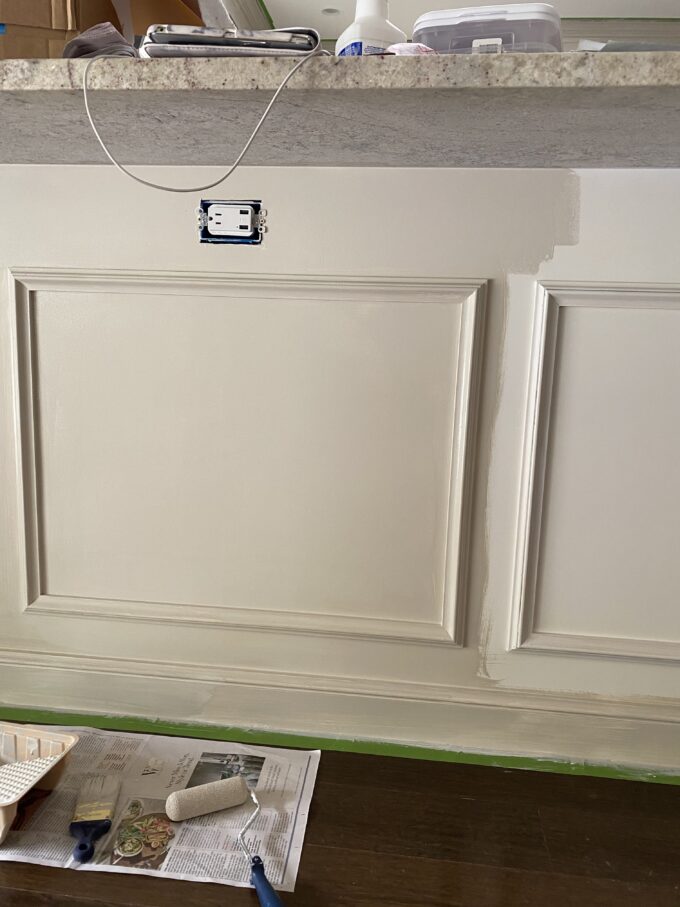 I was alternating between working on the cabinet fronts outdoors and painting the cabinet boxes indoors. Two coats here. Two coats there.
Let Everything Dry For 24-48 Hours Before Reassembling
Seriously, wait! After this time period, bring your cabinets inside and put the hinges back on and reattach all of the door and drawer fronts. And then it’s nothing but fun.
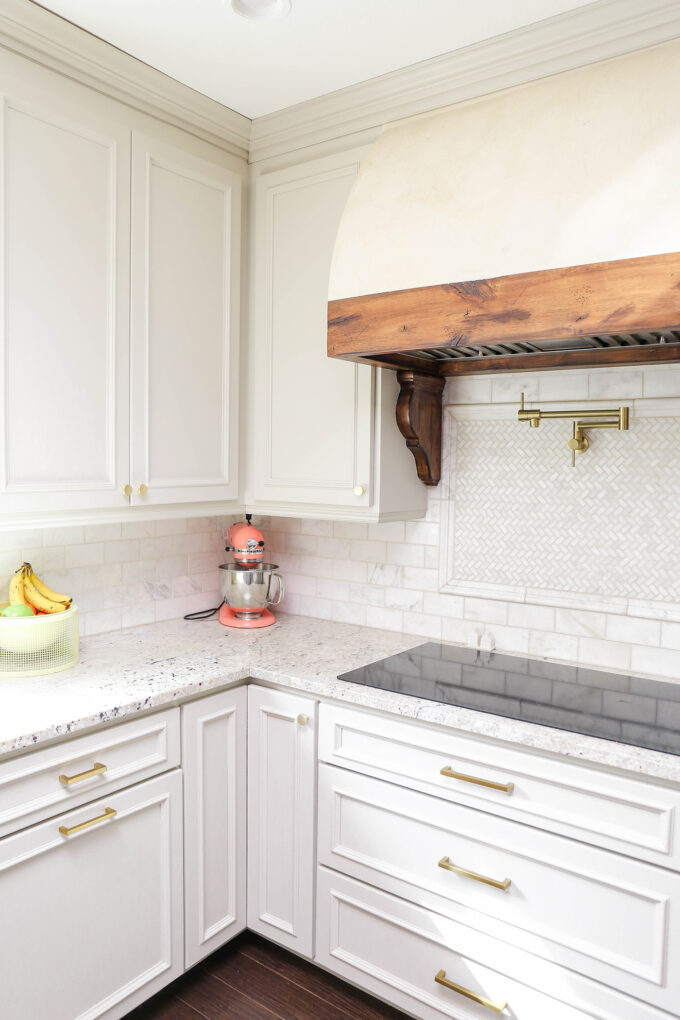
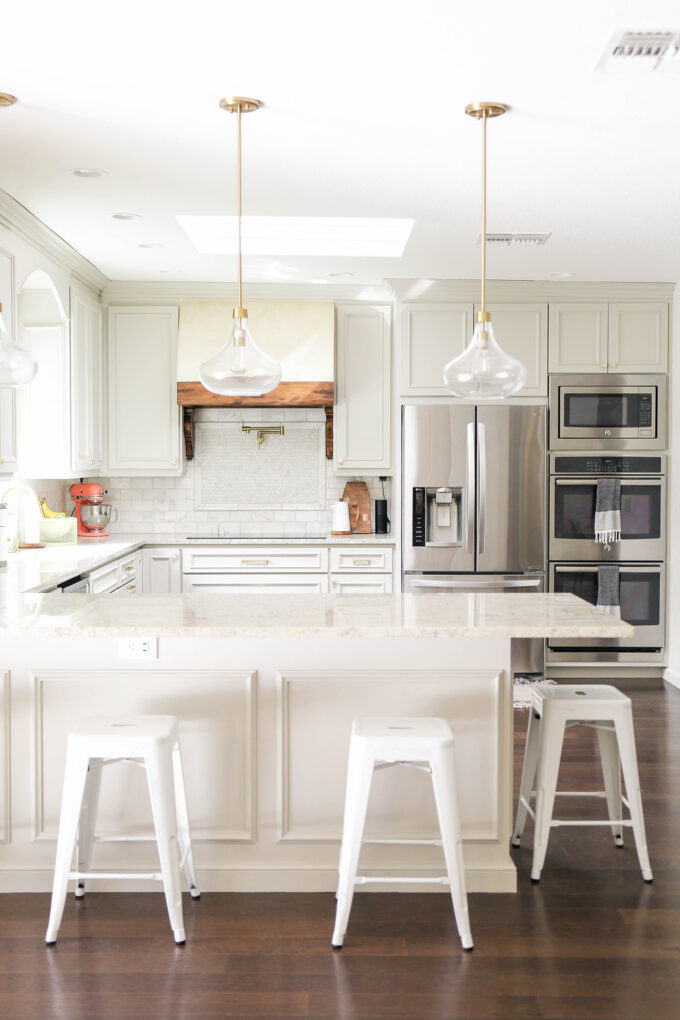
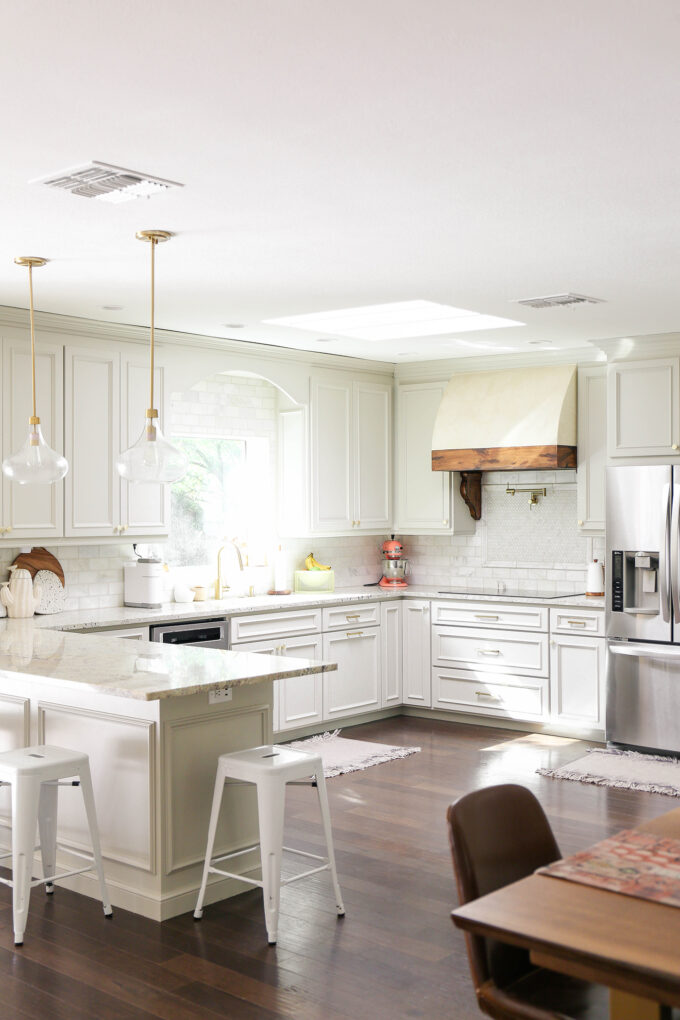
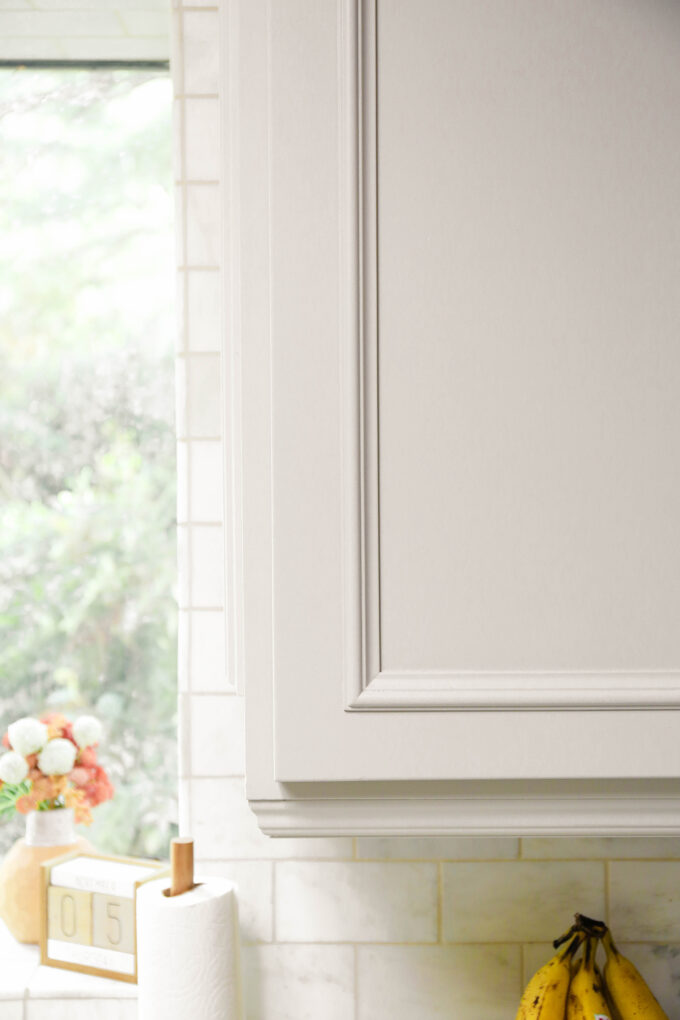 I’m seriously so in love with them. The overall cabinet style still isn’t totally my jam, but by painting everything in one color, those traditional curves and edges blend in a little bit more.
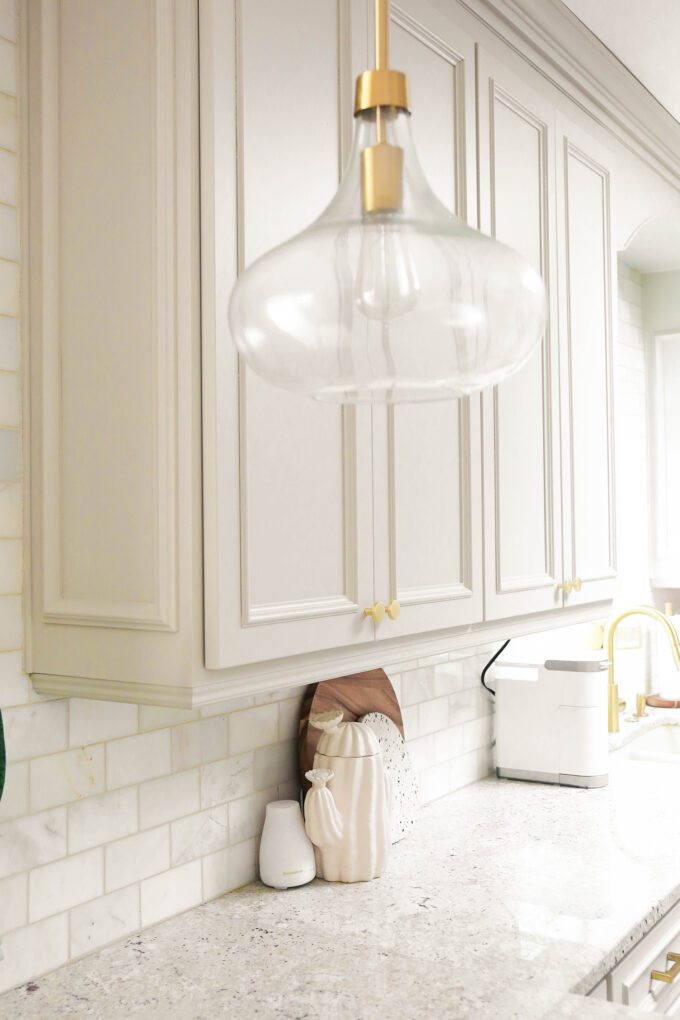
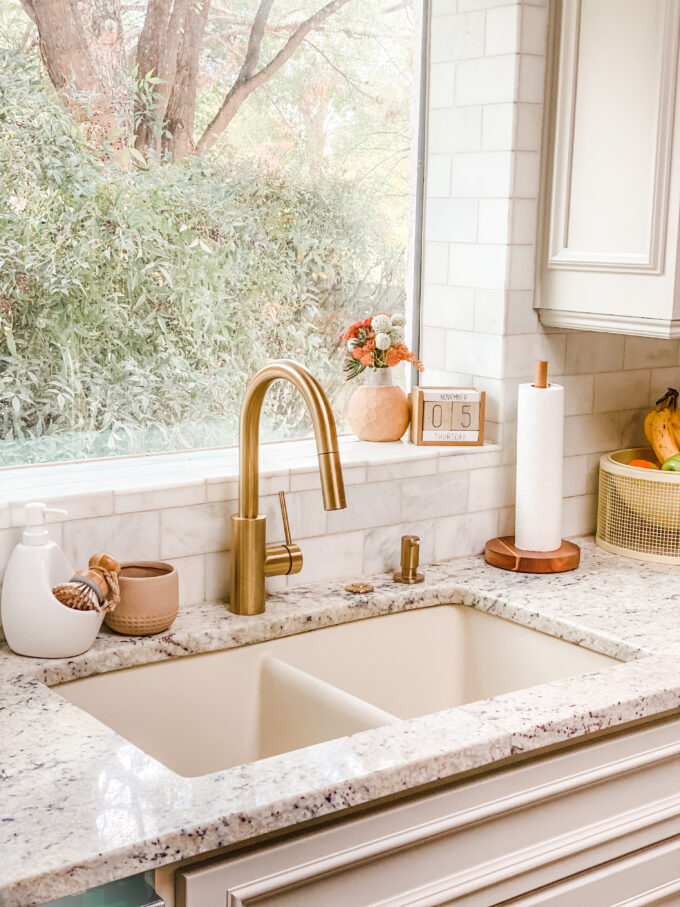 I decided to replace all of the hardware and faucets too. Gold everything! This was kind of a pain to find knobs and pulls that worked together without spending an arm and a leg.
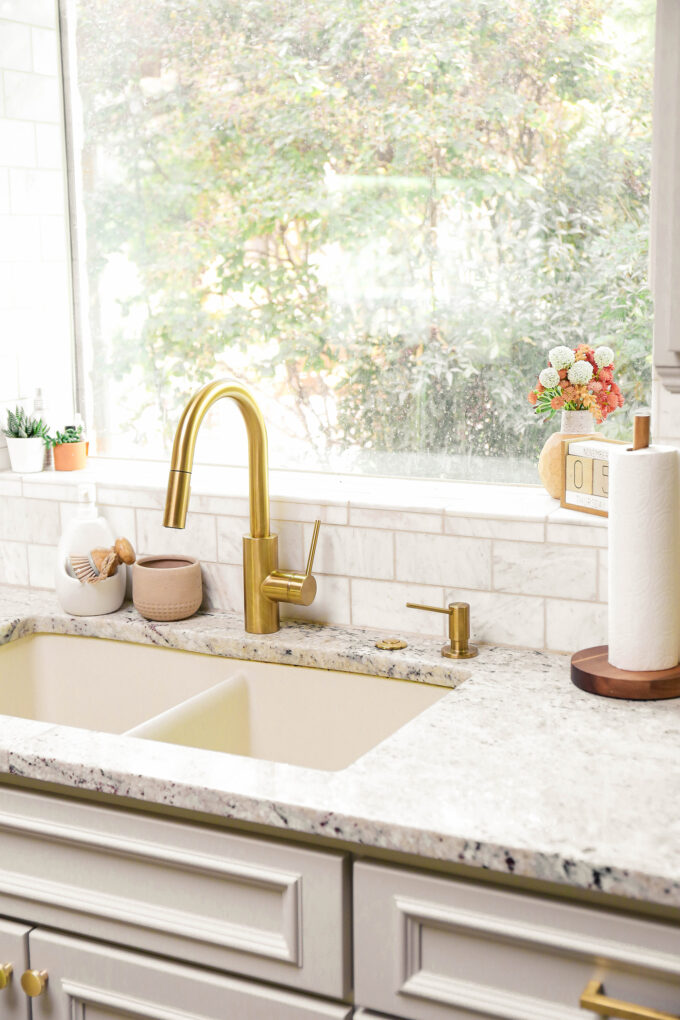 But, MAN, was it worth it. Also, note to me, wash the windows.
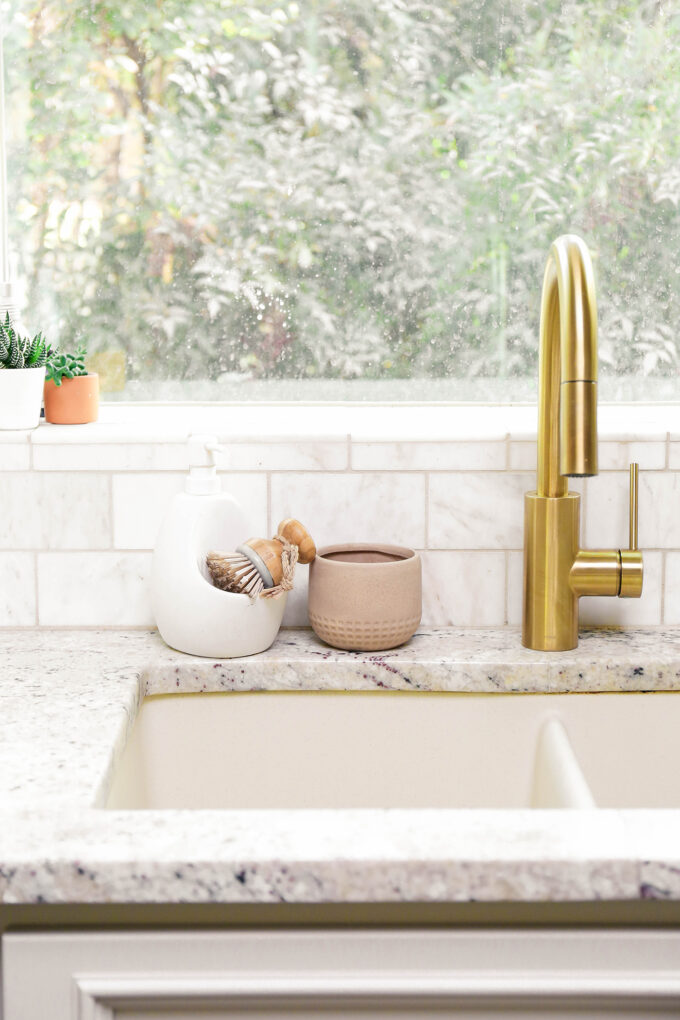
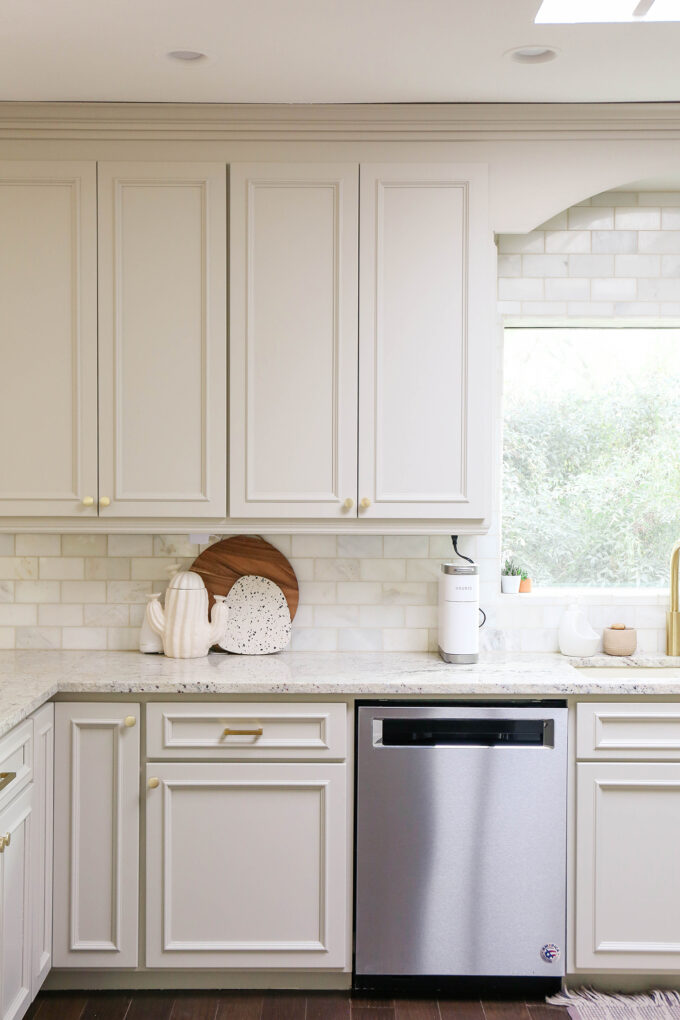
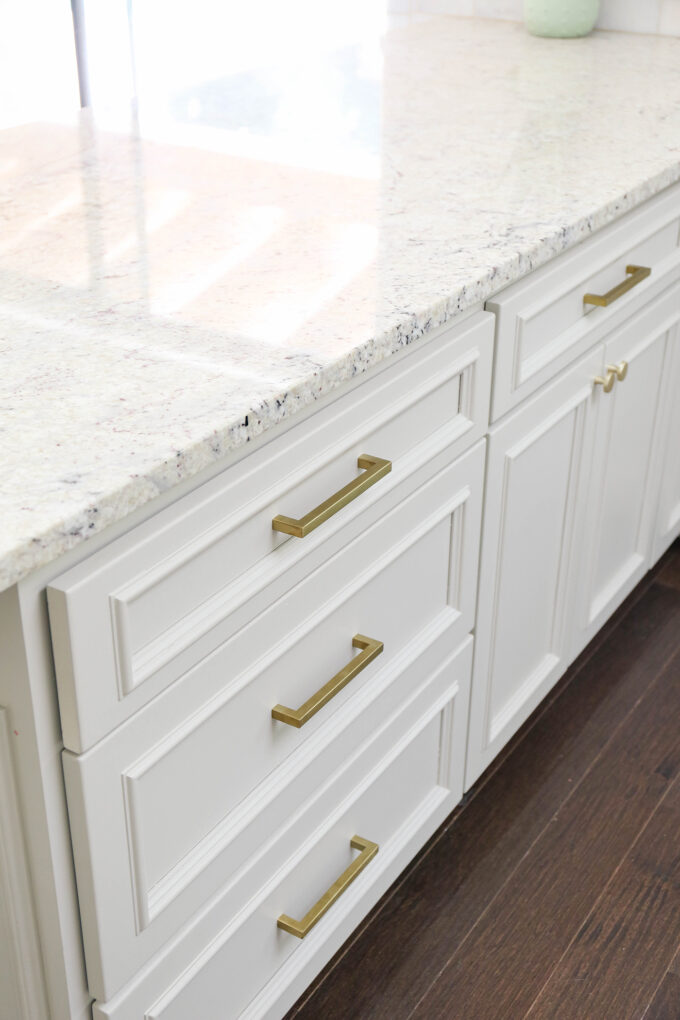
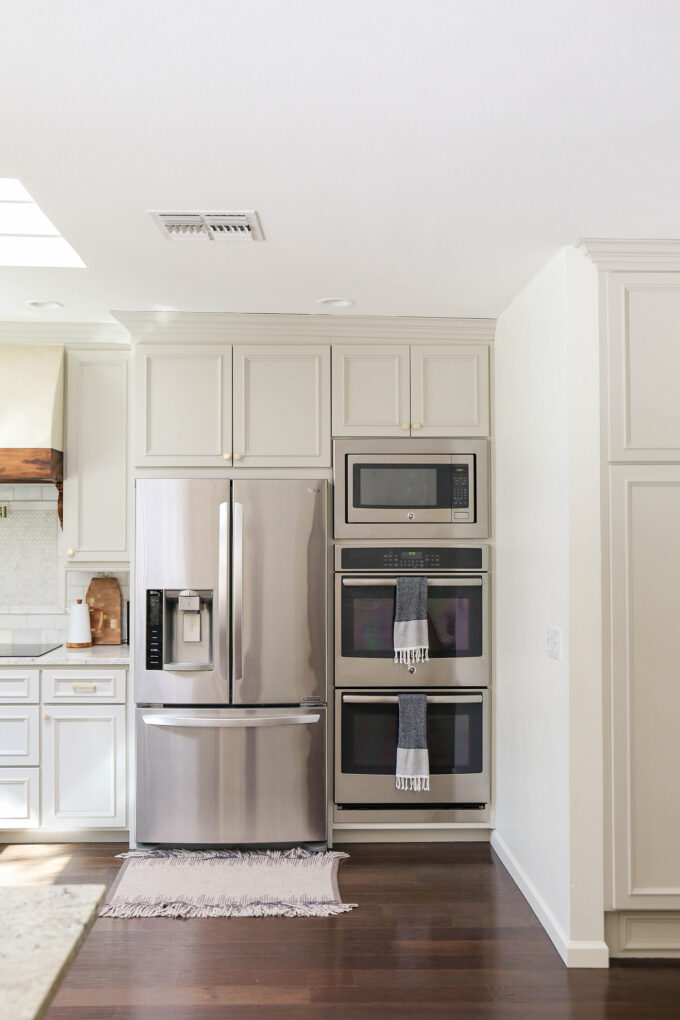 It just feels really bright and clean in here. And I feel so much happiness every time I walk into the kitchen. There’s a lot of pride going on right now. And we all know hubris isn’t a good thing, but in this case, I don’t care. 😉
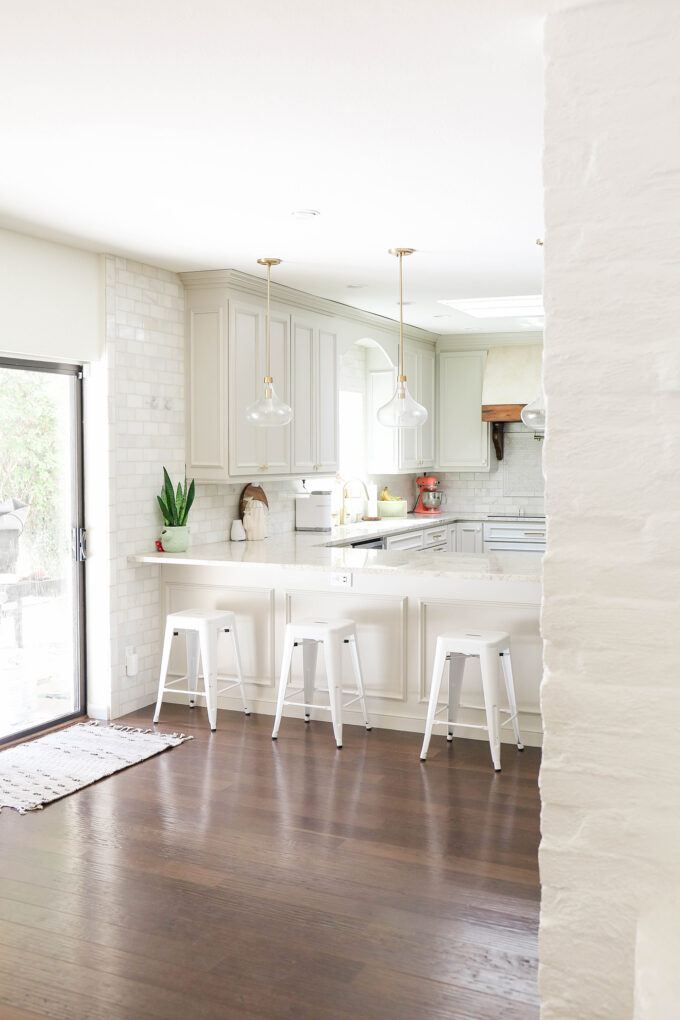
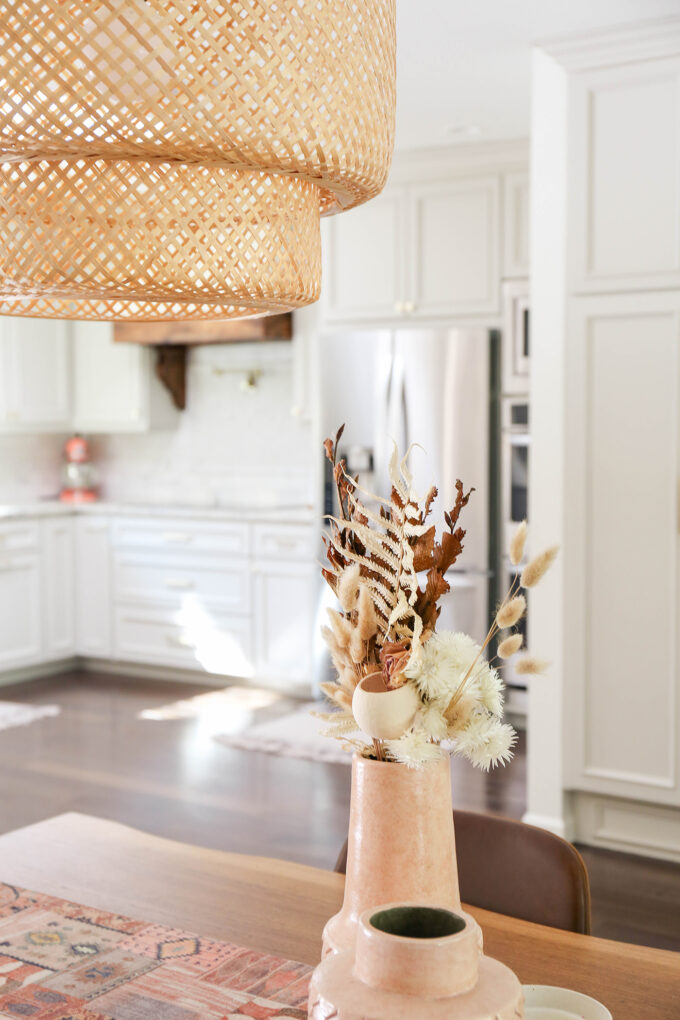
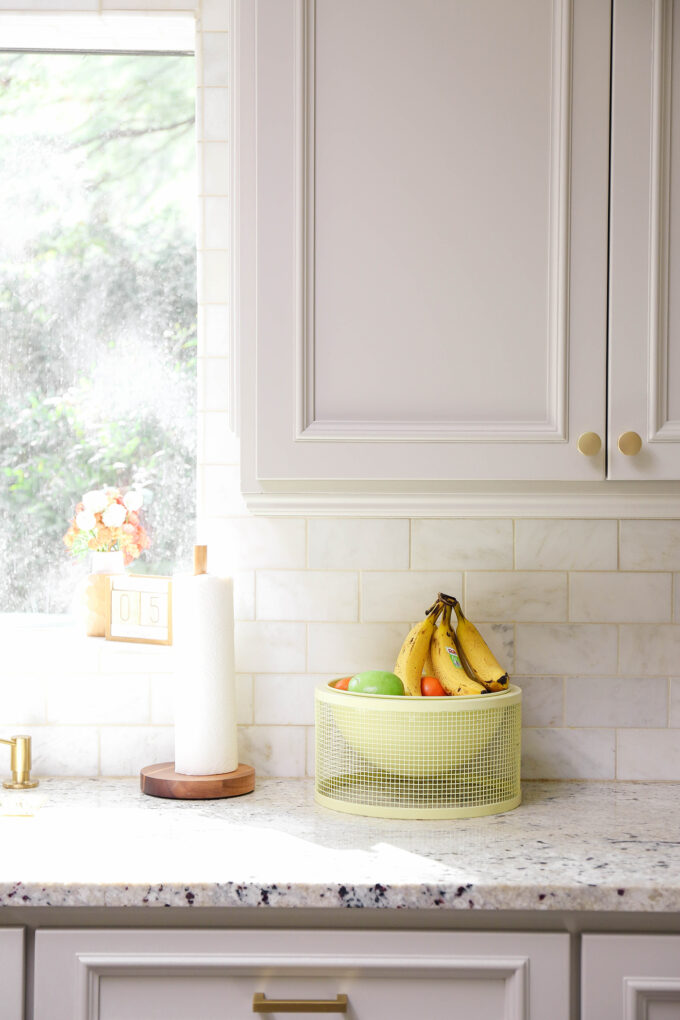 When all was said and done, it took me one whole week from the time I started to take the cabinets down to the time they were all back up and everything was complete. Two weeks if you include the time it took me to land on a paint color. 😉
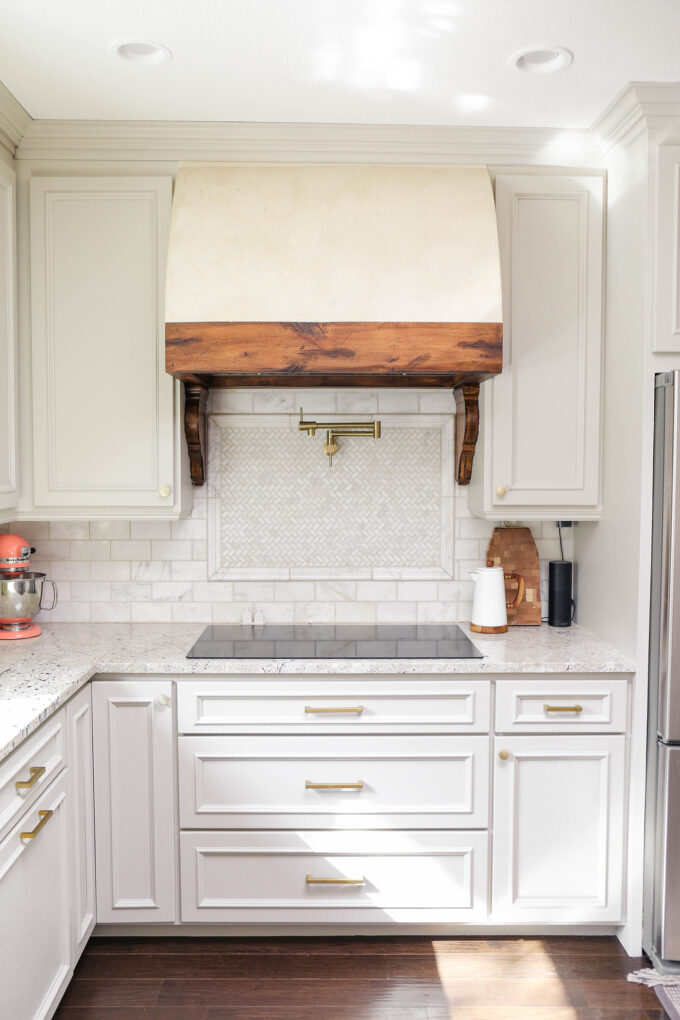 I received SO many suggestions about what color to paint the range hood. It’s currently a plaster with an antique cream finish. I’m planning to do some kind of wash over this. Probably in a darker color to create some contrast. Hoping to tackle that sooner rather than later! Maybe before Christmas. We’ll see.
 Below is a breakdown of how much this kitchen cabinet makeover cost me. I typically bust my tail to shop for the best prices and use coupons and sales to my advantage. I wanted the Sherwin Williams ProClassic paint because it is highly recommended for cabinetry with it’s hard enamel finish. This is expensive paint. So I made sure to only buy the paint when Sherwin Williams was having a 30% off sale and also used coupons like a $10 off $50 when I could.
Total Budget Breakdown:
- Paint Sprayer – $247.20
- Poster board – $5
- Deglosser – $8
- Primer 2 (1-gallon) cans – $47.98
- Mini roller & paint liner – $7
- Plastic dropcloths – $13.21
- Painter’s tape – $13
- Angular brush – $6
- Paint Samples – $42.99
- Sherwin Williams ProClassic – 3 gallons & 1 quart $151.64
- Knobs (needed 22, but purchased 25 pack) – $64.99 & currently $6 off!
- Pulls – 3.5″ x 3, 5″ x 1, 6.25″ x 9 -$46.63
- Paper cups – $2
- Kitchen faucet – $249.50
- Wall pot filler faucet – $64.50
- Gold soap dispenser – $47
- Gold disposal sink button – $21.17
TOTAL: $1,034.81
A year ago, I had tossed around the idea of having the cabinetry painted so I invited a few different companies to come in and give me an estimate on the cost. The LEAST EXPENSIVE bid was $4100 and would take a week to complete. And that was just to paint it! Didn’t include new hardware or anything like that. So I saved $3000 dollars and got new faucets, cabinet hardware, and a paint sprayer for future projects by doing the job myself! I’m patting myself on the back.
I am thrilled to be done with this project and I loved sharing the process with you guys over on stories. I’ve saved everything under my highlights on my Instagram profile – title Kitch Cabs pt 1 & pt 2! If you are looking to learn how to paint your kitchen cabinets by yourself, head over there to watch! I shared a lot of the good, the bad, and the ugly!
I’ll be sure to update this post when I finish the range hood! But what do you think? Some might not be able to tell a difference or might wonder why I even bothered in the first place. This is my home. I want to love it and feel joy while I live here. And this project helped me to love the kitchen and make it feel more like me and my family. Totally worth it. 🙂
