This post was originally published in 2018, but I feel like your 2020 summer needs to be filled with these!
 Well, hi there! Guys! This has been one of those posts that I have just been dying to share! We recently went on vacation with a few of our favorite bloggy friends (and brought our children along! We cray!) up in Scottsdale and it was such a fantastic trip. These last 9 months post-Mara have been a bit foggy for our family and it was so nice to hang by the pool and catch up with friends and have conversations that didn’t center around medical jargon. And all the inside jokes! We’ll save those for another time. I shared about these DIY hooded towels on my IG stories a while ago and had so many of you asking about them. So here they are in all their glory!
 The pom pom trim totally takes these to the next level and we had a blast making a bunch of these for our little friends. And in an assortment of colors! Check out how cute they turned out on each kiddo! Sadly, we didn’t get pics of little Sugar and Cloth, Gwen! Her towel was the cute orange with pink trim number! And baby boy Mehlhoff can rock his hooded towel next summer after his arrival this fall!

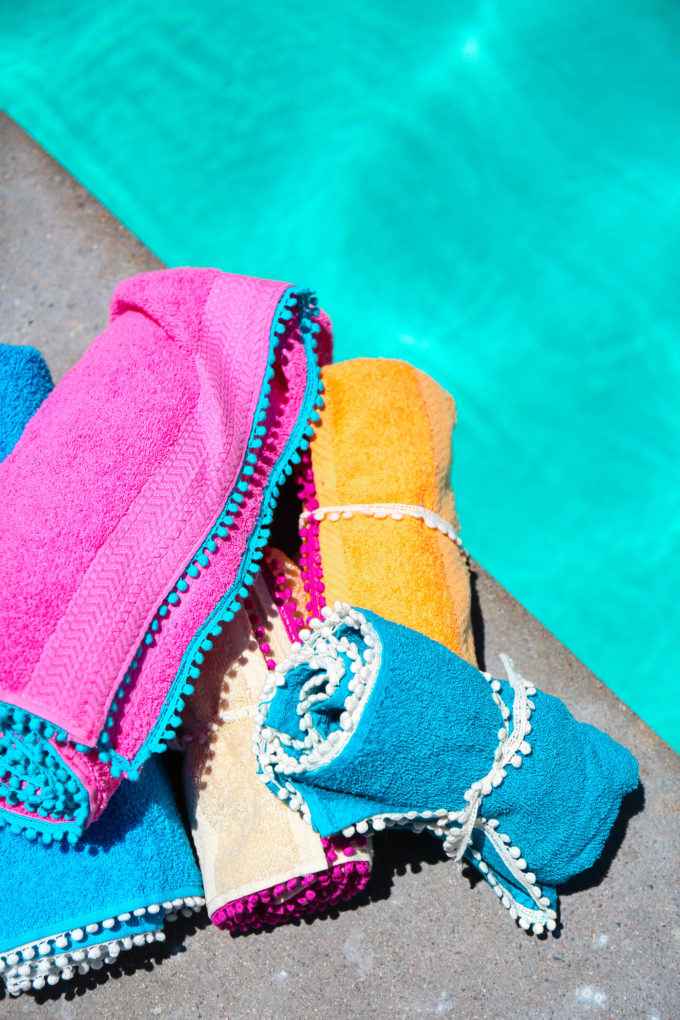 Vita was so pumped after we made these and she chose who got what color (Obvs, I had ultimate veto-power, but she done good.) and coordinating trim. It is so fun giving something handmade and seeing how they turned out when worn by each little cutie! I mean, can we talk about stinking cute Mr. Arlo Mindell (@studiodiy & @jeffmindell‘s lil’ man) below?!?

 Marz bars it getting used to a camera in her face. I can’t not take pictures of her and Vita on the daily. And she’s just happily posing for the camera. She did NOT get that gene from her mother.

 Back to the towels though! The instructions are below. Once you get it down, these towels can be whipped out in under 30 minutes. They make perfect gifts and I am currently coming up with an adult version that will look super chic by the pool. It’ll happen. I’m thinking something with My Little Pony. 😉

 The full DIY “recipe” for these DIY hooded towels is at the bottom of this post, but I’m walking you through with step-by-step images below!
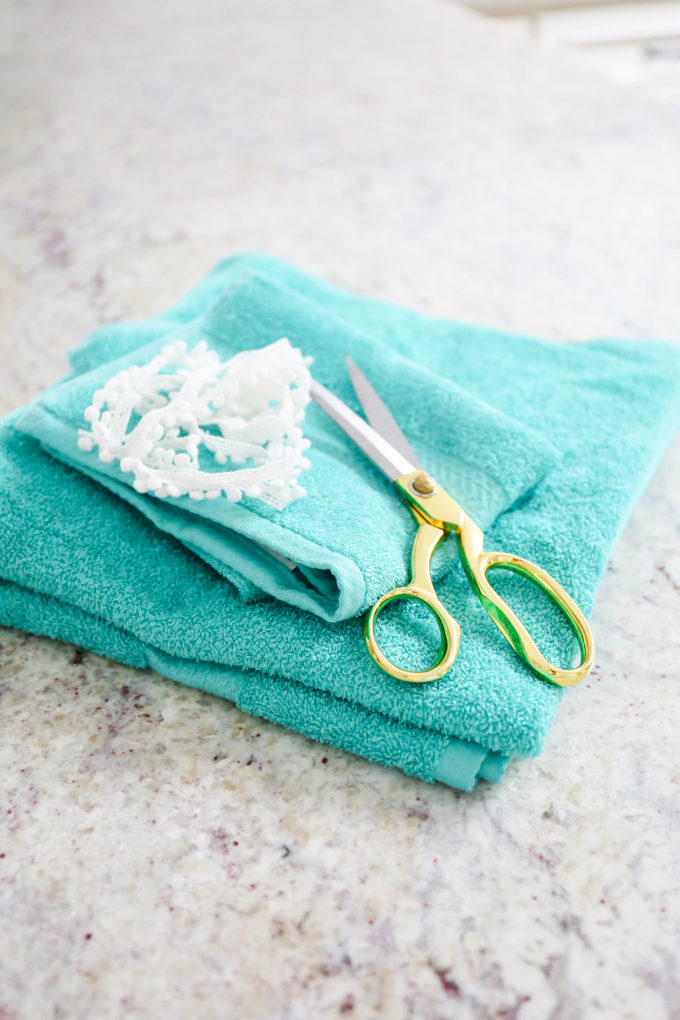 You’ll need a bath towel, coordinating hand towel, pom pom trim, and matching thread for the big kid towel. If making a baby towel, just use two hand towels.
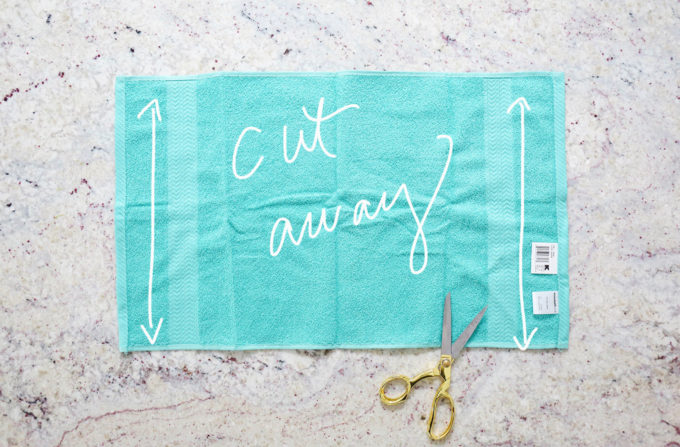 To make the hood, you’re going to take one hand towel and cut the sides away. This is so you have pretty hemmed edges. Depending on your child’s head size, you can skip this step as this decreases the head opening and things can get tricky when trying to put a small towel on a big kid, if ya catch my drift.
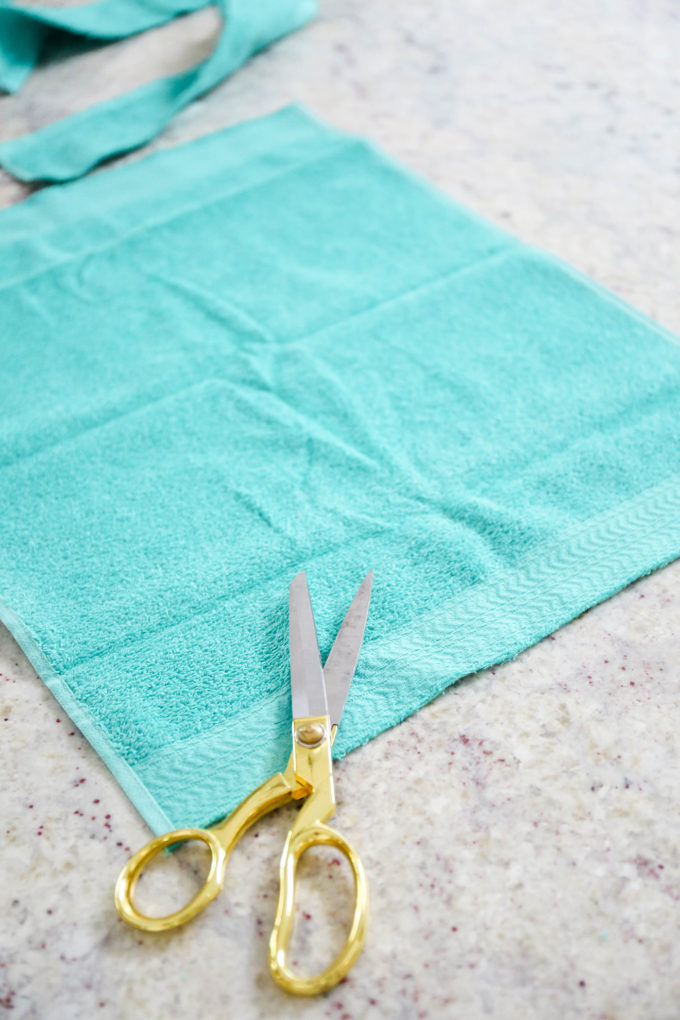
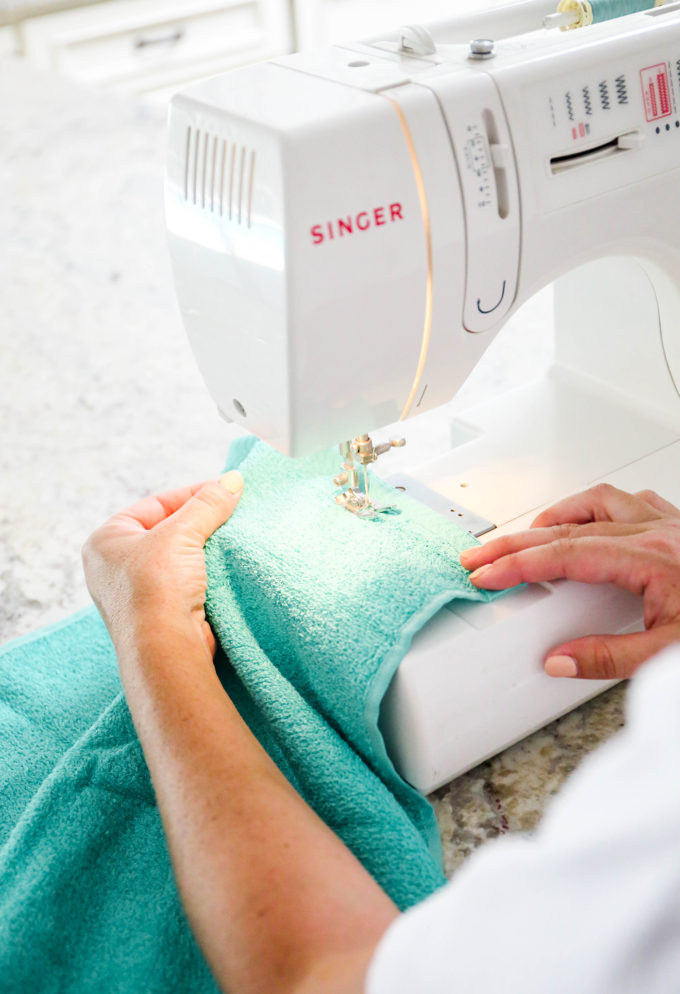 Fold the design-y edges in half (wrong sides together) and stitch along the inside edge. Go back over with a zig zag stitch to secure and help prevent fraying.
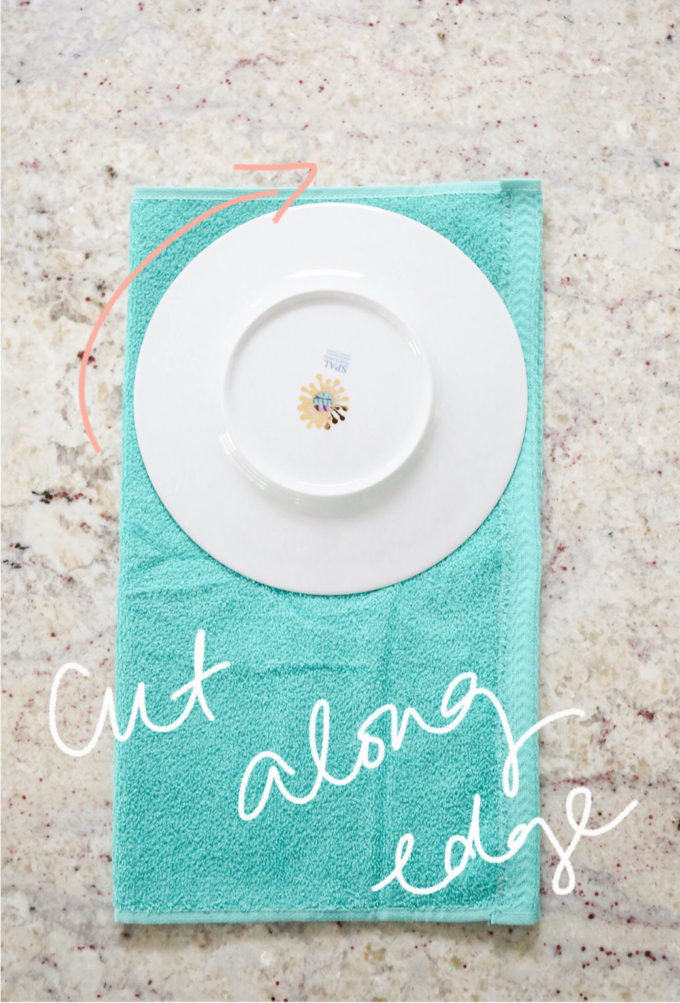
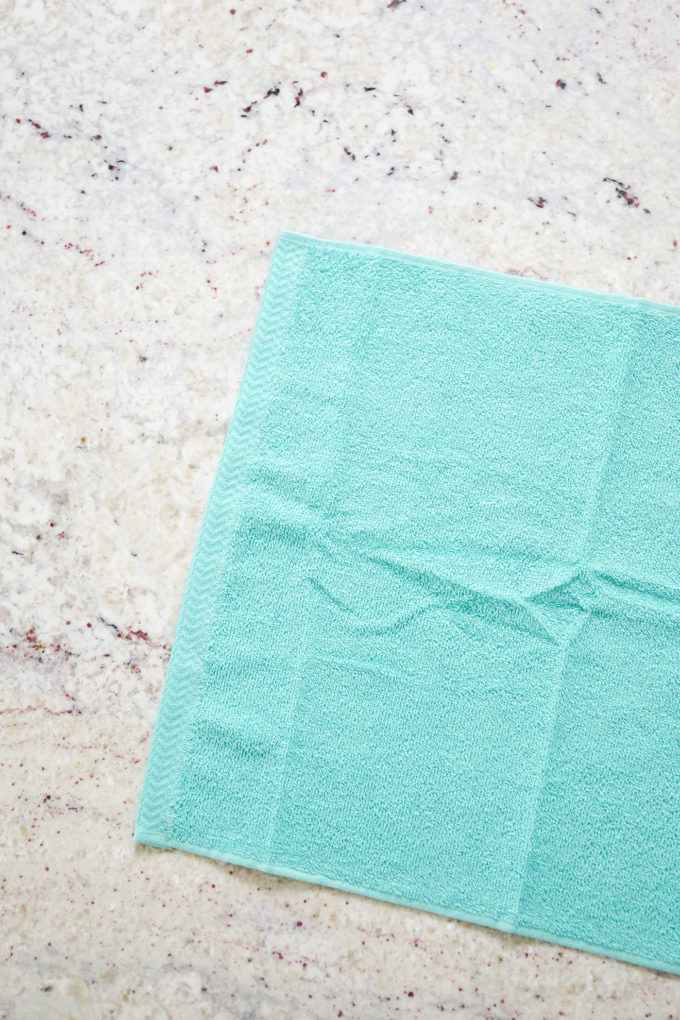 Fold hot-dog style with wrong sides together. Cut a curved edge for the top of the head. Use a plate as a guide to help you get a nice curve when cutting. (see below)
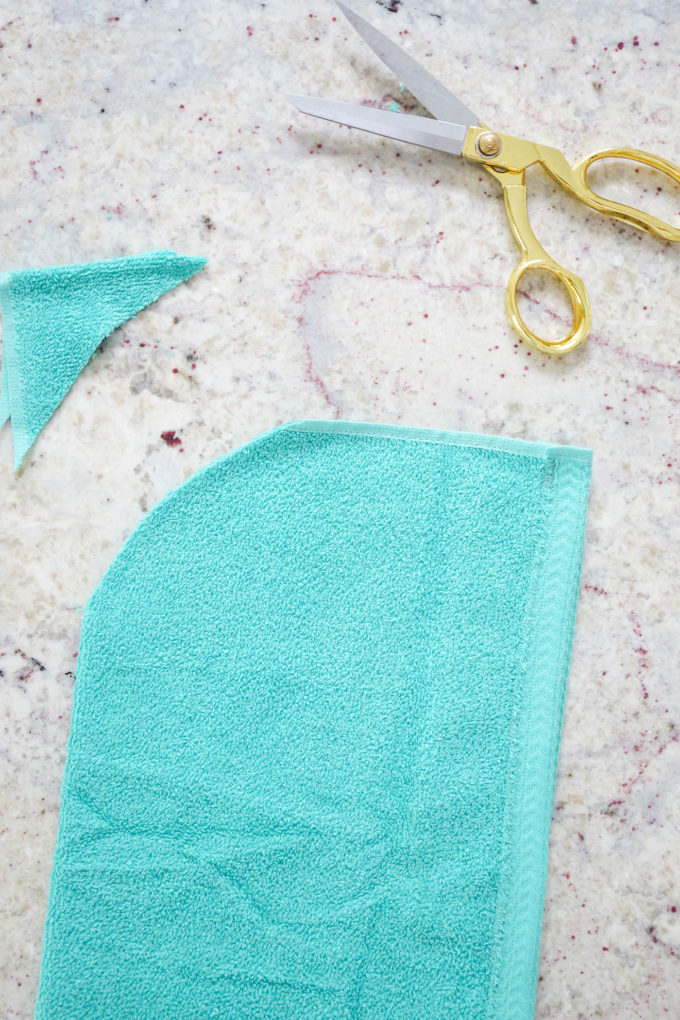 With wrong sides together, stitch together the top following the curve! Start at the top front of the hood so that the edges come out nice and even.
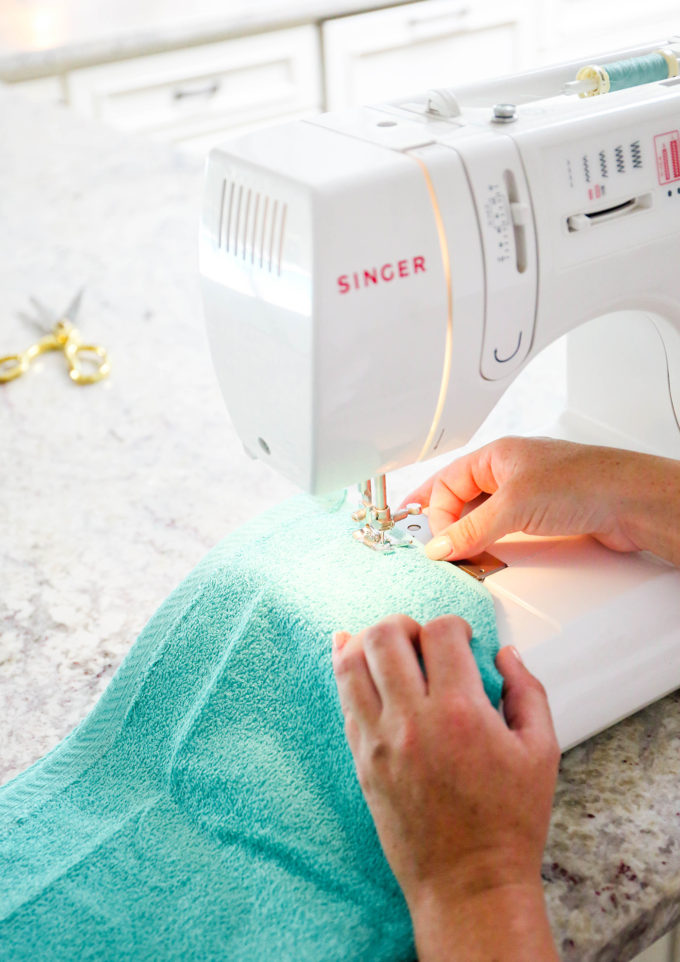 This is just me being a little “Type A”, but I like to flatten the top ends down and then stitch them in place. I just want to avoid as much bulk as possible!
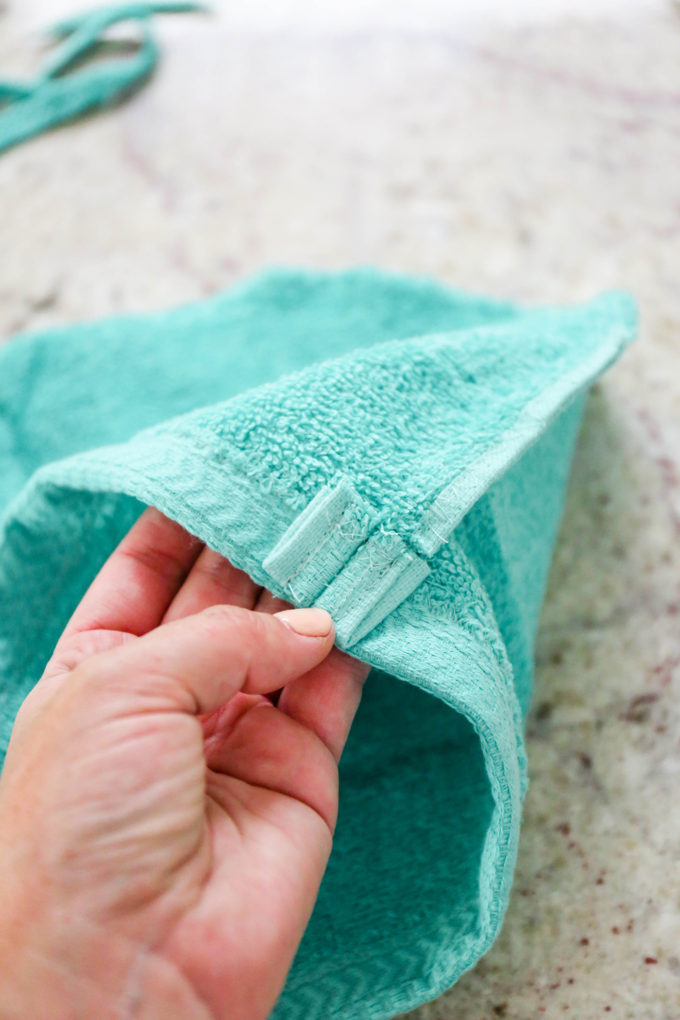
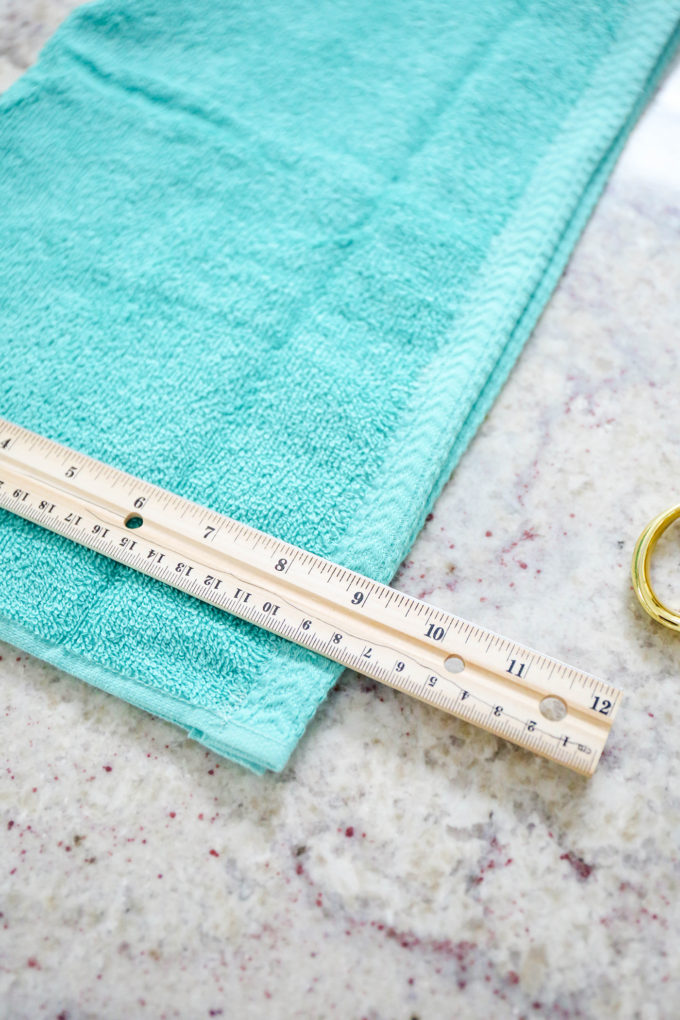 Pull the hood right side out and lay flat. Measure the width. REMEMBER THIS NUMBER.
Time to attach the hood to the body!
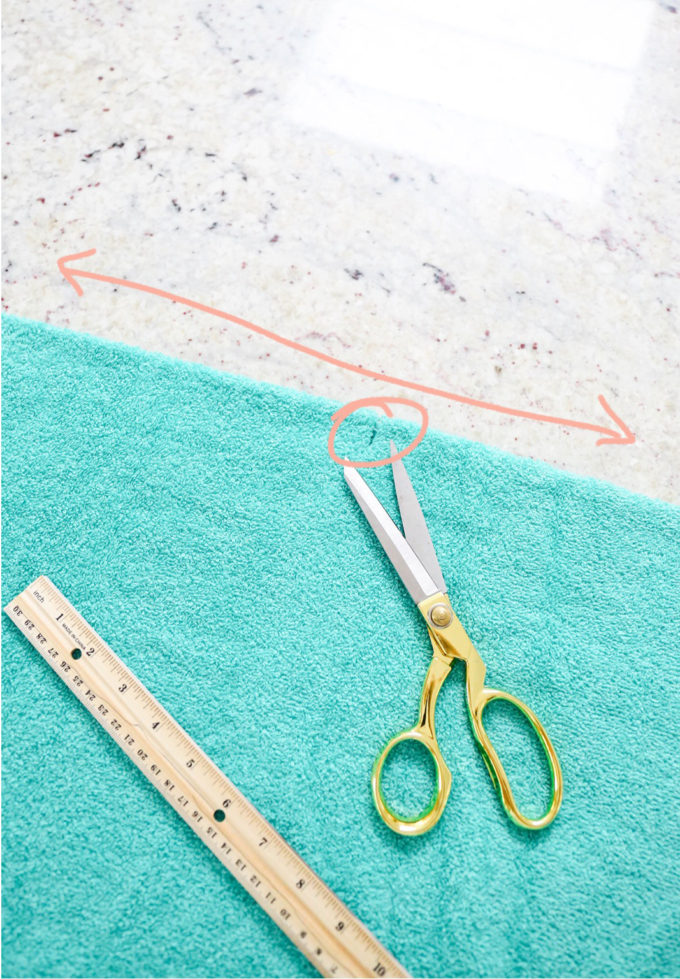 Take your large bath towel and fold in half “hamburger style”. Measuring along the fold, find the center and make a small snip with your scissors.
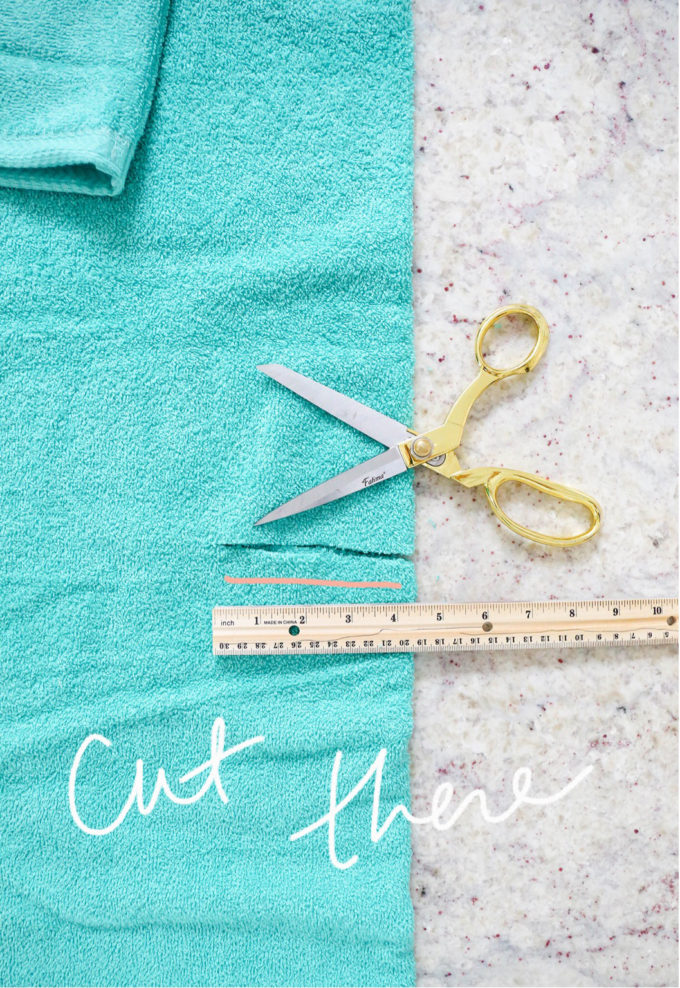 Now, remember the number you got when you measured the hood width? Divide that in half and that’s how far down you need to cut from the center snip of the bath towel. For example, if your hood measured 10 inches wide, you need to cut five inches down from the snip. Ya with me? This will match up for when we stitch the hood on.
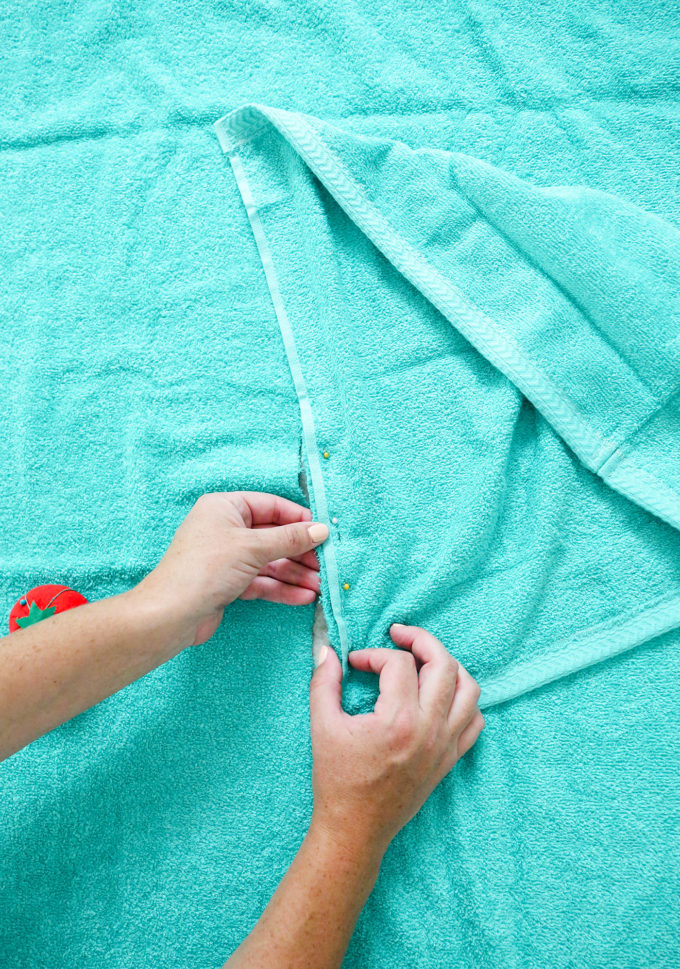 Match one edge of the hood with the bottom of the slit and start to pin the edges together. Work your way around the hole until you have pinned everything in place.
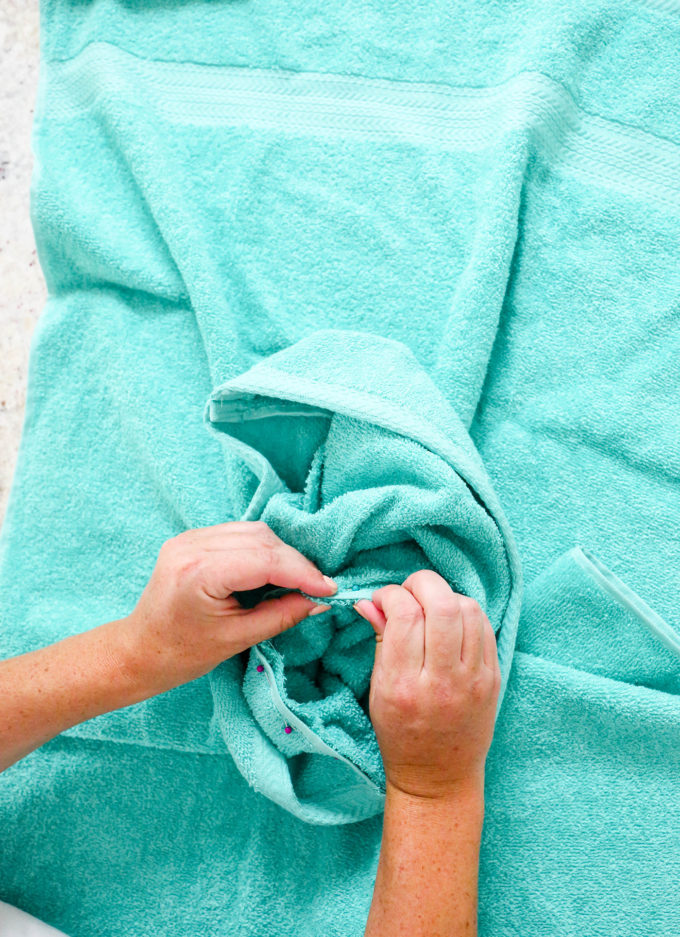 Stitch it all together with a half inch seam allowance and zig zag again. Boom! Your hood is attached!
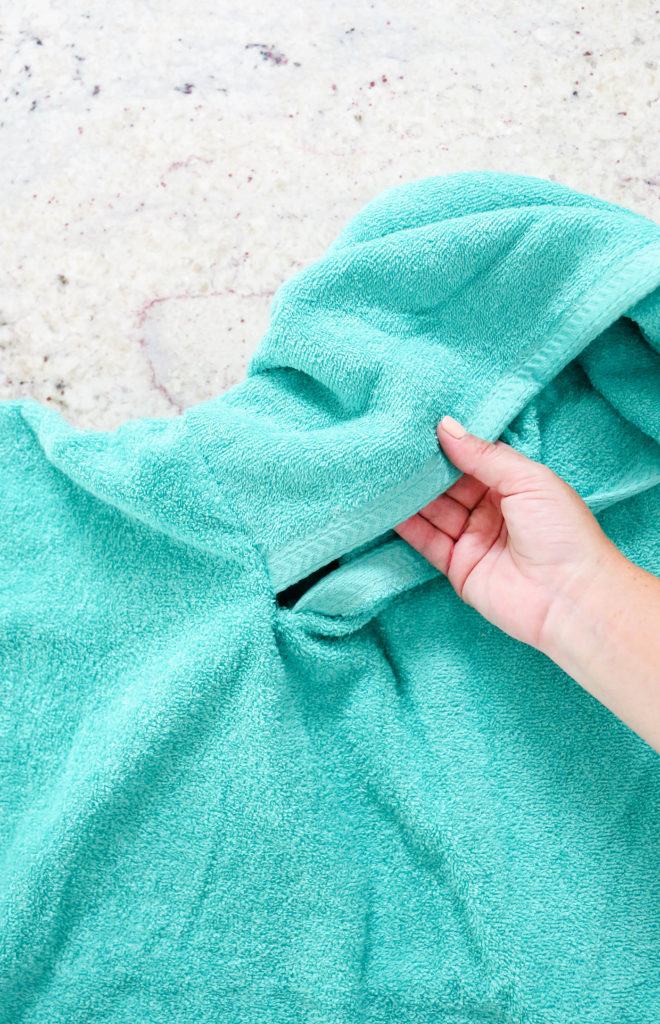 NOW, you could just end things here. You could walk away from this project and be somewhat happy. But you can’t be FULLY happy or completely fulfilled without adding some pom pom trim. Am I right? Is my personality just a little over the top and can I ever just leave well enough alone???
…
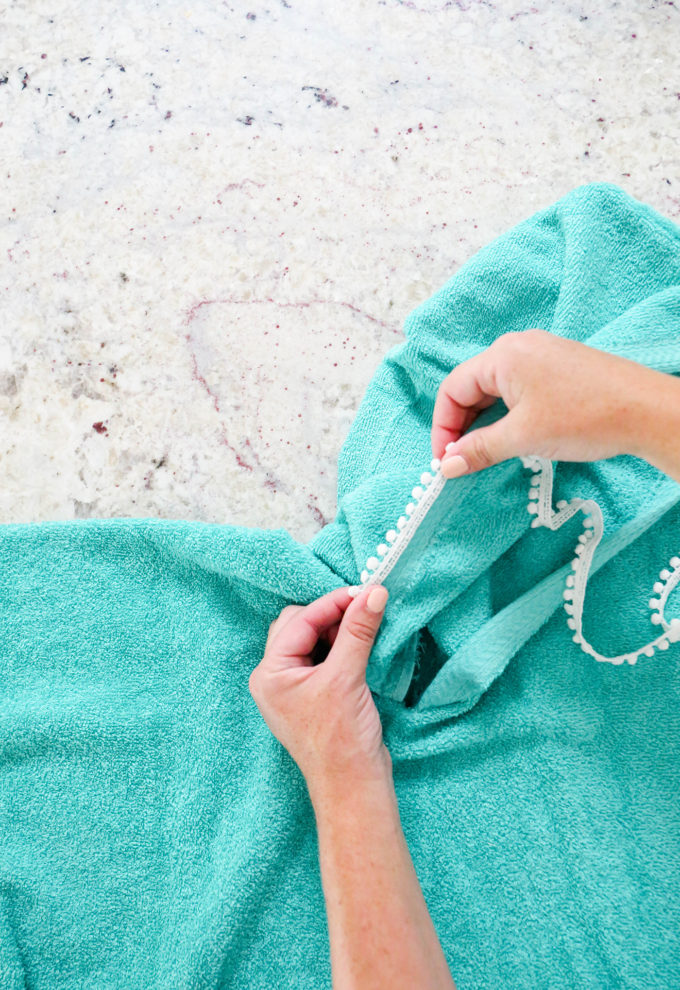 ADD THE TRIM! Do it. Slowly stitch it on around the edge of the hood and the edge of the towel. You’ll be so glad you did!
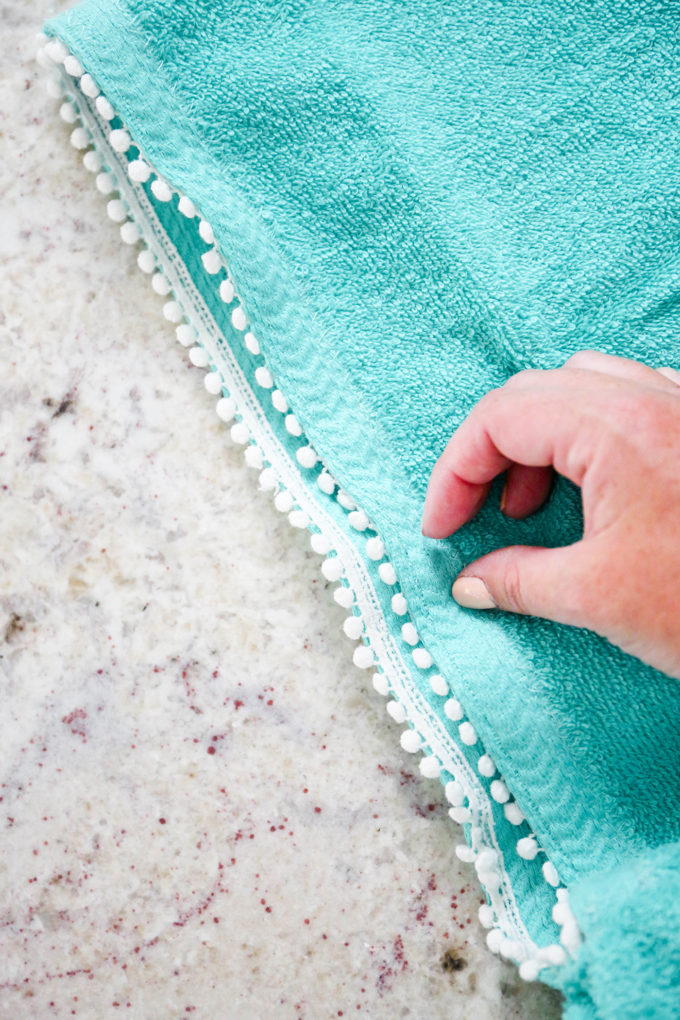
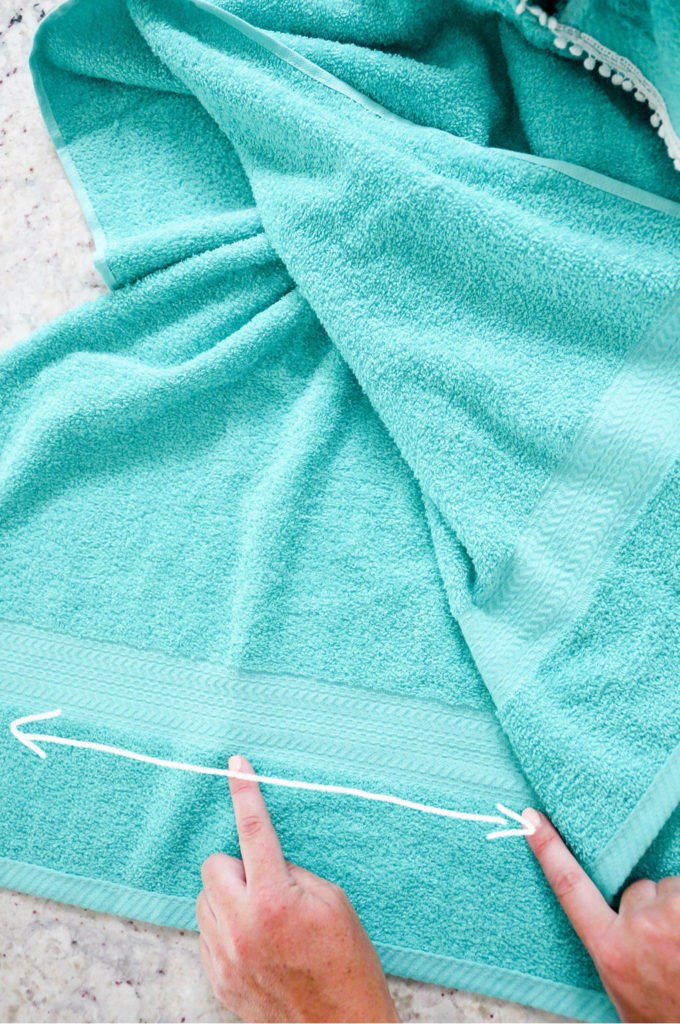 Once more, because I’m insane, I trimmed the big kid towels to this edge on the bath towel. Because I wanted a nice hemmed edge everywhere. But honestly, you could just leave this as is and be fine and completely happy the rest of your life and never look back.
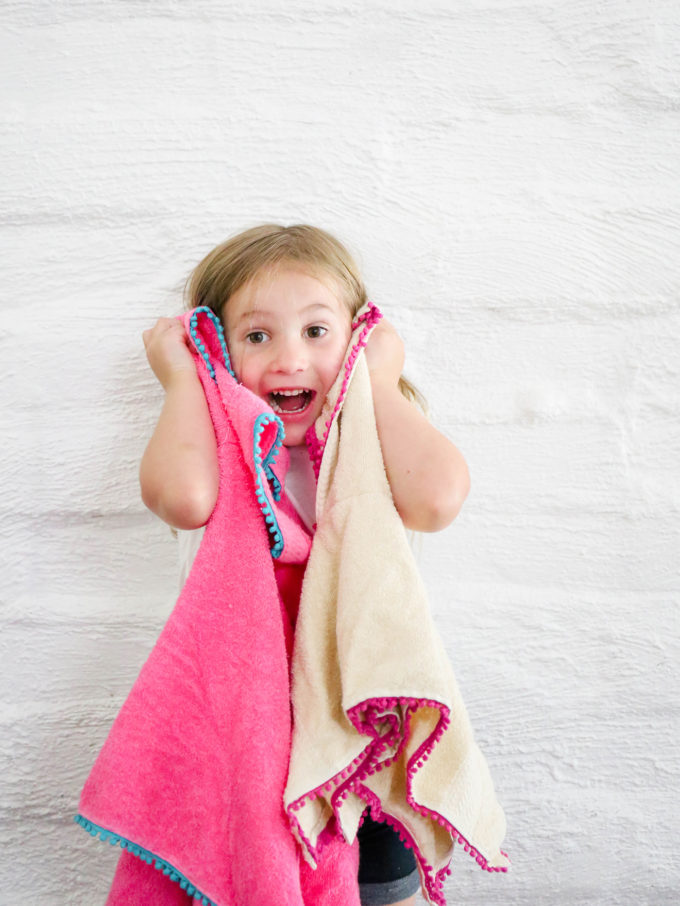 She was ecstatic every time a towel was completed.
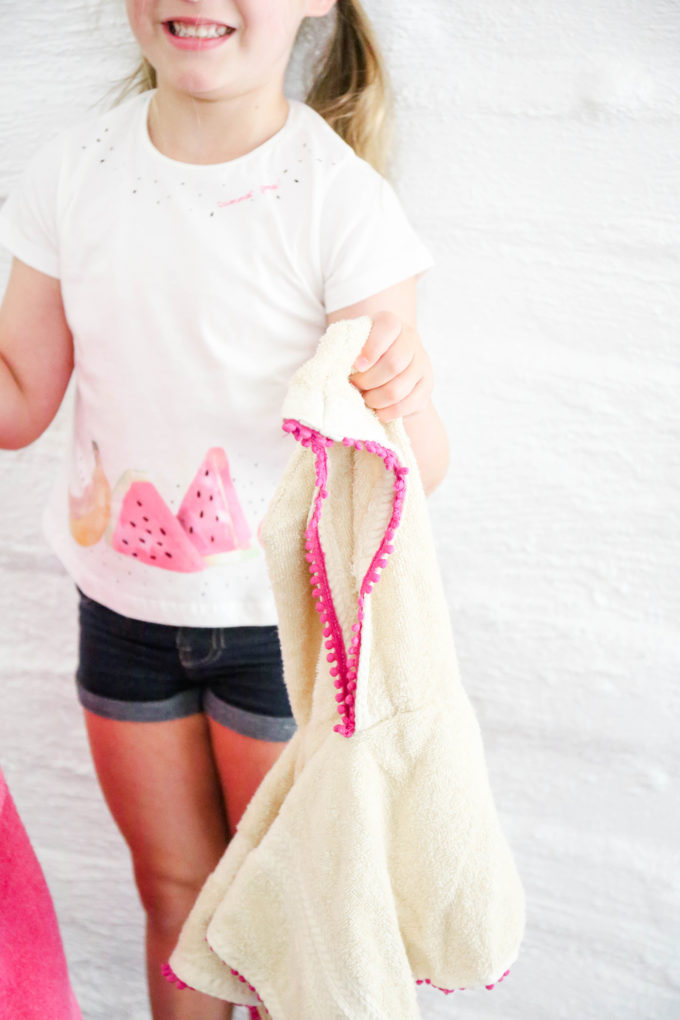 For the baby towels, I trimmed a few inches off the bottom of the hood before attaching so they wouldn’t completely drown the babies who wore them. However, I didn’t hem the bottom edges of the body towel piece because I wanted them to have as much length as possible.
** When washing, do so on the gentle cycle to prevent the pom pom trim from falling apart.
 And that’s it, folks! The cutest little beach and pool accessory known to man! Printable instructions with all the deets below! The color possibilities are endless. I’m currently on the hunt for a rainbow tassel trim for an adult version. Oh yes. There will be rainbow trim. Come back soon to see more pics from our trip!
Happy sewing!
PrintDIY Hooded Towels with Pom Pom Trim
Make the perfect pool or beach accessory with this DIY hooded towel idea! Free up your hands and up the family style factor! Pom Pom trim totally optional and totally cute!
Instructions
For Big Kid Towel:
- one bath towel
- one coordinating hand towel
- 190″ pom pom trim
- matching thread
- scissors
- measuring tape or ruler
For Baby Towel:
- two matching hand towels
- 108″ pom pom trim
- matching thread
- scissors
- measuring tape or ruler
To assemble hood:
Trim ends off one hand towel. *Depending on your child’s head size, you can skip this step as this decreases the opening for the head on when fully assembled.* Fold ends over about 1/2 inch and hem wrong sides together. Go back over with zig zag stitch to secure and prevent major fraying. Fold hand towel in half length-wise (or hot dog style) and cut one edge in a curve to create the hood. Stitch top making sure wrong sides are together. Bring the hood right side out and fold in half (length-wise again) and measure the width. Set aside.
*When making baby hood, we trimmed a few inches off the bottom of the hood so it wasn’t as large as a big kid hood. All other instructions were the same!
To assemble hood to bath towel:
Fold large bath towel in half (width-wise or hamburger style) and find the center of the towel. Mark with a small snip with the scissors. Take the number you measured for the width of the hood and divide it in half. That is how far down you need to cut from that center snip. For instance, if your hood is 10 inches wide (when folded in half), you need to cut 5 inches down from the center fold on the bath towel.
Starting from the front of one side of the hood, pin the edges right sides together. Stitch together using a 1/2 inch seam allowance and then go back over with a zig zag stitch again.
If trimming the bath towel down, do so first and hem then zig zag stitch.
Add the pom pom trim by stitching on slowly on the underside of every edge.
** WASHING INSTRUCTIONS **
Wash on gentle cycle to prevent pom pom trim from falling apart.
SaveSave
SaveSave








I was hoping you would share about these! I was at walmart the other day and wasn’t sure what towels to get! Now I know! looks like a fun trip!
Such useful and elegant hooded towel. Thanks for sharing such clear DIY tutorial.
★★★★★
Cutting the neck slit from top to bottom on the towel rather than from side to side is definitely why the towels aren’t falling off their shoulders! BRILLIANT!!! Thanks so much for sharing. 🙂
Thanks for sharing! These are adorable. I realize it’s been a few years but can you give me a rough idea what the circumference of your daughter’s head is and also measurement from top of shoulder to top of knee? I want to make these for my twin 4 y.o. nieces living in England.
Hi there! It’s kind of tough to gauge her head back then, but I want to say her head circumference was probably around 19″ at the time! Hopefully that helps! Is there a possibility that you could ask their mom to measure? I would always just err on the larger side just to be safe! Good luck! What a fun aunt you are!
Hi! these towels look really cute! Did you use mini pom pom trim or the regular size? Thanks!
Thanks, Shelli! I used the mini size!