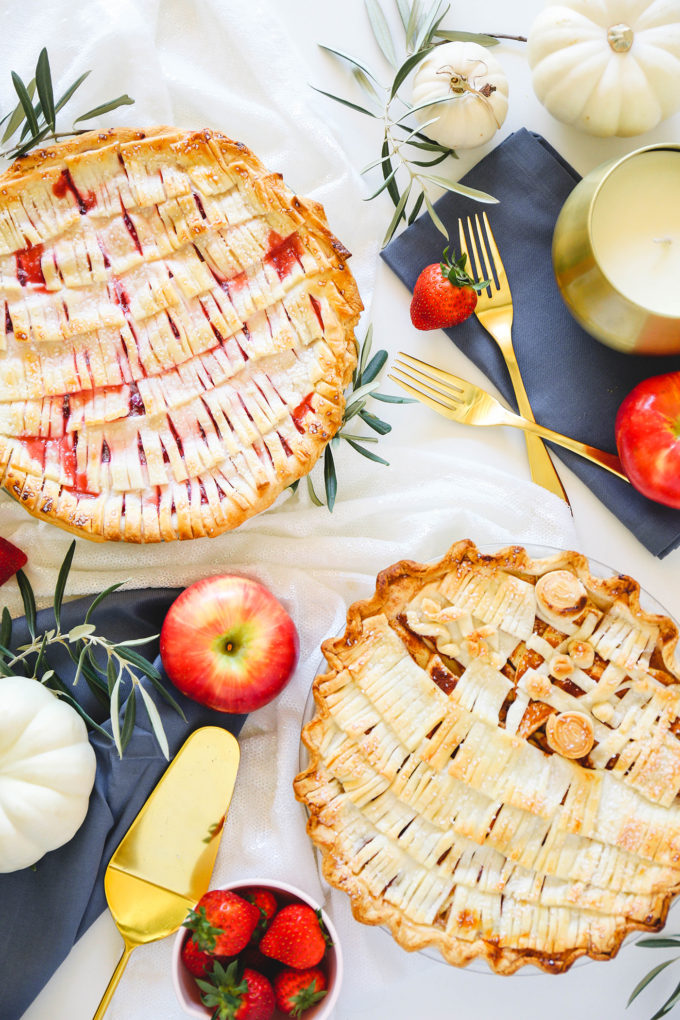
 We have now entered The Holiday Zone and I couldn’t be happier about it. I really love everything about this time of year. The smells. The decorations. AND THE FOOD. The food is the most important part of this month. And of course I am grateful for it. Growing up, Thanksgiving wasn’t always my favorite holiday. But as an adult who loves to cook (and eat!), I have found a deep appreciation for this special Thursday. To kick this month off, I’ve partnered up with some of my favorite bloggers to create a Friendsgiving Progressive Dinner! If you’ve ever been to a progressive dinner in real life, you know that each host shares one aspect of the meal. And that’s what we’re doing here! Each blogger has created a recipe or DIY project to inspire you for the big day! Aside from the turkey (because most people already know how they like their bird or are possibly vegetarian), we’ve got you covered. From the appetizers to the cocktails right down to the pie, it’s all here today! We all know how much I love a beautiful pie so I’m so excited to share this strawberry pie with a fringe pie crust design with you! It’s all in the details! Remember these holiday pie crust designs that broke the internet? (wink, wink) So let’s get to the food, shall we?
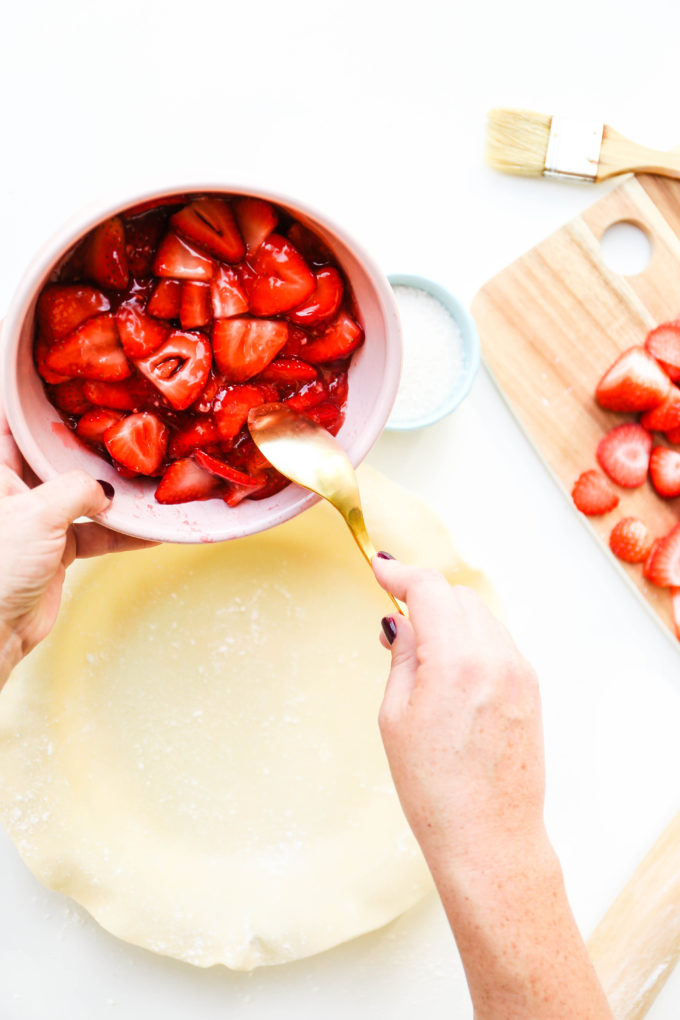 The recipe for this baby will be at the bottom of this post. I’m going to share the quick step-by-step process for creating this fringe pie crust design! You can use this design on any pie! You will need enough pie crust to line the bottom of your pie dish AND completely cover the top when filled. Depending on what you’re making, bake the bottom pie crust for a few minutes and then add your filling. We went with a glossy and juicy strawberry filling here.
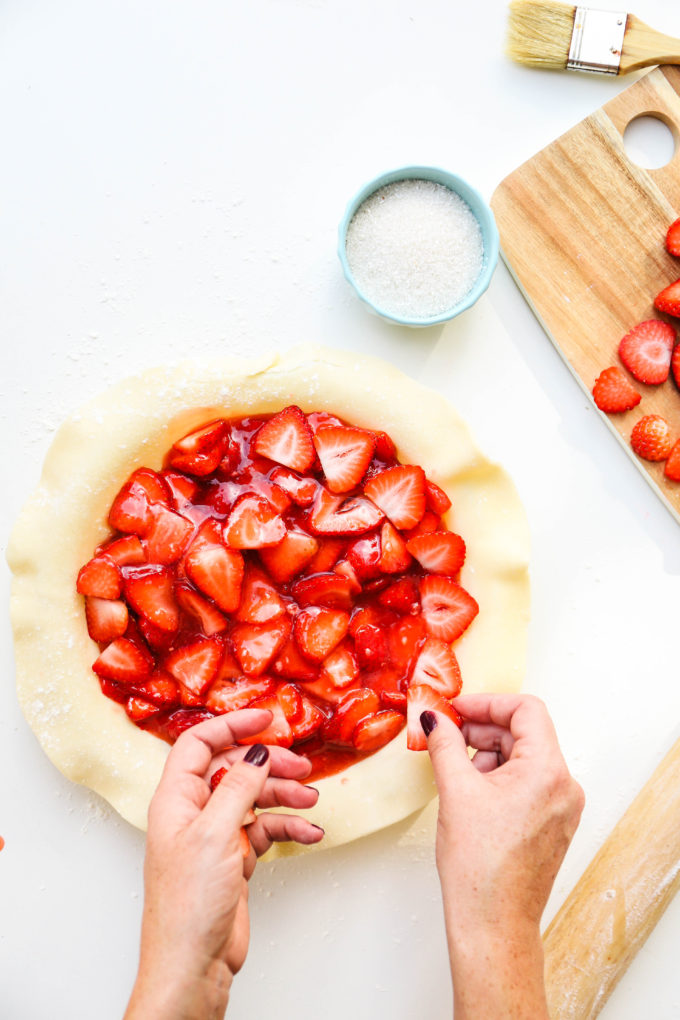 And then organized a thin layer of fanned strawberries over the top. Start at the outer edge and work your way in.
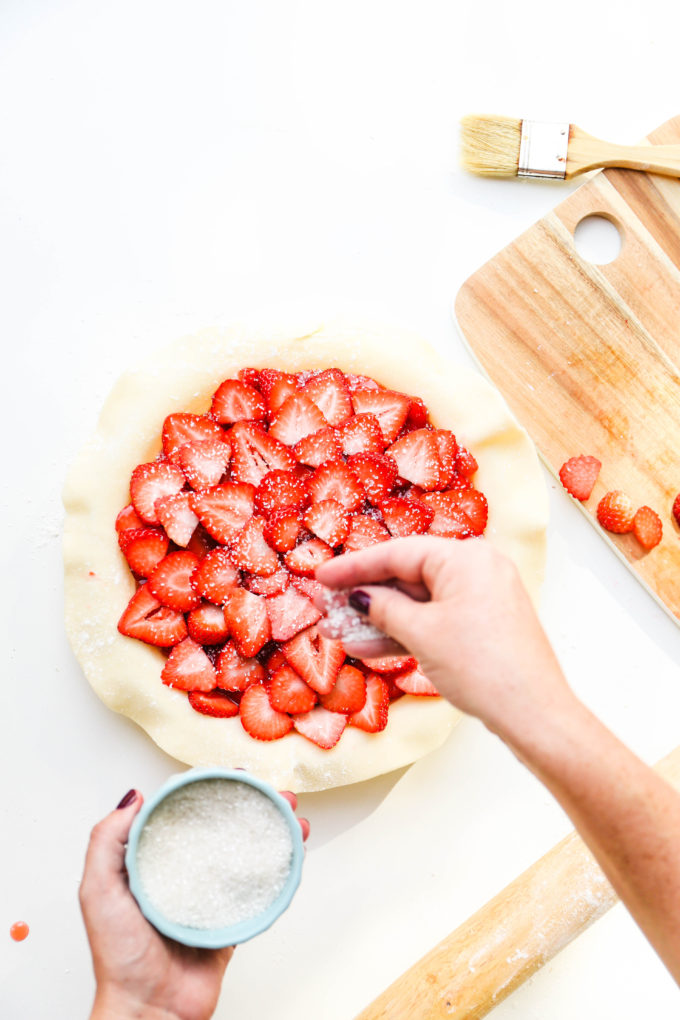 For me, sanding sugar is a must when pie is involved. I gave a generous sprinkle of sanding sugar to these strawberries and there was a nice crunch when taking a bite!
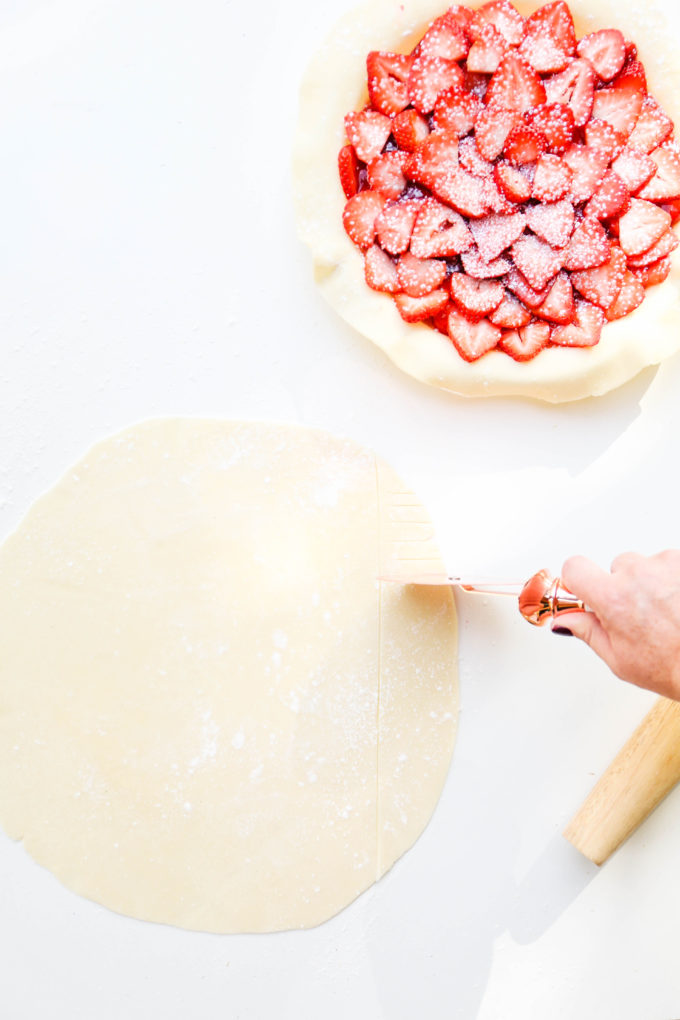 Working with your top crust, roll it out into a large circle that could completely cover your pie. Using a rotary cutter, cut 1.5-2″ strips of crust. Cut small lines up and down the strips of crust that don’t go all the way across. This will mimic the “fringe”.
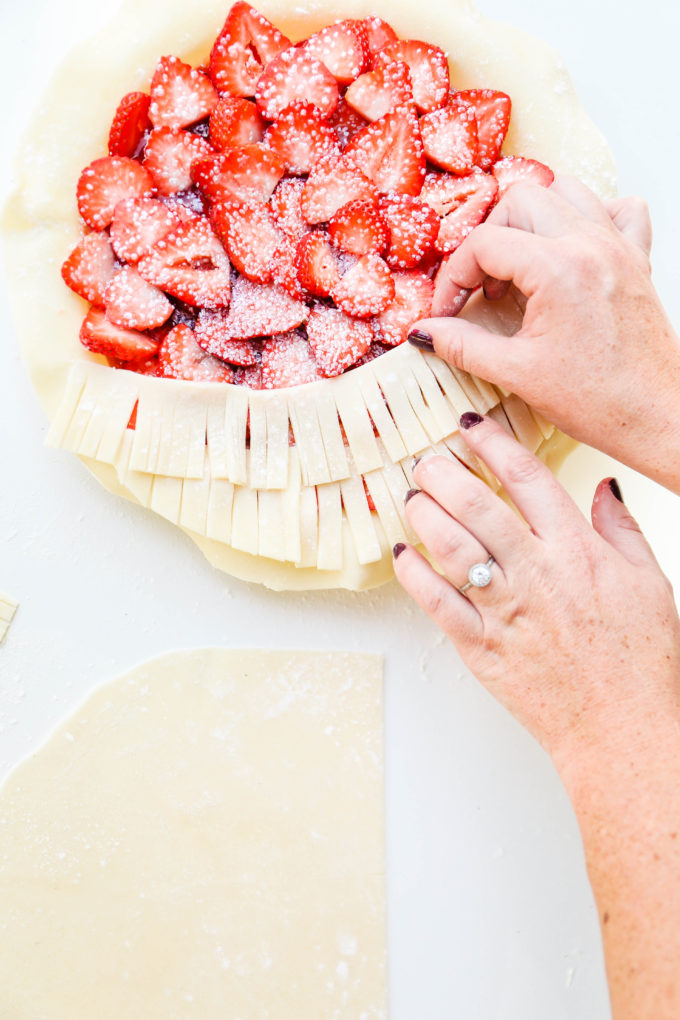 Starting at the bottom of your pie, lay one strip of fringe down. Cut another strip and layer it slightly higher than the first, being sure to barely cover the top of the previous strip. (Like in above photo.)
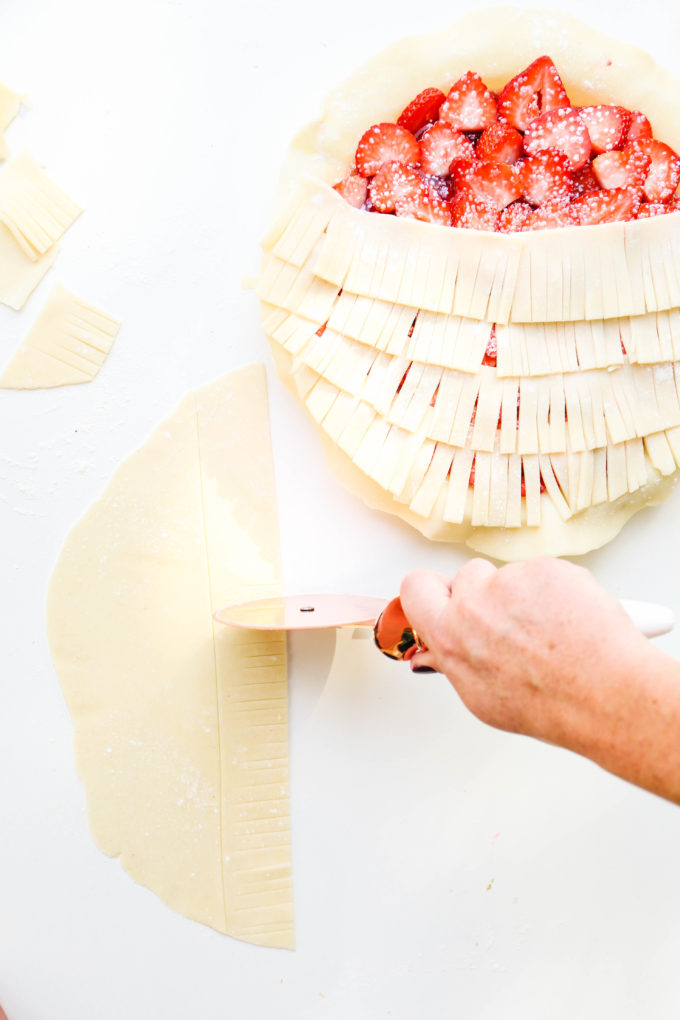
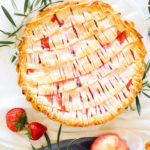
Continue cutting and layering the pie crust until you’ve completely covered the pie. Then trim and seal the rim of the crust however you like! I simply trimmed the edge of the bottom crust and let the fringe hang over. Easy as…
PIE.
You knew that was coming, right?
Brush it with egg wash, sprinkle with more sanding sugar, and send that pie on its merry way into the oven!
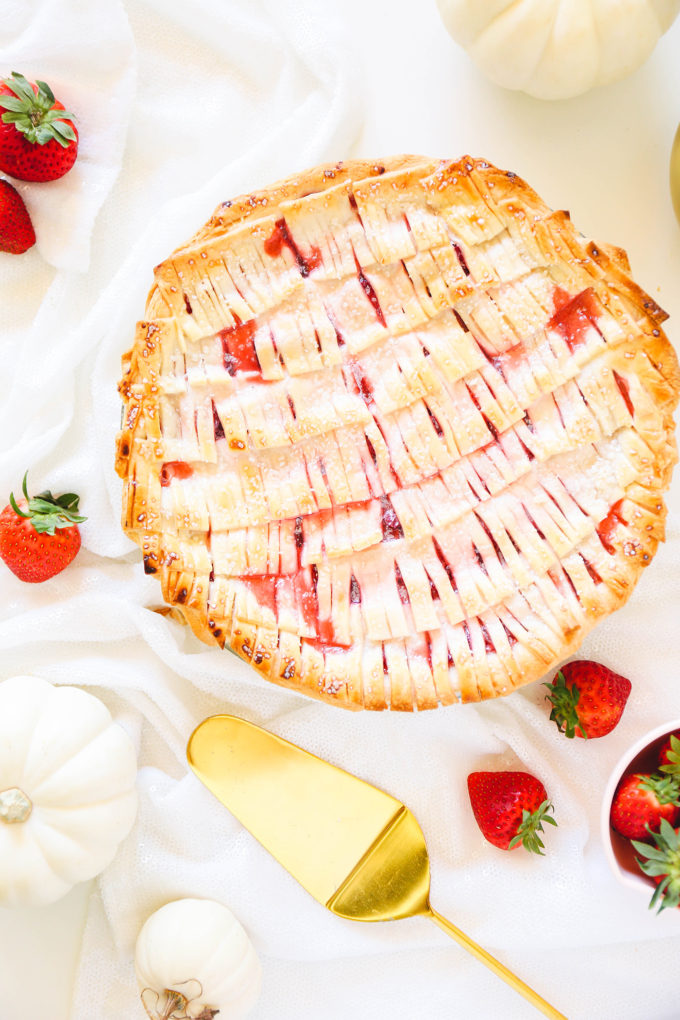 This pie is yummy and sweet and can be enjoyed by itself or served with a healthy dollop of whipped cream.
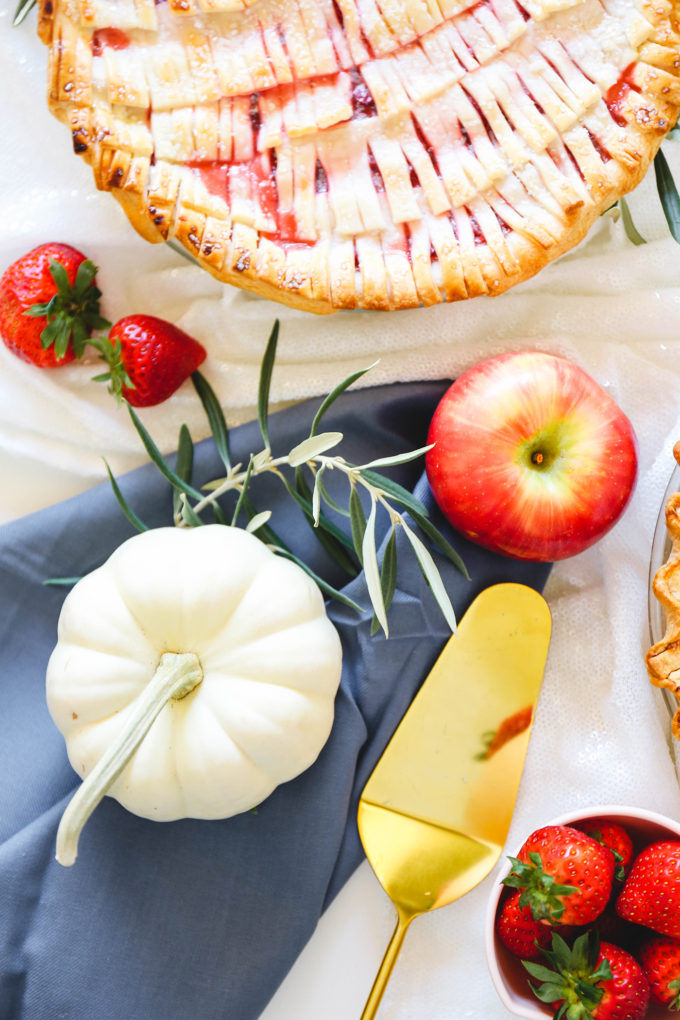
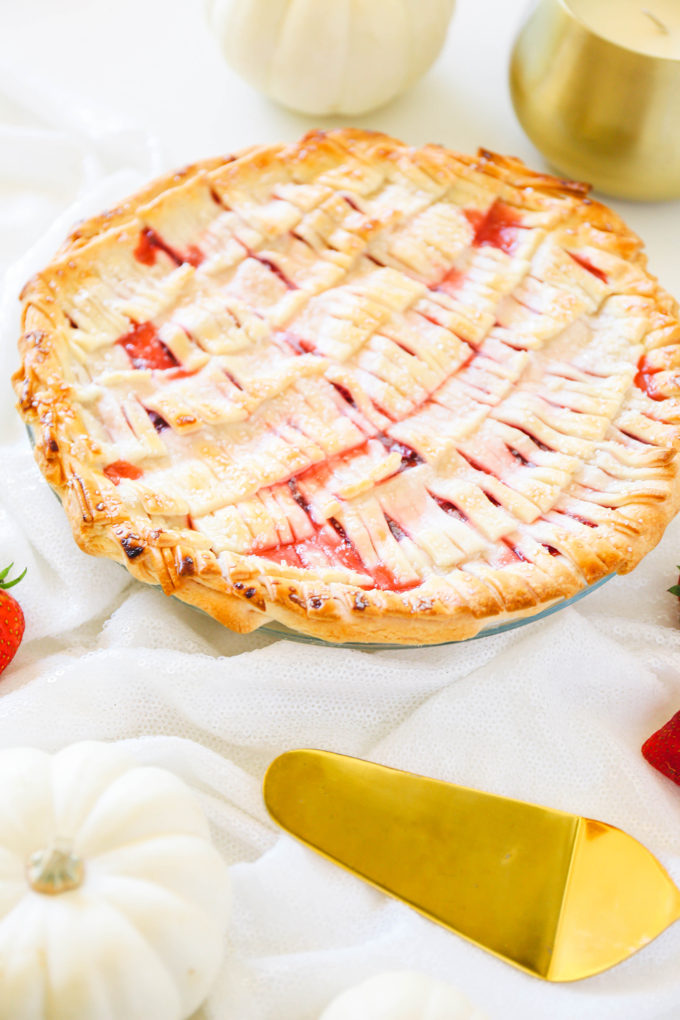
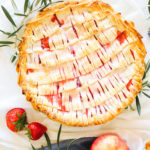
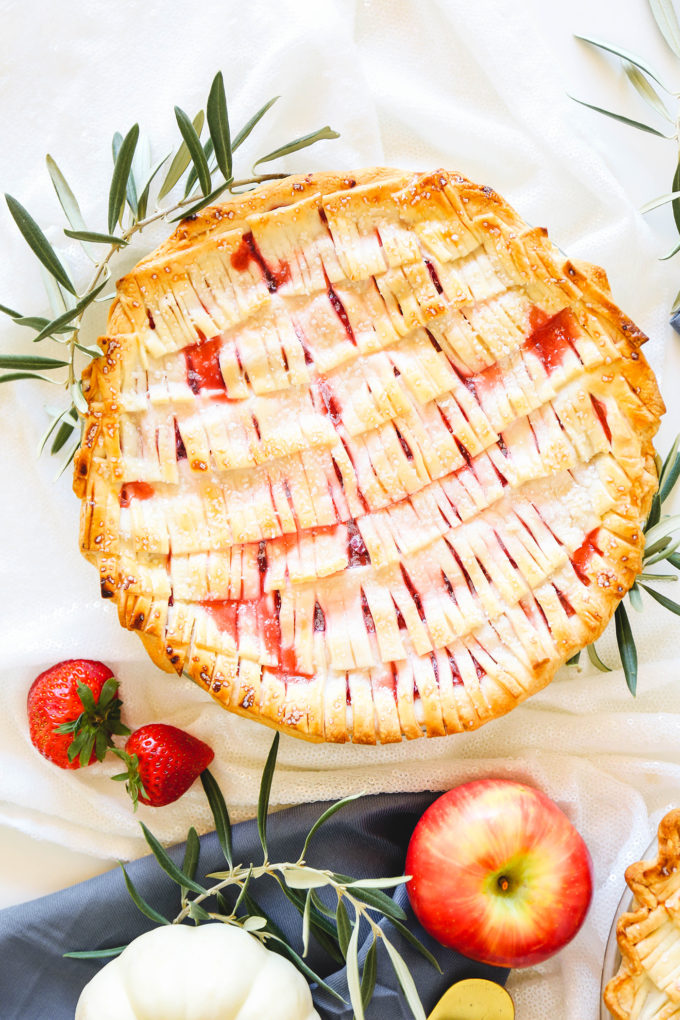 I really love how the strawberry juices seeped through the fringe to add a little color and give guests an idea of the flavor they’re in for. A lot of times, I choose the pie based on how pretty it is, so seeing those peeks of strawberry helps!
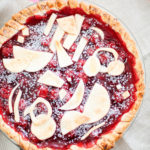
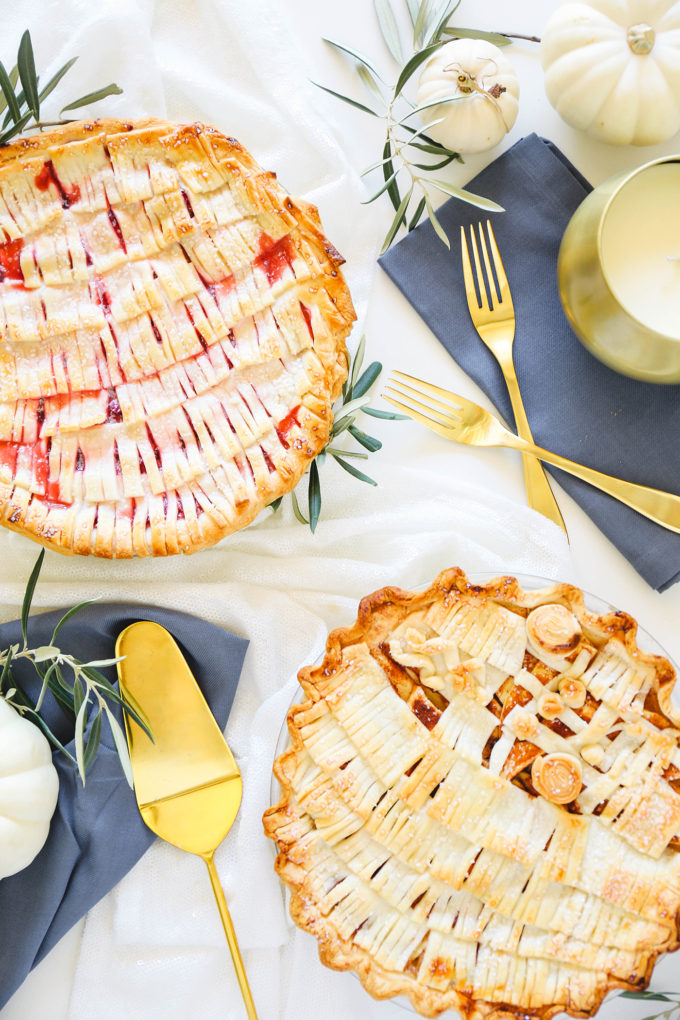 I also tried my hand at fringe-ing half of the pie and then weaving the top to mimic a woven wall hanging. You can basically throw a hodgepodge of pie crust on top with different shapes and just call it a woven wall hanging.
It’s art, you guys.
Now, be sure to head over to see all the other aspects of our Friendsgiving dinner! Click through below for some super gorgeous and yummy ideas for Turkey Day! I’ll just be over drooling over the food…
Mini Bouquet Thanksgiving Place Cards \\ Lovely Indeed
Cranberry & Prosciutto Crostini \\ Pizzazzerie
Cheesy Cauliflower Gratin \\ Inspired By Charm
Mini Green Bean Casserole Puffs \\ The Sweetest Occasion
Easy Apple Crisp Cocktail Recipe \\ Sugar and Charm
And if you’re looking for more pie-spiration, check out this whimsical pie crust design or the floral pie wreath that started it all!
photography \\ all photos by Lexy Ward
PrintStrawberry Pie with A Fringe Pie Crust Design
A delicious and colorful pie to treat your guests (or yourself!) to! This fringe design takes minutes to do and adds a super cool touch.
- Prep Time: 15
- Cook Time: 35
- Total Time: 50
Ingredients
- 2 9-inch pie crusts
- 1 cup mashed strawberries
- 1/2 cup sugar
- 3/4 cup water
- 4 1/2 tablespoons corn starch
- 1/4 teaspoon salt
- 1 teaspoon lemon juice
- 3.5 cups sliced strawberries, plus a few more to decorate the top
Instructions
Preheat oven to 450 degrees Fahrenheit. Using a fork, prick small holes into the bottom pie crust and bake for 6 minutes. Remove from oven and allow to cool.
In a small saucepan, combine the mashed strawberries, water, and sugar. Bring to a boil and stir constantly for 4-5 minutes. Remove the pulp by straining into a different bowl. Add the juice back into the saucepan and mix in the cornstarch, salt, and lemon juice. Bring to a boil and stir constantly for about 5 minutes or until the mixture is thick. Remove from heat and let cool slightly.
Combine the strawberry juice and sliced strawberries in a large mixing bowl. Stir to evenly coat. Spread strawberry filling into bottom pie crust.
Cut strips of unbaked pie crust into fringe and layer from the bottom of the pie to the top. Trim any pie crust that is too long and allow the fringe to hang over the edge a bit.
When ready to bake, brush the top pie crust with egg wash and bake for 20 minutes just until the top crust is slightly golden. Remove from the oven and let cool. Place back in refrigerator until filling is set. Serve with whipped cream if you like!






Love this fun twist on pie crust! So darling!
★★★★★
This is the cutest pie idea!
★★★★★