This post is in partnership with Kleenex® tissue, a company that believes in bringing quality tissues to the masses in responsible ways. Thanks for supporting the brands that help PROPER keep creating!
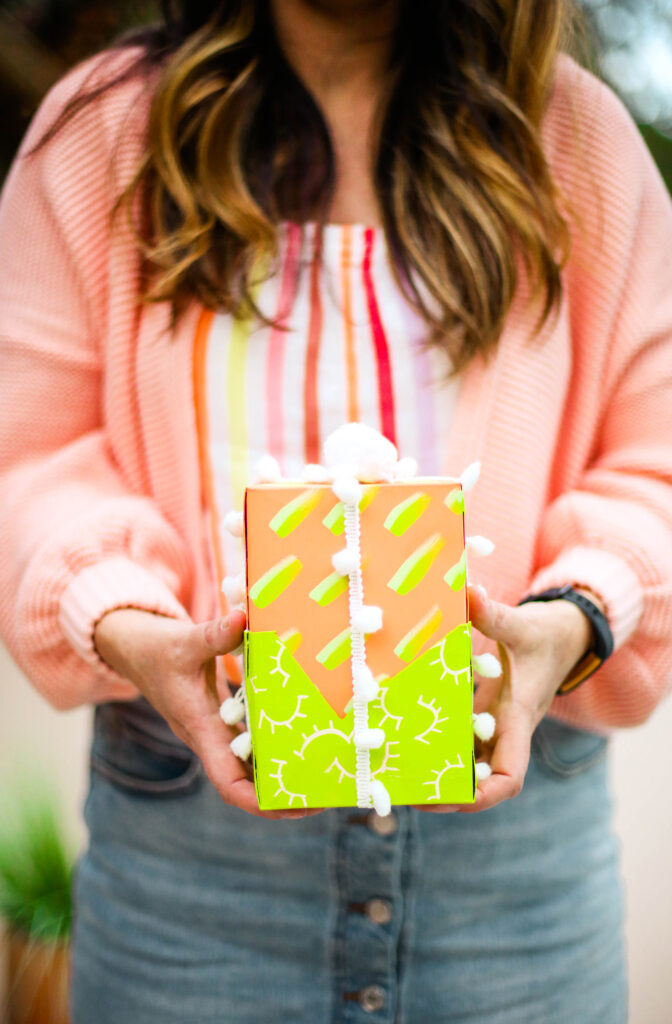 Gosh, it feels good to get back to making things! Lately, we’ve been working on things around the house, and things have been so busy adulting and taking care of the littles! I realized it had been quite a while since I’d made something fun and simple and this easy DIY was a great way to put Vita’s artistic abilities to good use! Earth Day is just around the corner and you wouldn’t believe how concerned V gets about the future of where we live and the animals that we share the earth with. It makes my mama heart so proud! To fully embrace Earth month, we partnered with Kleenex® to upcycle some of our used tissue boxes and decided they were the perfect size for lil’ gift boxes and storage for craft supplies! You all know how I love DIY gift wrap so grab the paint and let’s do this!
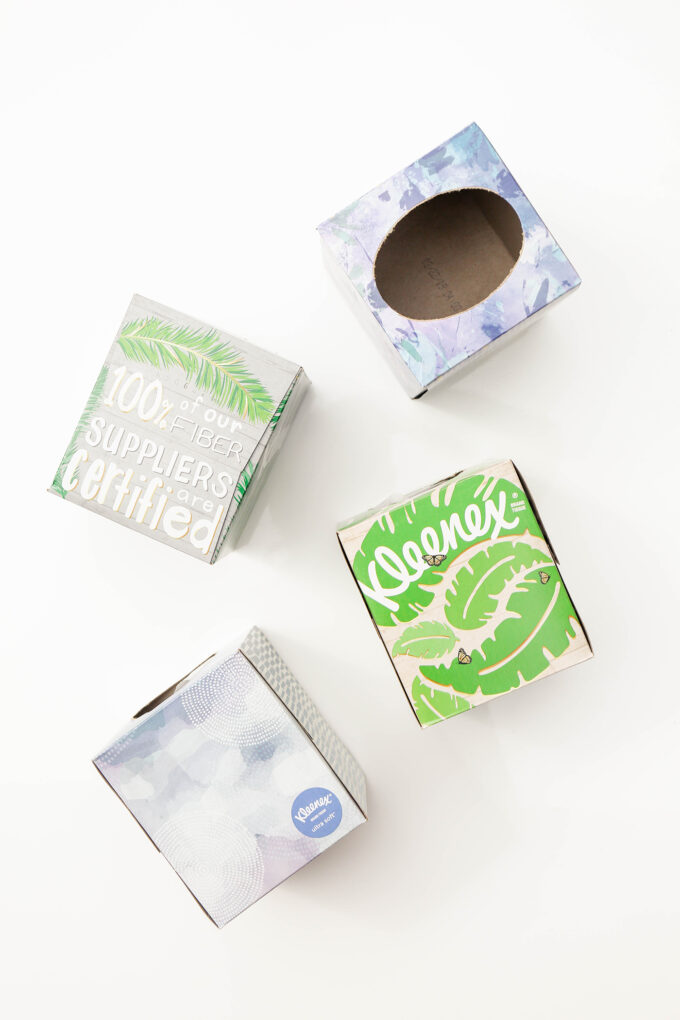 DIY Gift Wrap Using Upcycled Tissue Boxes
You’ll need:
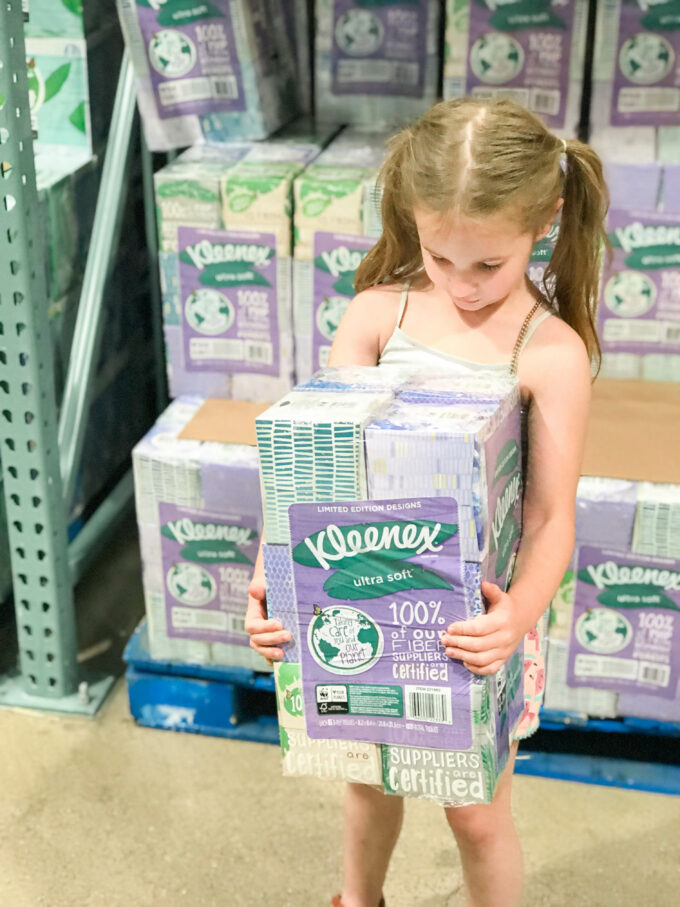
- empty Kleenex® tissue boxes (we snagged a huge pack at Costco!)
- scissors
- assorted paint
- paint brushes
- gift wrap trimming (ribbon, pom pom trim, bows, and pom poms are a great place to start!)
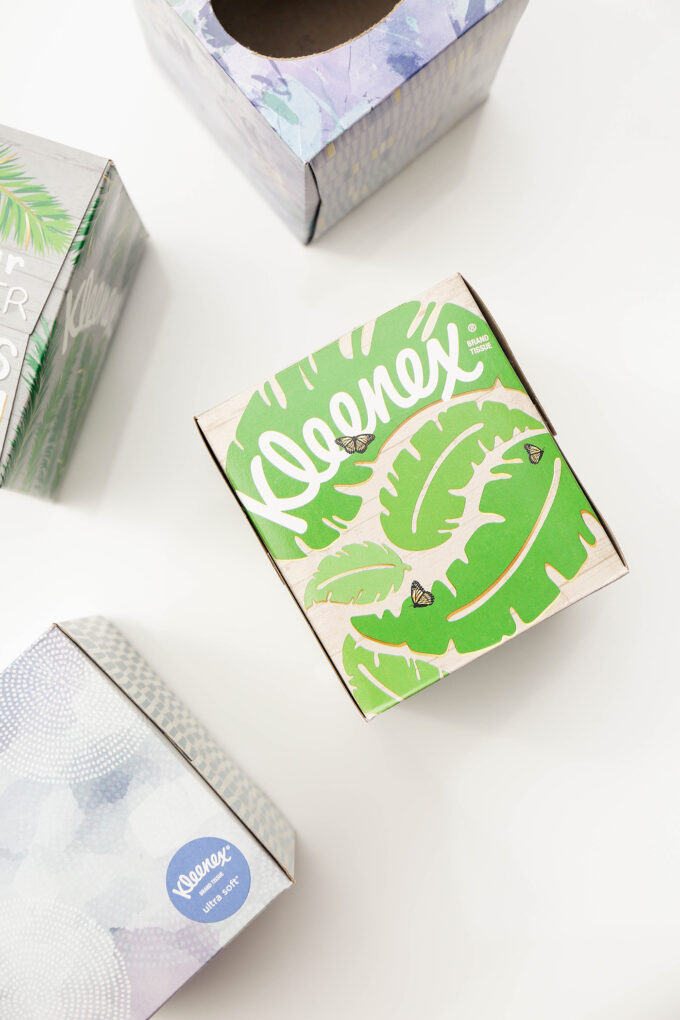
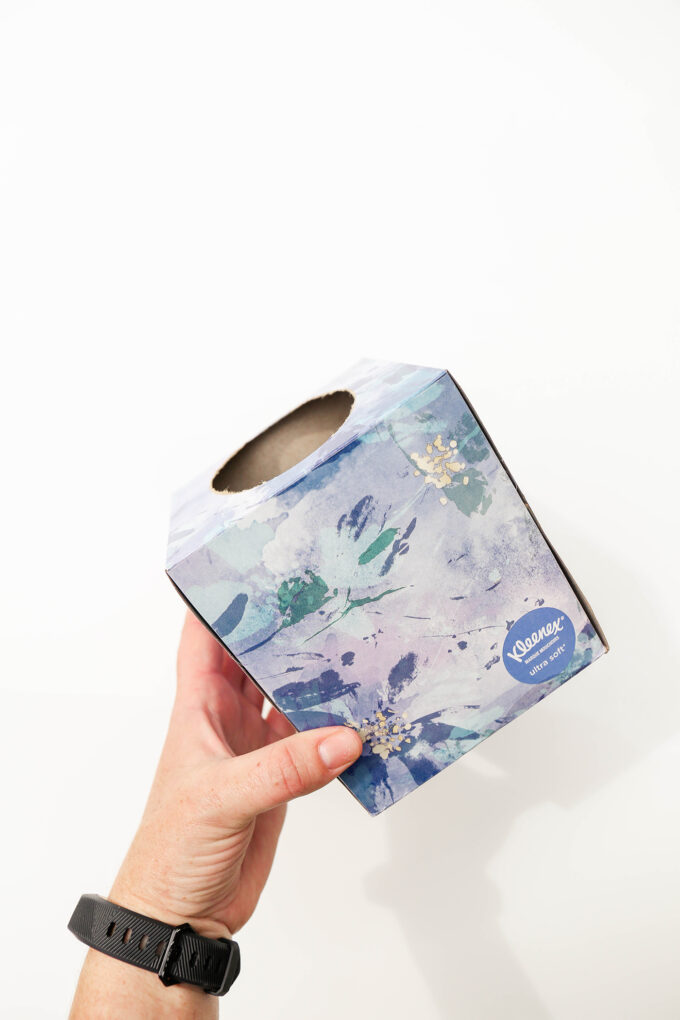
We stocked up on some of these limited edition boxes available at Costco (that Monstera leaf design is pretty pretty)!
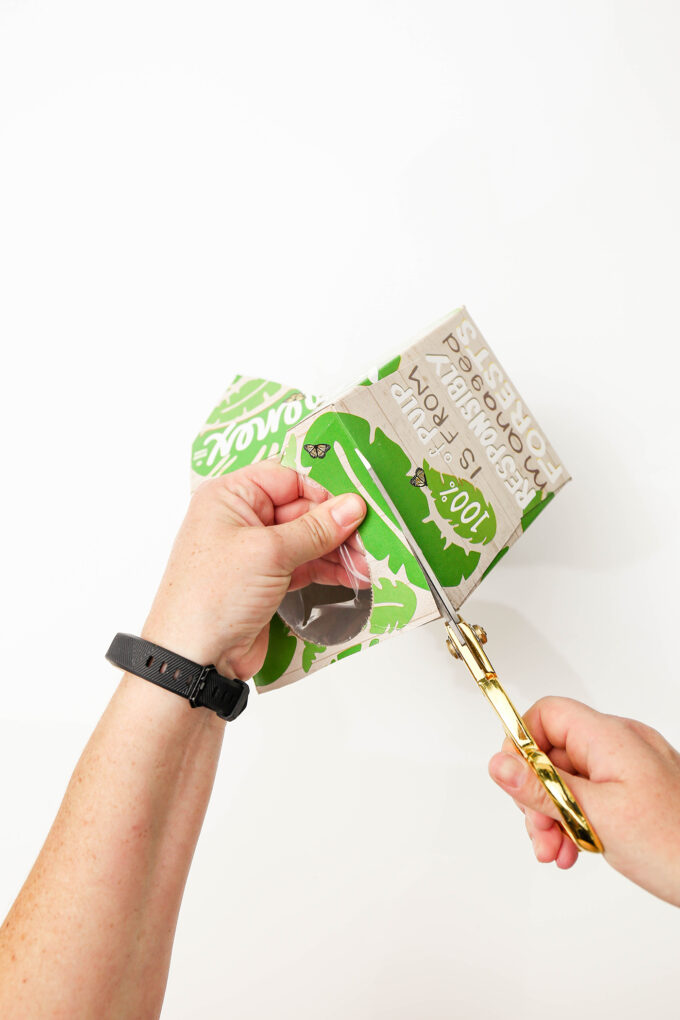 To make the DIY gift wrap, we decided to combine two used Kleenex® tissue boxes into one final gift box by essentially nesting one box into another. For the bottom box, we trimmed all of the sides down and made a few diagonal cuts.
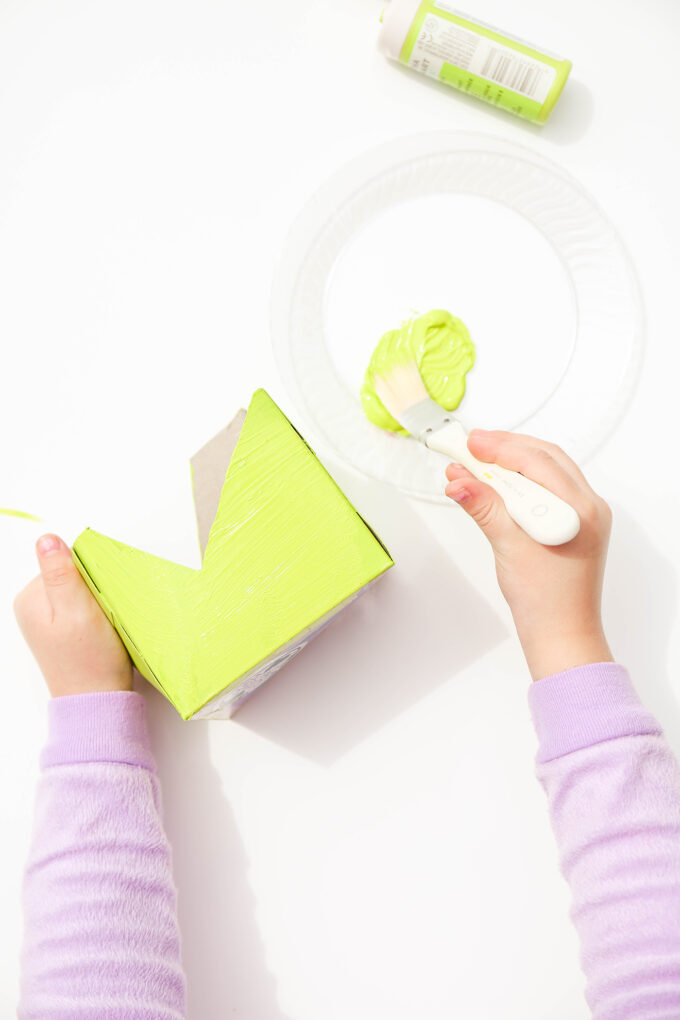 Time to break out the paint! We painted the bottom box a bright green color. This is totally a kid-friendly craft. What little doesn’t love to paint? Vita was totally here for it and made sure there were plenty of coats on each box!
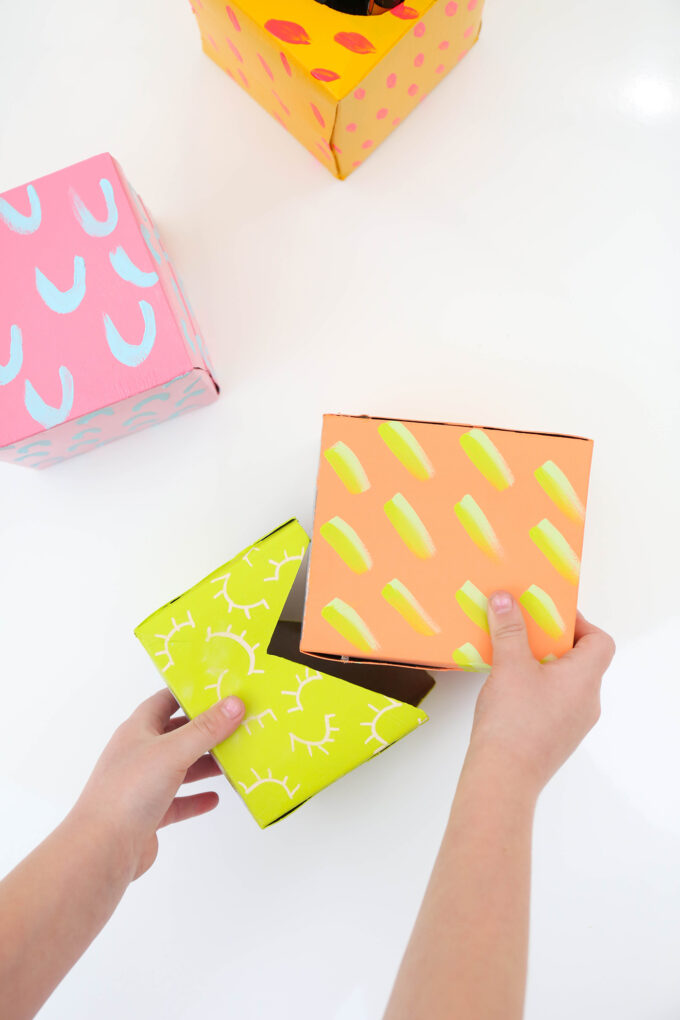 The top box was painted a bright orange with some coordinating green stripes. I used my favorite paint pens to draw small winking eyes in random patterns on the bottom box. When you’re all finished, place your gift inside the top box, and tape or hot glue it shut. Then place the top box inside the bottom box!
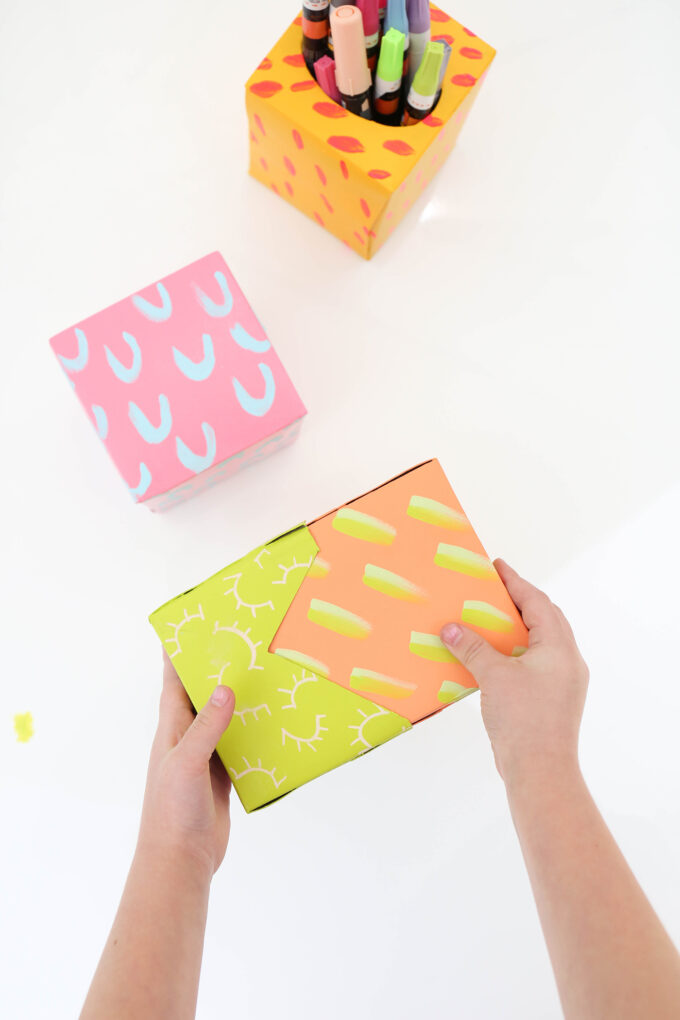
Finish it up by adding some trim and bow and then pat yourself on the back. DIY gift wrap and you didn’t have to buy any extra supplies!
 We also used an old tissue box to store some of our favorite craft supplies like the paint pens mentioned above. This simple project involves no cutting, just the fun painting!
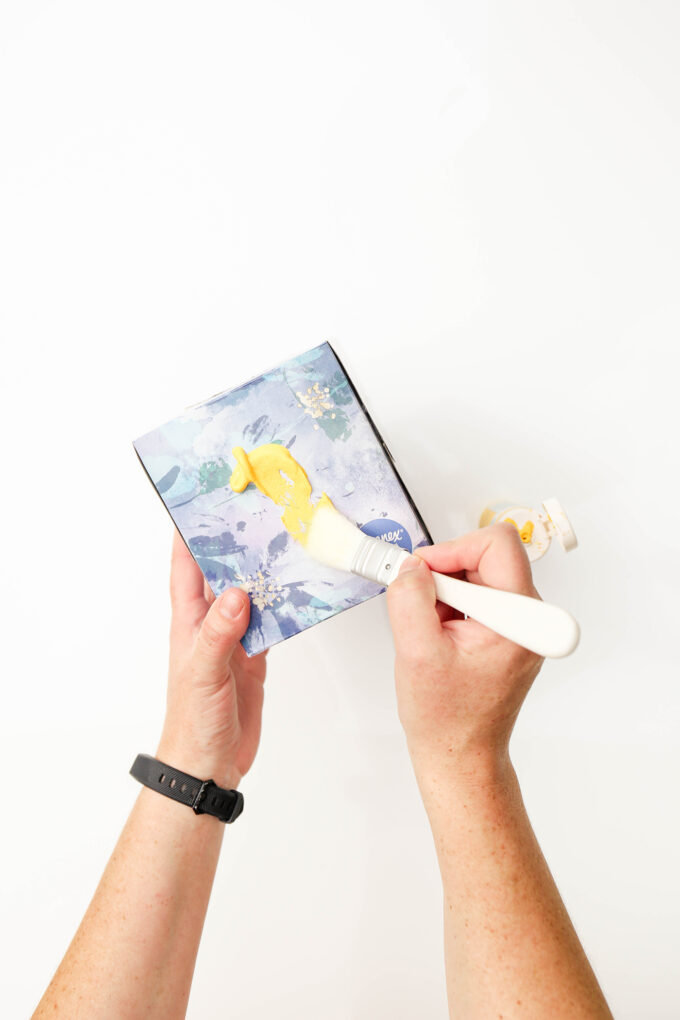
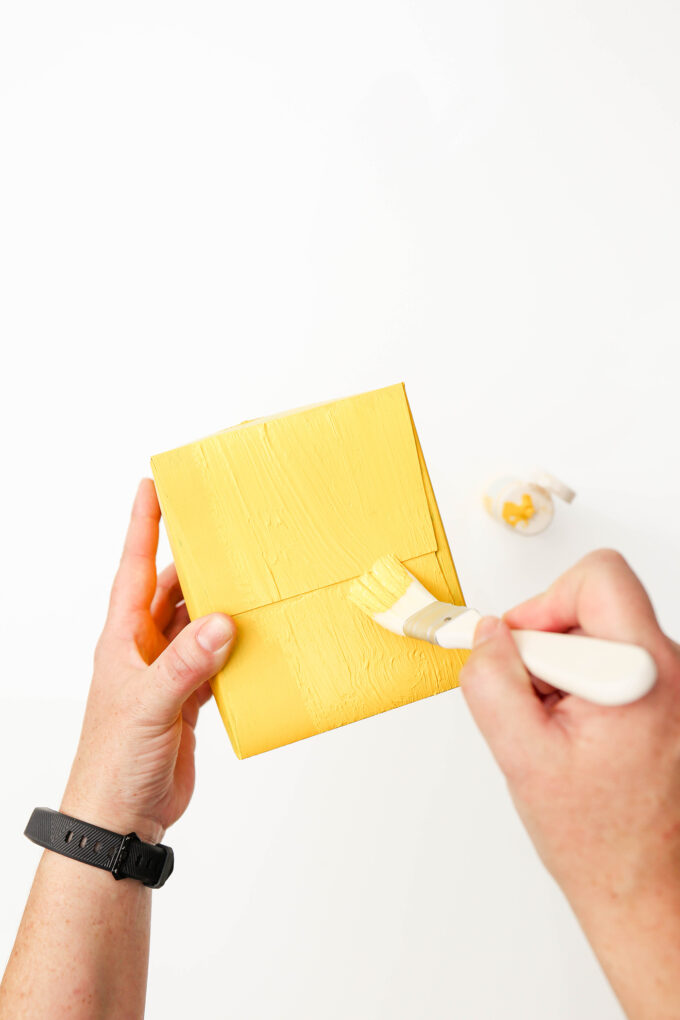
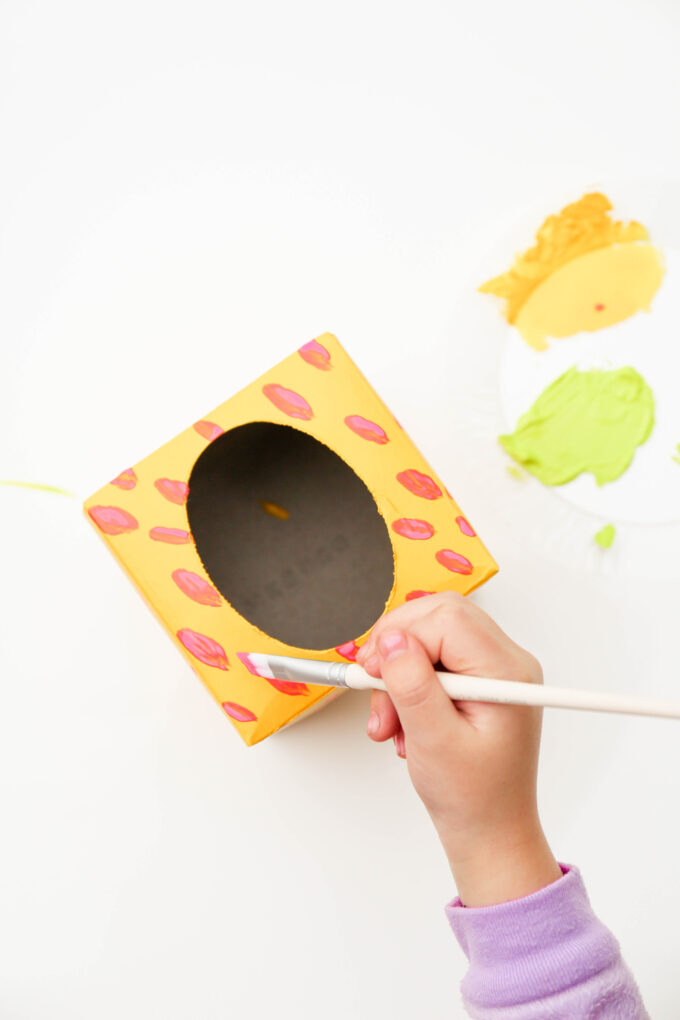 Vita to the rescue again! This time we went with a bright yellow and some neon pink splotchy spots (such a technical term!).
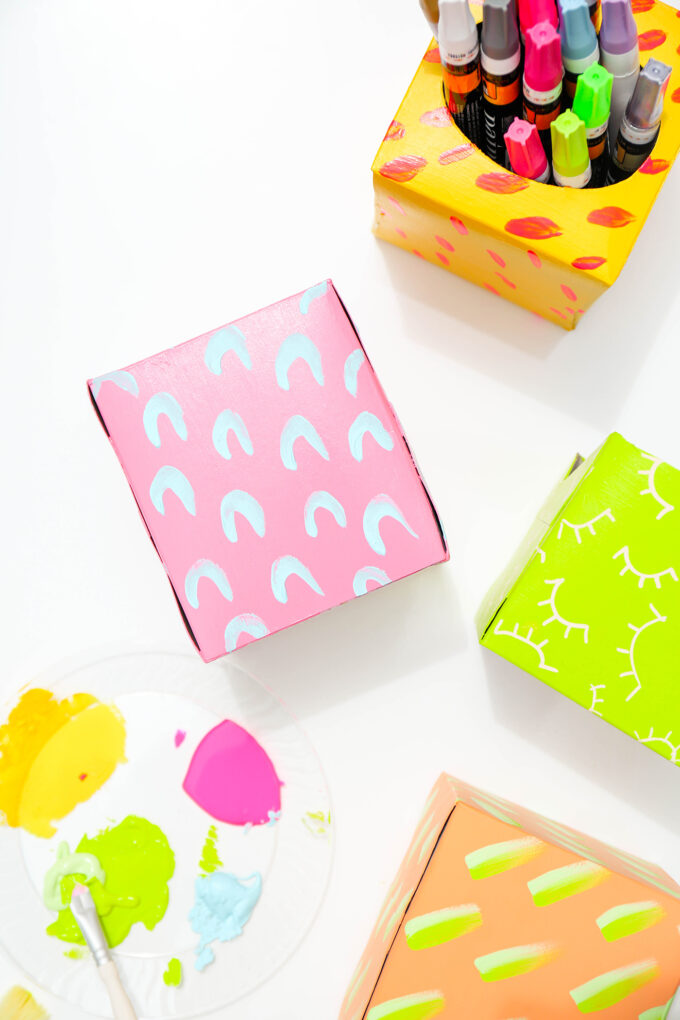
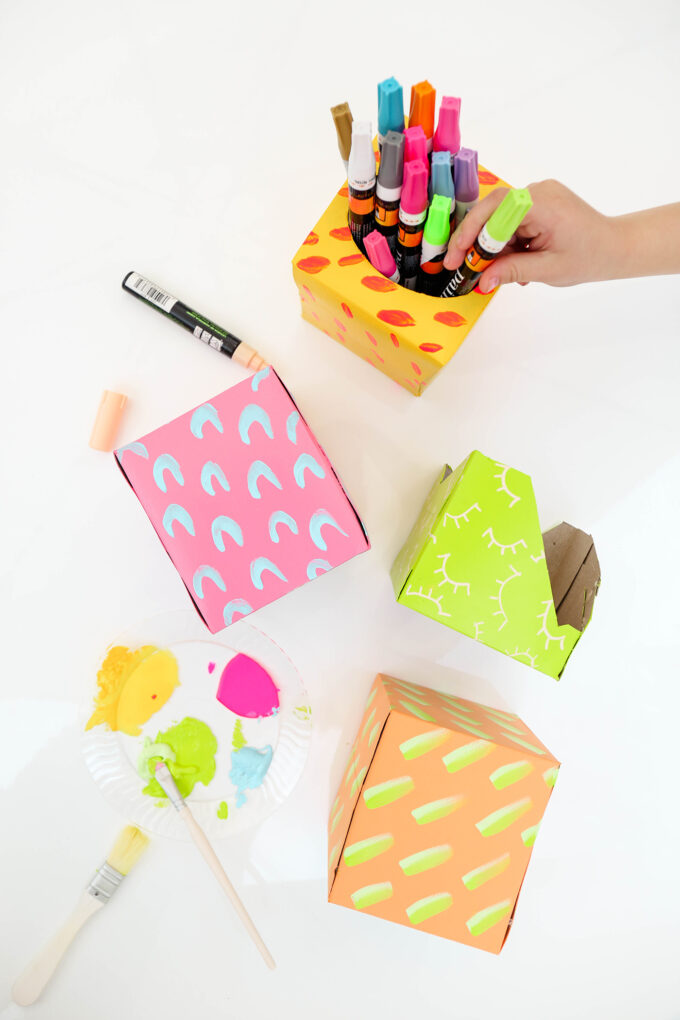 We may have gotten carried away and tried to paint all the things. Once your boxes are dry, finish ’em up! One of these boxes will look great on Vita’s desk and I’m thinking I need to make an entire collection to store every art supply under the sun.
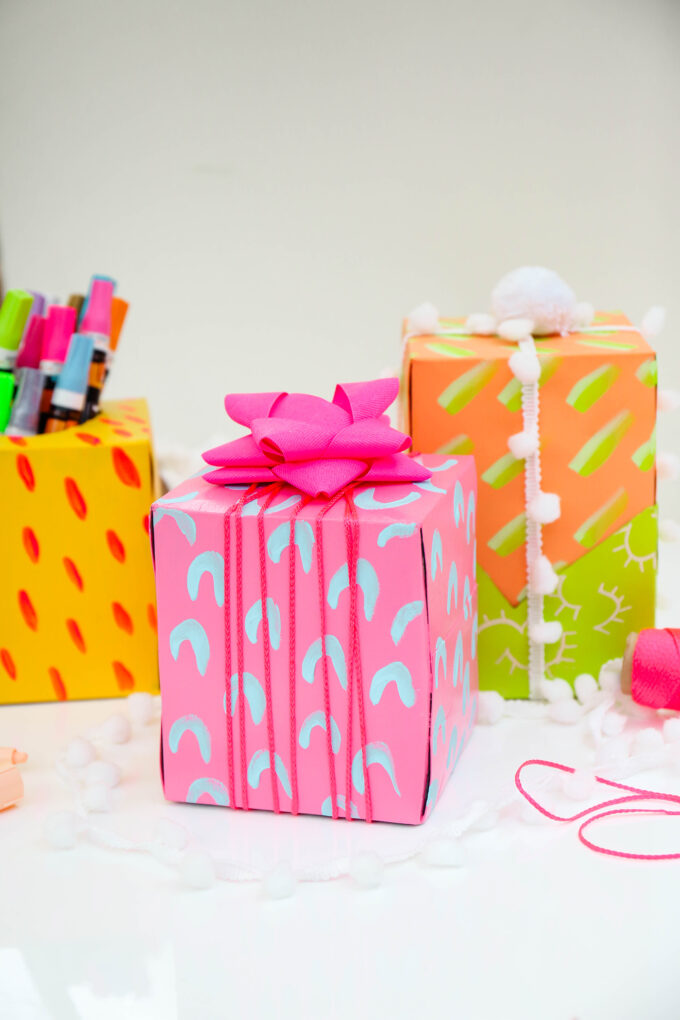 Add all your favorite trimmings and you’ll win the title of “Best Gift Giver”. Who cares what’s inside as long as the package is pretty, amiright???

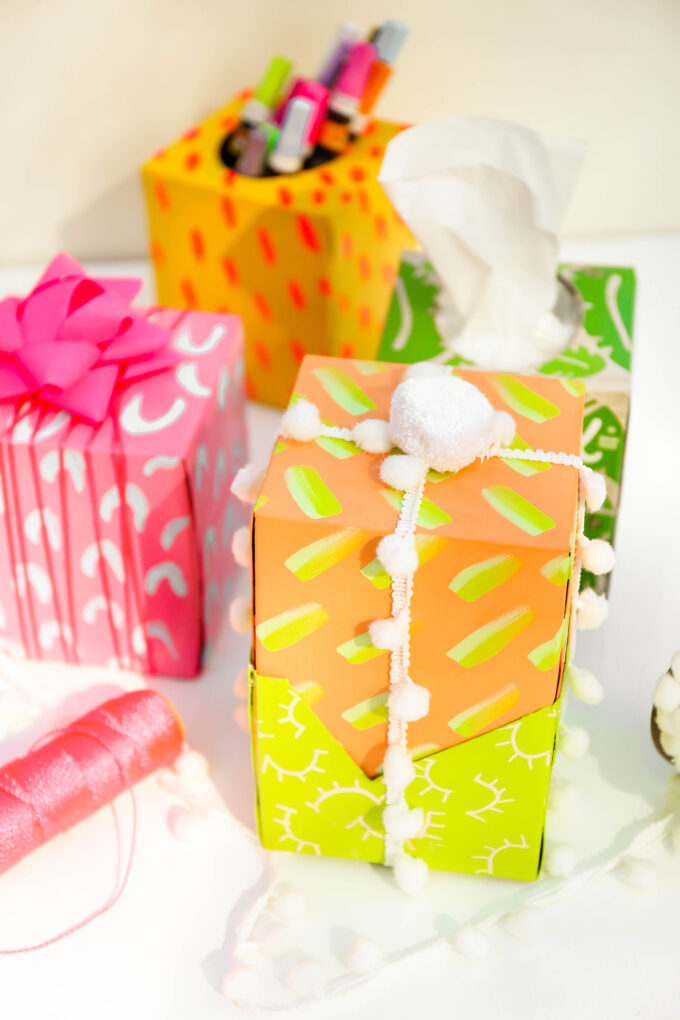
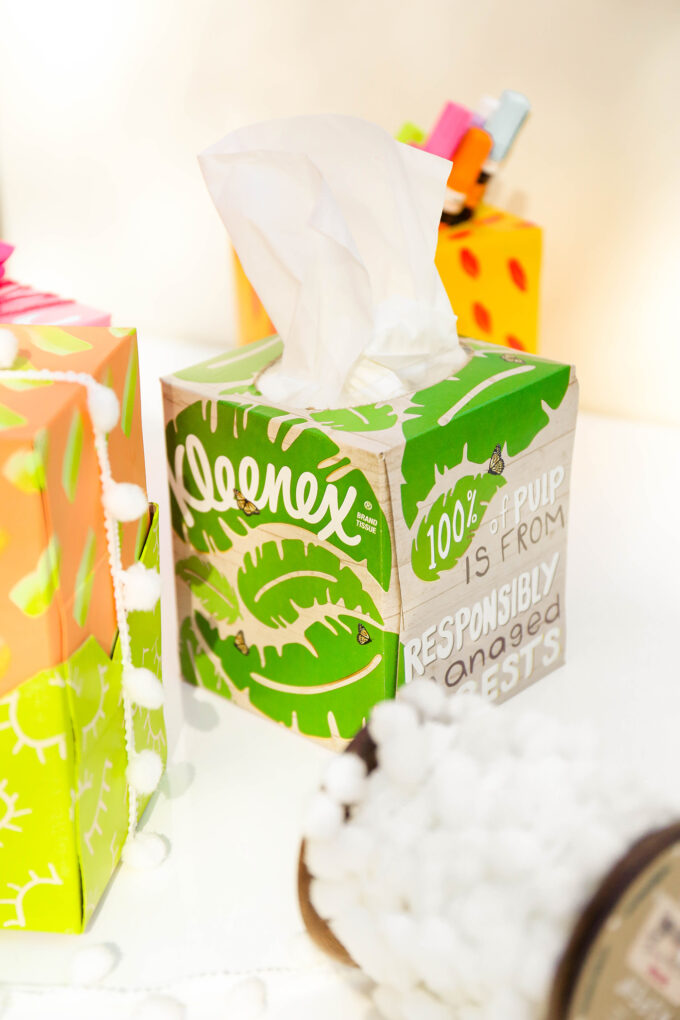 I had mentioned earlier that we snagged a bulk supply of tissues from Costco. And I’m all about helping you save a few bucks, so from 4/17 to 5/12, Costco members can save $4 on America’s softest facial tissue – Kleenex® Ultra Soft, Trusted Care and Soothing Lotion tissues.
And we’re not the first to upcycle their boxes into new and fun ways! Just do a simple Google search to find plenty of DIY inspo for upcycling your own Kleenex® tissue boxes!
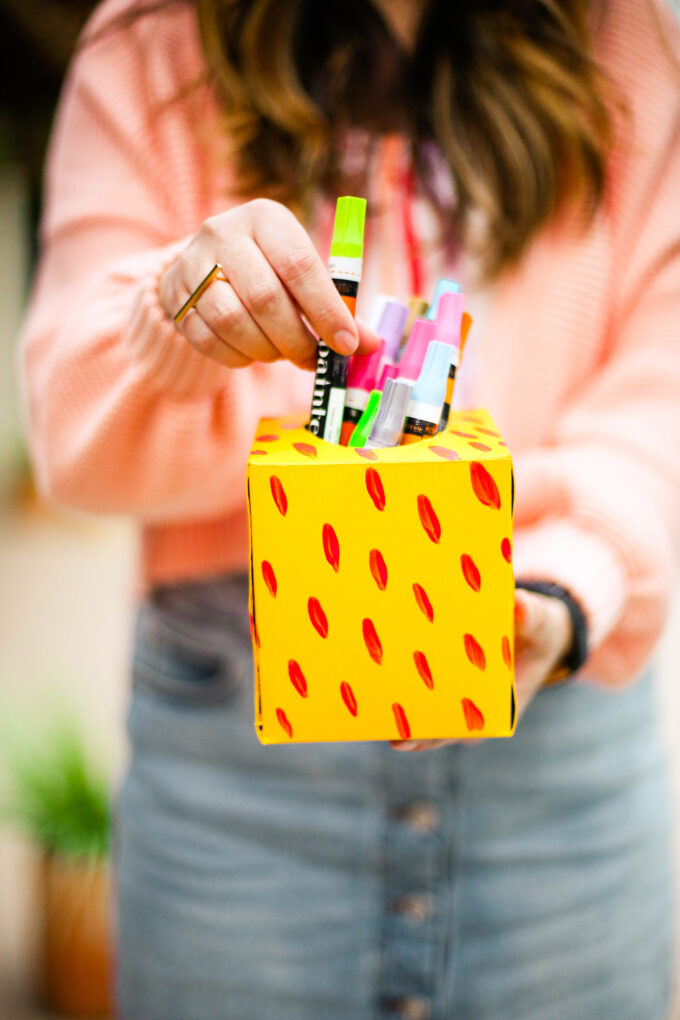 My marker storage game is STRONG.
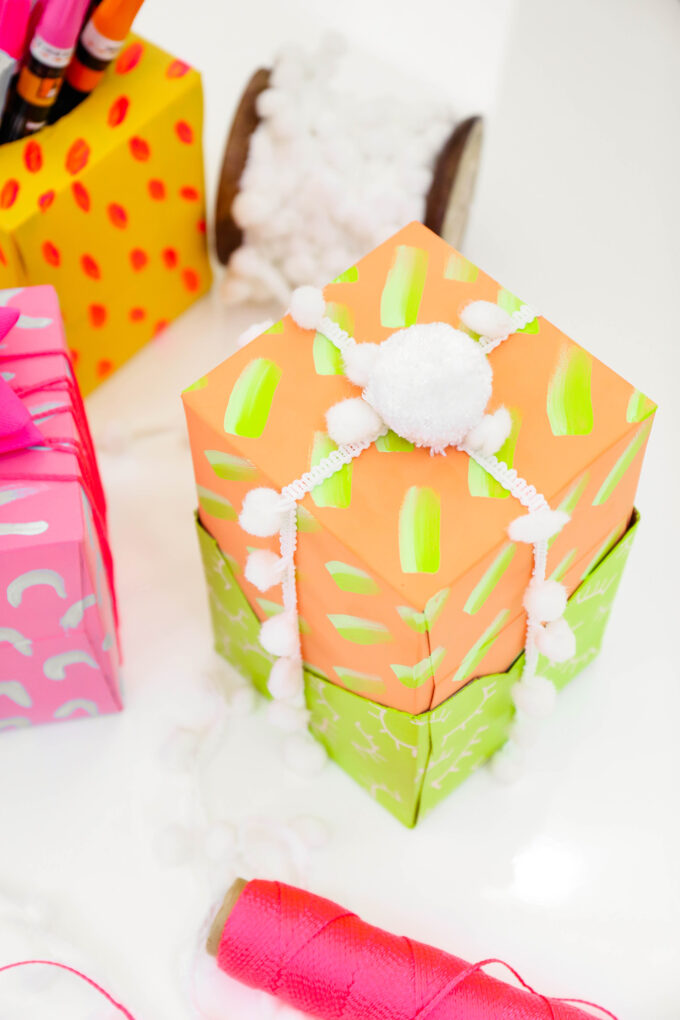 I’m not really trying to be bias, but DIY gift wrap is always my fave and I really love how the nested boxes turned out! If your birthday is coming up, these might just be making an appearance. Your kids can join in the fun and get to painting. And if your kids are like mine, you’ll probably get a lesson in taking care of the planet from your oldest. ?
Happy Earth Month!
And if you’re feeling the itch to get your craft on, click here for all sorts of DIY inspiration!
photography \\ Lexy Ward


These are really fun! And I have to say that I already really like the pattern the boxes come in! What a cute idea!