This is a sponsored conversation written by me on behalf of Cricut. The opinions and text are all mine.
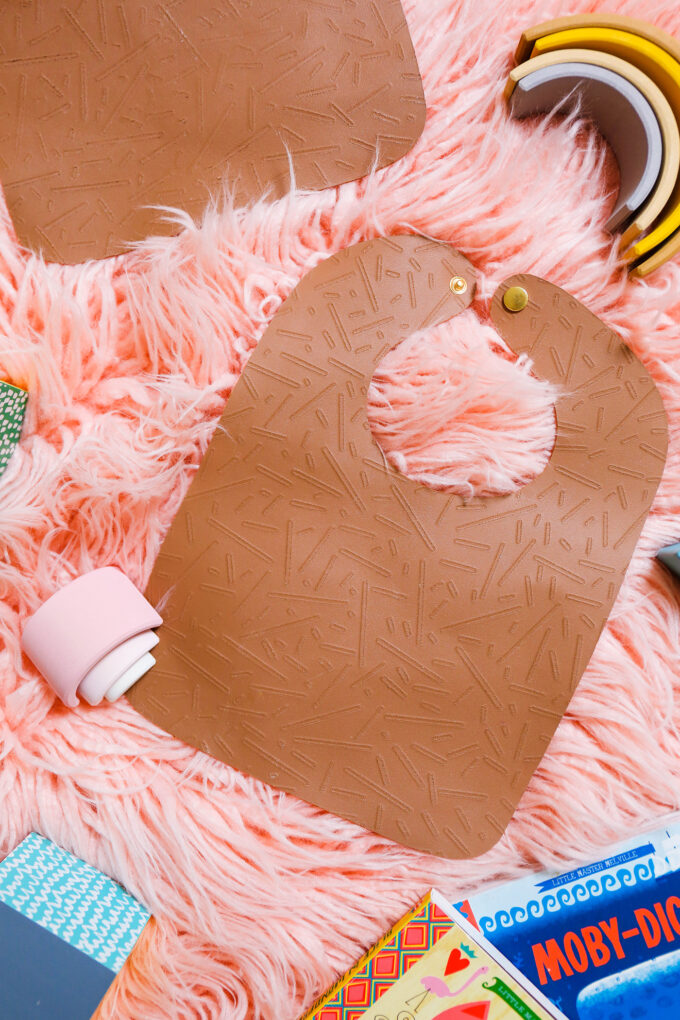 Can you believe it?! A brand new project!! It’s been a minute since I was able to share something new with you guys, and I have been so so excited about these projects for the last few weeks and am really happy to tell ya all about them today. I’ve really been into all sorts of leather projects over the years. It’s one of my favorite materials to work with. Since having children, leather has kind of been my saving grace when it comes to play mats, toys, and more. It’s wipeable. It’s stylish. And it just gets better with age, so anything you make can really last a long time. Mara has been eating more and more regular foods at meal time (slowly weaning off the baby food pouches! finally!) and girlfriend can be quite a mess when handling a strawberry. So I decided to use my Cricut Maker to whip out a quick lil’ DIY Leather Bib for her!
But I didn’t stop there. Cricut just launched 4 fun new tools earlier this month – a Fine Debossing Tip, an Engraving Tip, a Perforation Blade, and a Wavy Blade. And I’m sharing the inside scoop on these tools and how I made the DIY leather bib a little cooler along with a few other projects like an engraved keychain! See more below and snag the design downloads to make your own!
DIY Leather Bib
 Instructions for DIY Leather BIB
Materials needed:
- 1 sheet of Cricut Genuine Leather
- Cricut Maker machine
- Cricut Design Space™
- Fine Debossing Tip
- Engraving Tip (optional)
- Snap Fasteners (I use these)
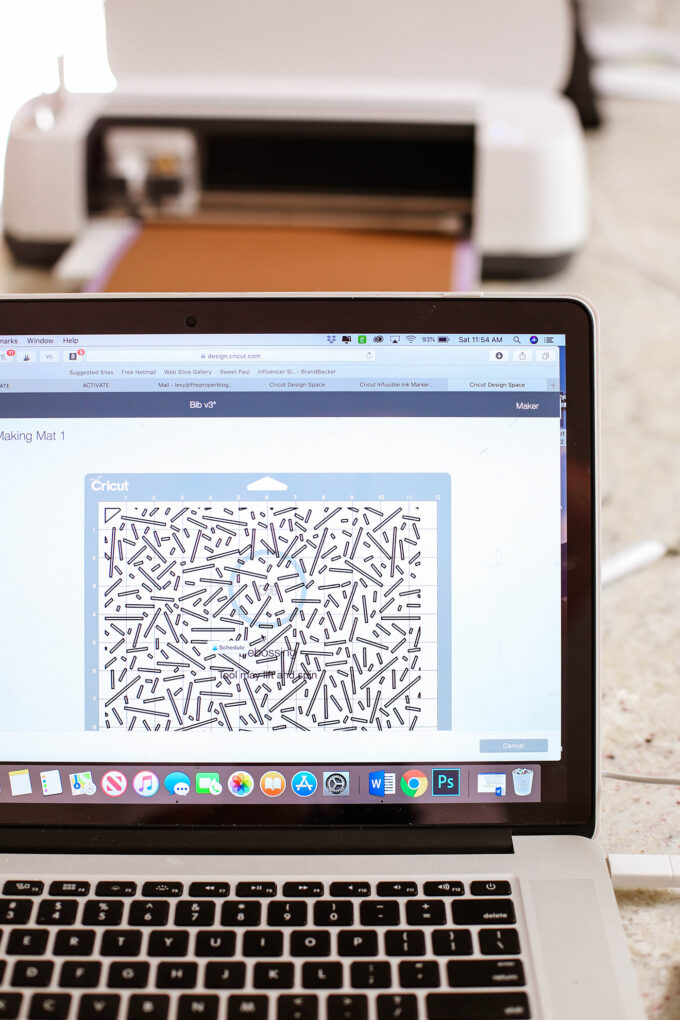
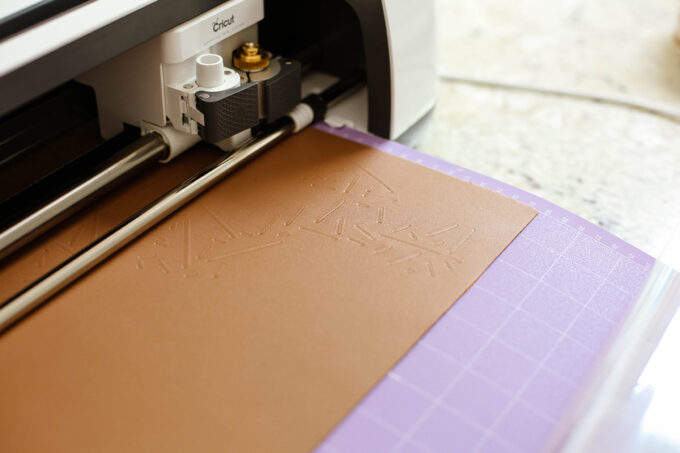
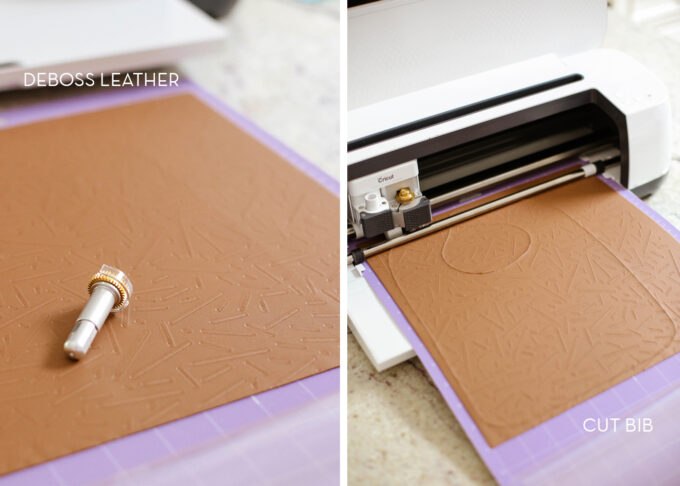
Start by downloading the bib pattern and sprinkles pattern. Open up Design Space and upload these images. Working with the sprinkles pattern first, deboss the lines into your leather. Select “Deboss” in the linetype menu. Attach the leather to your mat and go! I went over the leather twice with the Debossing tip. I could have stopped there as it was already super cute, but decided to go once more with the engraving tip* to create a more defined outline with the pattern! Many of Cricut’s tips and blades come with the quick swap housing, so switching things out between passes is ridiculously simple! *Engraving this is totally optional.
Next, cut the bib. In Design Space, stretch out the bib to about 9″ wide. (The length will automatically increase.) Change your linetype to “Cut” and change out the blade accordingly. Cut the bib.
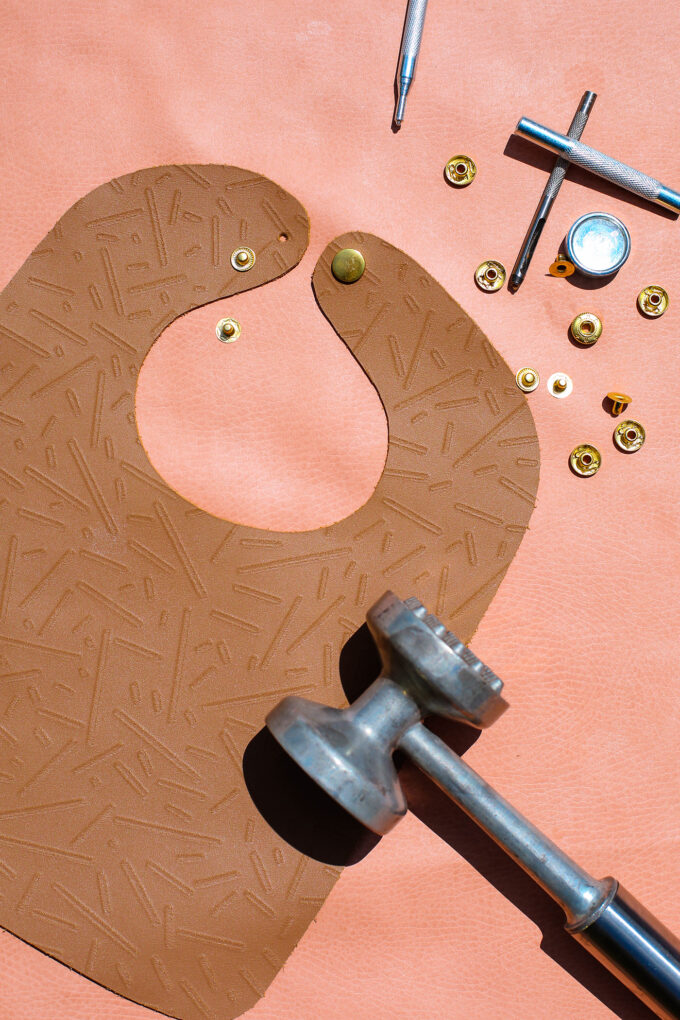
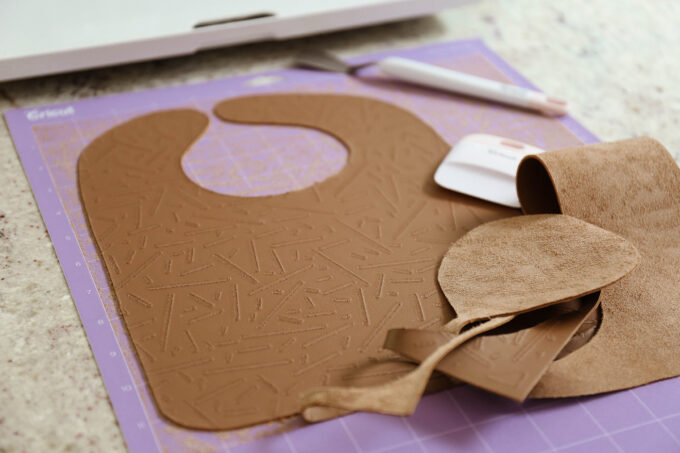 Boom! Once the bib is cut out, it’s time to add the snaps. Practice on a piece of leather before working with the bib to make sure you’re comfortable with the process. It’s really easy!
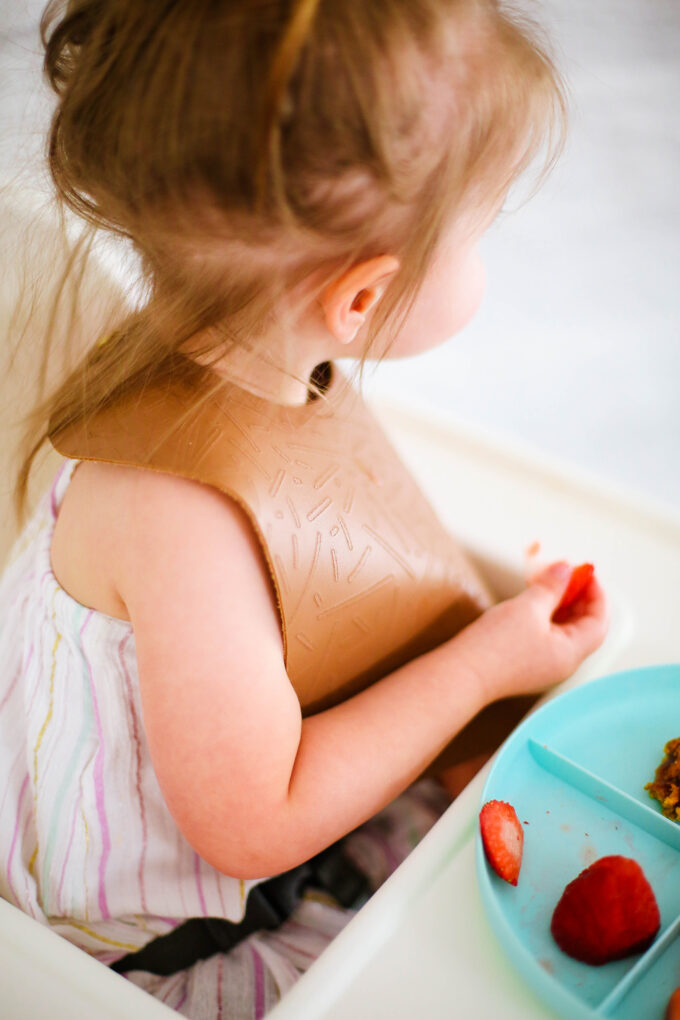
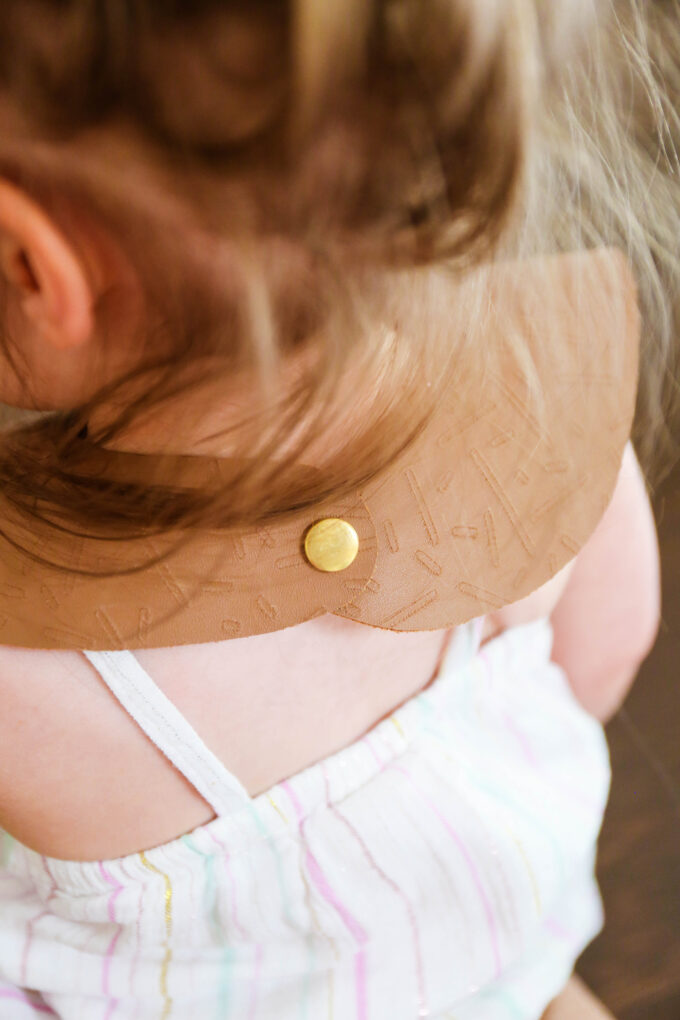 I can’t help it. She’s the cutest in this thing. Also, she calls it “BIBBBB” and my heart melts every time.
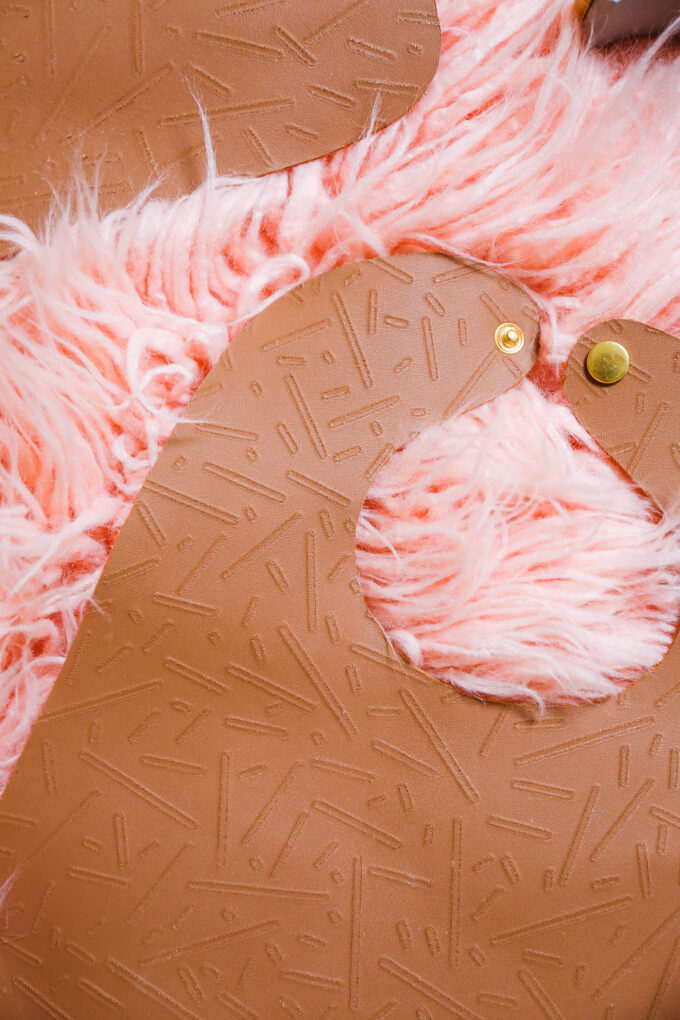 You can see the sunken lines from the debossing tip. I engraved around the edges so there was a slightly cut look to the design. It looks like sprinkles!
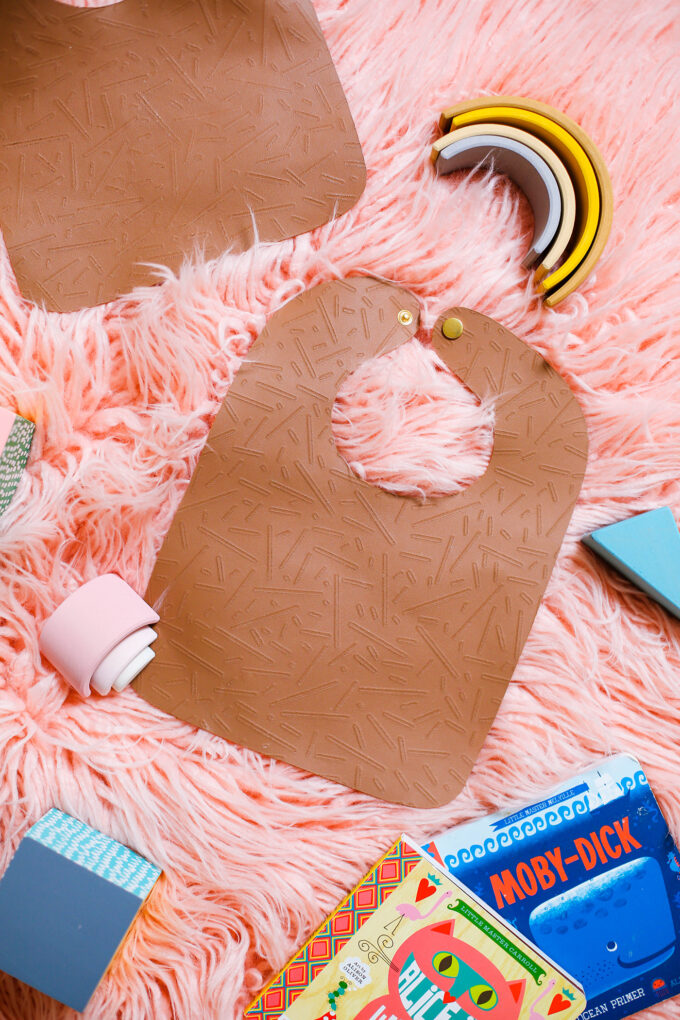 Made in an hour! This DIY leather bib makes a ridiculously cute gift for all the littles in your life. And with multiple leather color options out there, I’m probably going to be a DIY leather bib -making machine. Look out.
DIY Engraved Keychain
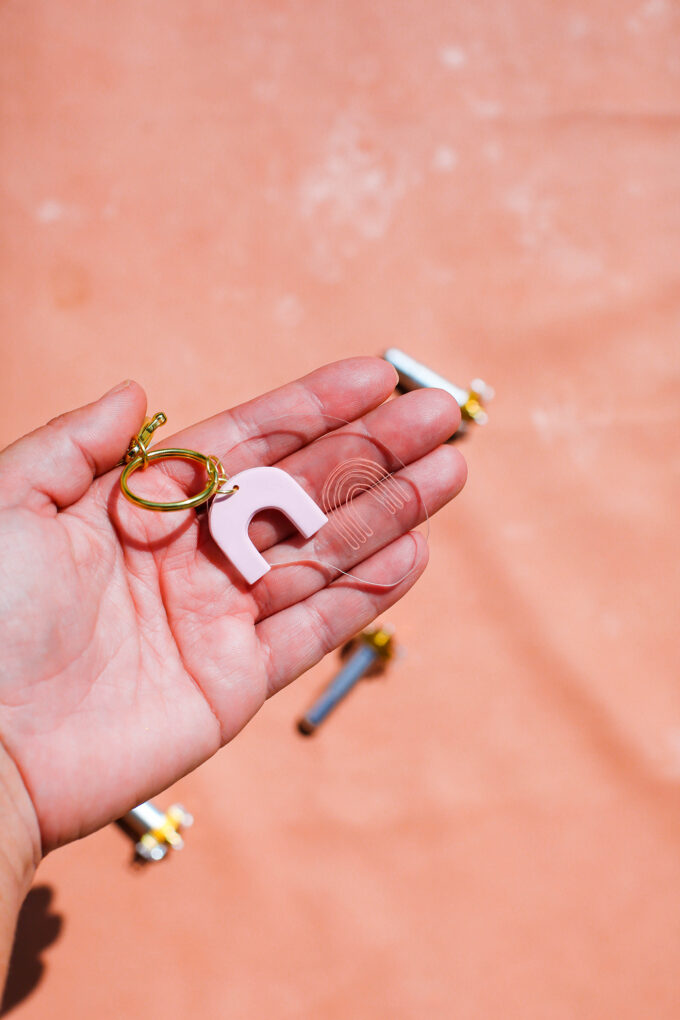 This might be the thing I am most excited about. The Cricut Maker can now engrave all the things! I was especially excited to engrave some acrylic for a bunch of keychains I planned to create. After playing around with many different processes and steps, I’ve come up with a simple way for you to pull off some cool acrylic in no time.
Instructions for DIY Engraved Keychain
Materials needed:
- sheet of 1/8″ thick acrylic (Home Depot has small clear sheets on sale for $3!)
- Cricut Maker machine
- Cricut Design Space™
- Engraving Tip
- masking tape
- Band saw, laser cutter, or a good old-fashioned x-acto knife
- 220-grit sanding block
- spray paint
- paint thinner
- q-tips
- drill and 5/32″ drill bit
- key rings
- needle nose pliers
Start by downloading the rainbow and abstract shape. Upload these images into design space and adjust the sizing to your heart’s desire. Make sure you change the linetype to “Engrave” for each cut you do.
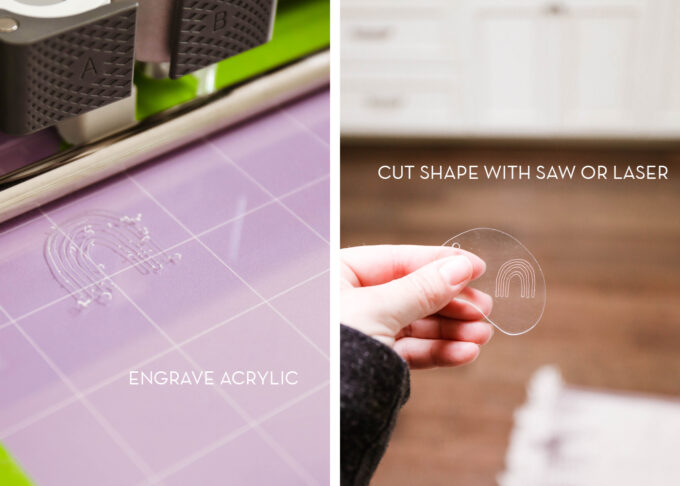 I started by laying the acrylic down on my Strong Grip mat and taping the edges to make sure it was secure. After many trials and errors, I found that it was easiest to engrave both the keychain shape and the rainbow shape on the sheet of acrylic and then use a band saw to cut out the abstract shape following the engraved outline. The Cricut Maker is strong and can cut many things, but doesn’t have the ability to cut through an entire sheet of thick acrylic. YET. But it engraves like a boss! If you don’t have a band saw, trace the acrylic shape MULTIPLE times with an x-acto knife until you’ve cut through the entire sheet. This is obviously a more time-consuming process, so hunker down with a show on Netflix!
After you’ve cut the shape, use the sanding block to smooth the edges. THIS IS WHERE I TELL YOU TO MAKE SURE THE PROTECTIVE SHEET IS STILL INTACT. ENGRAVE WITH IT ON. CUT THE SHAPE WITH IT ON. THIS WILL PREVENT ALL THE UGLY SCRATCHES.
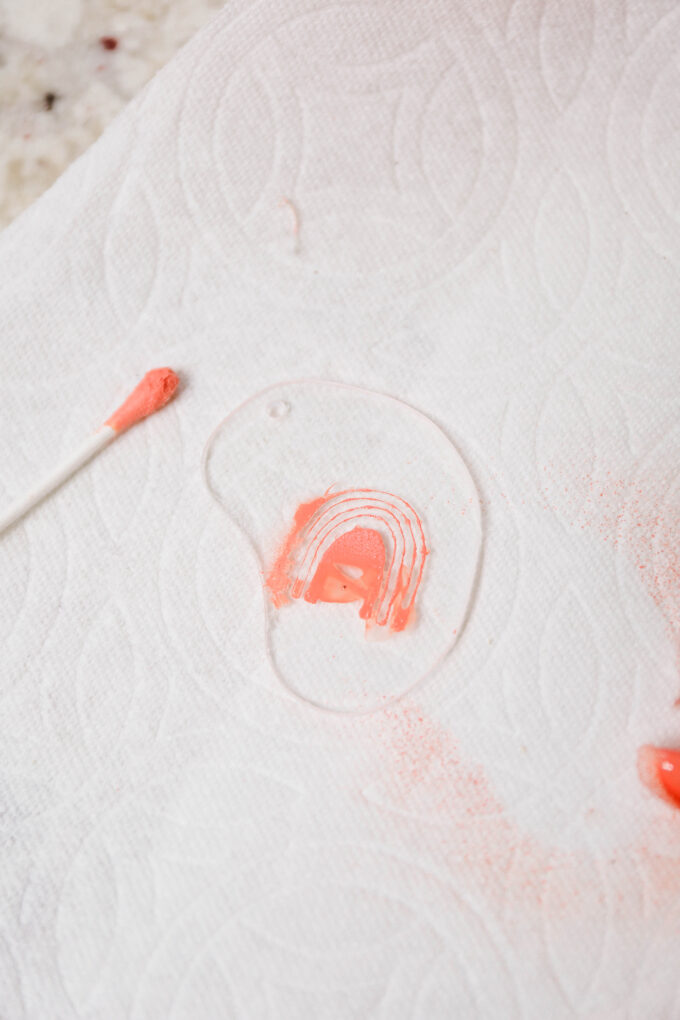 After sanding, I added a quick spray of coral spray paint. I let the paint dry, and then rubbed a q-tip dampened with paint thinner to remove the excess. This left the outline of the coral rainbow and cleaned up the entire surface of the piece. Then drill a hole in the top left side and add the keyring and you’re done!
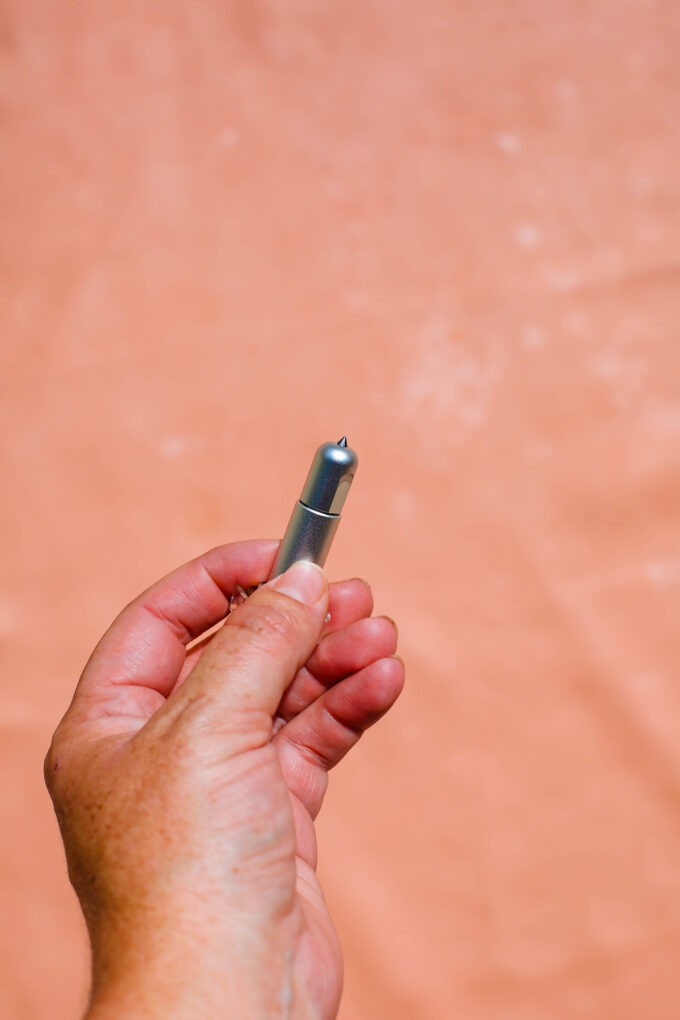 Oh hey, Engraving Tip!
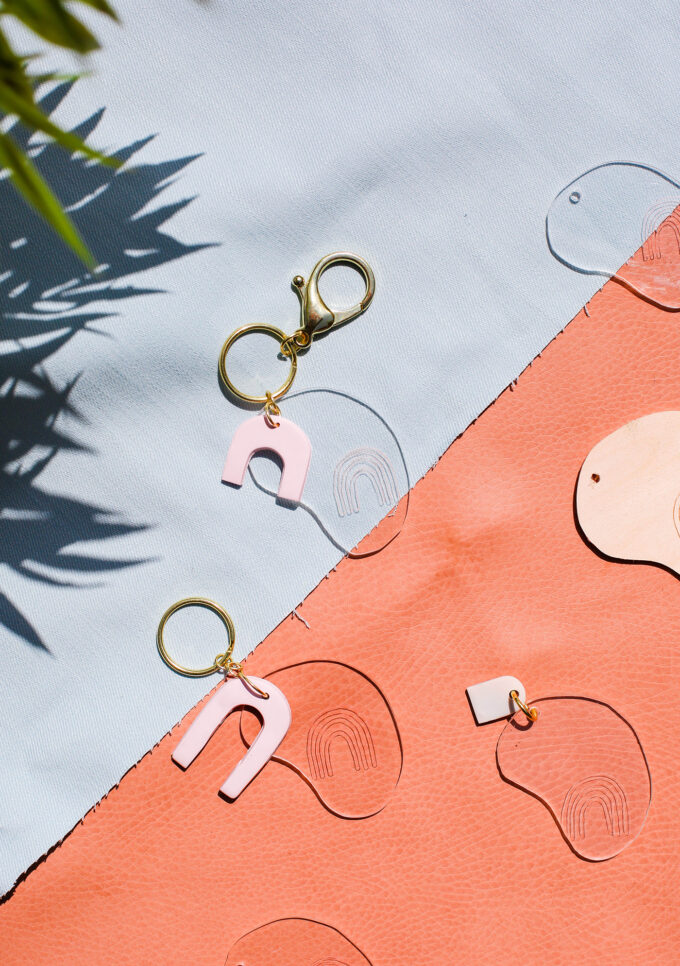 Truly, these keychains are going to be all over the place. Someday. You wait and see. 😉
 I’m sold. I’m sold hard.
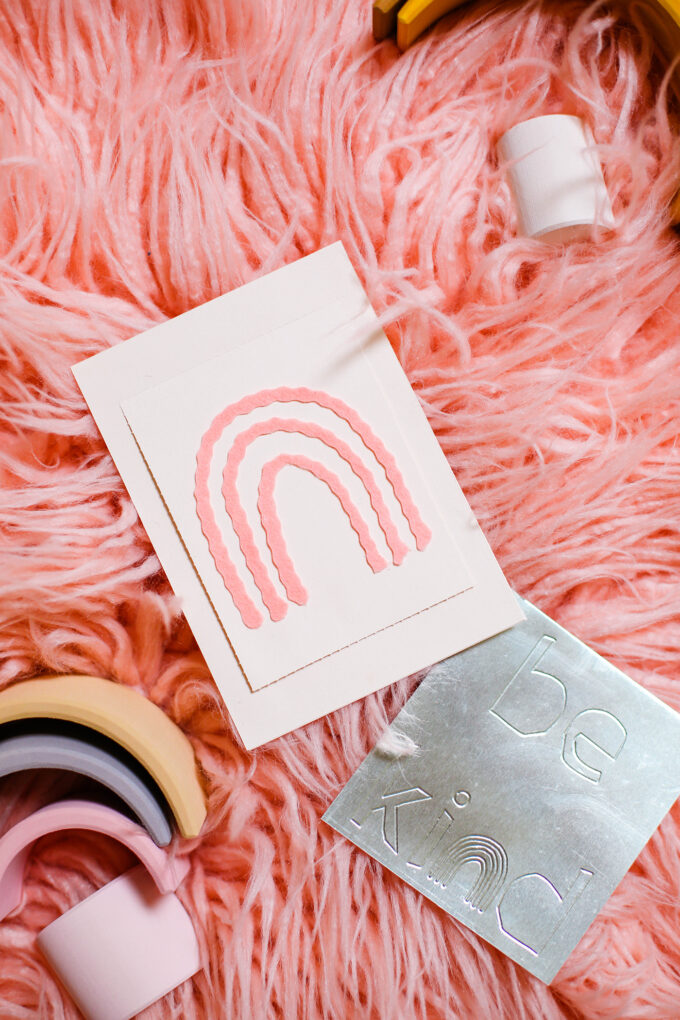 I thought I’d make a quick card to show you what the Perforation Blade and Wavy Blade can do! The perf blade is great for card cut-outs and more. I’m excited to play around with these more and really see all that they can pull off! Using the rainbow template I drew, I cut out some felt using the wavy blade and attached it to the outside of the card. You can lift up the perforated piece to find the words “Be Kind” underneath. The wavy blade is a quick way to add some flourish to a design without any fuss! We even used it to create some wavy crepe paper for a photo backdrop – I’ll share all about that SOON!
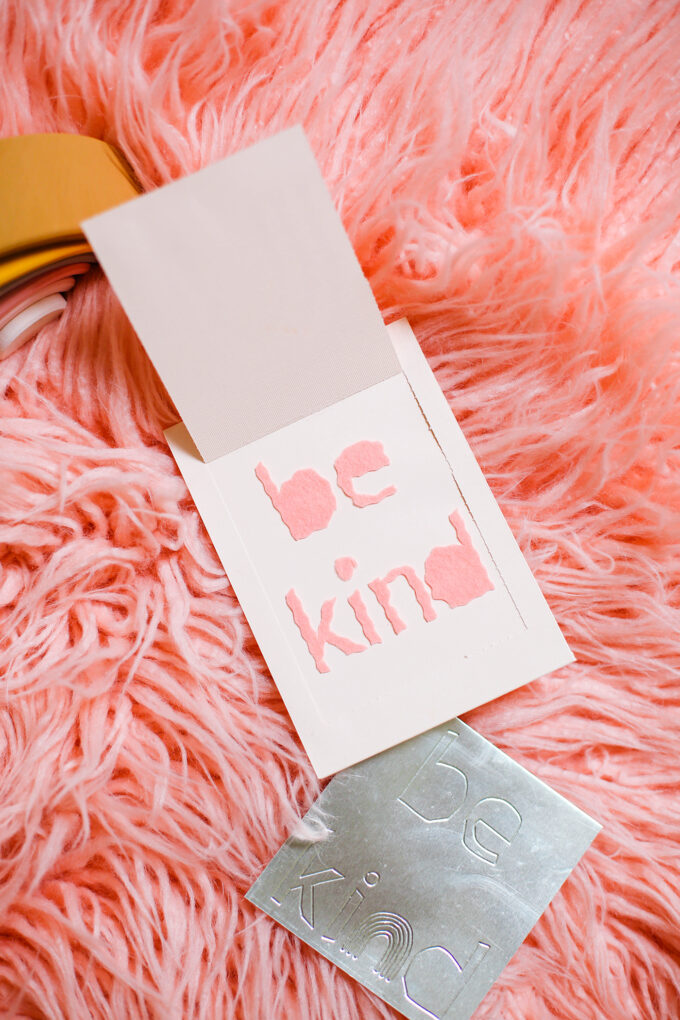
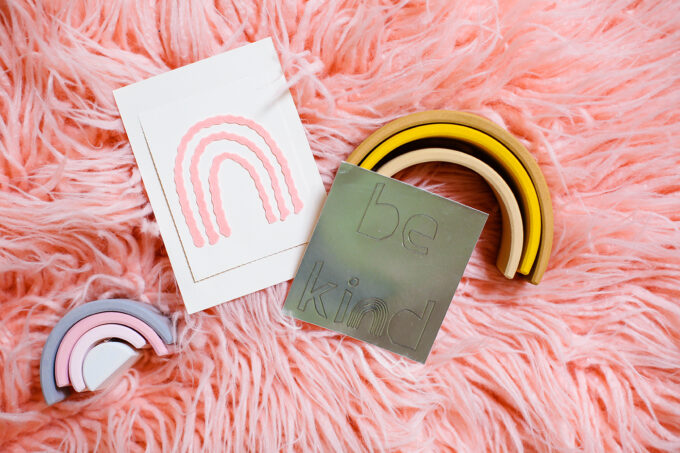 And once more with the debossing because I just can’t quit.
I’m actually really excited about the possibilities with the maker tools (shop them all right here!). The Cricut Maker is SO much more than just a paper cutter. Don’t get me wrong, it’s GREAT at that. But the folks at Cricut are just scratching the surface with the inspiring projects to be made and they’ve got tools for all kinds of creative folks in mind!
Now, who needs me to send them a bib? Can I interest you in a keychain? ?
concept, styling, & photography \\ Lexy Ward


These are so cute! I don’t have a cricut machine, but this looks really fun. You should sell those bibs!
Awww thank you! I am actually going to start! We’ve been coming up with several designs for the bibs!
How did you get the Maker to make a second pass over the leather with the Debossing tip? How did you get it to make another pass with the engraving tip? Did you add those extra passes in Design Space? I am still new but my wife wants a leather bib like this and I want to make her one. Thanks for your help!
I just did the extra passes in Design Space! I switched tools and went over it again! Good luck! 🙂