This post was originally published in June, 2016.
 Oh my goodness. These last few weeks have been absolutely over-the-top-insanely-crazy-make-you-forget-what-day-it-is-ish and I feel like I am slowly coming out on the other side of the dark and over-flowing-inbox tunnel! Yeesh! Let’s celebrate! How? I’ve got a few ideas and a good percentage of them involve a 12-pack of Diet Cokes and some warm socks. One of the things I’ve been working on on the side was a small floral class! I’m by no means a pro when it comes to DIY floral arranging, but have always believed in taking small classes to better yourself and your skills any way you can, from calligraphy to yoga to floral design, I like ’em all! I recently took up an online class by Nicole’s Classes after hearing from several friends about them and wanted to share my experience that I just wrapped up a while back!
I’ve always loved working with flowers, and have enjoyed styling for events and shoots (and of course, always decorating the pancakes and pies!!!!). I have been a huge HUGE admirer of Chelsea Fuss from Frolic! for years and thought I’d check out the Floral Arranging 101 by Nicole’s Classes that she instructs. The girl is so good at what she does, y’all.
The classes are each broken down into four segments (one for each week) and at the end of each class, you’re given a homework assignment. These range from a simple hand-tied bouquet to a floral crown, a wild English arrangement, and ending things with a bridal bouquet and simple boutonnière. You go over basic concepts like designs that appeal to the eye, tips for prepping and processing your flowers, and seasonal schedules of flowers so you know what is available and when. All excellent info if you’re just starting out!
After each lesson, you’re given a homework assignment with a floral recipe for that week. Obviously, you won’t be able to follow the recipe flower by flower (unless you live in Cali and have access to all sorts of beautiful blooms! Hey, Tucson.), but Chelsea gives you suggestions for replacements and flowers with similar shapes that can work to create something as visually stunning as what she creates in her videos.
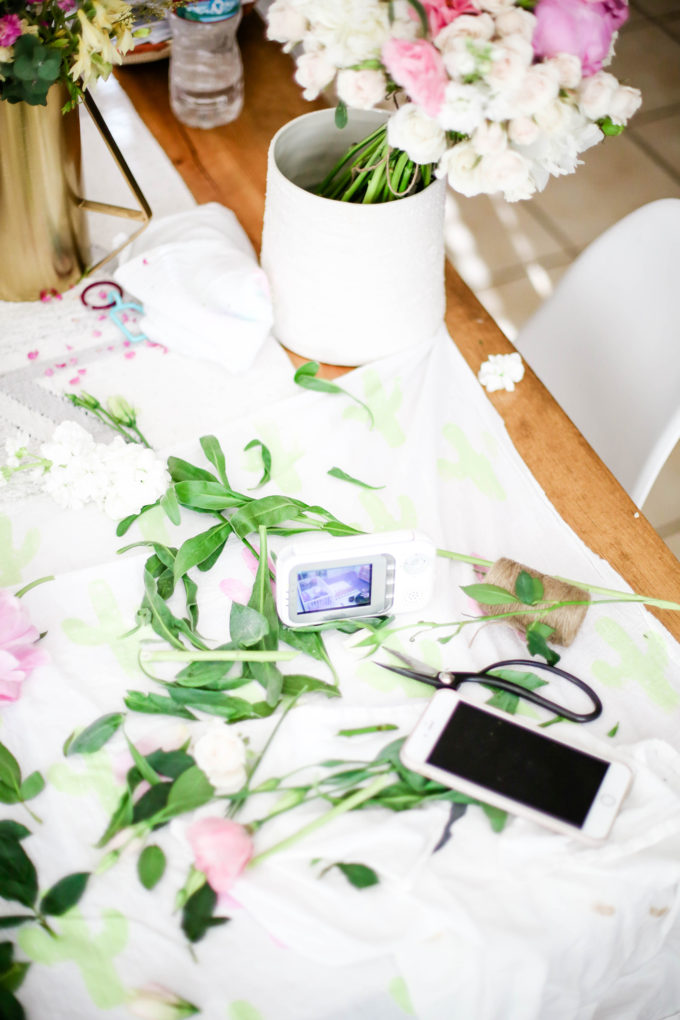
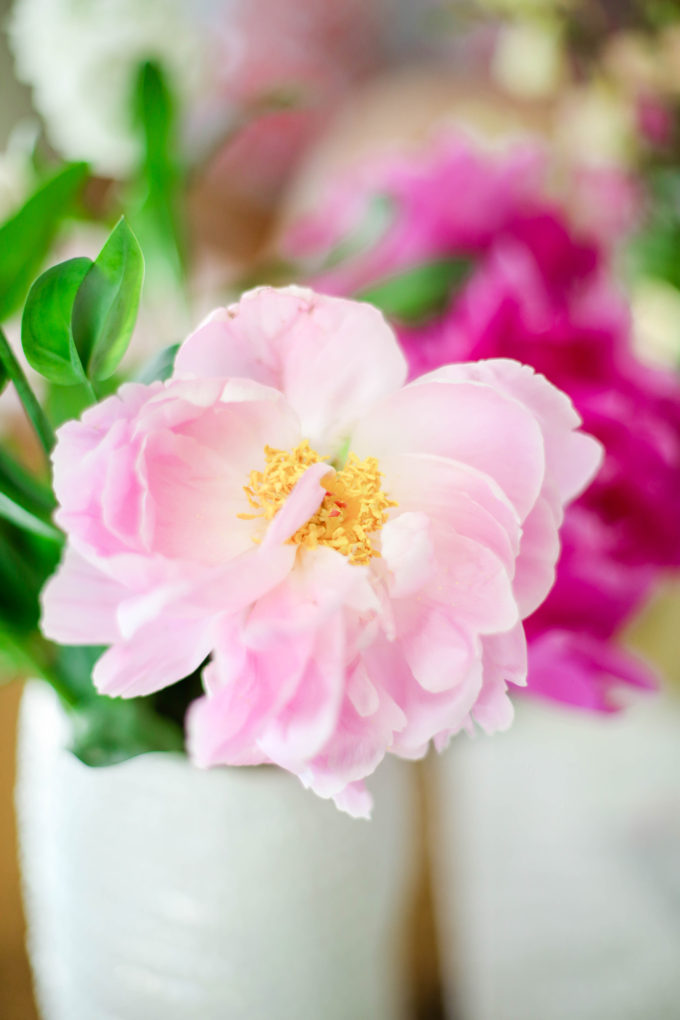
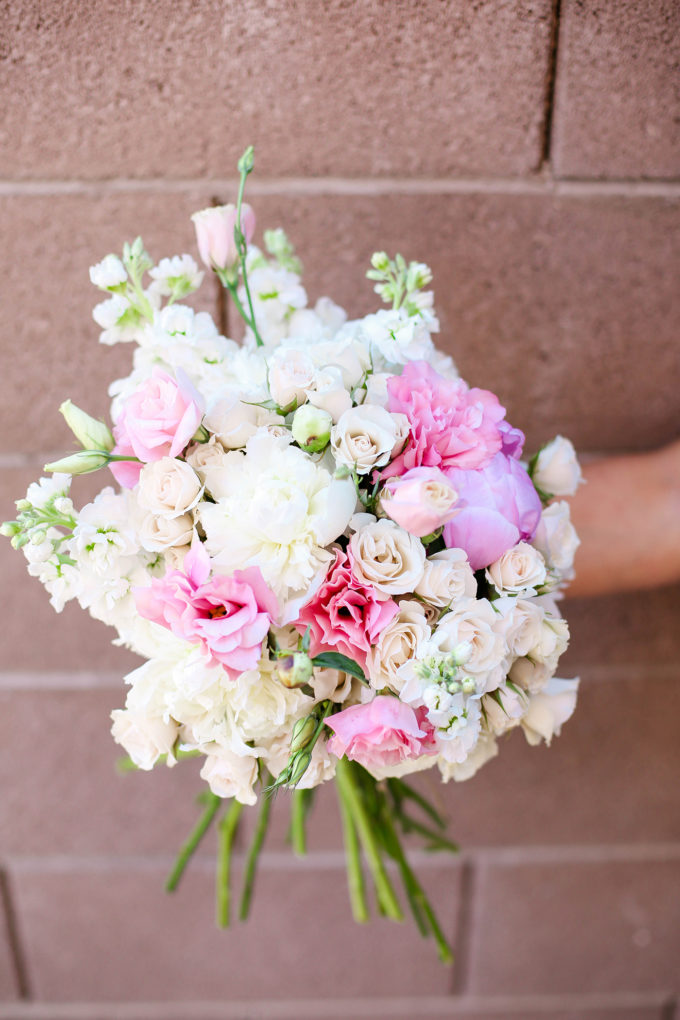
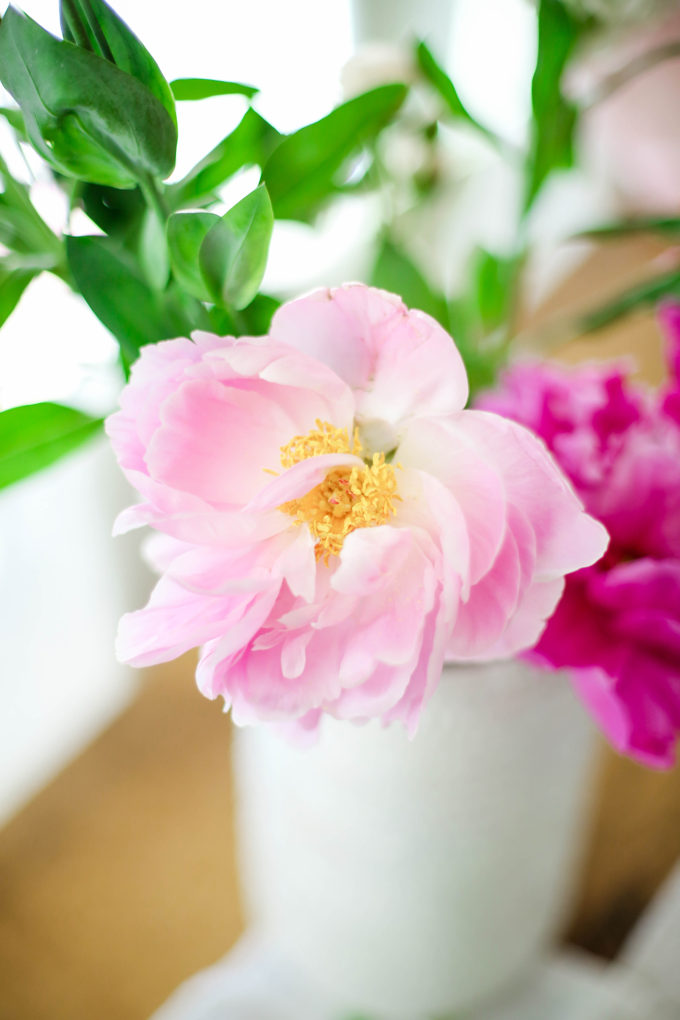
The flower selection is less-than-anything down here in southern Arizona, but I’ve been able to score some beautiful blossoms like peonies and spray roses to use in my arrangements from Trader Joes and another local grocer. I’m also moonlighting as a flower thief and have been snipping flowers and shrubs from neighbors’ yards from my street! Logan acts like he doesn’t know me…
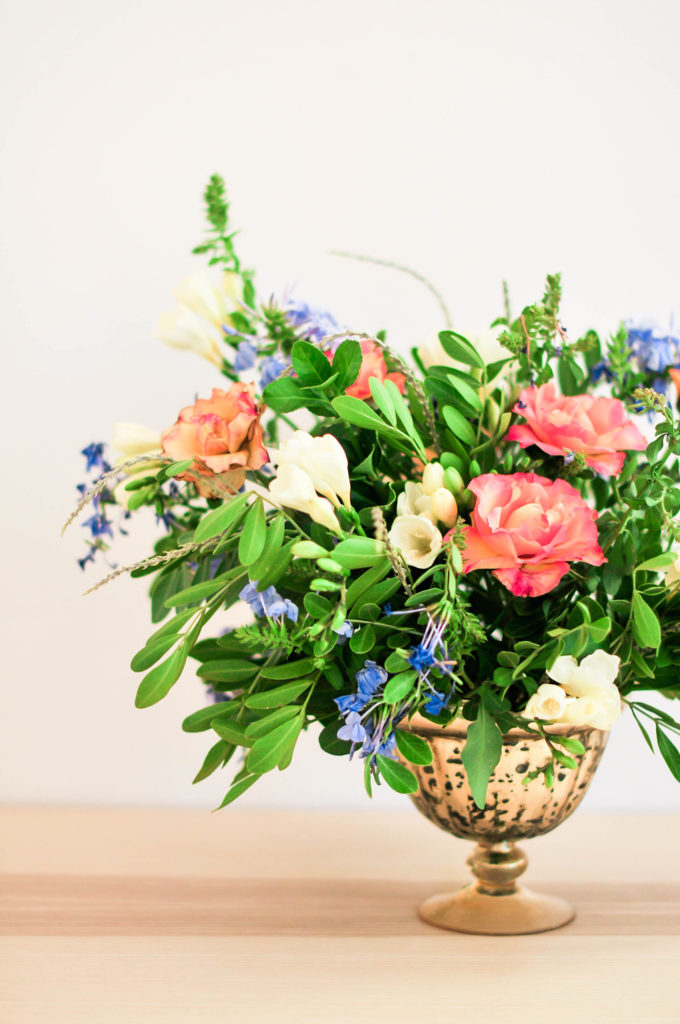
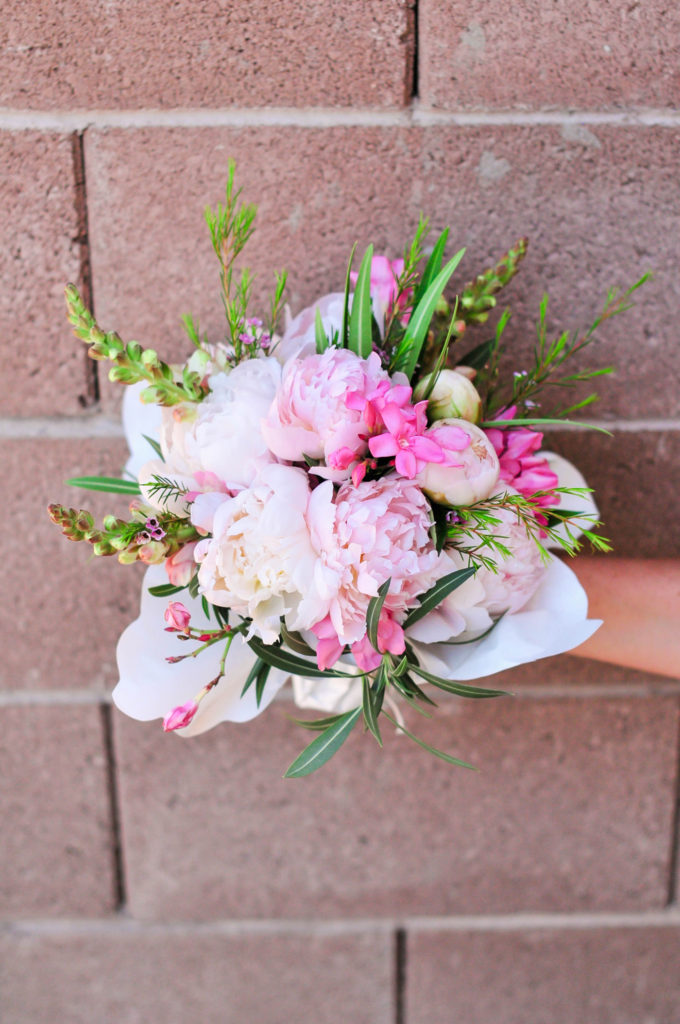
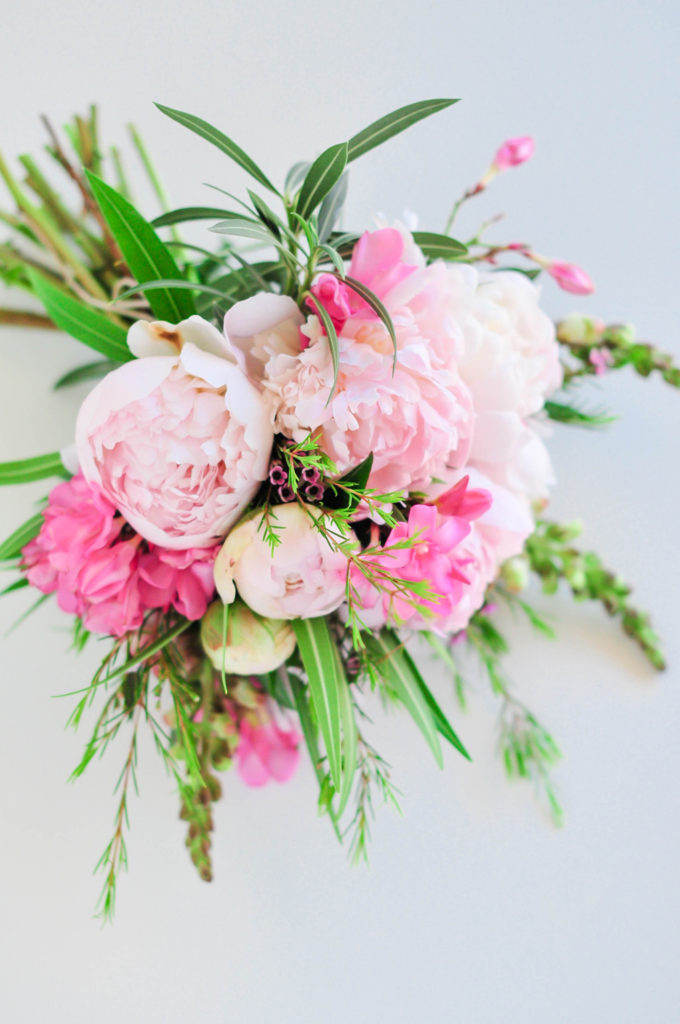
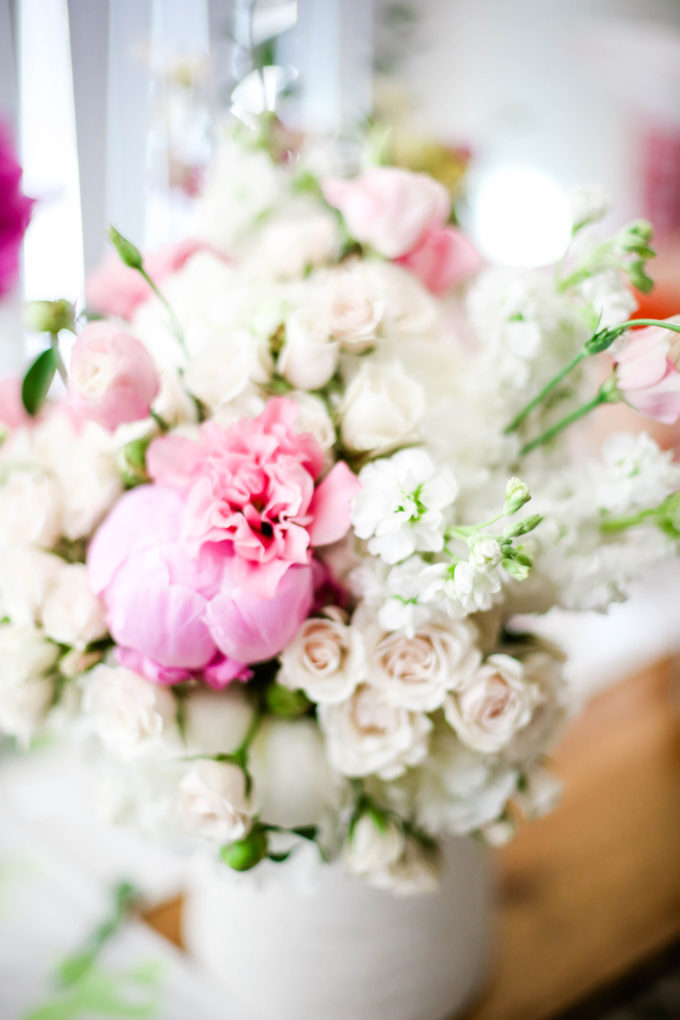
Besides the freesia (the white flowers) in the arrangement above, everything else was foraged from my neighborhood! You just gotta work with what you have, and it’s fun to start with an idea and see how it grows and develops as you keep adding to it.
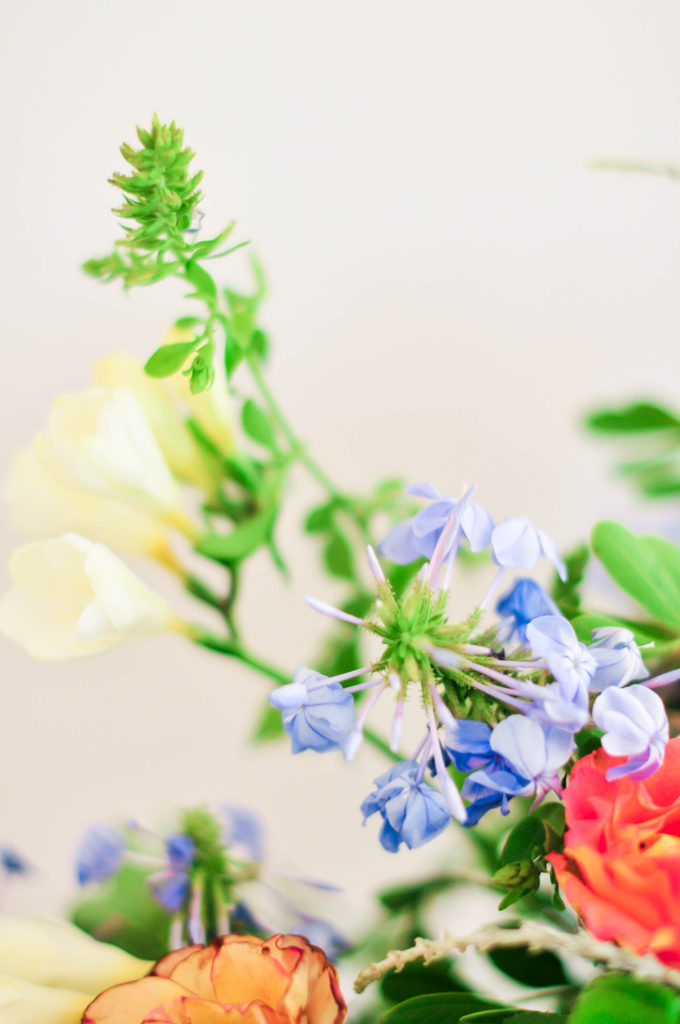
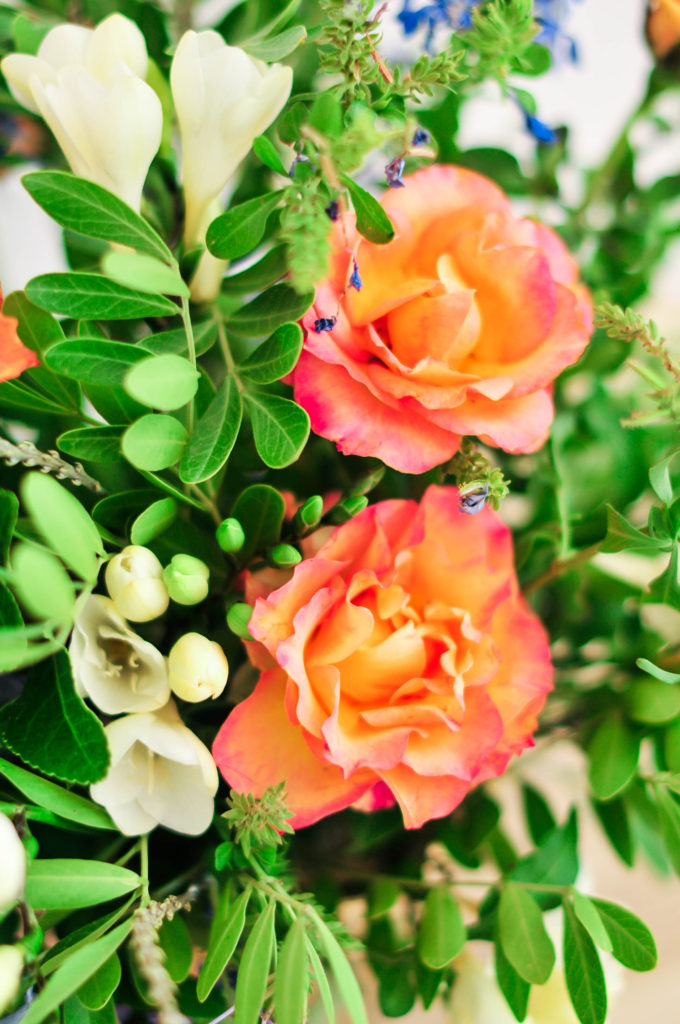
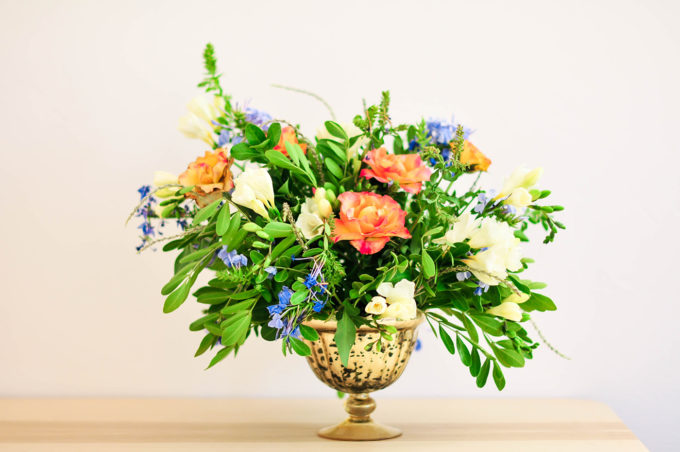
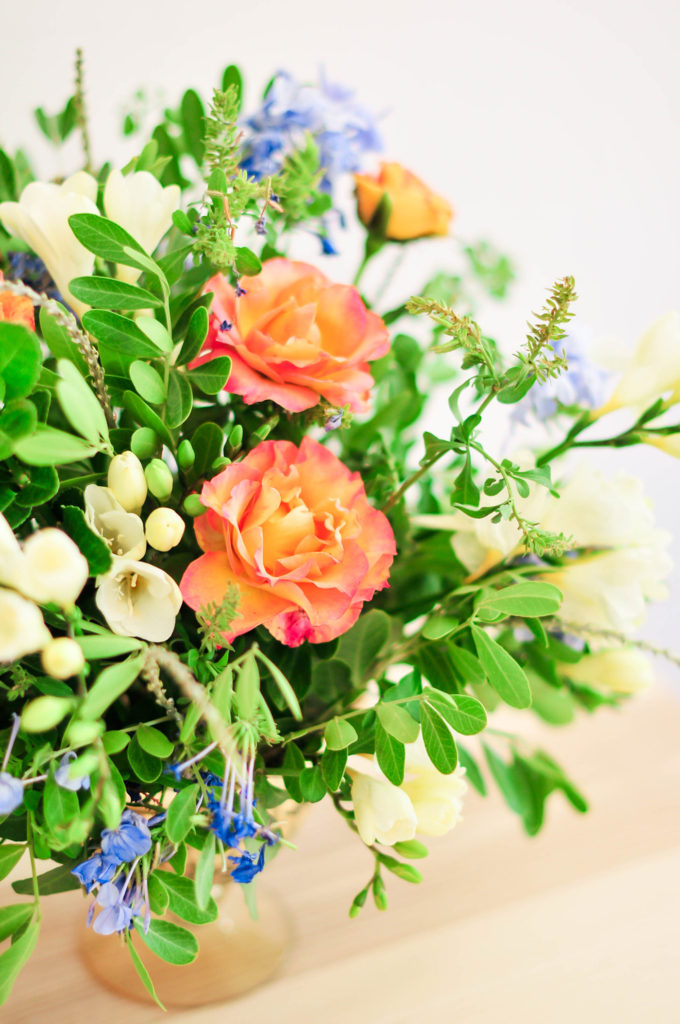
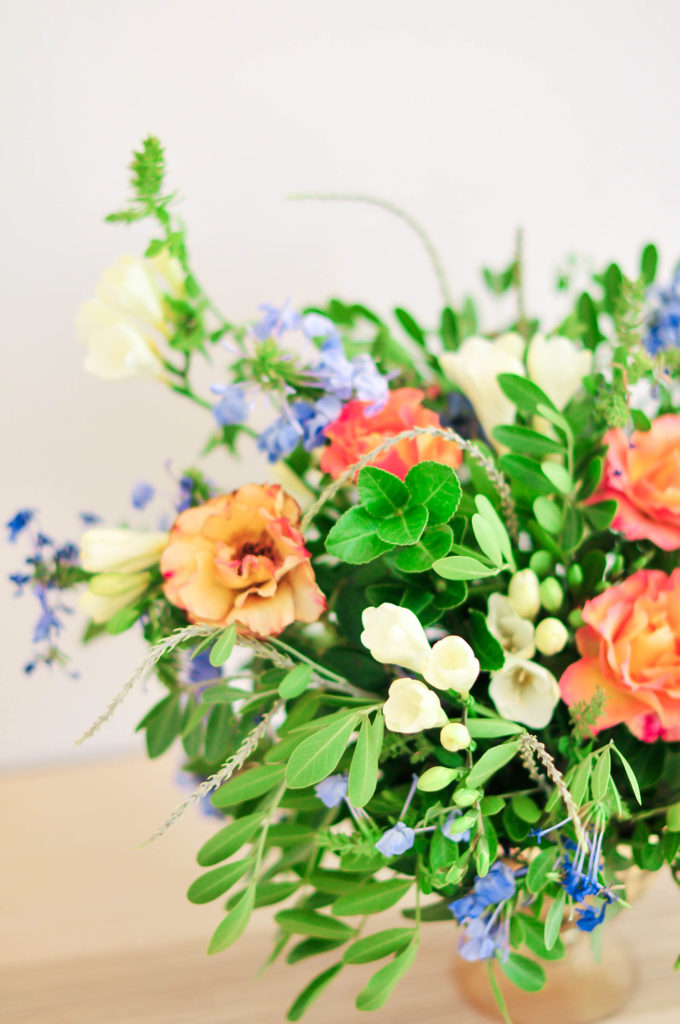
Hi, I feel like a kleptomaniac. I drive around with my clippers in my car so that I am prepared in all situations when a desirable flower happens to fall in my path.
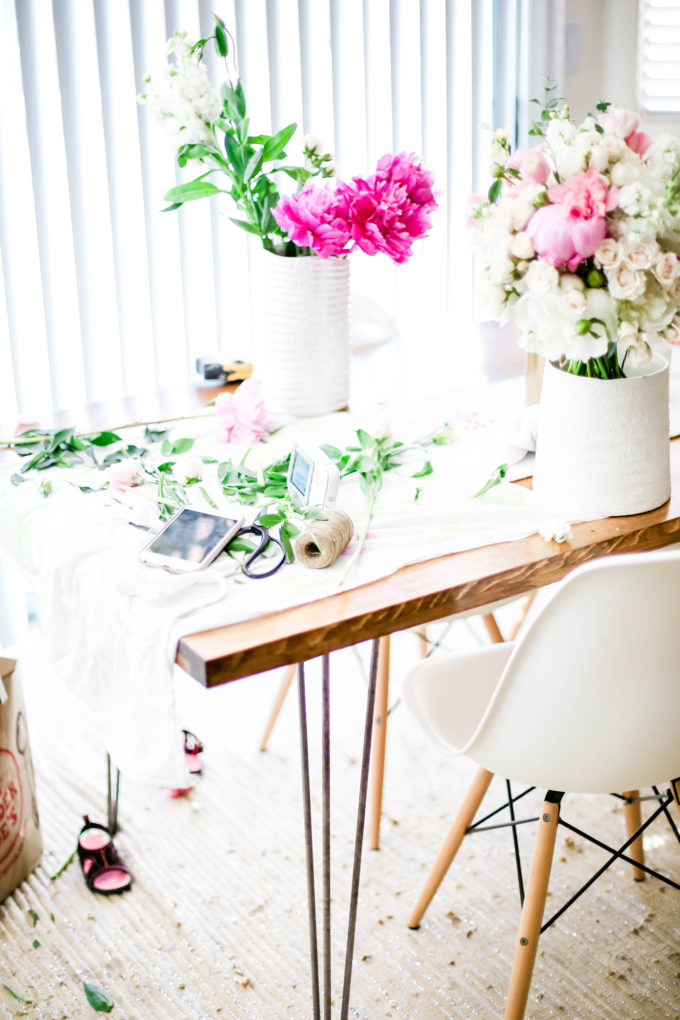
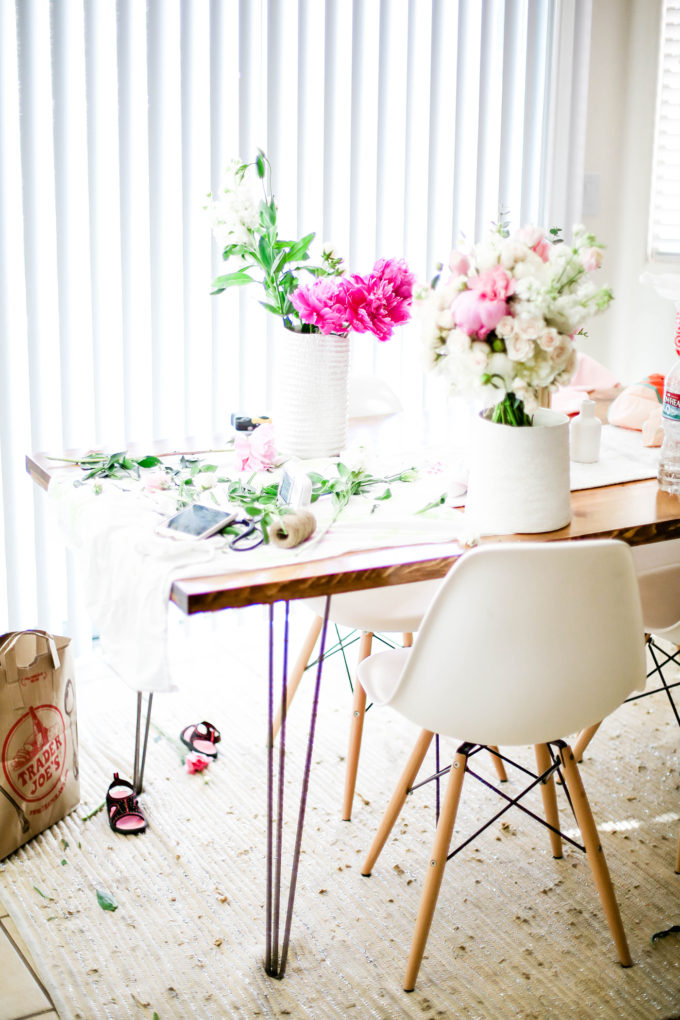
Above: the state of my kitchen during nap time. I play and arrange when Miss V is sleeping. Aren’t her little shoes just the cutest thing?!
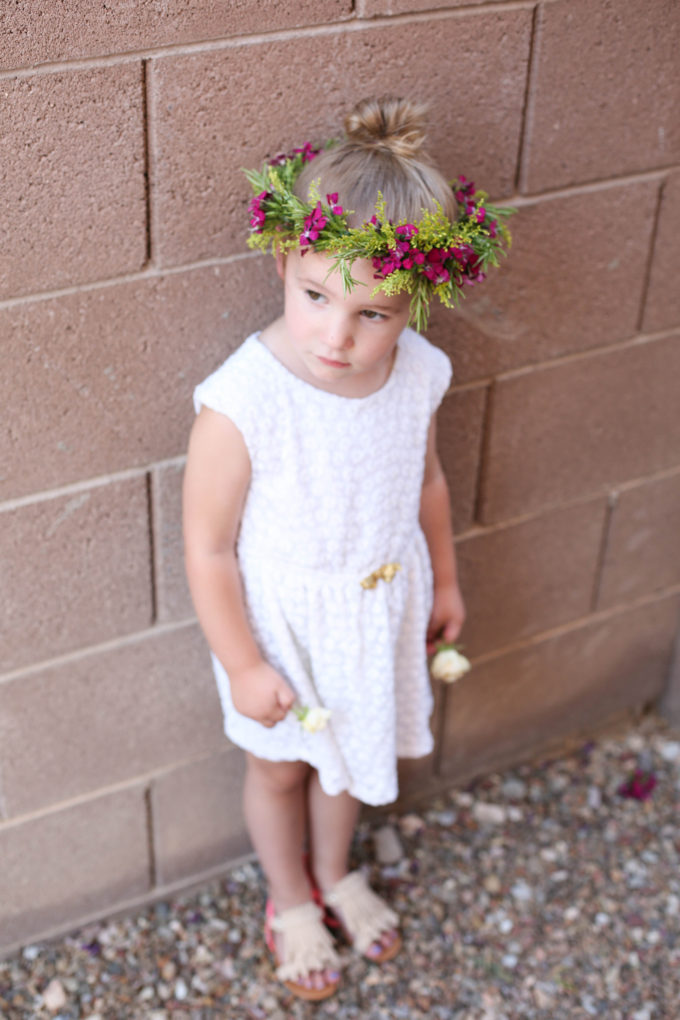
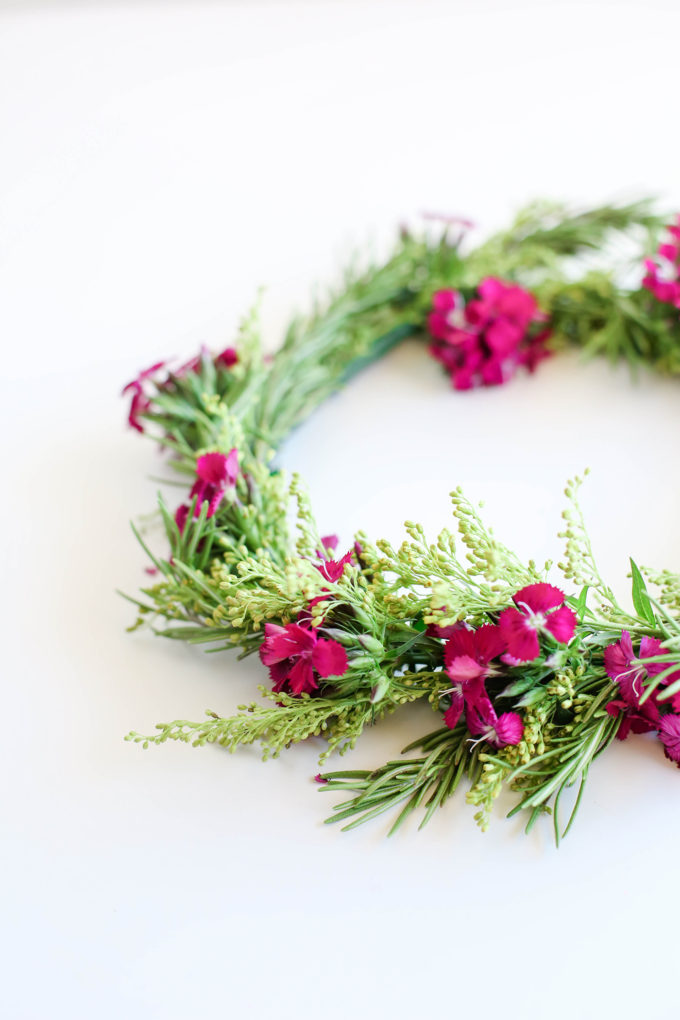 I think this class might have been the most favorite thing for Vita-roo. She LOVED waking up from naps and finding some fun, floral surprise awaiting her. The flower crown was definitely her dream-maker. It was too easy to get her to pose for a photo.
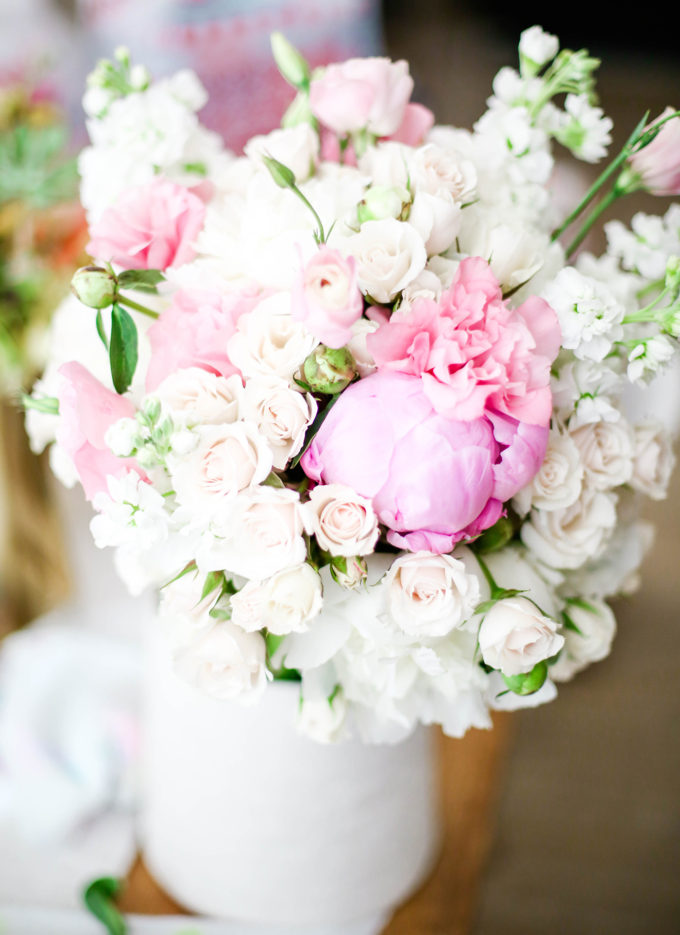
Spray roses are your affordable and space-filling friend. Use them! I’ve always been partial to them because they look like mini garden roses when fully blown open. We love ’em!
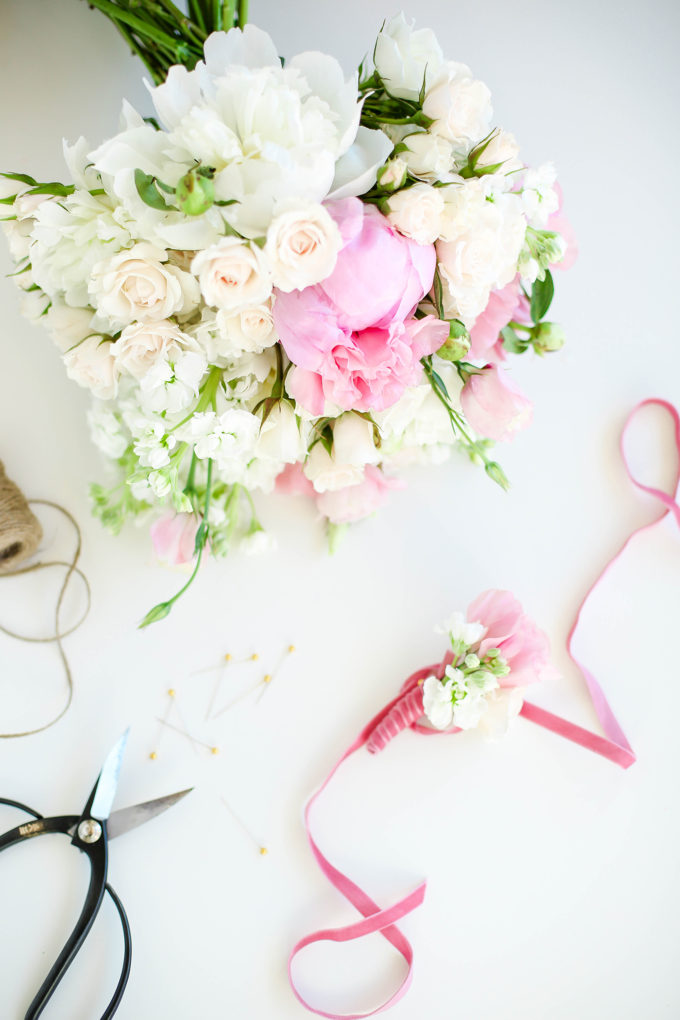
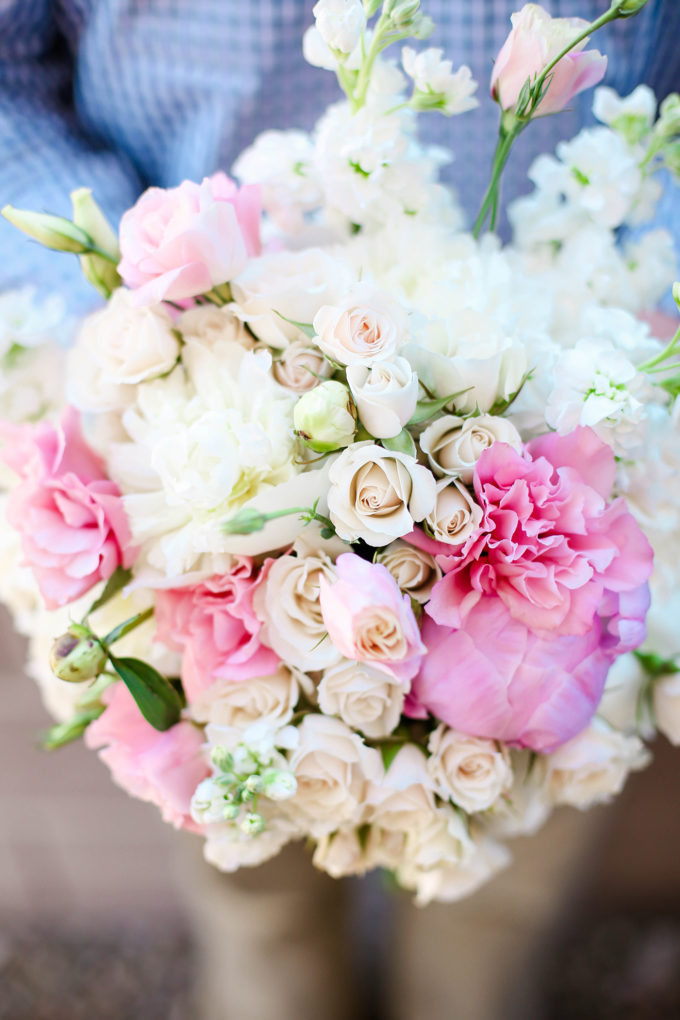
The bouq and bout above aren’t 100% my style (a little muted and romantic for my taste), but my floral selection was pretty limited during the specified season I was working on this project. My AZ wholesale license just arrived (thank goodness, and how difficult is that process in this state?!), so I’ll be able to choose from a larger selection of flowers in the future. If you don’t have a wholesale license, don’t fret! You can order from sites like Flower Muse (a favorite floral sponsor from several past projects and events) and pay lower prices that are almost, if not the same as, a wholesale price! And they’re delivered right to your door so that the work is cut in half for you!
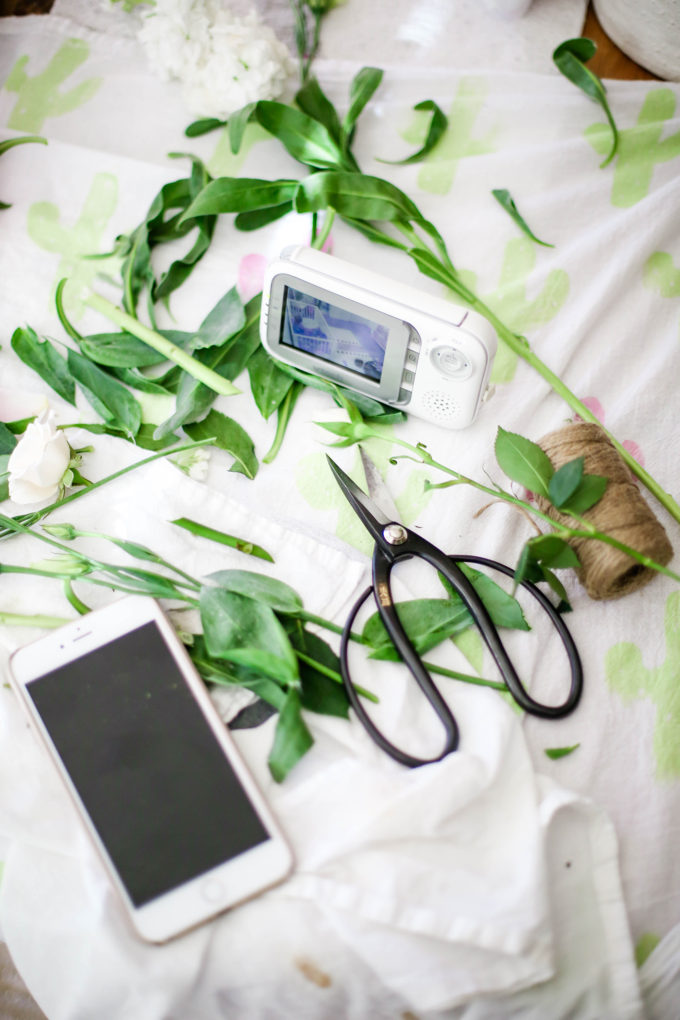
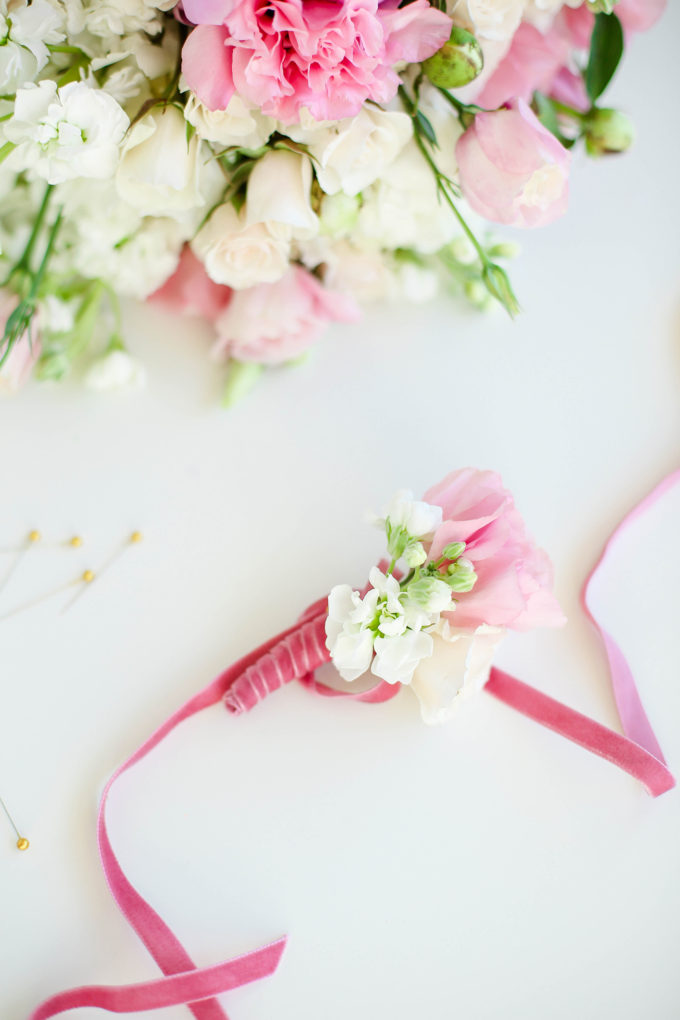
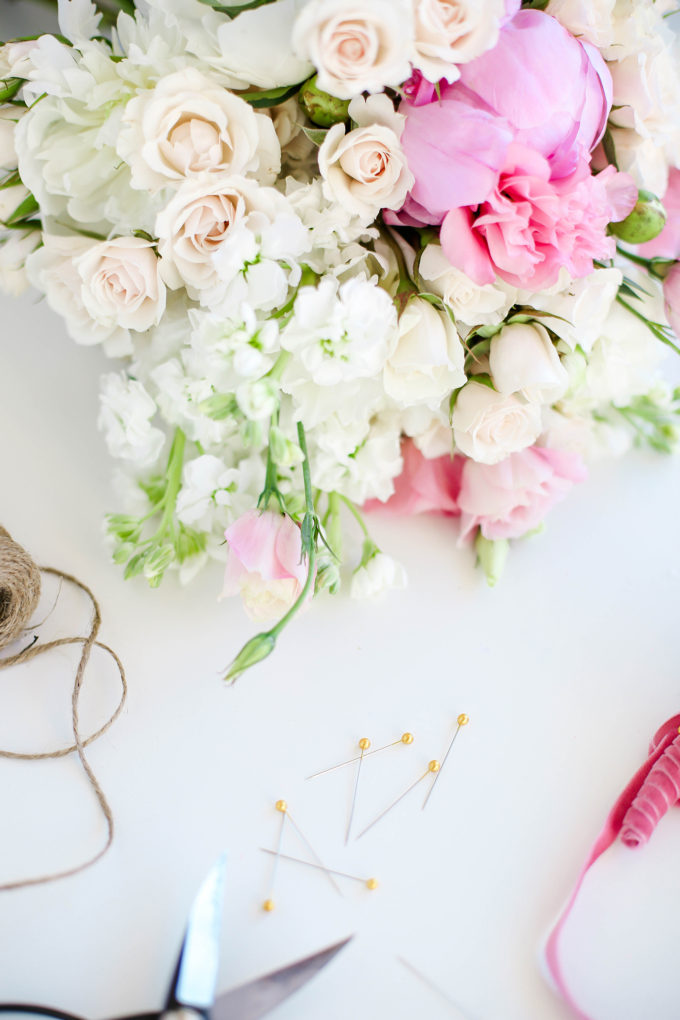
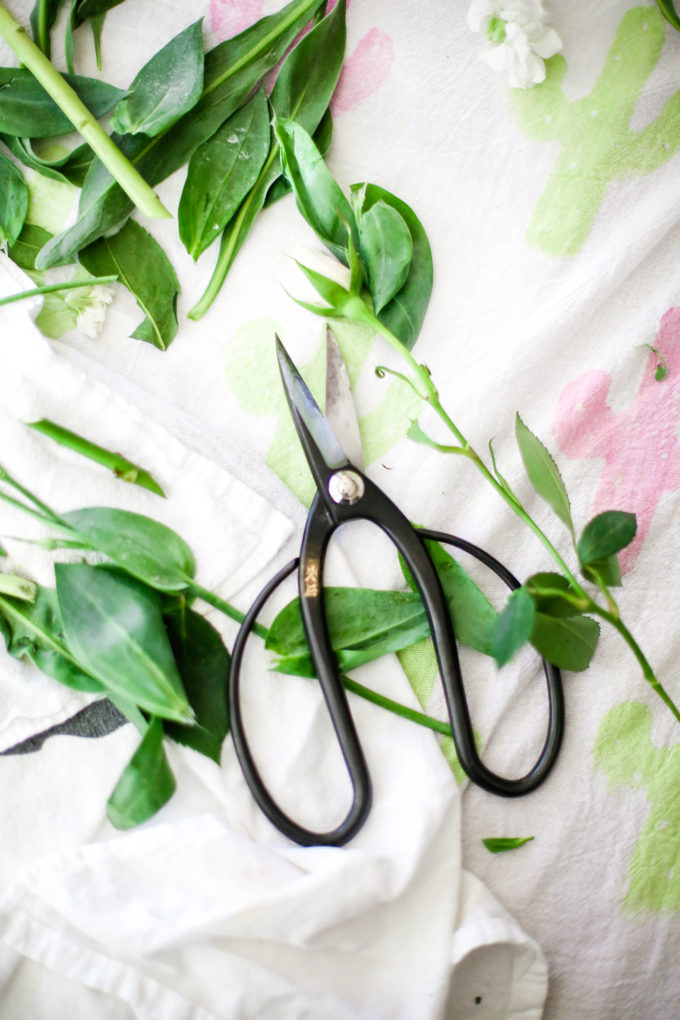
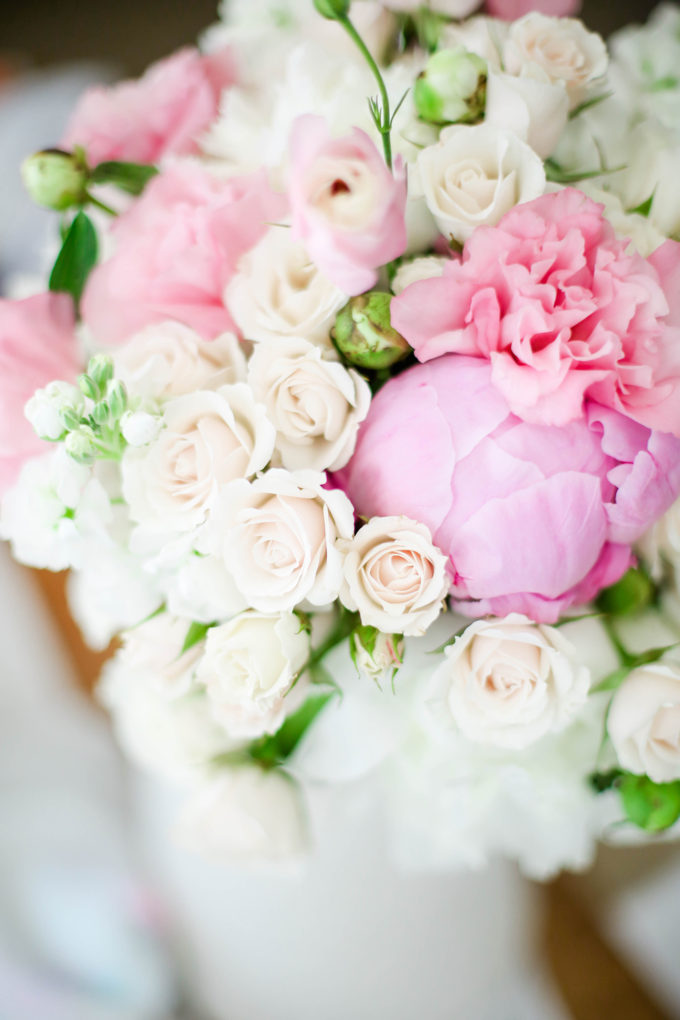
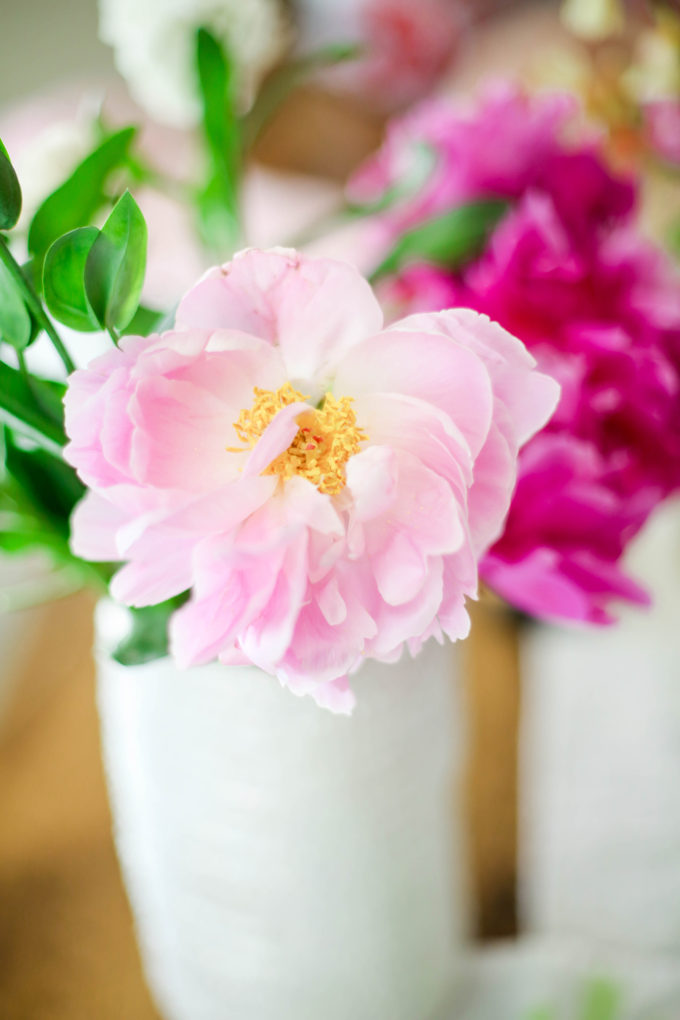
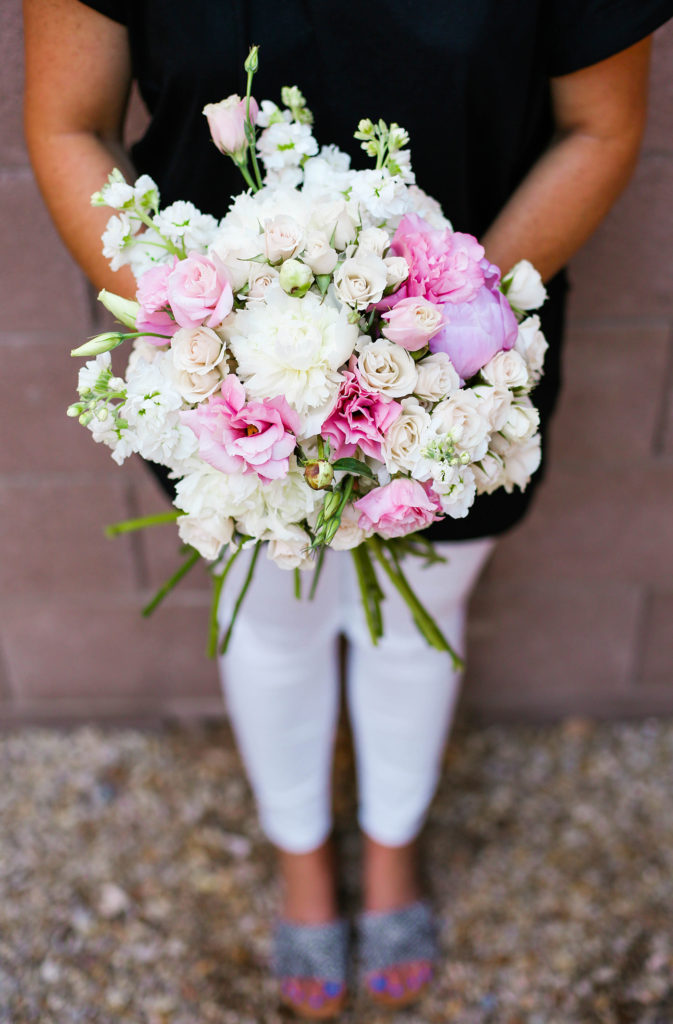 Logan is a better bouquet model than I am. Damnit.
 This floral class is $125 (not including flowers or supplies) for the course materials. I snagged it for $100 a few weeks ago when I happened upon a promo code from Mother’s Day. Can’t beat that! It’s spaced out over four weeks, but you are given all the material up front so you can go at your own pace. For the month-long duration, you have access to communication with the course instructor and they can critique your work and give you feedback. It was super helpful to hear Chelsea’s words of encouragement as well as her suggestions and ideas!
If you’re into the whole flower thing, but aren’t sure just how much you love it, I’d highly recommend this class. Depending on your location, I would recommend ordering your flowers through a bulk website like Flower Muse or Fifty Flowers so that you can really enjoy more that the floral world has to offer. To offset the cost, it could be super fun to take this class with a friend or two and you can all go in on the flower orders together! Call me when you do! 😉
Check out some of my favorite floral projects over the years like the most popular floral pie wreath or this DIY arrangement for the NON-florist!
**this post is NOT sponsored by Nicole’s Classes. I’m just real impressed with what they’ve got goin’ on over there and thought I would spread the word.
photography \\ Lexy Ward






wow! Those are beautiful. Thanks for sharing! I love the pink colors!
Thanks, Jessalynn! The pink is definitely gorgeous! It’s the peonies!!!
I love your kitchen table! What a pretty spot to work! Where is it from?
Oh, thank you!! We actually built it a few years ago back in Denver! It’s just a few pine and oak boards put together and then hairpin legs attached to the bottom! 🙂